Browsing Tag

pretty cupcakes

12th October 2020 // 0 Comments

Pretty Blush Birthday Cupcakes!

Blush birthday cupcakes by Juniper Cakery

The current pandemic means that people are thinking small yet sweet so cupcakes are a big hit! With the rule of 6 in the U.K. our small boxes cupcakes are so popular. Some opt for extra boxes to leave at loved ones’ doorsteps. It’s a crazy time that we live in right now. It is, however, heart warming to think that people are trying to be kind and treat others. This particular box of blush birthday cakes were for Felicity’s own mum. Obviously she couldn’t be without cake on her special day!

Pretty and pink birthday cupcakes by Juniper Cakery

We stuck to our brand colours on these sweet treats with pinks and golds. Each cupcake was finished with quirky sprinkles, edible gold paint and silky buttercream. Flavour-wise the pale pink roses were Strawberry Milkshake and the darker swirled cupcakes with a touch of coral pink were Passion Fruit & Lemon! Perfectly fruity for a fun birthday.

We get asked what colours we used A LOT sooo… for the blush we created a whitened buttercream then added a little Rainbow Dust Pro Gel Food Colour in ‘Strawberry’. To create the darker pink / coral tone buttercream we combined Colour Splash in ‘Coral’ with Rainbow Dust Pro Gel Food Colour in ‘Strawberry’.

Pretty birthday cupcakes by Juniper Cakery

Blush birthday cupcakes!

The pretty blush pink birthday cupcakes were in our popular Strawberry Milkshake flavour! Madagascan vanilla cupcakes swirled with super smooth buttercream. Finished with a gilded rose leaves and sprinkles! We used Rainbow Dust’s gold sequin sprinkles to add a touch of glam.

Pink birthday cupcakes by Juniper Cakery

A black edible pink pen by Sugarflair was used to create the cute birthday plaque before adding a glittering edible gold paint streak to one side. This was left aside to set and then carefully nestled on top of a buttercream swirled cupcake. The other zesty Passion Fruit & Lemon cupcakes were then finished with raspberry pieces, shimmering pearl sprinkles and gold rods!

Pretty in pink birthday cupcakes by Juniper Cakery

Blush pink birthday cupcakes by Juniper Cakery

24th July 2012 // 0 Comments

Cute DIY Cupcake Stand

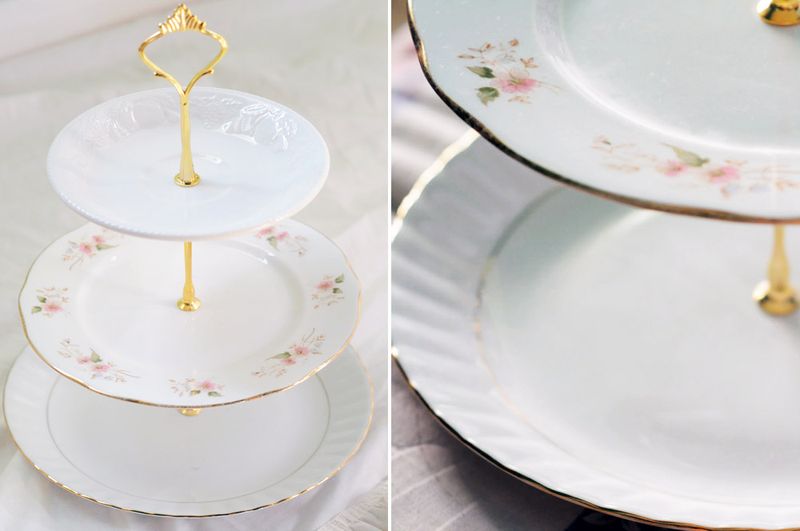
DIY cupcake stand


If you’re planning a cute afternoon tea then you’re going to need a cake or cupcake stand. Here’s a super fun tutorial on how to make your own DIY cupcake stand. It’s perfect for small sweet treats, sandwiches and even generous slices of cake too!

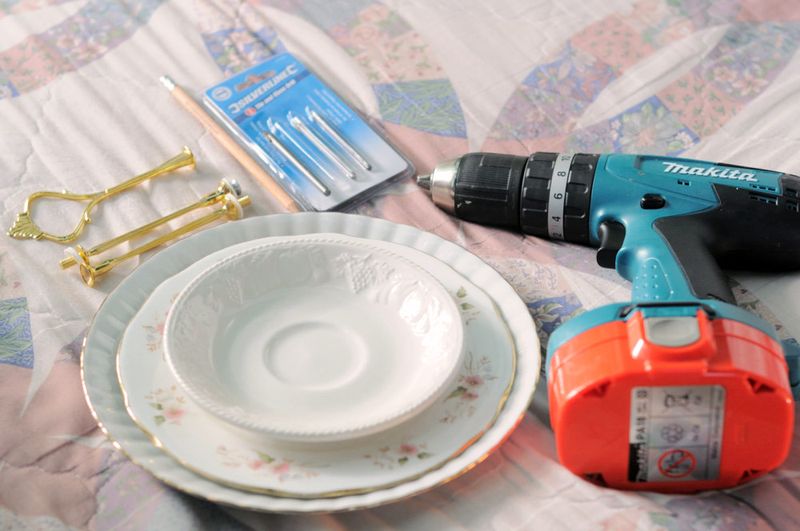
First of all you will need…

Three plates of ascending sizes (one large plate, one medium side or cake plate, and one tea saucer)
A pencil
Three tier DIY cupcake stand fittings (You can find these for around £5-8 on Amazon for a pack of five)
Ceramic drill bits (Again, you can find these on Amazon for about £3-9… you’ll need around an 8mm bit)
A good hand-drill
A tape measure or ruler
Some thick books

DSC_0008 (13)

DIY Cupcake Stand

Step one: Make sure your hand-drill is fit with the appropriate drill bit. Measure the part of the cake stand fitting (it looks like a screw) which should slot into the finished holes to determine which drill bit will be the right size.

DSC_0012 (12)

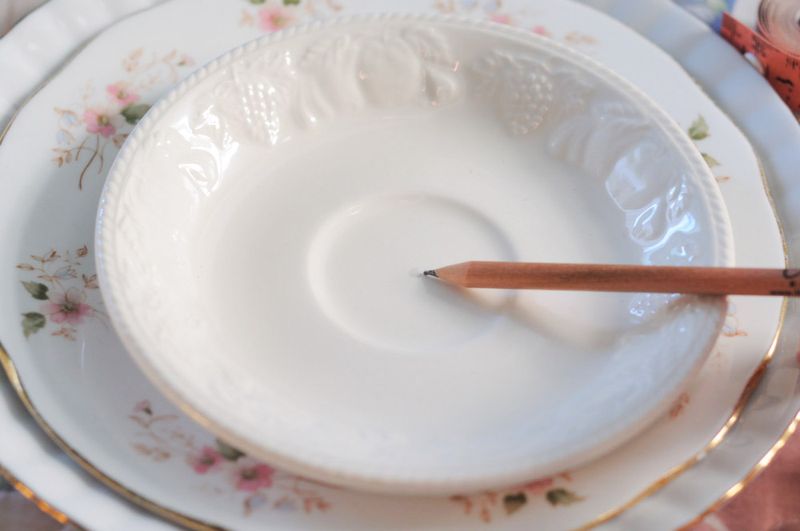
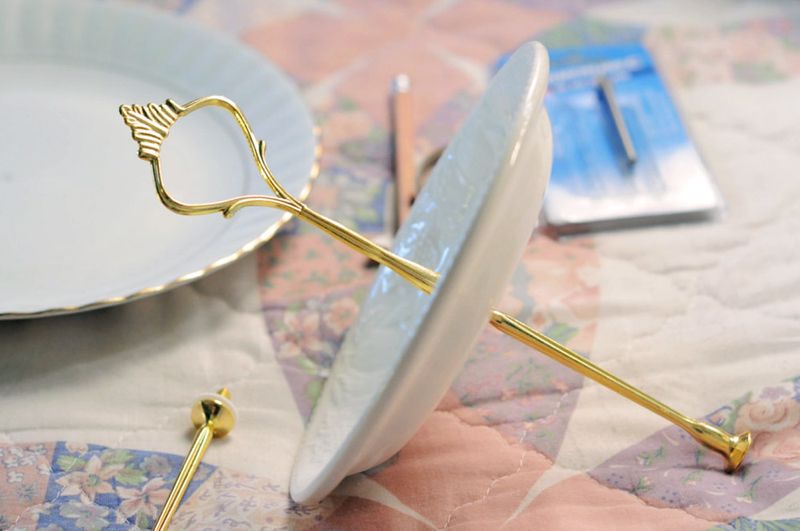
Step two: Mark the middle of your plate with a pencil. To find the middle you could simply flip the plate over and feel for a small bump in the centre (usually where the stamp or logo is) then flip the plate back over and draw a dot. Alternatively you could measure the plate to determine where the centre is.

DSC_0037 (3)

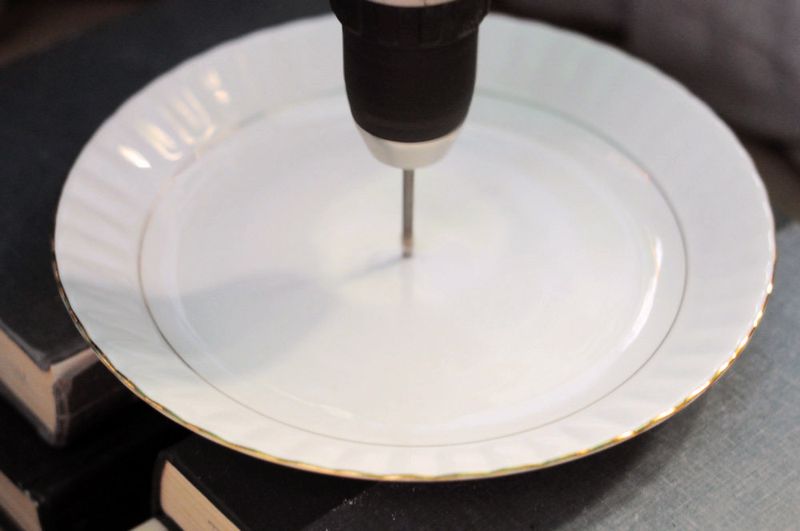
Step three: Set some thick books down on a flat surface with a two inch gap between them for you to drill into. Place your plate on top of the books and make sure that the space you are drilling sits over the gap between the books. Now start drilling some holes into all the plates.


DSC_0022 (11)

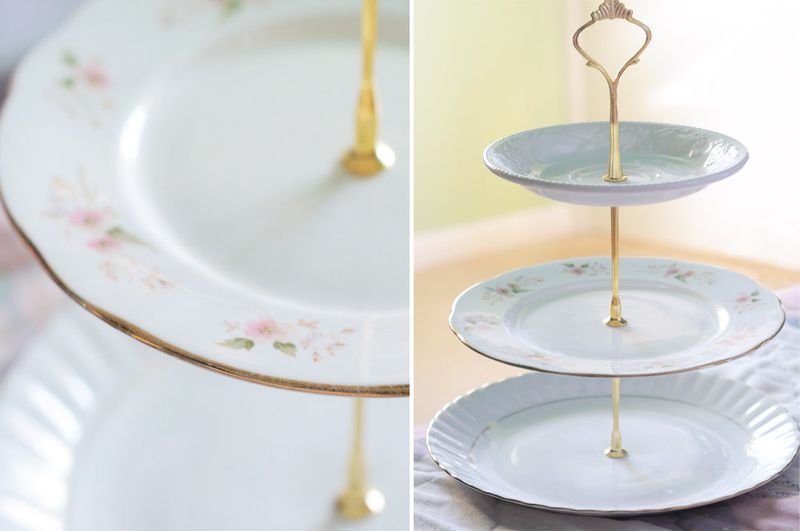
Step four: When the holes are drilled you can start fixing the cake stand fittings into place. Now you should have a lovely homemade three tier cake stand to enjoy an elegant afternoon tea whenever you like!

DIY Cupcake Stand Tutorial

17th July 2012 // 0 Comments

Welcome to ‘Tutorial Tuesday’: Swiss Meringue Buttercream

As promised here is our first ‘Tutorial Tuesday’! This week we will show you how to make the smooth and luxurious Swiss Meringue Buttercream. When we first tried to create this buttercream we used a low fat spread suitable for baking…WRONG! As Chef Didier said in Last Holiday “you and I know the secret to life; it’s butter” and it’s true. For this recipe use ONLY chilled butter; no substitutes or room temprature butter.

Here is what you will need…

4 oz (1/2 cup) egg whites
8 oz (1 cup) granulated sugar (no other type of sugar)
12 oz (3 sticks) unsalted butter, cut into cubes
pinch of salt
any colourings and flavourings you wish to add

Smb001

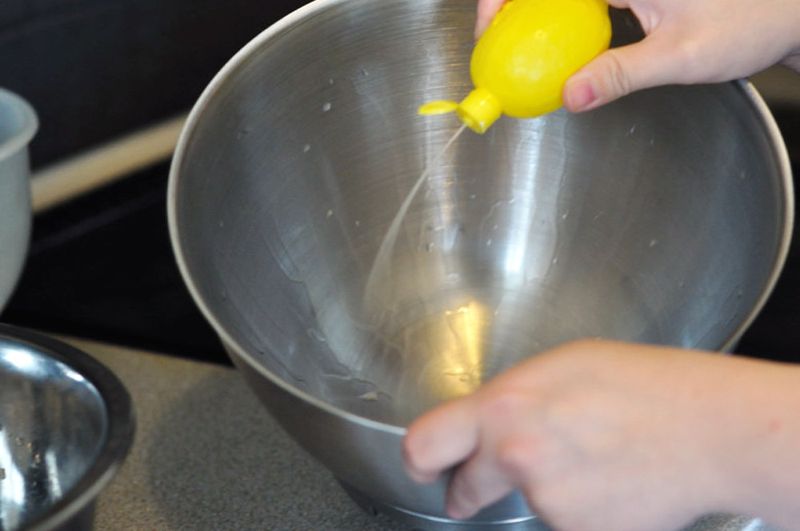
Step one: Make sure your bowls, paddles, whisks and utensils are cleaned with lemon or lime juice to stop your egg whites from going flat.

Smb0002

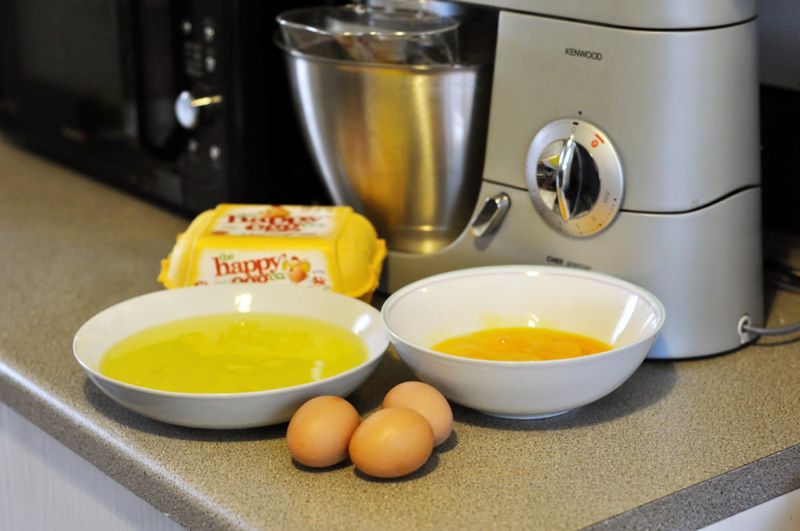
Second step: Seperate your egg whites and place them in a large bowl, then set them aside and prepare a sauce pan of boiling water on your stove, now whisk your egg whites in a bowl over the stove and gradually add in the sugar. Keep whisking until the sugar is fully dissolved (you can test this by rubbing the egg mixture between your fingers and if you feel no grains of sugar it is done) and until your mix is pale and fluffy.

Smb002

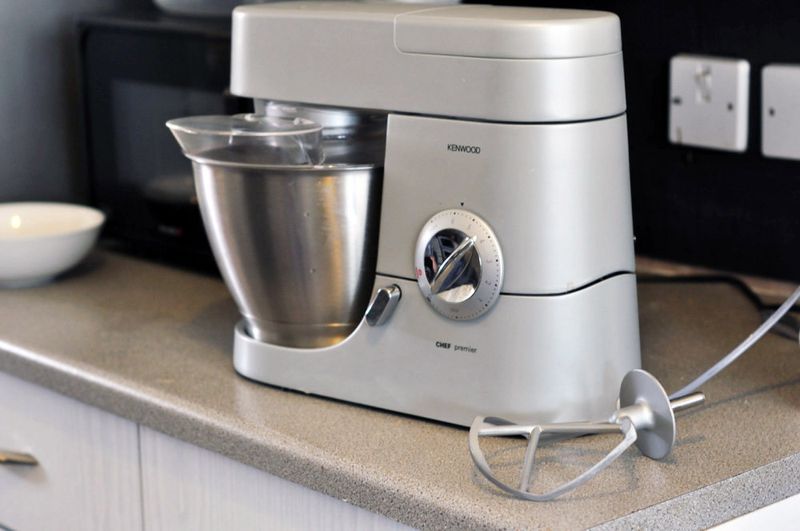
Note: This recipe does require stand alone electric mixer with a whisk and paddle attachment.

Step three: Make sure the whisk component is attached. Now add the egg mixture to your mixing bowl and set to the highest speed for 5 minutes. When this step is done your egg whites will be white, very sticky and have a sheen to them. Make sure the egg mixture is no longer warm (you can do this by feeling the temprature of the bowl, if it is cool to touch you are good to go)

Smb003

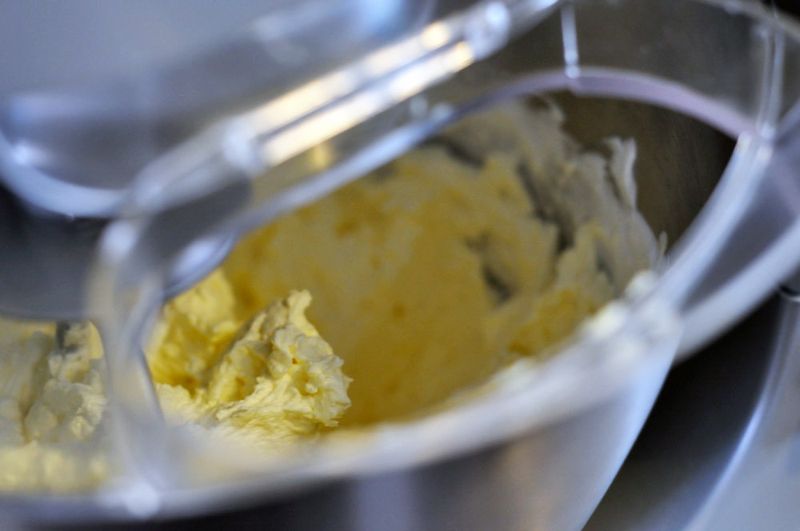
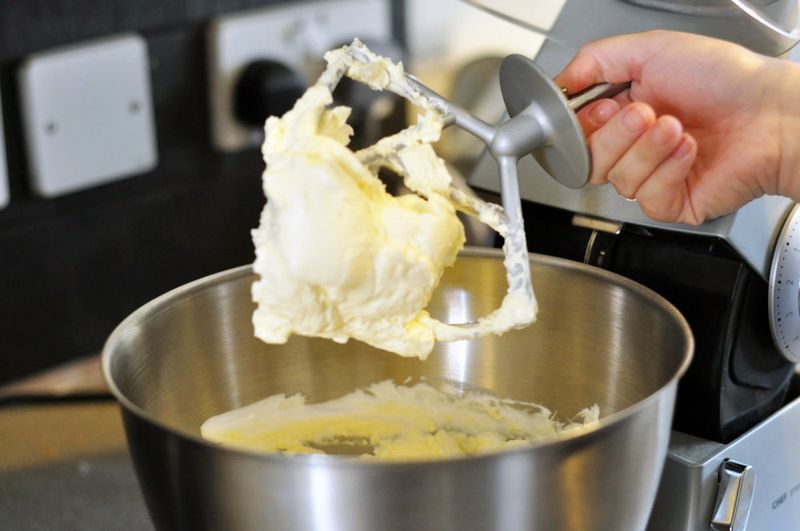
Step four: Switch to the paddle attachment and on medium speed add the chilled butter a cube at a time. At some point your buttercream mixture will look as though it has curdled but this is normal just keep mixing and it will become smooth.

Note: If you wish to add colourings and flavourings then do so at this point (though this can always be done later)

Smb004

Step five: Your Swiss Meringue Buttercream should be ready! It should feel and taste creamy, light and smooth.