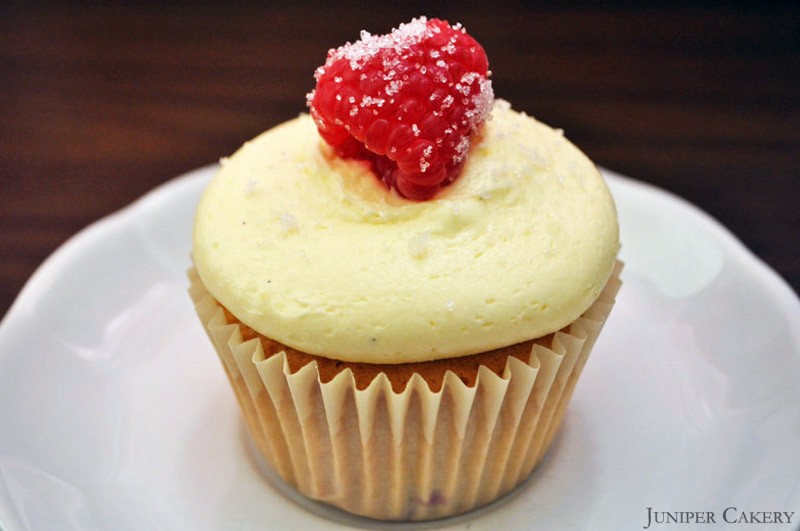
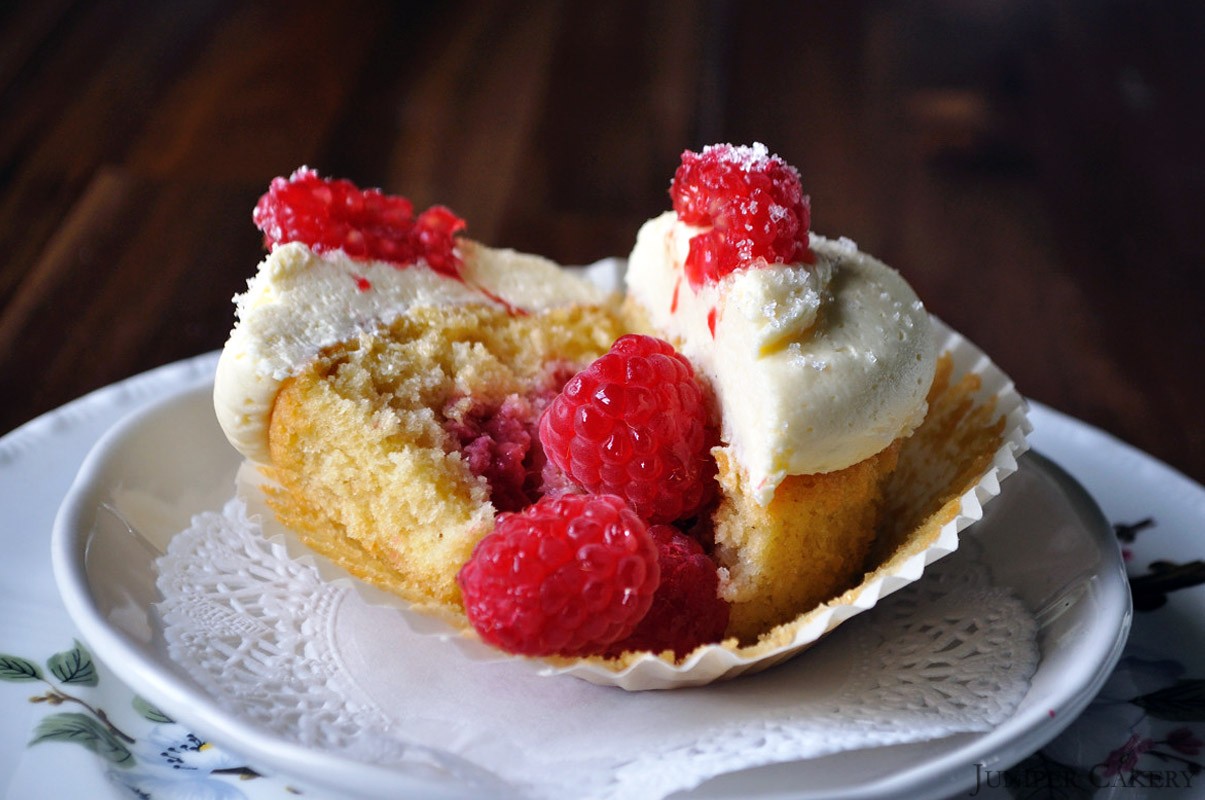
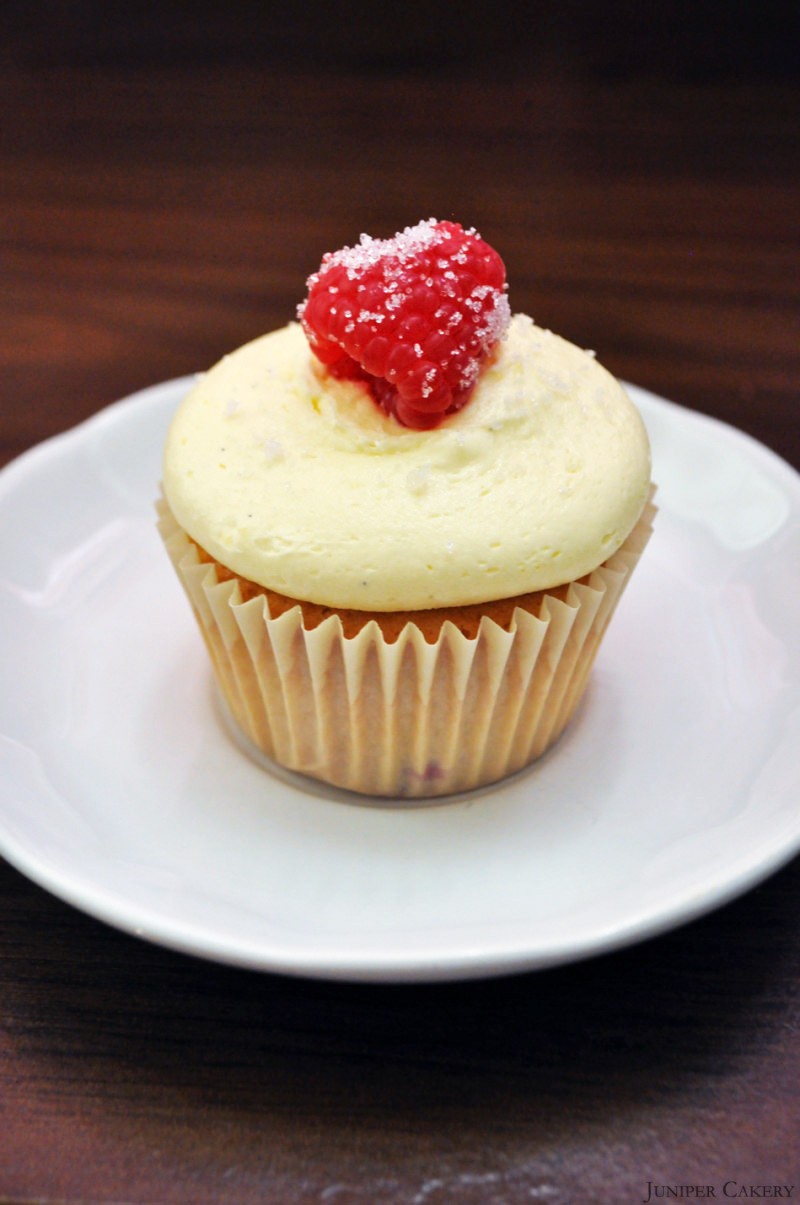
Raspberry, White Chocolate and Pink Peppercorn Cake!

Add a little subtle heat to your Valentine’s Day treats with our fabulous Raspberry, White Chocolate & Pink Peppercorn Cake recipe! This cake is a delight to whip up, but it’s even better to eat! We love the luxurious silky taste of the white chocolate buttercream featuring fruity warm hits of pink peppercorns dotted throughout. Follow our super tasty recipe below for a fantastic treat…

Raspberry, White Chocolate and Pink Peppercorn Cake
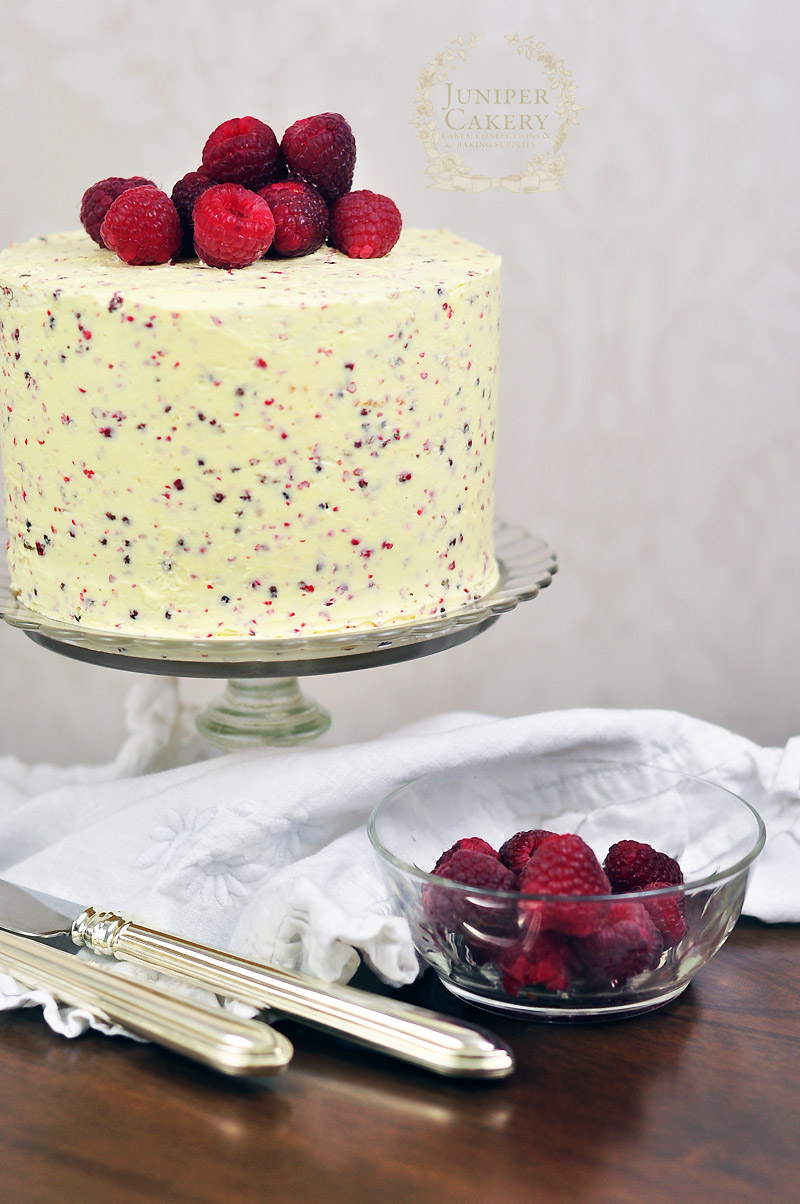
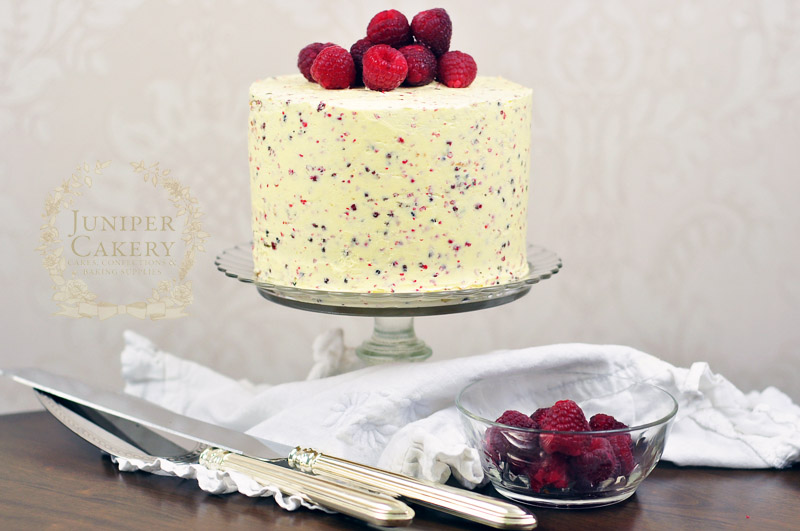
Raspberry, White Chocolate and Pink Peppercorn Cake by Juniper Cakery
Recipe for a Raspberry, White Chocolate and Pink Peppercorn cake by Juniper Cakery

Recipe for a fruity yet peppery Raspberry, White Chocolate and Pink Peppercorn cake by Juniper Cakery
(makes approx. 3 x 1″ layers 6″ in diameter)

Ingredients for the vanilla cake

453g self-raising flour
453g caster sugar
453g butter or baking margarine (diced and left at room temperature to soften)
7 medium sized eggs
Vanilla extract

Ingredients for the white chocolate and pink peppercorn buttercream

500g butter
400g icing sugar (approx.)
300g white chocolate good quality callets, buttons or chips
2 tablespoons pink peppercorns

Ingredients for the raspberry preserve

300g fresh raspberries
300g pectin sugar
1 tablespoons lemon juice

To decorate

Fresh raspberries (not frozen)

To bake, fill, cover and decorate your cake

Step 1: Preheat your oven to 170 degrees C / 325 degrees F / Gas mark 3 and grease or line your cake pans.
Pink peppercorn cake recipe by Juniper Cakery

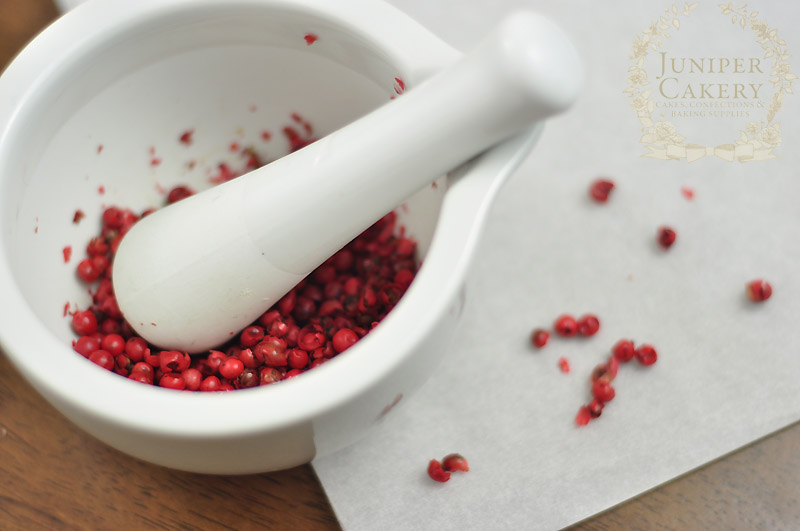
Step 2: Prep your pink peppercorns by adding them to a pestle and mortar to grind down. It’s OK if you have pink husks in your mix as these don’t hinder the taste and texture of your buttercream too much! At this stage you’re simply preparing your peppercorns for your buttercream as this can be a lengthy process. Set aside once crushed and ground.

Step 3: Add diced room temperature butter to a stand up mixer and mix until creamy.

Step 4: Add in the sugar and vanilla extract. Mix well before adding in the eggs.

Step 5: Gradually add in the flour whilst mixing. We add half and mix well before we include the last half of the flour once the first half has been incorporated.

Step 6: Separate your batter evenly between 3 x 6″ circle baking pans (you can use 8″, however, be aware that your layers may be a little thinner once baked)

Step 7: Place in the oven and bake for around 30-40 minutes or until a cake tester is inserted and comes out clean! Once baked remove and leave to cool on a wire rack.

Step 8: To make the buttercream add softened diced butter to a stand up mixer and cream.

Step 9: Sift icing / confectioner’s sugar into the bowl of creamed butter until a consistency and taste you like. When you can taste equal amounts of butter and sugar it’s ready!
Pink peppercorn buttercream by Juniper Cakery

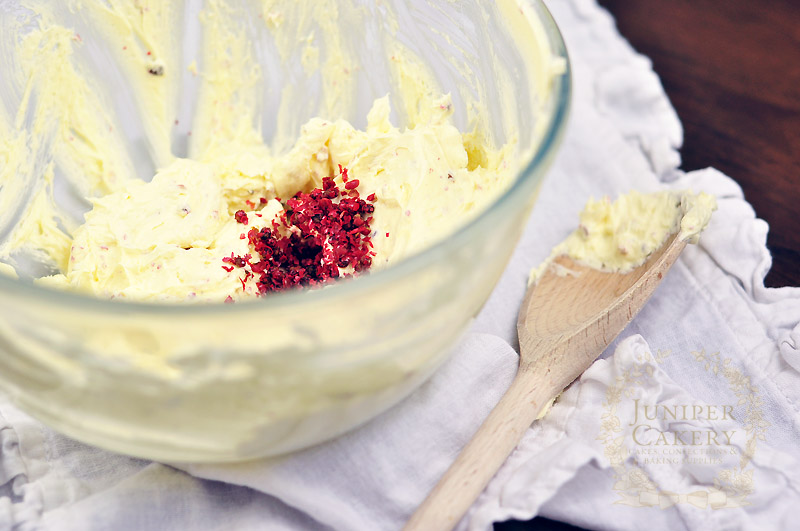
Step 10: Add melted white chocolate and mix on medium speed before adding in ground pink peppercorns you prepared in step 2! Don’t over mix or you’ll be left with lots of annoying air bubbles. Set aside.

Step 11: To create your raspberry jam add your fresh raspberries, lemon juice and water to a saucepan. 

Step 12: Cook the preserve ingredients on medium to high heat and stir until the raspberries break down and the mix is a good thick consistency.

Step 13: Remove and transfer to a clean bowl or jar to leave to cool.

Step 14: To assemble cut your cake layers so that each is level and flat. Then fill with your raspberry preserve placing the next layer on top until complete. Once fully stacked remember not to add your jam to the very top/outside layer of cake.

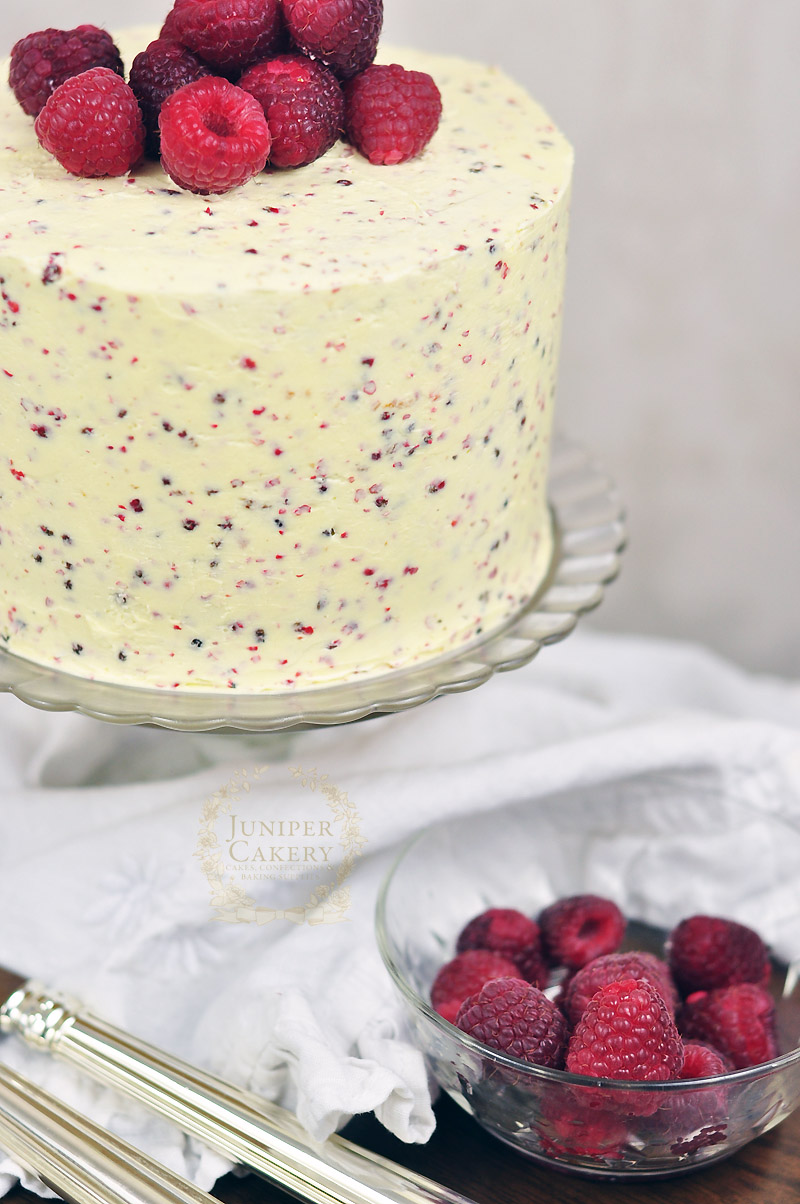
Step 15: With a large angled palette knife smother your white chocolate and pink peppercorn buttercream onto the top and sides of the cake. Use cake scrapers to smooth out your buttercream.

Step 16: Topple fresh raspberries on top to finish!
Raspberry, White Chocolate and Pink Peppercorn cake recipe by Juniper Cakery

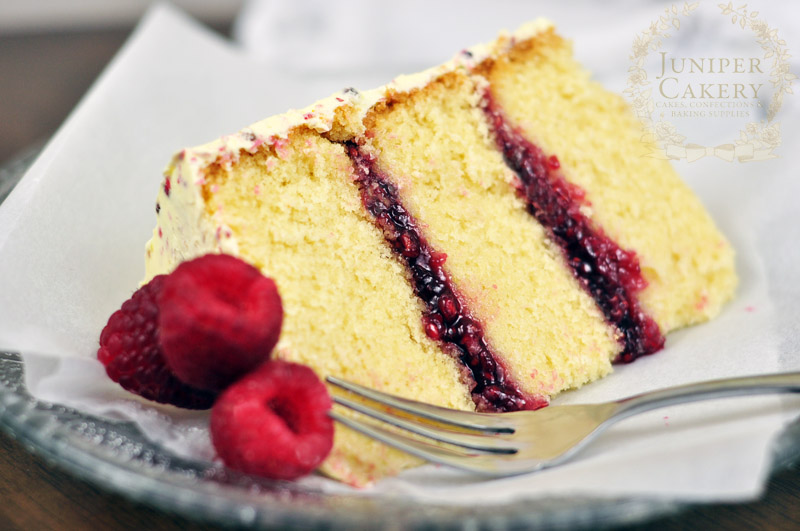
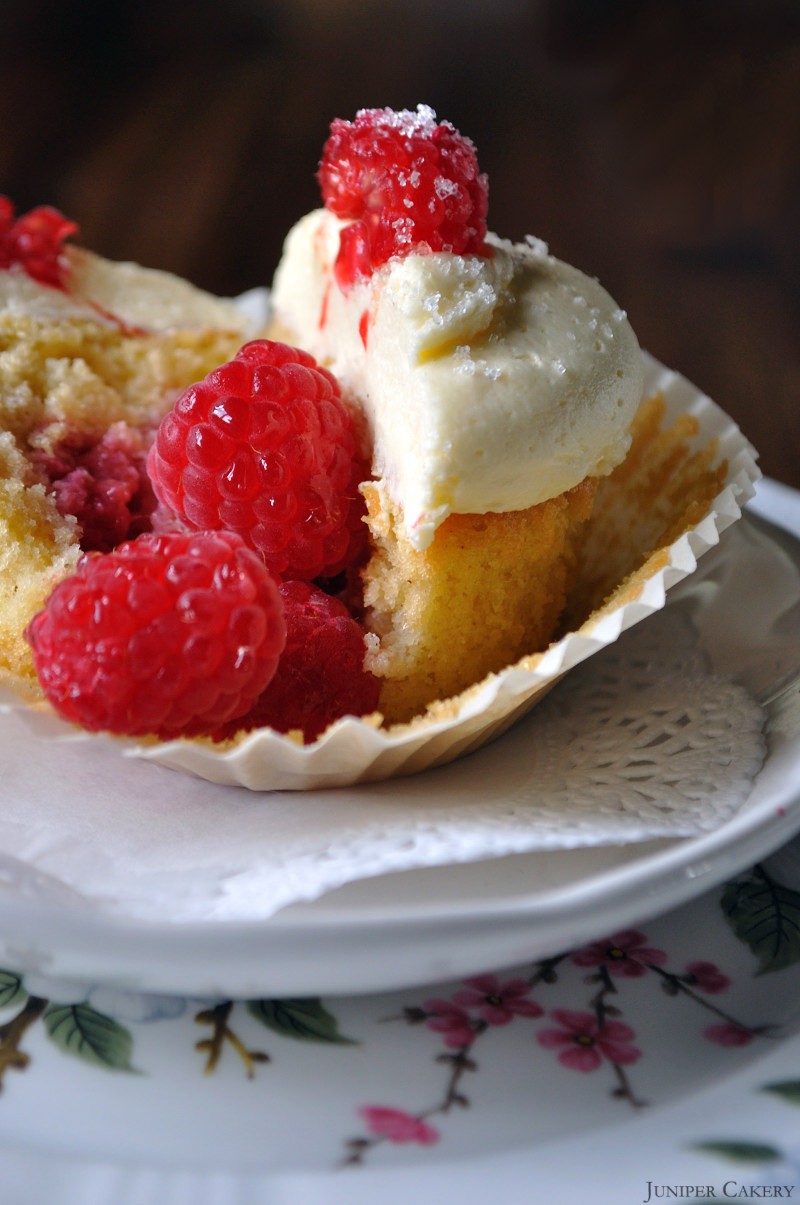
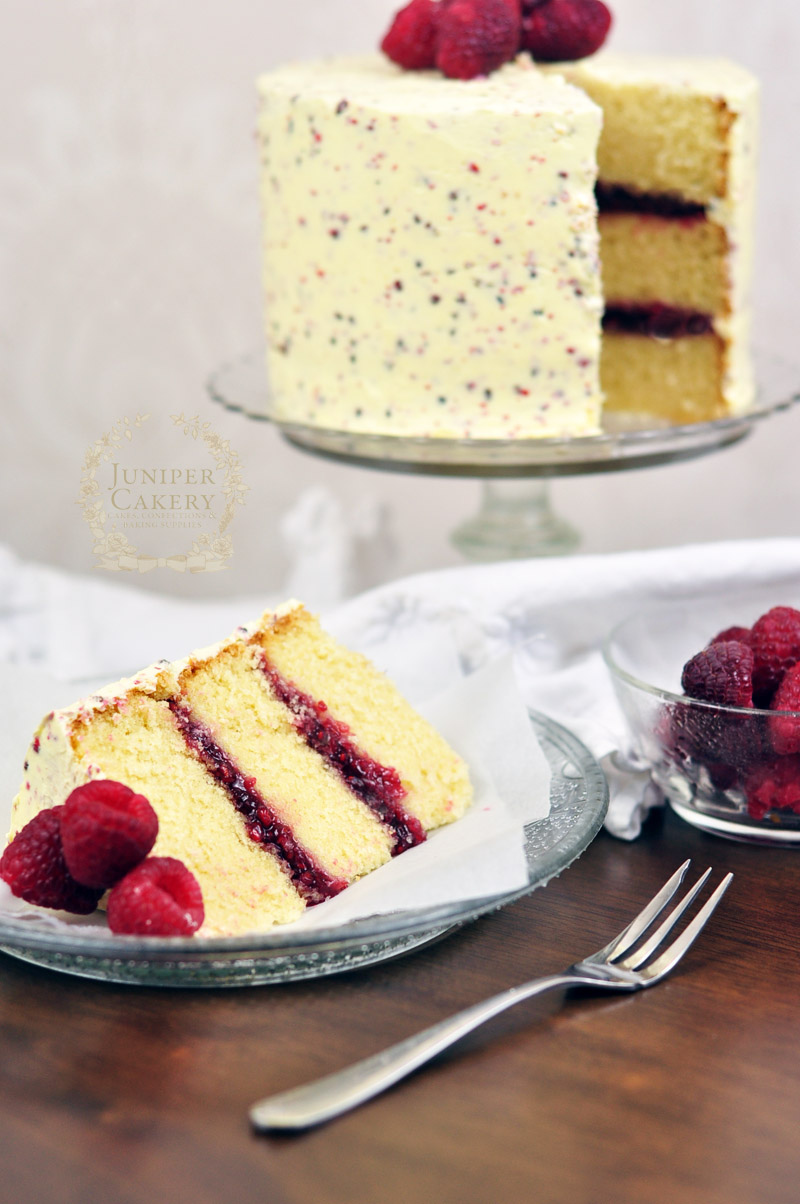
Slice of raspberry and pink peppercorn cake by Juniper Cakery

Pink peppercorns make a truly unique and surprising twist to this recipe. They’re sweet and fruity yet exude a subtle hit of pepper heat. To turn it up a notch why not add ground pink peppercorns to your cake batter before baking? Or grind some into your home made raspberry preserve? They pair well with other fruity tastes so if you’re not a fan of raspberries why not try morello cherries, strawberries, tangy lemon curd or even healthy blueberries?


Pink Raspberry Cupcakes Recipe!

Fruity raspberry cupcakes are always popular especially when the cold winter months become warmer and brighter. They’re the perfect addition to any fun picnic, garden tea party or after work treat! We love adding little twists to this recipe by adding in mango, passion fruit, peach; baking champagne or lemon into the cake or by the playful addition of popping candy or sherbet into the silky smooth buttercream (always great for those who enjoy a tangy taste). Why not follow our pink raspberry cupcakes recipe below for your next event!

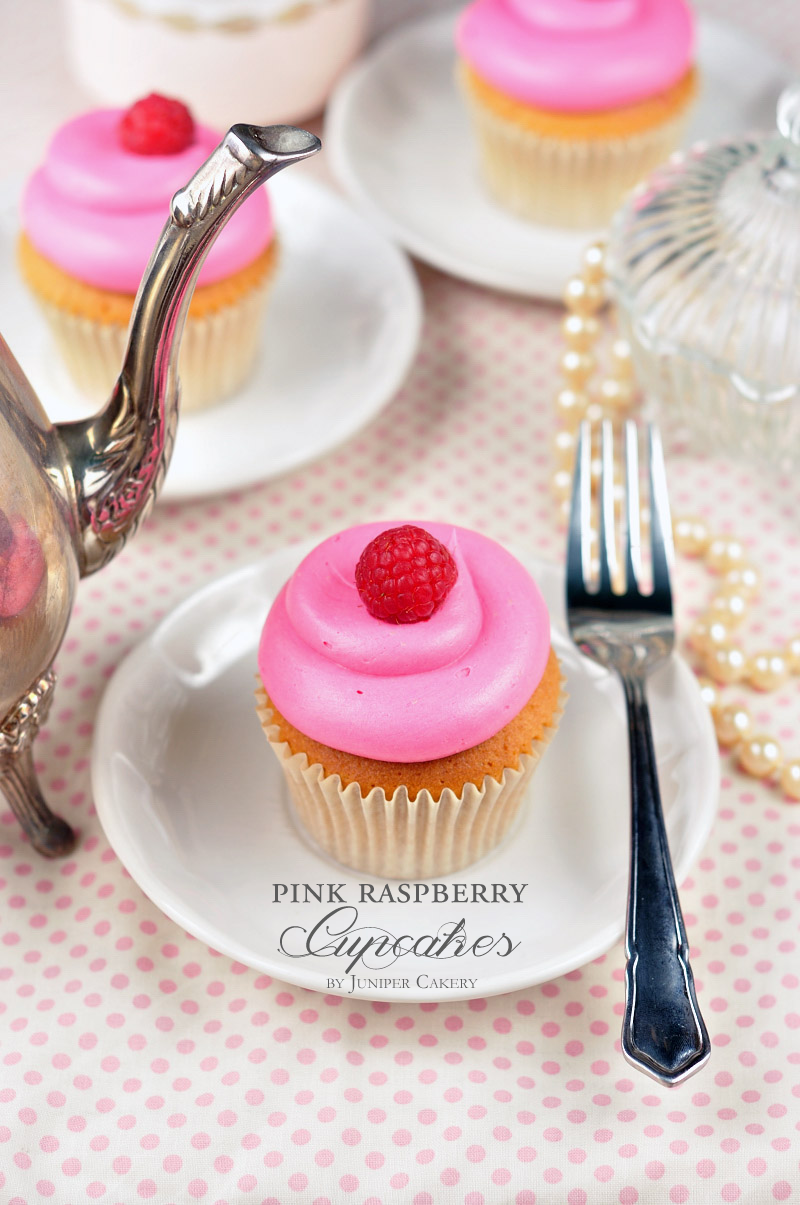
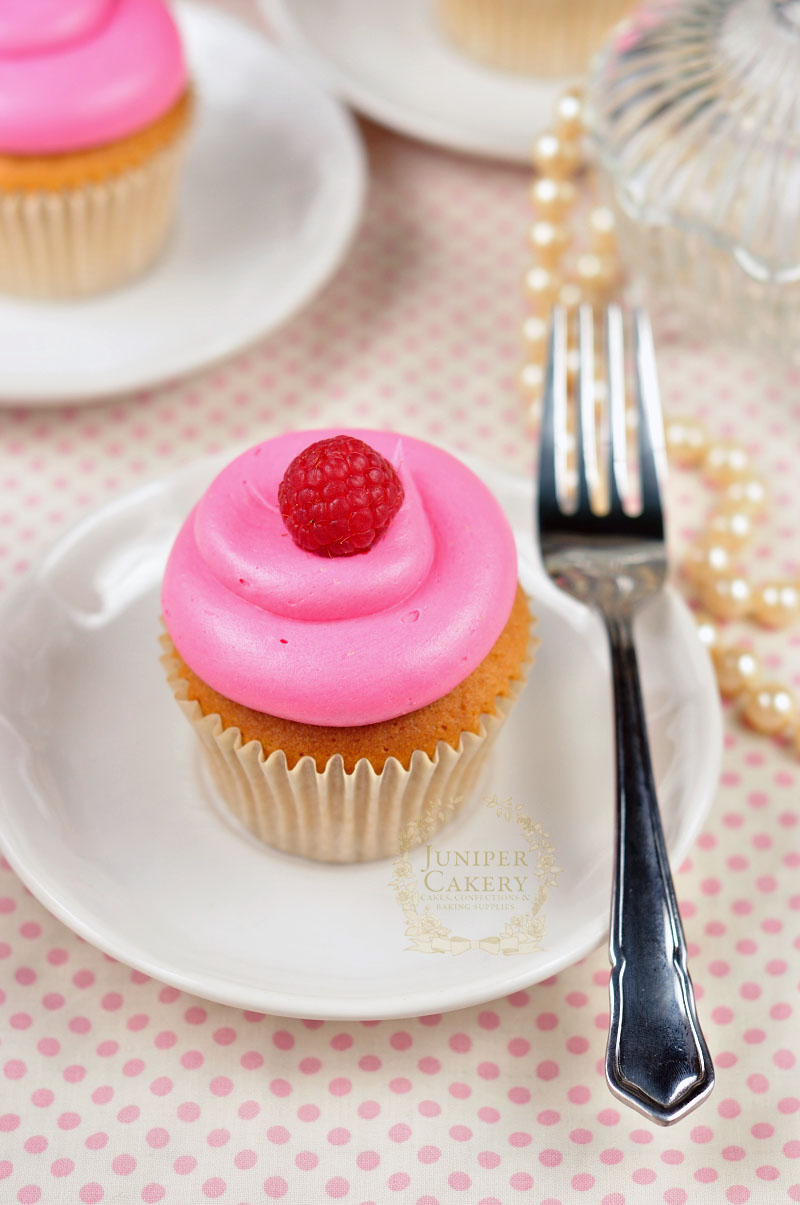
Pink raspberry cupcakes by Juniper Cakery

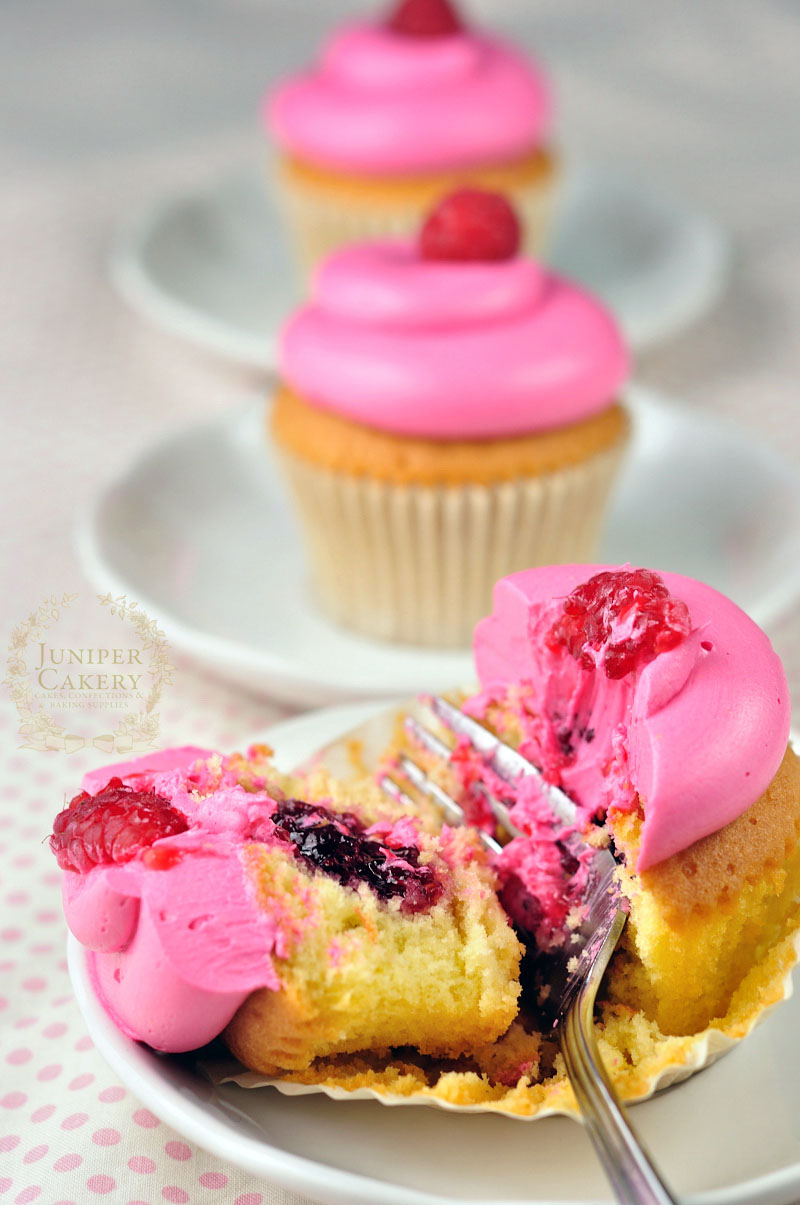
Raspberry jam filled cupcake by Juniper Cakery

These simple cupcakes are wonderfully perfect for summer get-togethers, fun parties or as a sweet thank you gift for someone special. Personalise each one with thoughtful messages or hand-made fondant toppers for an extra customised feel.

Personally, we love piping our raspberry cupcakes in a simple yet generous swirl of frosting or in a pretty buttercream rose finished with a fondant rose leaf. Other rather fabulous ways to decorate these little gems is to adorn the tops with fresh sugar-coated raspberries, raspberry coulis, sprinkles, white chocolate curls, sugar pearls, sugar flowers or gorgeous edible petals!

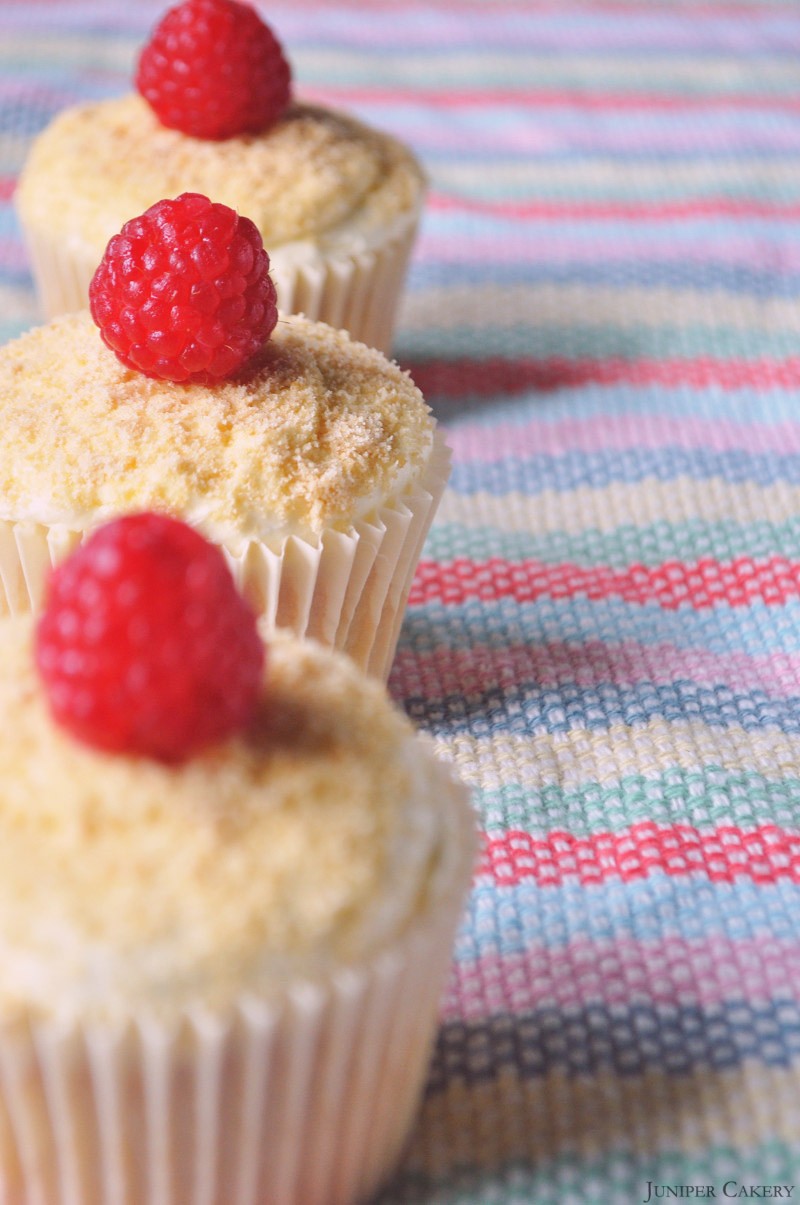
Raspberry cupcakes in a row by Juniper Cakery

Vanilla Cupcakes Recipe (Makes approx. 12 cupcakes)

  • 226g self raising flour
  • 226 butter
  • 226g caster sugar
  • 4 eggs
  • 1 teaspoon vanilla extract or bean paste

Step 1: Pre-heat your oven to Gas Mark 3 / 160C / 325F and line a cupcake pan with cupcake cases.

Step 2: Cream your butter and sugar first and when ready add your eggs and vanilla.

Step 3: Once combined add the flour, mix well and pour your batter into your cases.

Step 4: Bake for around 20-30 minutes or until a cake tester comes out clean when tested. 

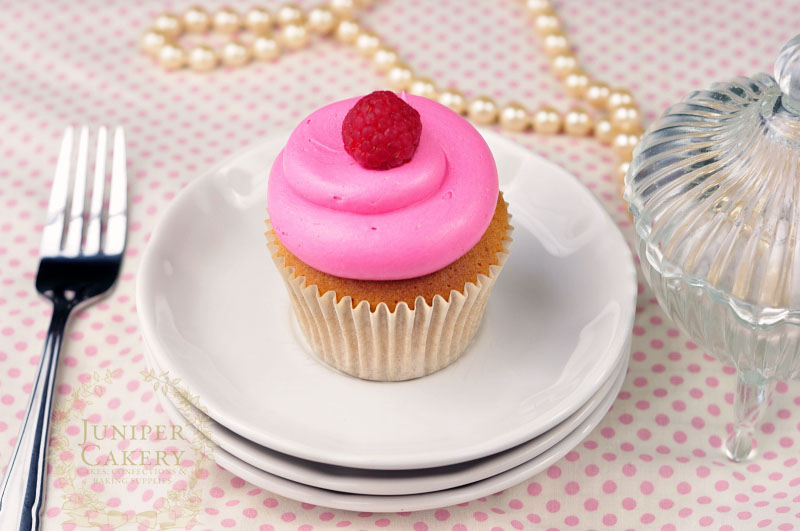
Gorgeous pink raspberry cupcake by Juniper Cakery

Pink Raspberry Buttercream

  • 500g softened butter
  • 400g-500g icing sugar
  • raspberry extract
  • Pink gel food colour

Step 1: Cream your softened butter in a stand up mixer.

Step 2: Sift your icing sugar and this add to your butter. Cream together.

Step 3: Add in your raspberry extract to flavour your frosting. We add in around 2 teaspoons, but you should add in whatever amount tastes best for you!

Note: You can add in lots of crushed or blitzed raspberries if you wish, however, this will add lots of extra moisture into your buttercream making it sloppy in texture. Our tip for adding in raspberries would be to add equal measures of raspberries and caster sugar to a pan and reduce down into a sticky syrup before adding to your buttercream. 

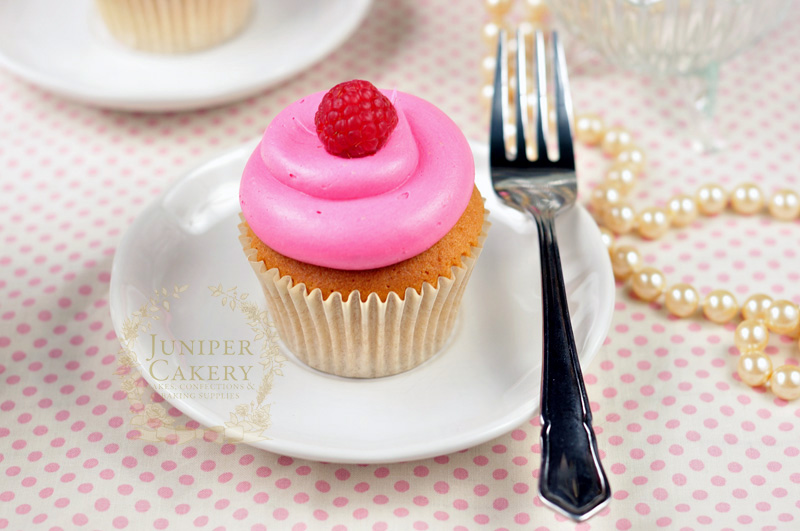
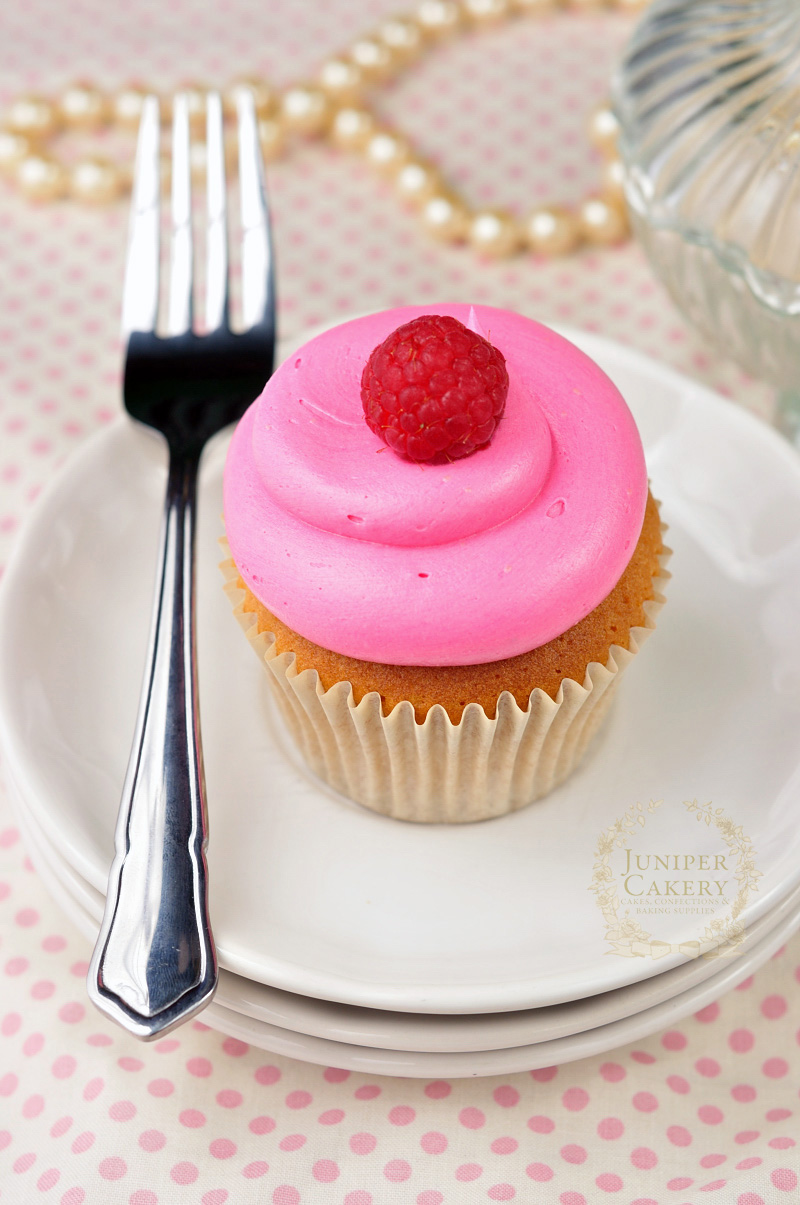
Pink raspberry cupcake by Juniper Cakery

Raspberry Preserve Recipe

  • 1oog fresh raspberries
  • 100g caster sugar
  • 1 tablespoon lemon juice

Step 1: To a saucepan on high heat add all of your ingredients.

Step 2: Bring to the boil and then turn the heat down to medium heat.

Step 3: Leave to simmer until thick and jam-like in consistency.

Step 4: Pour into clean jars and leave to cool.

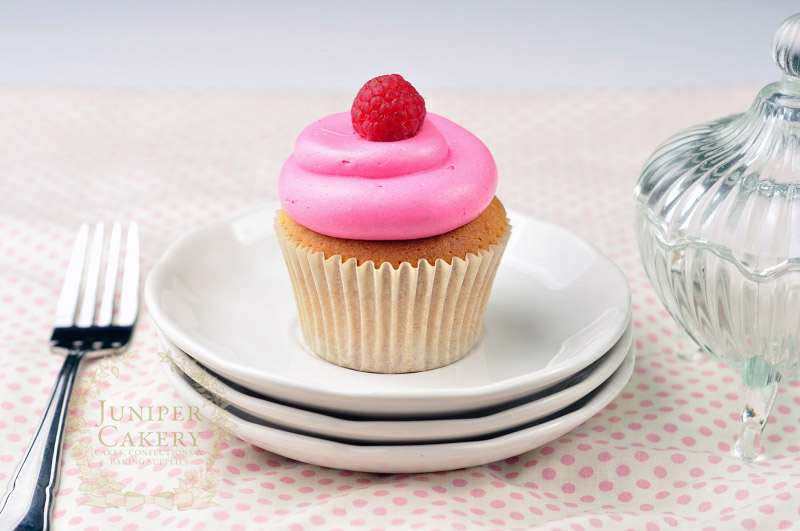
Must try this raspberry cupcake by Juniper Cakery

To assemble your cupcakes core using a good cupcake corer and spoon your cooled down raspberry preserve into the cored centre of the cupcake. Add your fruity pink buttercream to a piping bag fitted with any piping tip you desire (we used a large plain round nozzle) and pipe generous swirls on top of your cakes! 

Raspberry Cupcake by Juniper Cakery

Why not add some extra indulgence just for the grown-ups to your batch of pink raspberry cupcakes with a splash of King’s Ginger, Taittinger champagne or Raspberry Chambord in your preserve and buttercream for a fabulously boozy treat! We love the idea of a sherbet lemon cupcake that’s been infused with some zesty King’s ginger liqueur, filled with Charmbord and fresh raspberry confiture and swirled with fruity raspberry buttercream! 

Top 101 Summer Recipes by Amara Living

Wow! This recipe was selected as one of Amara Living’s Top 101 Summer Recipes! Check out their blog post here for 100 other fabulously mouth-watering recipes!


Kangaroo Sprinkle Party Cake!

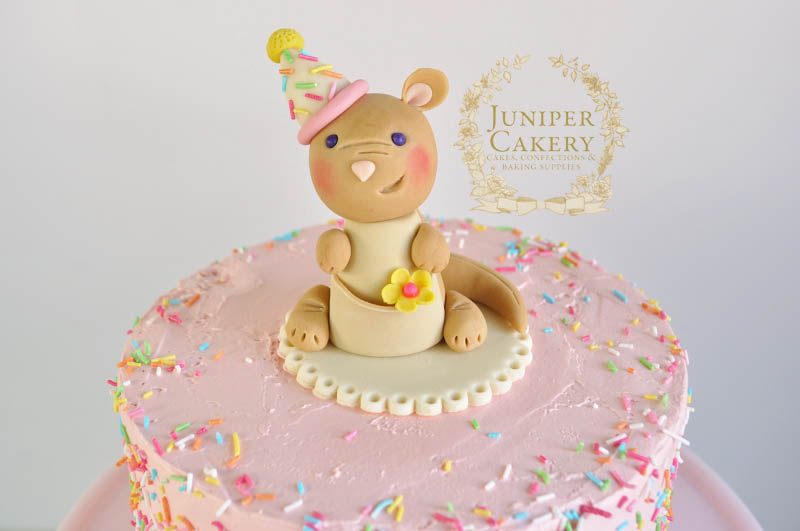
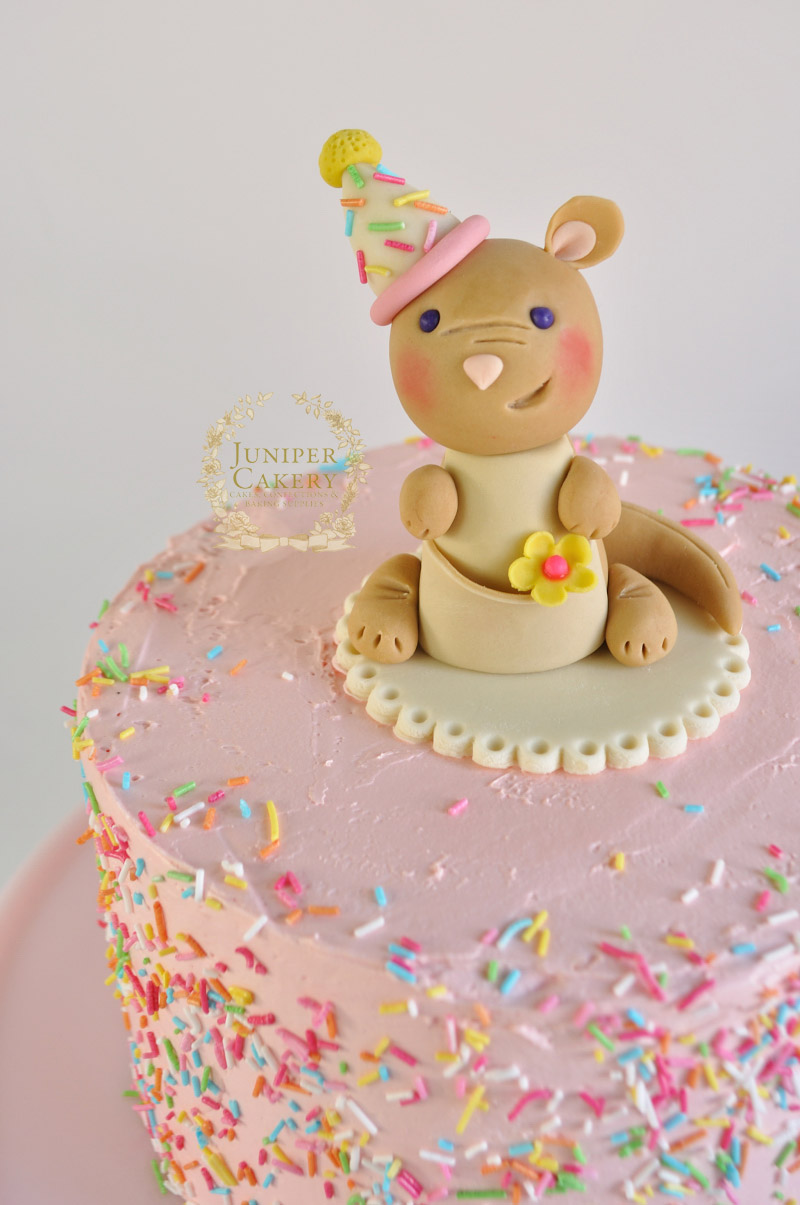
Yesterday our friend Tammie flew over from Australia to visit everyone and, of course, we saw it as a great ‘hoppertunity’ to create this adorable kangaroo party cake! We entertained ideas from Moomins to luggage cakes before settling on having the cake topper be a hoppy little ‘roo. 

fondant kangaroo by Juniper Cakery

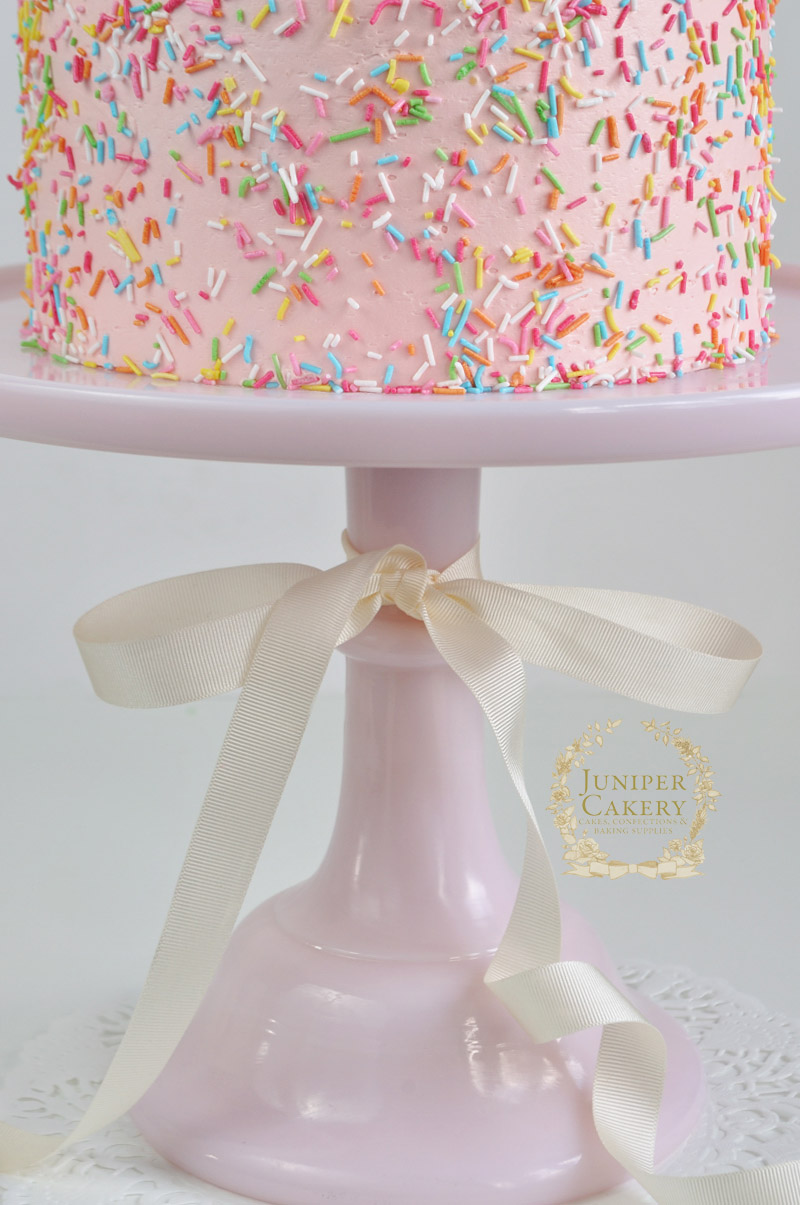
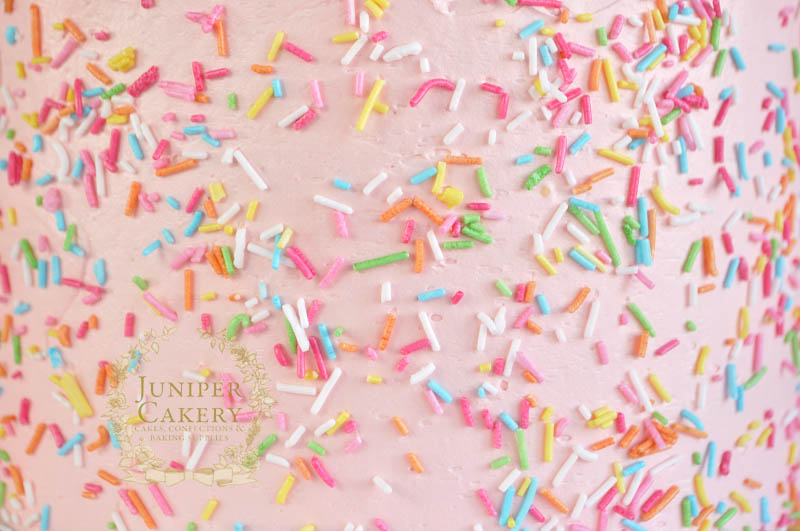
The cake itself is a lovely pink lemonade flavour; perfect for spring! Inside are layers of natural lemon extract infused cake filled with a generous amount of home made raspberry jam. We then smothered the cake in raspberry buttercream and added fun rainbow sprinkles!

Rainbow sprinkles on a pink cake by Juniper Cakery

Rainbow sprinkles on a pink buttercream cake by Juniper Cakery

Pink rainbow party cake with kangaroo figure by Juniper Cakery

This cake was also a belated birthday offering for Tammie so we whipped it up with a little birthday party theme too. We popped a colourful little party hat atop of our fondant ‘roo as well as a brightly coloured blossom nestled in her pouch.

Kangaroo cake by Juniper Cakery


Liquorice and Raspberry Chambord Macarons for The Devilled Egg

With the New Year festivities nearing we all like to partake in a celebratory drink to see in the glimmering fireworks. With that in mind why not try whipping up some quirky liquorice and black raspberry liqueur macarons for your party guests! These Liquorice and Raspberry Chambord Macarons have been specially created for The Devilled Egg by Juniper Cakery. The dark grey shells flavoured with liquorice root powder are filled with a sweet yet tart raspberry Chambord buttercream; perfect for the adventurous soul with a sweet tooth. Be warned, however, as macarons are somewhat of an art form and science to perfect so don’t be disheartened if you struggle with them at first. Once you perfect them and get used to creating them you’ll become a little obsessed with these tempestuous treats! For the full recipe visit The Devilled Egg blog.

Liquorice and Raspberry Chambord Macarons

Liquorice and Raspberry Chambord Macarons

Liquorice and Raspberry Chambord Macarons

Liquorice and Raspberry Chambord Macarons


Raspberry Ripple Sandcastle Cake with The Happy Egg Co. Eggs!

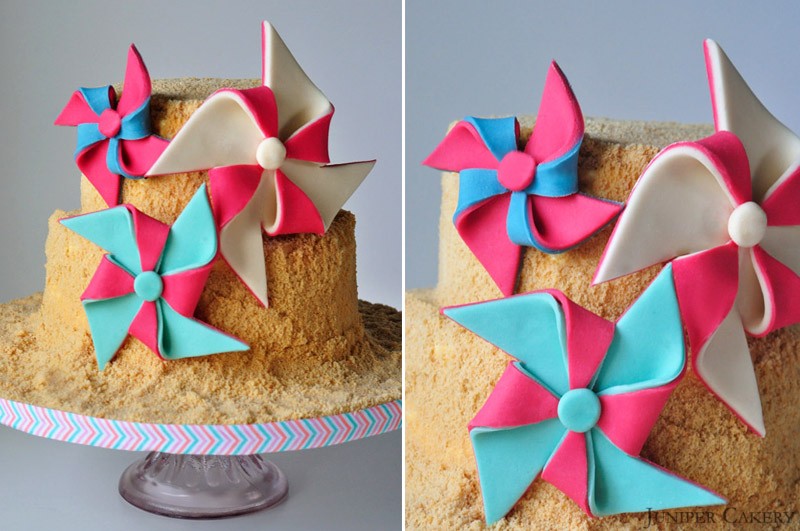
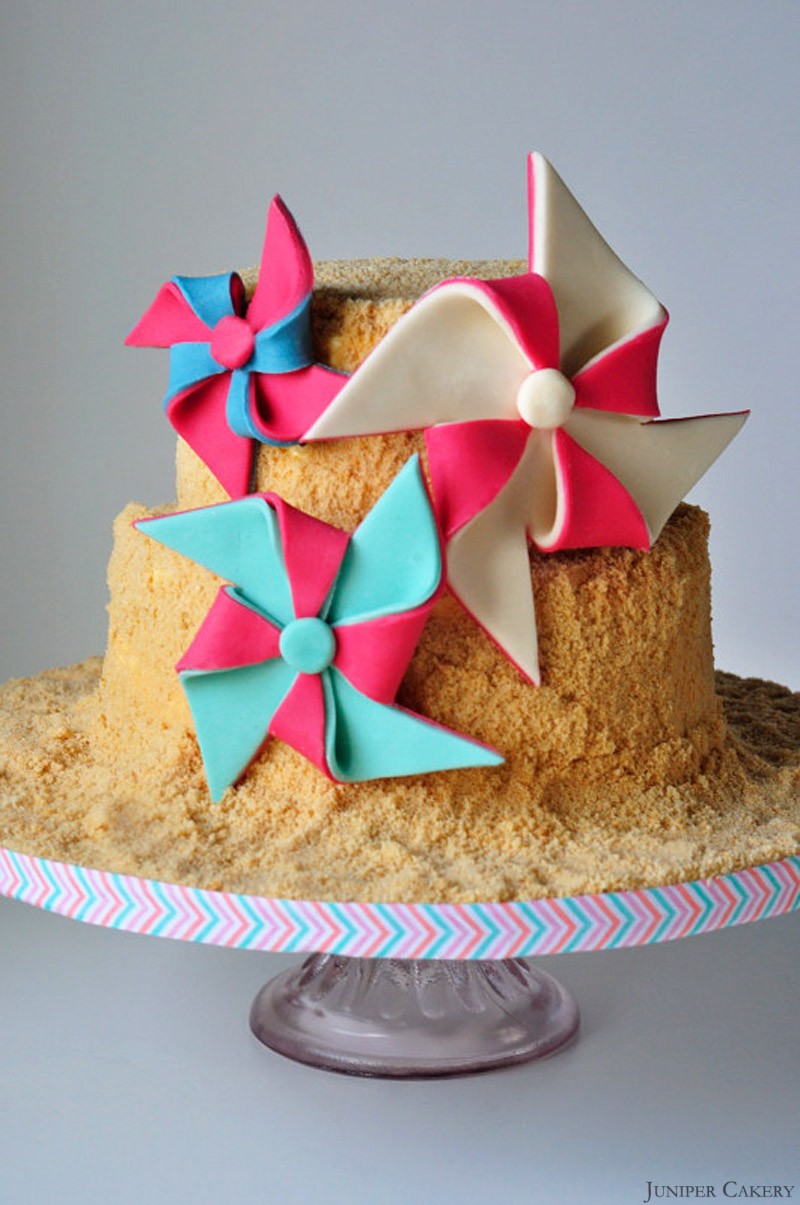
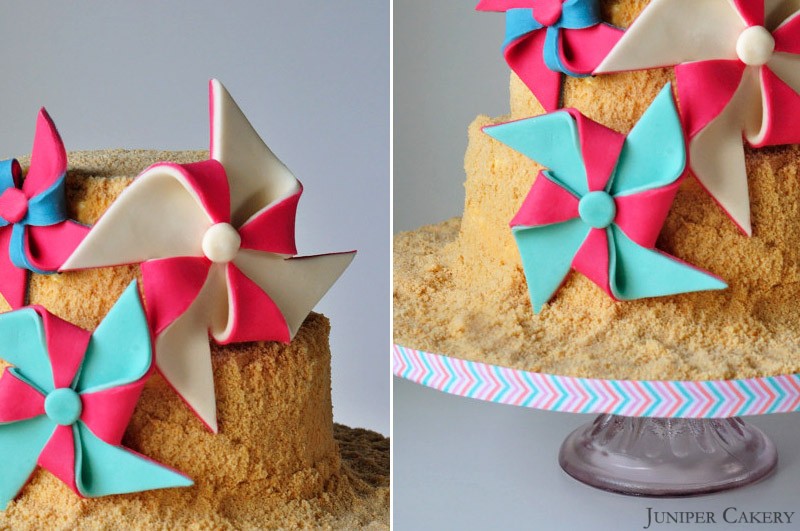
Visiting the seaside isn’t just a tradition enjoyed by people all over the UK, it’s what makes a summer for some people! With this in mind we created a novelty beach themed cake full of vanilla buttercream and raspberry jam to recreate classic raspberry ripple ice cream. This sandcastle cake is perfect for a nostalgic summertime treat so why not try our recipe below for themed parties and picnics at the beach!

Raspberry Ripple Sandcastle Castle Cake by Juniper Cakery

Raspberry Ripple Sandcastle Castle Cake by Juniper Cakery

Basic Cake Recipe (Makes two 8″ layers and two 6″ layers)

7-8 eggs by the happy egg co.
453g self-raising flour
453g caster sugar
453g butter

The Happy Egg Co. Eggs

Cream your butter in a mixer then add the caster sugar. Add in the flour along with half of the happy eggs for around one minute. Once half of the happy eggs are combined add the remaining and mix for about 5 minutes.

Pour batter in the pan until 2/3 full and place on the top shelf of a pre-heated oven at Gas Mark 3/325F/170C. Bake for around 30 minutes. Repeat this step four times for each circle layer or put an 8″ and a 6″ layer in at the same time.

Vanilla Buttercream Recipe

250g butter
400g icing sugar
2 bourbon vanilla pods
5 tablespoons of room temperature water

Add half of the of butter diced into pieces. Cream the butter in a mixer. Then gradually add icing sugar and the remaining butter (cut into cubes) until you get a smooth, creamy texture.

Easy Raspberry Jam Recipe

500g raspberries
1 lemon
500g jam sugar (should contain pectin)

Add raspberries and the juice of one lemon into a large saucepan. Mash the raspberries and leave to cook for 5 minutes until stewing a little.

Sieve your raspberry pulp. Use a wooden spoon to push the berries through if needed. Place your raspberry juice AND pulp back into the pan and gradually stir in the sugar.

Pour into clean jars, seal and leave to cool before using!

Edible ‘Sand’

600g digestive biscuits
Food processor

Place half of the digestive biscuits into the food processor. Blitz on full power for about five seconds. If the biscuits are sand-like tip them into a bowl, place the other half of the digestive biscuits in the processor and repeat.

Decorating this cake is fun and simple and there is no reason to worry about straight edges! Sandwich your layers together adding swirls of raspberry jam and vanilla buttercream. With the left over vanilla buttercream crumb coat each tier with a generous amount and any imperfections will only add to the authenticity of a sandcastle cake!

Once both tiers are covered begin applying your biscuit crumb ‘sand’. Have fun with this by throwing it, patting it, smoothing it until the cake is fully covered and appropriately sandcastle- like!

Finally, to add a burst of colour, why not make some pinwheels as pictured above? Or even seaside flags or chocolate seashells and seahorses!

Raspberry Ripple Sandcastle Castle Cake by Juniper Cakery


Recipe: Raspberry and Bergamot Cupcakes!

Bergamot has a wonderfully soft floral and citrus taste which pairs perfectly with tart flavours. For this cupcake recipe we teamed it with tangy raspberries baked inside. Another great thing about baking with bergamot extract is the smell; be prepared for a lovely earl grey tea scent travelling through your home when you have these cupcakes in the oven! Why not follow our recipe below for a batch of cupcakes perfect for an afternoon treat.

Recipe: Raspberry, Bergamot and Vanilla Cupcakes

Recipe: Raspberry and Bergamot Cupcakes

Recipe: Raspberry, Bergamot and Vanilla Cupcakes

Recipe: Raspberry, Bergamot and Vanilla Cupcakes

Makes approximately 12 cupcakes

Raspberry cupcakes recipe

226g self raising flour
226g butter
226g caster sugar
4 eggs
3 raspberries per cupcake

Step one: Preheat your oven to Gas Mark 3/325F/170C

Step two: Cream the butter with sugar and once well mixed add in the flour and then the eggs.

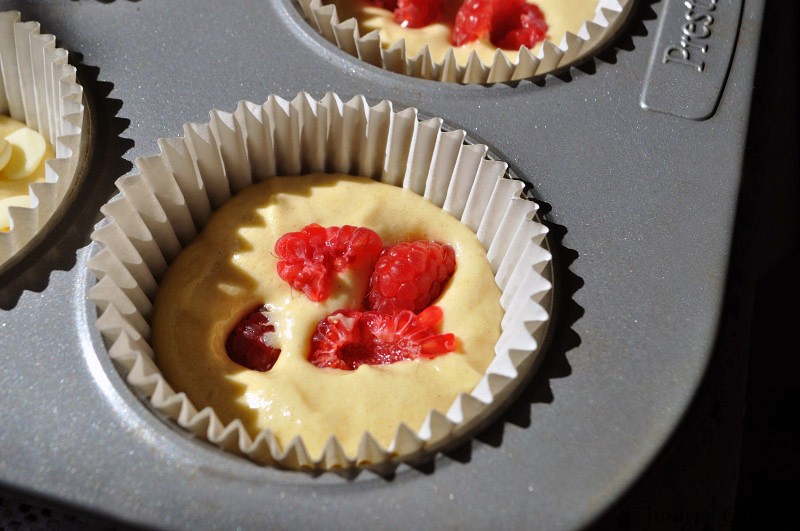
Step three: Set out twelve cupcake cases in your pan and fill each case 2/3 full. Push your raspberries into each cupcake case full of batter.

Step four: Bake from around 12-18 minutes or until a golden brown on top and leave to cool on a counter.

Recipe: Raspberry, Bergamot and Vanilla Cupcakes

Bergamot Buttercream recipe

We make our buttercream using our own intuition. We’ve tried countless recipes; all of which failed to pass our taste and stability tests. It’s best that you begin to develop an ‘eye’, ‘feel’ and ‘taste’ so that you know when your frosting is perfect for you. For starters though, the recipe below is a rough guide…

250g butter
250-350g icing sugar
1 teaspoon Bergamot Extract
Raspberries to decorate (we dampened ours and rolled them in caster sugar)
808 piping tip/nozzle
Piping bags

Step one: Cut your butter into small cubes and cream your butter until soft. Gradually add icing sugar until a good consistency.

Step two: Add the 1 teaspoon Bergamot Extract and mix well.

Step three: Fit a piping bag with 808 piping tip/nozzle and fill with your vanilla buttercream.

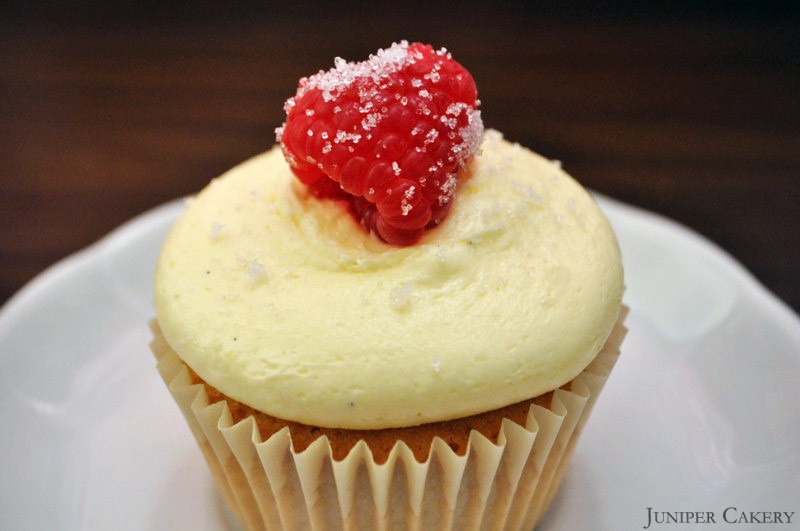
Step four: Now you can pipe lots of generous and tasty swirls of buttercream on top of your cupcakes once they have cooled down and finish with a lovely fresh raspberry!

Recipe: Raspberry, Bergamot and Vanilla Cupcakes

Recipe: Raspberry and Bergamot Cupcakes


The Happy Egg Co. Cake - Raspberry Ripple

As the end of summer looms beaches across the UK are jam-packed with holiday makers hoping to enjoy the last bit of warm weather. We too enjoyed a trip to the seaside where we were on a mission to eat lots of fruity ice cream and make sandcastles. When we returned home we were inspired to put the two together and create a raspberry ripple sandcastle cake for this month’s happy egg co. recipe!

Raspberry Ripple Cake Development Raspberry Ripple Cake Development Raspberry Ripple Cake Development

The tart bursts of flavour from fresh raspberries remind us of past, and recent, visits to the beach on a typical British summer day. Classic flavours like vanilla, chocolate, strawberry, raspberry ripple and banana would attract adults and children alike to ice cream parlors and vans across the country. Raspberry ripple was always our favourite but it wouldn’t be a ‘ripple’ if it wasn’t accompanied by another classic flavour, vanilla!

Pairing fresh, homegrown raspberries and vanilla pod infused buttercream is a great, simple way to recreate a seaside staple! The fun, novelty sandcastle cake for this month is a wonderful way to enjoy the remaining sunshine from the comfort of your own home!


‘Tutorial Tuesday': How to make your own sprinkles!

What you will need:

256g of icing/confectioner's sugar
1 egg white
1 tablespoon of room temperature water
colourings and flavourings (We recommend flavourings by Foodie Flavours and colourings by Americolor or Squires Kitchen)
Parchment paper
Piping bags fitted with small writing tips (We recommend Wilton round tips 3-6

Step one: Combine all of the ingredients (except the colourings and flavourings) together in a large bowl. The mixture will become thick and sticky so be prepared for a little work.

Step two: Now you can add whatever colour or flavour you wish to the mixture.

Step three: If you require multiple colours divide the mixture into separate bowls.

Step four: Fill your piping bag(s) with your sprinkle mixture and pipe long lines or dots onto a flat surface with parchment paper. Note: If you make dots they will end up having the shape of chocolate chips.

Step five: Leave to dry out for 24 hours (This is essential!) and then you can chop them up using a spatula. 

Step six: Now sprinkle onto your baked goods and enjoy!


×