Browsing Tag

recipes

17th March 2017 // 0 Comments

St Patrick’s Day Recipe: Cookies & Irish Cream Marshmallows!

Tasty Cookies and Irish Cream Marshmallows by Juniper Cakery

We thought we’d whip (pun intended) up a delicious and easy recipe for St. Patrick’s Day. This sweet is strictly adults only as we’ve added a boozy twist to the classic Cookies & Cream flavour. Say hello to our Cookies and Irish Cream marshmallows recipe!

Easy cookies and Irish cream marshmallows by Juniper Cakery

Makes approximately… 14 large marshmallow squares

Ingredients and tools needed…

Irish cream marshmallow recipe by Juniper Cakery

Step 01:

Lightly coat your square cake pan with vegetable oil before dusting with a sieved mixture of icing sugar and cornstarch. Make sure to cover the corners and inner edges well to stop your marshmallow from sticking!

Delicious cream marshmallow recipe by Juniper Cakery

Step 02:

Prep your cookies by cutting each up into rough quarters and set aside. Also, try not to eat any!

Step 03:

Our cookies and irish cream marshmallows recipe uses gelatine sheets instead of powder so bear this in mind. Add 9 sheets of gelatine to 140ml of warm water / hot and leave to soak. These should turn into soft jellied sheets in around 7 minutes. When ready pour the gelatine and water into the clean bowl of a stand-up mixer. Also, make sure you have a whisk attachment fitted!

Step 04:

Add the sugar, corn syrup and water together in a medium sized saucepan. Turn your heat up to high and leave the mixture to boil until 115 degrees Celsius (or 238 degrees Fahrenheit). You’re going to need a candy or jam thermometer for this step so you can keep an eye on the heat!

Step 05:

When the sugar syrup is at the perfect temperature switch on your mixer to a slow setting (around 2 on a KitchenAid). Slowly pour the syrup into the bowl to mix with the gelatine while whisking. After a minute or two switch up the speed to medium then after a another minute or two turn it up to high (10 on a trusty KitchenAid), add in your vanilla paste (or extract if you like) and leave to mix until you’re left with soft clouds of marshmallow! Yay!

Delicious cream marshmallow recipe from Juniper Cakery

Step 06:

Now you’ll need to work fairly quick to colour and flavour a little bit of your marshmallow mix for the swirl! Scoop around 4 tablespoons out and dollop into a clean bowl. Then change the speed of your mixer to a medium setting to keep the marshmallow moving. If you keep the mixer switched off then that marshmallow mixture is going to start setting!

Add a little food colour and the 3 tablespoons of Irish cream to your separated mix and quickly mix together. Don’t worry if everything looks curdled and weird. Just keep stirring everything and it will begin to come back together.

Step 07:

Now turn your mixer off and scoop some of your plain marshmallow into your cake pan. Use a spatula or palette knife to smooth it out to the sides and corners.

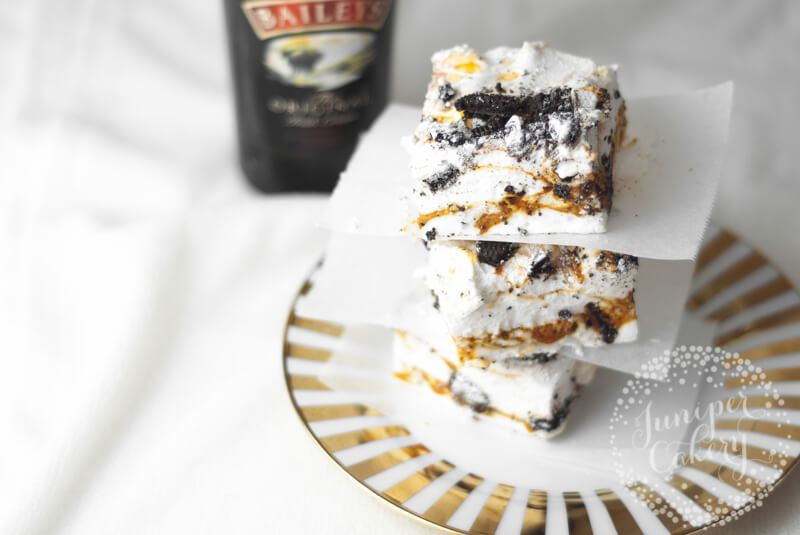
Sprinkle in your crumbled cookies and dollop small teaspoon amounts of your Irish cream swirl on top before marbling it into the white with your palette knife!

Oreo cookies and Irish cream marshmallow recipe from Juniper Cakery

Step 08:

Repeat step 07 until you’re happy with the size or amount of layers you have! Leave to set for approximately 3 hours.

Oreo cookies and Irish cream marshmallow recipe via Juniper Cakery

Step 09:

When your marshmallow is ready to cut up coat a large sharp knife with your sugar and cornflour mix and simply slice through. Your marshmallows can be whatever size you want, however, for these going big is a good option just so you can get a good amount of broken cookies and that Irish cream swirl!

Step 10:

Roll every side of your homemade cookies and Irish cream marshmallows with some more of the icing sugar and cornflour mix to stop them from sticking to everything else (hands, plates, boxes… each other).

Cookies and Irish cream marshmallow recipe from Juniper Cakery

Now enjoy! Drop these babies into some Irish coffee or even a creamy Bailey’s hot chocolate for one insanely indulgent treat! You can even tweak the recipe slightly and swap the cookies for chunks of chocolate or try a dash of whisky instead? To turn this recipe into something kid friendly (and still celebrate St. Patrick’s Day) use peppermint flavouring with a touch of green colouring in place of the Irish cream.

16th March 2017 // 0 Comments

Recipe: Raspberry and Lemon Meringue Eclairs!

Delicious Raspberry and Lemon Meringue Eclairs recipe via Juniper Cakery

If you’ve been searching everywhere for the perfect treat you can surprise mum with this Mother’s Day then look no further. Our Raspberry and Lemon Meringue Eclairs recipe is pretty much irresistible. Seriously… light airy choux pastry? Check. Zesty lemon? Check. Fruity raspberry? Check. Whipped chantilly cream? Check. Plus, get extra points for piping pretty meringue rosettes on top and torching them for a slight caramelised crunch!

Raspberry and Lemon Meringue Eclairs recipe by Juniper Cakery

Raspberry Lemon Meringue Eclair recipe via Juniper Cakery

Raspberry and Lemon Meringue Eclairs recipe!

Makes approx… 10 large eclairs

Ingredients and tools needed for the choux pastry…

Ingredients and tools needed for the filling…

Ingredients needed for the pink raspberry topping…

Ingredients and tools needed for the Italian meringue topping...

Raspberry and Lemon Meringue Eclairs recipe by Juniper Cakery

Step 01:

Let’s start by making the fluffy choux pastry! Pre-heat your oven to 200C/180C fan/400F/Gas mark 6. In a saucepan add your diced salted butter and water and heat until the butter has melted. Once melted turn the heat up so that the ingredients come to a boil.

Raspberry and Lemon Meringue Eclairs by Juniper Cakery

Step 02:

As soon as the butter and water mix boils add in your plain flour and mix well until a ball of somewhat shiny dough forms. Nothing should stick the sides of your saucepan at this point.

Raspberry and Lemon Meringue Eclairs recipe by Juniper Cakery

Indulgent Raspberry and Lemon Meringue Eclairs recipe by Juniper Cakery

Step 03:

This step takes a bit of energy and strength so keep that in mind. Gradually add in your beaten egg whilst stirring the dough vigorously. Your dough should get slightly stiffer and glossier as you add the eggs!

Step 04:

Lightly spritz your silpat / silicone baking mat(s) with a little water.

Mother's Day eclairs recipe by Juniper Cakery

Step 05:

Now add the choux pastry mix to a piping bag fitted with a large plain round tip and pipe equal sized lines of dough along your baking trays. For our eclairs we were feeling pretty generous so we made sure to pipe out fat lines of the choux mixture. Generally, your eclairs can double and even triple in size in the oven so keep this in mind!

Mother's Day eclairs recipe from Juniper Cakery

Step 06:

Now place in your pre-heated oven and bake for 30-40 minutes!

To test if your eclairs are ready you’re going to have to remove one from the oven and slice it open. They tend to weigh or feel a lot heavier than they look. The inside of your eclair should also feature a lovely hollow middle and should feel a little dried out - perfect for fillings!

Pink raspberry glaze for eclairs, profiteroles and donuts via Juniper Cakery

Pink raspberry glaze for eclairs, profiteroles and donuts from Juniper Cakery

Step 07:

While you wait for your choux pastry eclairs to cool down you can begin making and prepping your fillings and raspberry glaze.

To make your pink raspberry glaze add 100g of icing sugar to a bowl along with a few drops (remember to taste test) of raspberry essence, pink food colouring and 2 tablespoons of water. Consistency-wise you want it to be a cross between slow runny honey and toothpaste. Too thin and it will be almost translucent and run everywhere. To thick and it won’t spread across the top of your eclairs very well at all.

When ready cover with cling film and set aside.

Step 08:

Making Chantilly cream is ridiculously easy. We added 300ml of double whipping cream to the bowl of a stand-up mixer along with some vanilla bean paste (put in as much or as little as you like, but always remember to taste test) and with the whisk attachment whip until soft peaks form.

If you begin to over whip your cream (it will look clumpy and grainy) you can save it by just adding in around 3 tablespoons of non-whipped double cream (full fat milk will help too if you’ve used up all your cream).

When ready scoop it into a disposable piping bag fitted with a plain round tip and set aside.

Step 09:

Yay! Now your eclairs should be cool and ready to begin filling. Take each eclair and with a small sharp knife cut in half before smothering lemon curd onto the inside of both halves.

Learn how to make eclairs by Juniper Cakery

Step 10:

Once you’ve added your lemon curd pipe a dollops of Chantilly cream alternating between fresh raspberries onto the bottom half of your eclair! When done gently sandwich together the top and bottom pieces.

Recipe for raspberry and lemon eclairs by Juniper Cakery

Step 11:

Now it’s time to add that cool bright pink raspberry glaze! We wanted a bit of messy / carefree look so we simply spooned ours on top. You can easily spread the glaze around just using the back of a teaspoon or a palette knife. When done add freeze dried raspberry pieces or even fun sprinkles!

Step 12:

For the insanely light and silky Italian meringue add the egg whites from 4 medium sized eggs and whip until stiff peaks form. Whilst these are whipping add the granulated sugar to a saucepan along with the 6 tablespoons of water and turn the heat on to high. Use a candy thermometer to keep a check on the temperature. You want your sugar syrup mixture to reach 118C / 356F. When it does slowly pour it down the inside of your mixing bowl whilst your whipped eggs are on a low speed.

If you’re still waiting for your sugar mixture to heat up and your eggs are all whipped keep those egg whites moving and switch your mixer to a low setting!

How to make meringue eclairs by Juniper Cakery

Step 13:

Now add your Italian meringue to a disposable piping bag fitted with a closed star piping tip. Pipe little rosettes along top top of each eclair. Start piping from the centre of where you want each individual rose and swirl around to finish on the outside.

Step 14:

For the final finishing touch lightly toast the tops of your italian meringue rosettes with a cooks’ blow torch! Yay!!!

Pink lemon meringue eclair recipe by juniper Cakery

One of the best things about choux pastry is that it is insanely versitile. You can change fillings and toppings for different flavour combos… we love the idea of a Snickers inspired dessert with salted caramel, chopped peanuts and belgian chocolate whipped cream! Plus, there’s no sugar in the bake itself so if you were feeling particularly adventurous you could play with savoury ideas like crème fraîche, sautéed mushrooms, chives, poached eggs and cream cheese!

Pretty raspberry and lemon meringue eclair recipe by Juniper Cakery

19th January 2017 // 0 Comments

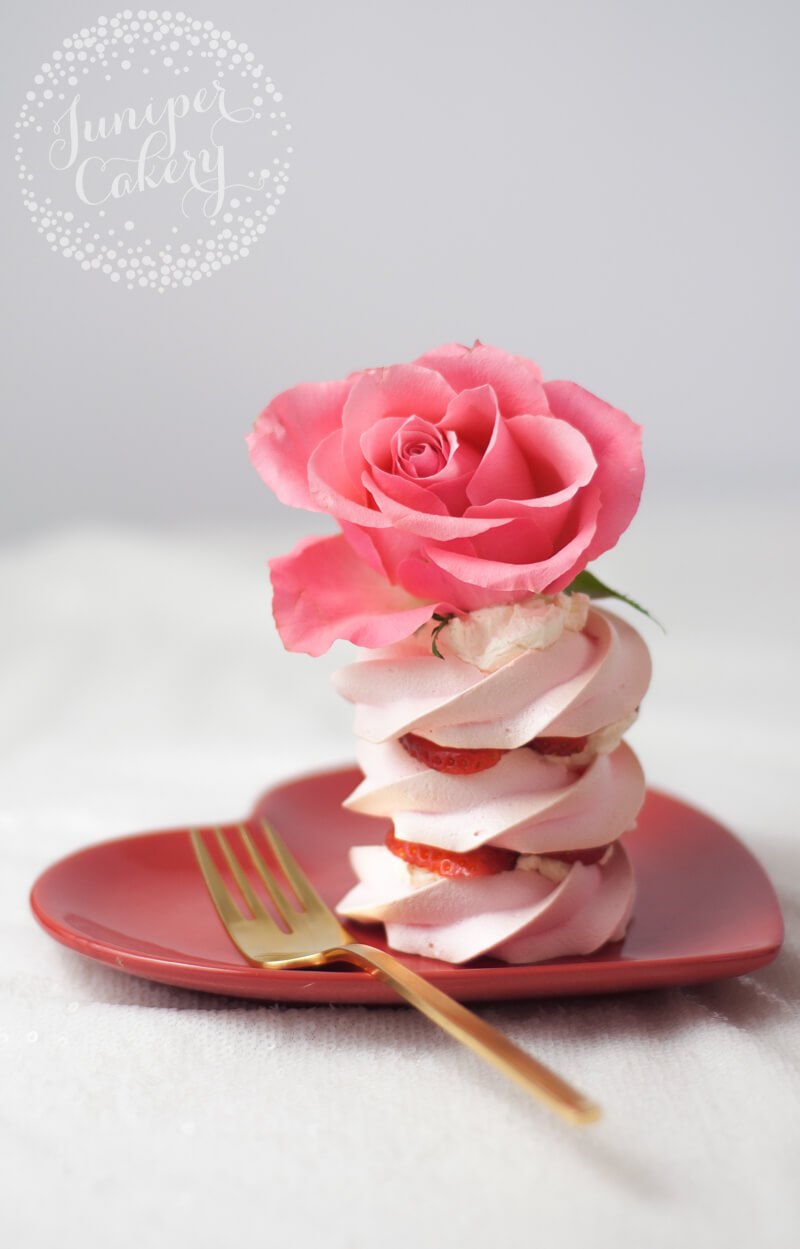
Recipe: Strawberry and Chantilly Cream Rosette Pavolvas!

Valentine's Day strawberry pavlova recipe by Juniper Cakery

February 14th is coming and you may be wondering what sweet treat you can whip up! Whether it’s for you and your Valentine, a room full of your best friends or just for yourself our recipe for mini strawberry and Chantilly Cream pavlovas is a must. Perfectly pink meringue rosettes layered with vanilla infused whipped cream and fresh strawberry filling!

Valentine pavlova recipe by Juniper Cakery

Strawberry and Chantilly cream pavlovas recipe!

Ingredients and tools needed for the meringue rosettes… (makes approx. 10-12 meringue roses)

For the Chantilly cream…

You’ll also need…

  • Fresh strawberries
  • Candy, roses, meringues etc (to decorate)

How to whip up and bake your meringue rosettes…

01: First let’s start by making the meringue roses for your strawberry and Chantilly cream pavlovas! Pre-heat your oven to 160 degrees C (fan) / 180 degrees C (non-fan) / 325 degrees F / gas mark 4.

Easy Valentine pavlova recipe by Juniper Cakery

How to bake pavlova meringues by Juniper Cakery

02: Pour out your caster sugar onto a baking tray and place in your pre-heated oven for 5 minutes. This step really helps all that sugar dissolve better and quicker into the whipped egg whites which means wonderfully smooth meringues!

How to make pavlova by Juniper Cakery

Easy meringue recipe by Juniper Cakery

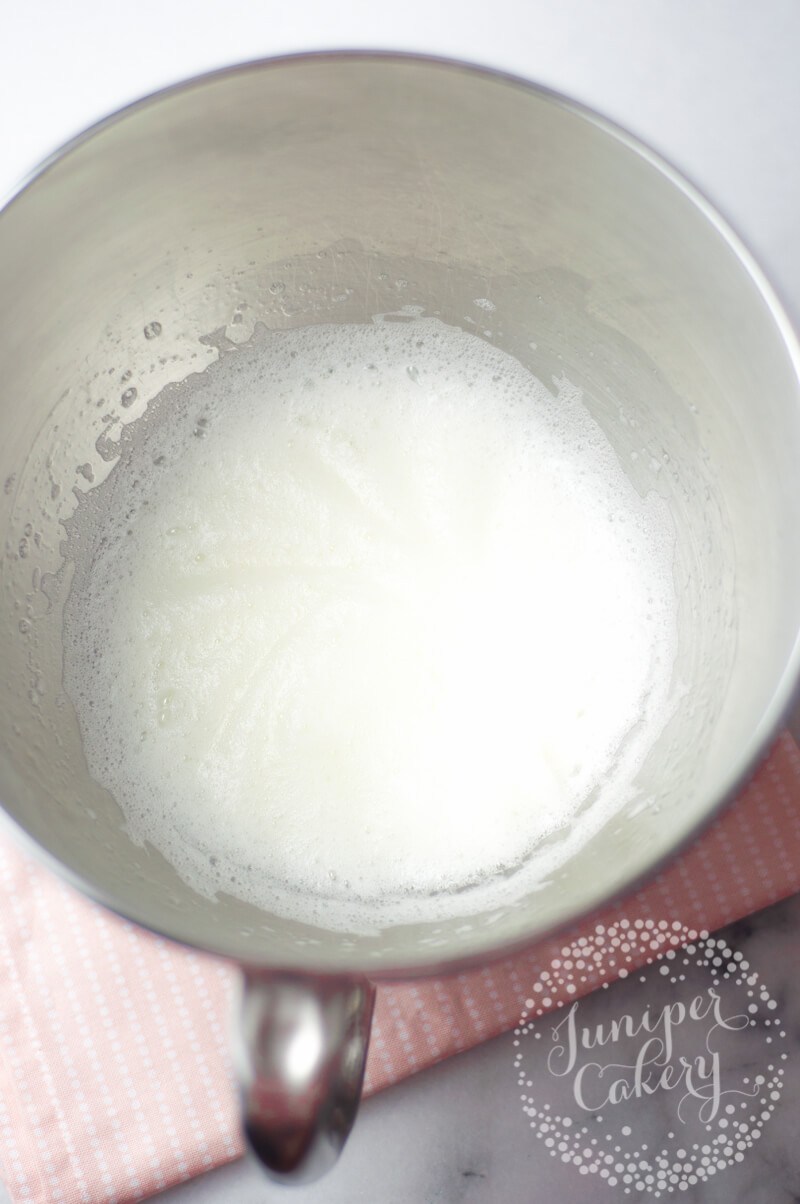
03: While your caster sugar is in the oven add egg whites to the metal bowl of a stand-up mixer. Mix on high with the whisk attachment until frothy (basically… a little like cappuccino foam). When the eggs are ready add in the cream of tartar and mix until combined.

Tip! Any grease left over from cake batter or buttercreams etc can ruin your egg whites. Make sure that you clean up any mixing bowls properly, give them a quick wipe down with lemon juice if you’re unsure, and try to always use metal bowls (plastic or wood can hold in fat and grease).

Meringue recipe by Juniper Cakery

04: Slow down your mixer to a medium speed and spoon in your heated sugar mix a tablespoon at a time. Your meringue should begin to look glossy and it should begin to stiffen up too.

How to make strawberry meringues by Juniper Cakery

05: Now it’s time to add in your colour and flavour. When it comes to adding in any colouring or extracts you should always start small and build it up to the tint or flavour strength you like. It is so much easier to add than to remove! We wanted a pale pink for our meringue rosettes so we added approximately 1 drop of Rainbow Dust’s Strawberry colour from their Pro Gel range.

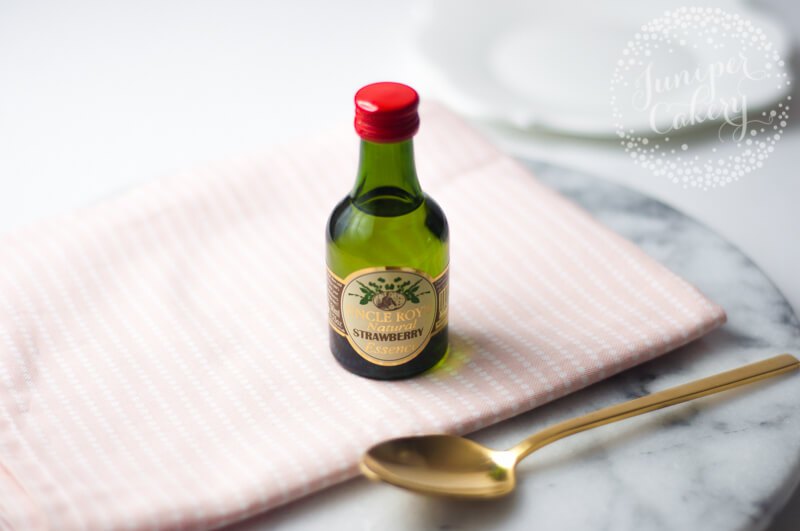
For extracts one of our favourite brands is Uncle Roy’s. We used up to 6-8 drops of their fruity strawberry essence. Try not to add too much as this can mess around with the consistency of your meringue.

Quick meringue recipe by Juniper Cakery

Easy and quick meringue recipe by Juniper Cakery

Once you’ve added in your colouring and/or flavouring whip until lovely stiff peaks form. Your meringue should hold its shape well and any peaks should not droop or flop over.

How to pipe meringue rosettes by Juniper Cakery

06: Add your meringue mixture to a piping bag fitted with a closed star tip (we love the 855 by Ateco and 2D by Wilton for roses).

How to make meringue rosettes by Juniper Cakery

07: To pipe begin where the centre of your rose will be, pipe a little out and then pipe slightly overlapping the center and around it. Two or even 3 ’rounds’ encircling the centre is a good amount. When you’re finished simply stop applying pressure to your bag and flick the end of your rose and meringue mixture.

08: Place your meringue rosettes in the oven to bake for around 25 – 35 minutes. We use a convection oven (which is basically a fan assisted oven) so it took only 25 minutes for our kisses to be done.

How to make meringue roses by Juniper Cakery

09: Remove from the oven once they’re ready and set them aside to cool down.

How to make Chantilly cream!

How to make Chantilly cream by juniper Cakery

01: Whilst waiting for your meringues to cool create your tasty Chantilly cream! Add your double (also called heavy or even whipping) cream to a clean stand-up mixer bowl along with a tablespoon of good quality vanilla bean paste. Whip until soft silky clouds of whipped cream forms.

Tip! If you’ve over whipped your cream and it begins to look grainy or lumpy you can save it so don’t worry! If you have any unwhipped cream left over add around 1-2 tablespoons into your whipped cream and very quickly mix it together with your stand-up mixer. No left over cream? Just add the same amount of full fat milk and whip!


How to assemble your mini strawberry and Chantilly cream pavlovas!

Fun Valentine's Day pavlova recipe by Juniper Cakery

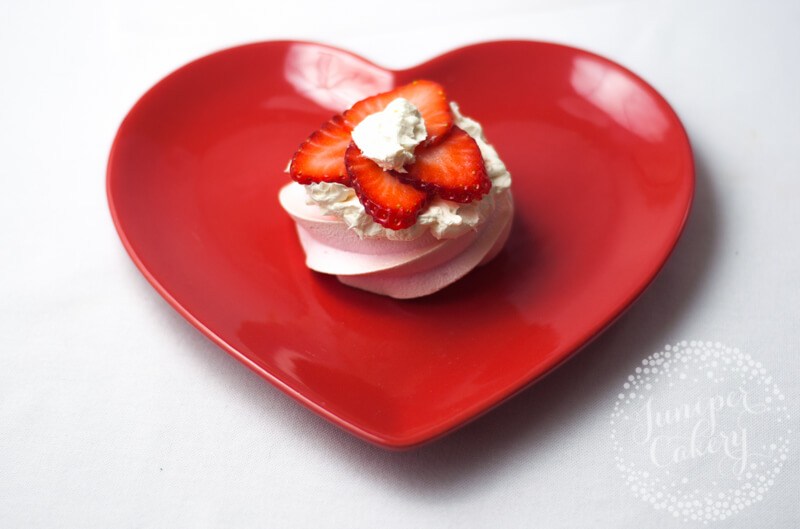
01: Start by laying one of your pretty meringue rosettes down. It’s best to build up your pavlovas onto whatever you’re going to be serving them on… plates, mini cake stands or even small cake boards!

Pink Valentine pavlova recipe by Juniper Cakery

02: With a tablespoon scoop a dollop of your Chantilly cream and drop it onto your first meringue rosette.

How to assemble a pavlova by Juniper Cakery

03: Slice up slim slivers of strawberries and layer on top of the cream.

Assemble a Valentine pavlova by Juniper Cakery

04: Add a smaller dollop of cream on top of the strawberries. This will help your next meringue rosette stay in place.
Strawberries and cream pavlova recipe by Juniper Cakery

05: Take your next meringue rosette and gently place this on top sandwiching the strawberry filling and cream between both meringues.

06: Repeat steps 02-04 for the final layers. We stacked out pavlovas with three layers of pink meringue roses, but you can have them as tall or short as you like!

Strawberries and Chantilly cream pavlova recipe by Juniper Cakery

07: Now for the super fun part… decorating them! Add a dollop of Chantilly cream on top and get creative!

To decorate ours we kept it simple and opted for large bloom pink roses. You can use whatever you like. Some sweet ideas include… edible petals, candy, mini donuts or fancy chocolate truffles!

You can easily swap the flavours over to something else if you like. Instead of strawberries try sugared raspberries, or even brandy laced cherries with roughly chopped pistachios!

Pink Strawberries and Chantilly cream pavlova recipe by Juniper Cakery

15th December 2016 // 0 Comments

Recipe: Festive White Chocolate Rocky Road!

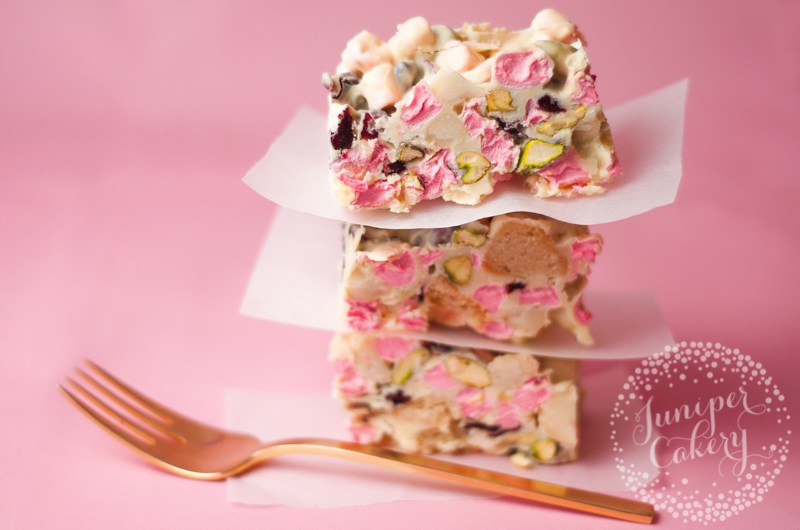
Easy white chocolate rocky recipe by Juniper Cakery

It’s time for our very last recipe of the year! OK, this sounds pretty extreme until a look at the calendar reveals that there’s now just over 2 weeks left until the end of 2016. Crazy right? Anyway, we thought we’d end the year on one ridiculously quick and easy recipe so don’t worry… no hours squished in a packed kitchen (some of those turkeys are humungous) trying to rustle up impressive sweets to add to the dessert table. Nope. This one is so simple you could even whip it up as a special treat for yourself for coping with Christmas preparation stress. Read on for our festive white chocolate rocky road recipe!

Rocky road with white chocolate by Juniper Cakery

White chocolate, cranberry and pistachio rocky road recipe by Juniper Cakery

Festive white chocolate rocky road recipe!

Ingredients & tools needed… (makes approx. 6 servings)

Festive rocky road recipe by Juniper Cakery

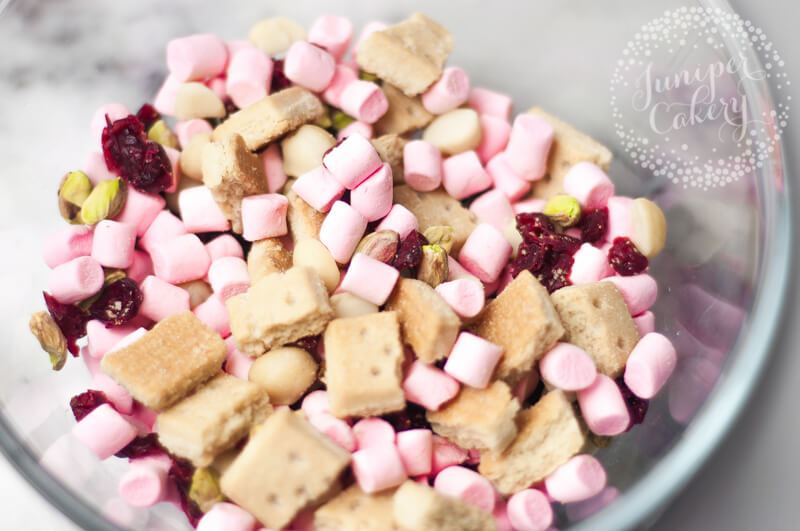
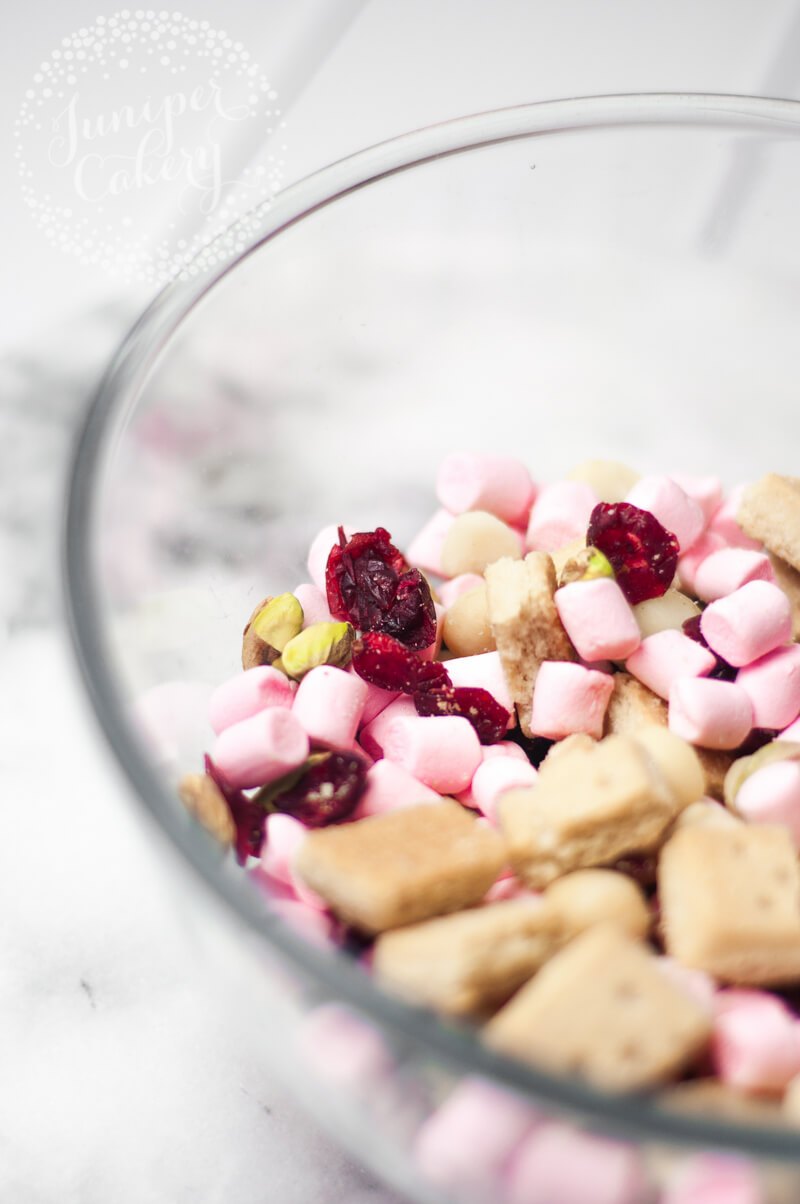
01: Gather up all your ingredients. To get a good Christmas-y colour theme going in this rocky road recipe we paired the classic cranberry with bright green pistachio nuts.

Note: For shortbread cookies you can even swap these for vanilla sugar cookies or even spiced gingerbread biscuits.

Festive rocky road recipe from Juniper Cakery

White chocolate rocky road recipe from Juniper Cakery

02: In a bowl add the pink marshmallows, dried cranberries, shelled pistachios, macadamia or almond nuts together and mix.

03: In a microwave melt down your white chocolate. Heat the chocolate up for 10-30 second intervals, remove, gently stir and add back to the microwave if still lumpy and unmelted.

Tip!

It’s best to be conservative when it to comes to heating up and melting chocolate. We aim to melt ours slowly a little above room temperature at around 34 degrees C so that it doesn’t burn and instead goes a lovely silky smooth consistency.

White chocolate Christmas rocky road recipe from Juniper Cakery

04: When your chocolate is ready pour it into the bowl of dry ingredients (marshmallows, cranberries, pistachios, macadamia nuts or almonds) and mix until incorporated.

05: Grease a deep square baking pan. You can line your pan with greaseproof paper, but when it comes to smoothing the ingredients and chocolate around the paper could move and be a little annoying.

White chocolate Christmas rocky road recipe by Juniper Cakery

06: Pour the entire rocky road mixture into your greased baking pan. Spread and flatten using a spatula until the mix is nice and level before placing in a refrigerator for around 2-3 hours.

Rocky road with white chocolate from Juniper Cakery

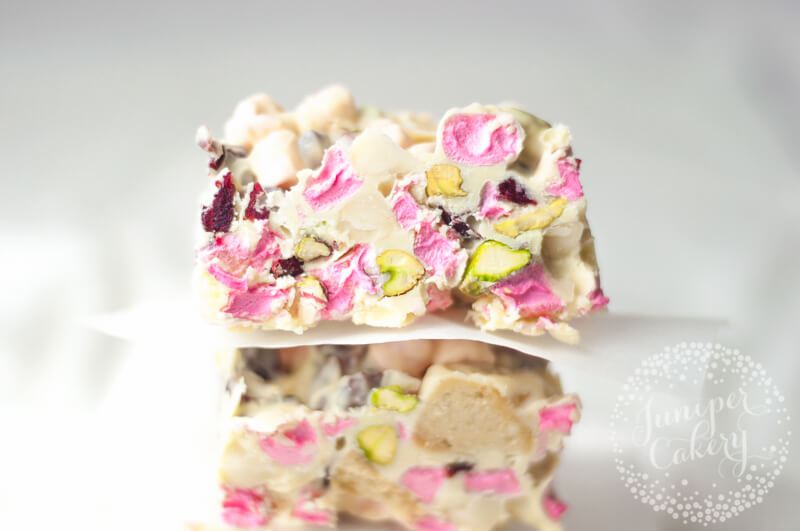
07: When set remove from the refrigerator and cut into squares or rectangles! You’ll need a good large sharp knife for this step as you’ll be cutting through nuts and set chocolate.

You can always amp up the Christmas cheer on this white chocolate rocky road recipe by adding snowflake sprinkles on top, dusting liberally with edible glitter or even by adding edible holly leaves and berries onto the corner of each tasty square! We love the idea of drizzling them with pink candy melts and adding a flurry of winter-y themed sugar sprinkles.

Quick festive rocky road recipe by Juniper Cakery

10th December 2016 // 0 Comments

Our Top 5 Christmas Recipes and Tutorials!

Christmas recipes and tutorials

There’s now just 2 weeks until Christmas everyone. Two weeks. 14 days! Crazy right? It doesn’t feel too long ago that our 100 days countdown began (yes we do that). Anyway, we’ve had some fun festive recipes and tutorials on our blog so we thought we’d create a quick round up of our favourite and most popular ones. We’re not done yet though. Oh no. There are still two more weeks after all… we’ve got a few more little things up our sleeves!

Our top 5 Christmas recipes and tutorials

Learn how to make a gingerbread character form fondant

01: Have a cute Christmas!

Make your own Candyland themed Christmas dessert table with the help of our adorable gingerbread character tutorial! You can create this little cutie to add to buttercream swirled cupcakes, or iced cakes. A few of these would even be great added to a gingerbread house or village. Want to create your own sweet little gingerbread character? Check out our tutorial!

Recipe for homemade vanilla marshmallows by Juniper Cakery

02: Homemade luxury!

Adding a little extra oomph to hot cocoas or seasonal coffees doesn’t have to mean a splash or several of festive liquor. Whip up some homemade vanilla marshmallows with our easy recipe, pile them on top and wait for them to melt a little. It is amazing! You can fancy it up too with whipped cream, sparklers and even edible gold leaf!

Festive fondant reindeer tutorial by Juniper Cakery

03: Make it a-DEER-able!

Invite a few reindeer to the Christmas party! We created one a-deer-able (sorry) tutorial for a little fondant reindeer cupcake or cake topper. We love the golden antlers and of course the finishing touch of the tiny bow and fondant bell! Create eight, nestle them on top of a buttercream cake with a golden picket fence to create Santa’s reindeer enclosure. It’s bound to be an instant hit during the party season!

Recipe for gingerbread cookies

04: Everyone loves a classic!

Of course offering up the traditional gingerbread cookie ever Christmas is going to be a crowd pleaser. We love making them so this year we’ve posted up our go-to gingerbread cookie recipe! We’ve tried lots of different recipes and methods over the years, but this one was by far our favourite. We like our gingerbread fairly dark and with a good amount of spice so it was perfect for us. It’s also one of the best recipes for sturdy gingerbread houses too!

Candy cane twist cookie tutorial by Juniper Cakery

05: Everyone also loves a little twist…

Christmas is definitely cookie season. For anyone who doesn’t whip up trays upon trays of cookies on a regular basis a drawer full of cookie cutters may not exist in their kitchen. With this in mind we thought of putting together a cool recipe and tutorial on candy cane cookies that don’t need a cutter! Check out our Candy Cake Twist Cookie recipe here!


SaveSave

SaveSave