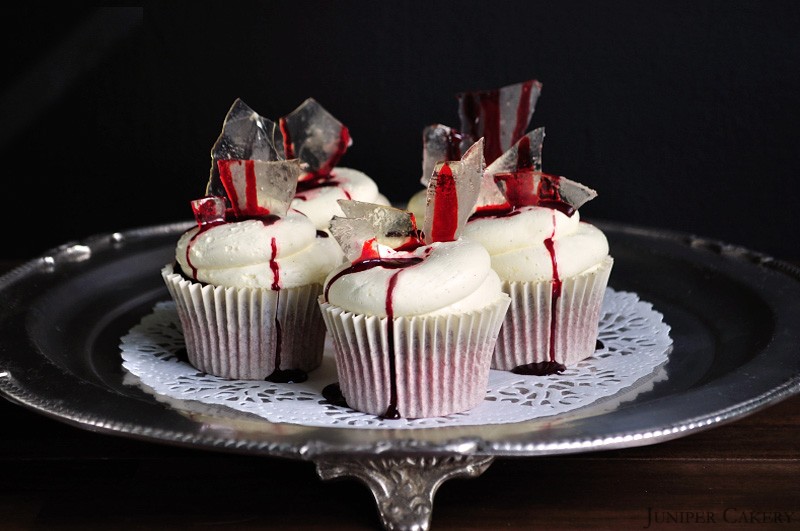
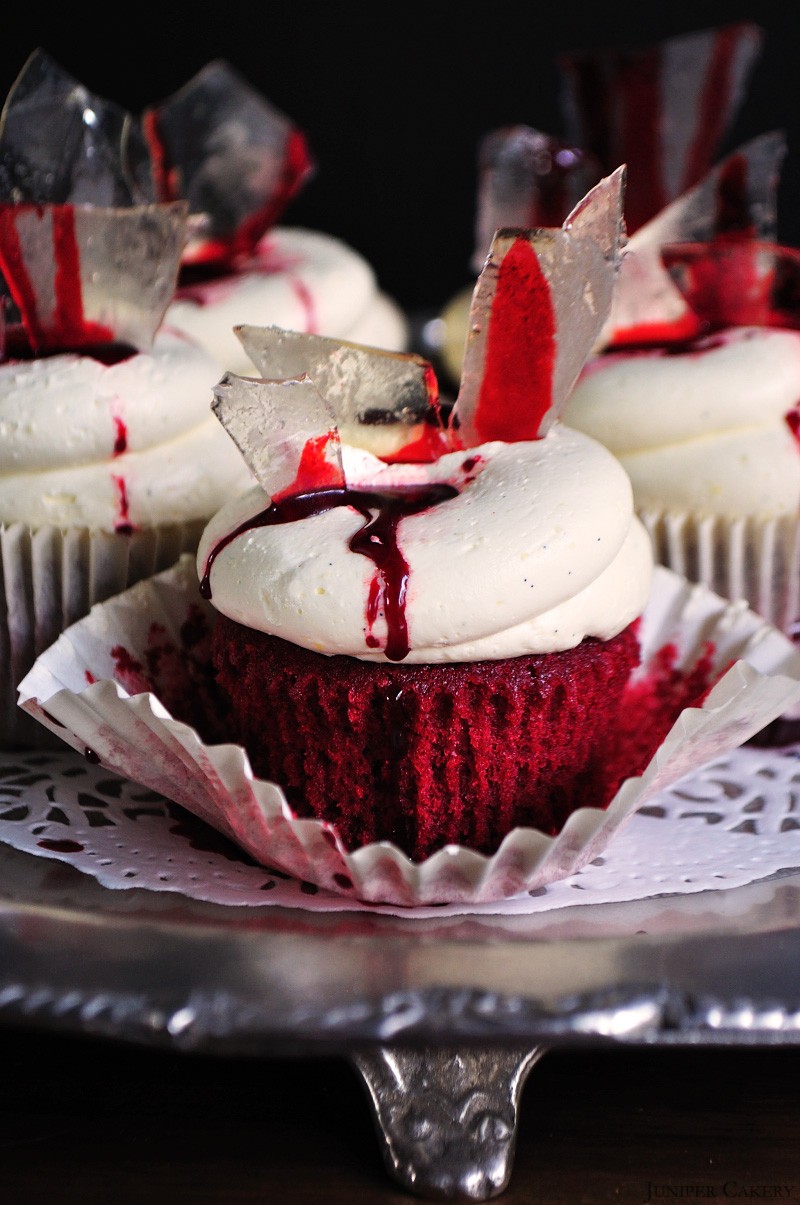
We’ve had a lot of requests for our Red Velvet Cupcake recipe over the past few months, which we’ve saved especially for this ghastly yet fun recipe and tutorial; Red Bloody Velvet Cupcakes! They’re great for petrifying parties or spooky soirées and are a perfect conversation starter at any Halloween hootenanny! These cupcakes are a lovely light cocoa red velvet cake swirled with delicious vanilla pod infused buttercream, stabbed with a shard of sugar glass and dripping with ‘blood’. Certainly a gruesome gourmet cupcake for the Halloween festivities!
Basic Red Velvet Cupcake Recipe (makes approximately 12 cupcakes)
Here is our recipe for perfect Red Velvet Cupcakes which we have used for years now and never fails to bring a smile to everyone’s face! We have had some people query the use of buttermilk and cider vinegar in general Red Velvet recipes (this one included) and whilst you can simply add some cocoa powder and red gel food colour paste to your normal cupcake recipe the point of a Red Velvet Cake is that it encompasses a gorgeously fluffy, velvety texture (hence the name) which is produced by the addition of these two ingredients. Baking is a science so it really helps to understand what ingredients you’re adding and why! To help we’ve typed up a quick description of what buttermilk and cider vinegar do!
Buttermilk is an acidic ingredient which essentially tenderises the gluten in cake recipes creating a softer feel and a better rise.
Cider Vinegar is also acidic and reacts with the bicarbonate of soda in cake recipes to create carbon dioxide whilst baking which helps baked goods to rise.
125g plain flour
1 tablespoons cocoa powder (sifted)
1 teaspoons baking powder
1/4 teaspoon bicarbonate of soda
50 grams soft unsalted butter
100 grams caster sugar
1-2 teaspoons of red gel paste food colouring
6-12 drops vanilla extract
2 medium eggs
90 ml buttermilk (When we began whipping up Red Velvet cakes buttermilk was pretty much unheard up in UK shops. Fortunately, you can now purchase buttermilk in Tesco and Asda stores, BUT you can make a buttermilk substitute by adding 1 tablespoon of fresh lemon juice per cup of full fat milk and leave to stand for 5 minutes.)
1/2 teaspoon cider vinegar
12 cupcake cases
Pre-heat your oven to Gas Mark 3/325F/170C.
Mix the flour, cocoa, baking powder and bicarbonate of soda in a bowl.
Now for one of the fun parts… In a separate bowl, cream together the butter and sugar until soft and pale. Then add in the red gel paste food colouring until a gorgeous rich red shade.
Gradually add in the dry ingredients along with the eggs to your lovely rubescent butter and sugar mixture. Then add in the buttermilk and cider vinegar!
Fill your cupcake cases until 2/3 full and place on the top shelf. Bake for around 20/25 minutes.
Basic Vanilla Buttercream Recipe
250g butter
300-350g icing sugar / confectioner’s sugar
1 bourbon vanilla pod
Piping tips (we used the large round 808 tip by Ateco)
Add half of the of butter diced into pieces. Cream the butter in a mixer. Then gradually add icing sugar and the remaining butter (cut into cubes) until you get a smooth, creamy texture. Add the seeds inside of the vanilla pod by slicing the pod lengthways and scraping the little seeds out with a knife.
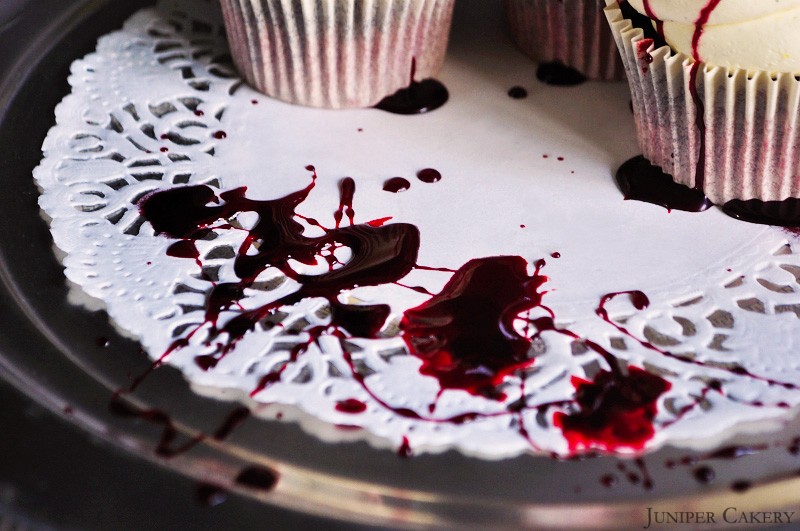
‘Blood’ Recipe
1/2 - 1 teaspoon of red gel paste food colouring
6 tablespoons of icing sugar
1 tablespoon of honey or golden syrup
1 tablespoon of room temperature water (though you may need to add more or less depending on the consistency you’d like)
In a small bowl mix together the red gel food paste colour with the sugar, syrup and water and set aside.
Sugar Glass Recipe
150g caster or granulated sugar
88ml water
Candy Thermometer
Stove top
Small saucepan
Cake release spray
Flat cookie tray/sheet
In a sauce pan add the sugar and water together and set on the highest heat.
Prepare a flat cookie sheet by spritzing lightly with cake release.
Stir occasionally and leave to bubble until the sugar mix reduces and reaches around 132 degrees C or 270 degrees F. You should start to smell a faint burnt caramel scent. The mix may also begin to go a slight champagne gold colour too.
Remove the pan from the heat. Quickly pour your sugar mixture onto a clean baking sheet or tray with a rim or lip around it’s edges. Quickly spread the mix to the edges by tilting the sheet or tray. Don’t worry if the mix doesn’t reach the tray edges; sometimes the cake release spray will stop this spreading too much. Leave to cool and harden (this may take from 30 minutes to 1 hour).
Don’t leave your ‘glass’ for too long, however. Sugar glass is hygroscopic, which means that it quite readily absorbs moisture from it’s surrounding atmosphere. As soon as the mix has cooled and harden quickly smash it in the required jagged shards before it loses that lovely brittle and hard quality!
Now it’s time to assemble your Red Bloody Velvet Cupcakes! Pipe some generous swirls of your lovely vanilla buttercream atop your cakes, stab a large shard into the top of each and then using a disposable piping bag with your ‘blood’ mix pipe messy dripping splattered blood where the sugar glass meets the cupcake. For extra gore why not fill your cupcakes with gooey strawberry preserve!


