Peony Ruffle Wedding Cake with Gold Sequins!

We get excited about all of the cakes we get asked to create, but every so often there’s a cake that comes along that we just can’t get enough off. This wonderfully decadent peony ruffle wedding cake is one of those cakes. It incorporates nature (and lots of lovely green sugar leaves), glistening gold painted edible sequins, textured ruffles and a bit of a carefree feel too!

Gold sequin and pink ruffle peony wedding cake by Juniper Cakery

For this cake the couple weren’t too sure of what they wanted. They knew they’d like a bright and glamorous look with gold sequins to match their venue’s golden table runners and had spotted the trend of gold painted sequin cakes bursting out of the pages of Pinterest. In terms of wedding theme they had opted for a minimal white and gold look with pale floral centerpieces filled with water and gold confetti to tie everything together.

At the consultation we took note of their colour palette and made a few quick sketches and suggestions before a few final details were settled upon fairly quickly. They decided upon a four tiered circle cake with gold sequins and a pale blush pink and white sugar floral bouquet on top. With these ideas in mind we sketched more ideas afterwards and sent them to the couple who quickly picked out the peony ruffled cake with toppled gold sequins and simple yet large open peony arrangement!
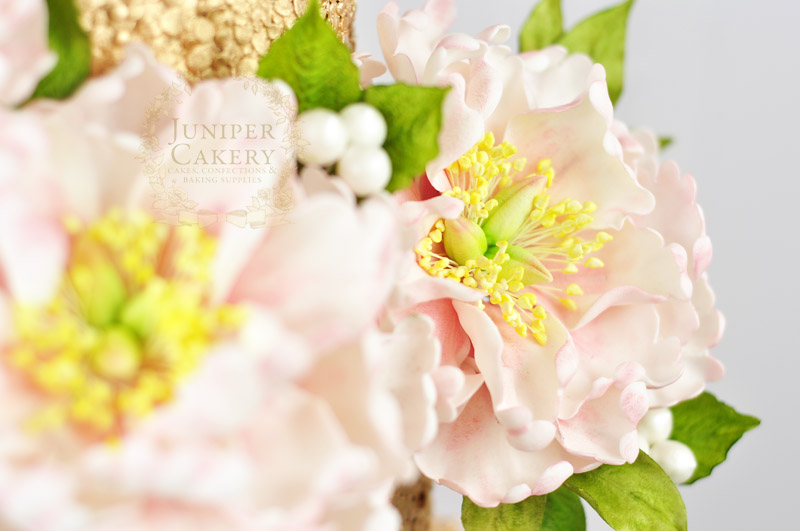
Pretty peony wedding cake by Juniper Cakery

To make the wired open peonies we began with gum paste pistils with a full arrangement of dusted medium sized stamens before creating a total of 60 ruffled sugar petals (20 petals per flower) that would surround the centres. For peony leaves we like to create several long slender pieces that get grouped into threes and taped together before they then are attached to the base of the flower so that the natural greens poke out from underneath each bloom.
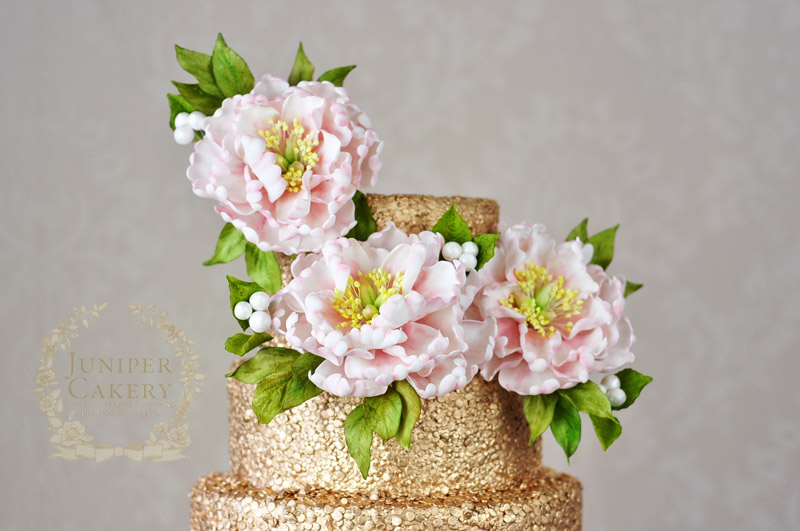
Peony Ruffle Wedding Cake florals by Juniper Cakery

Our design for the floral cake topper focused on a lovely crescent formation. It helps that there is two of us as this part involves a lot of holding bundles of sugar flowers in position and standing back a good few metres to judge if it’ll work or not. One of our favourite things to do when arranging sugar flowers on a cake is to extend the bouquet out a little further using leaves, blossoms or berries. This helps create a sense of drama and also makes the end design look a little gravity defying!
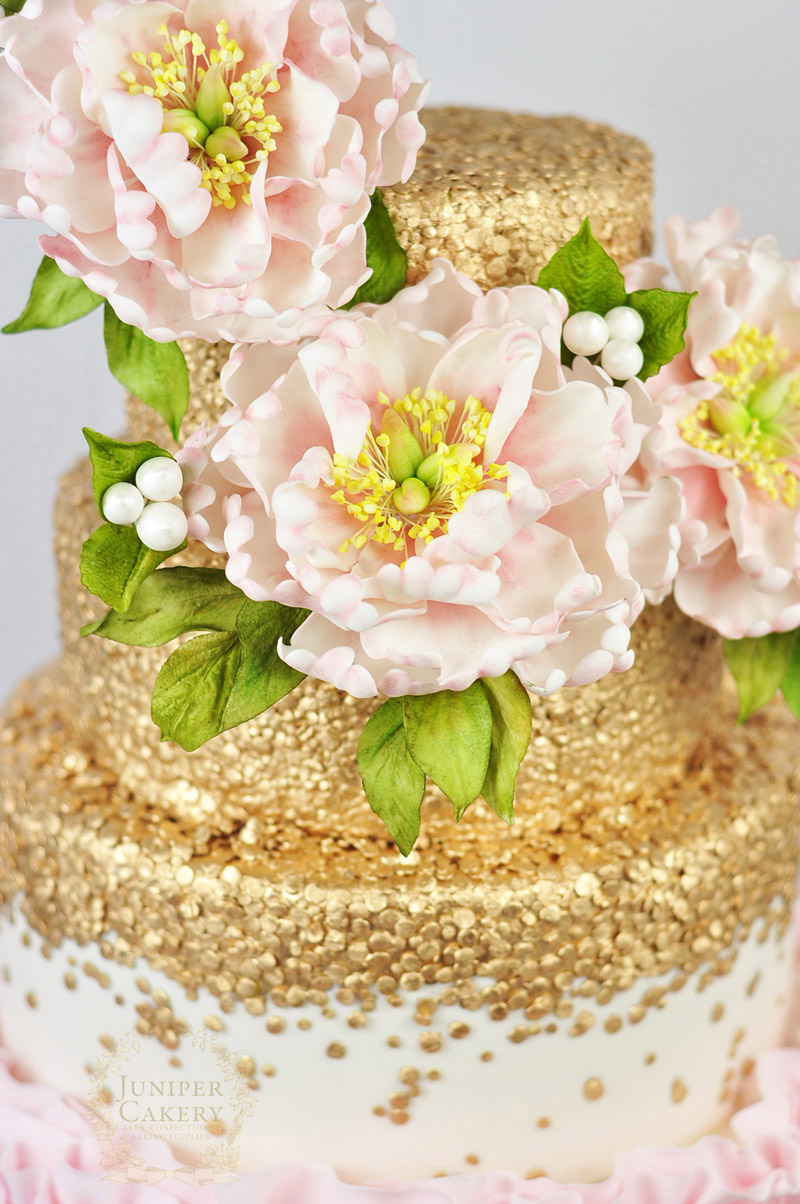
Luxurious pink and gold peony wedding cake by Juniper Cakery

Simple white frosted berries with moss green and terracotta dusted sugar blackberry leaves were added to incorporate a little interest as well as to extend the arrangement and fill in some gaps.

Creating and utilising gum paste or modelling paste berries is one of our most favourite design elements to include on our cakes. We absolutely love nature; so much so that we named our bakery after our favourite berry. Krystle, in fact, was considering studying Forestry at university before heading off into the wilderness of Canada to live in a log cabin surrounded by herbs, mushrooms and moose.
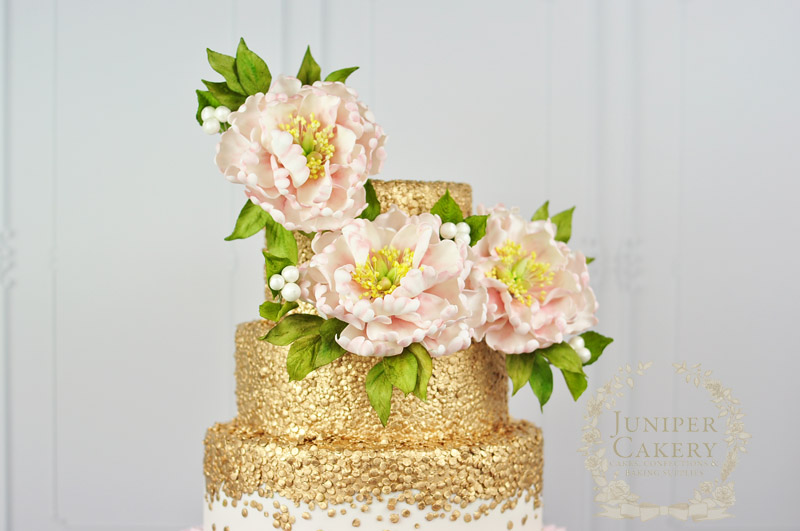
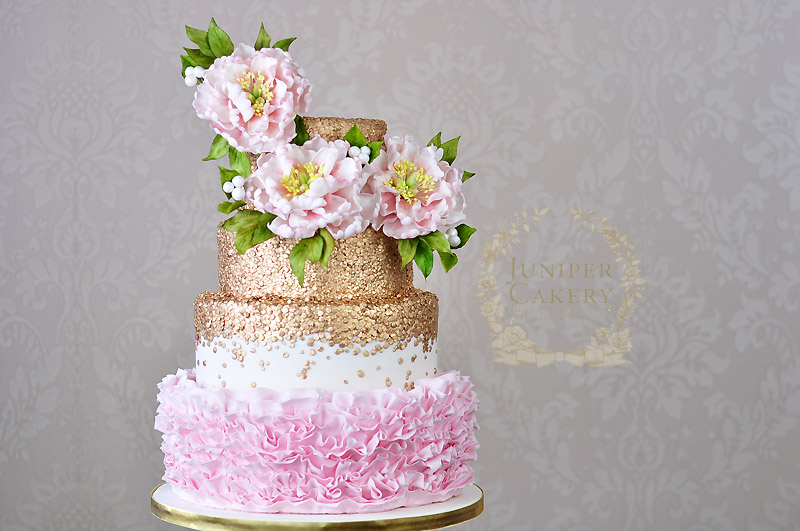
Gilded sequin wedding cake with sugar peonies by Juniper Cakery

Lovely sweet peony wedding cake by Juniper Cakery

To balance out the bottom half of the cake with the voluminous florals we created a wonderfully carefree toppled gold sequin effect that revealed a traditional white wedding cake tier before the tier below bursts into pretty blush pink fondant ruffles! Adding edible frills to a cake not only incorporates wonderful texture, but helps make the design look fuller and grander. It’s perfect for small and large cakes too.
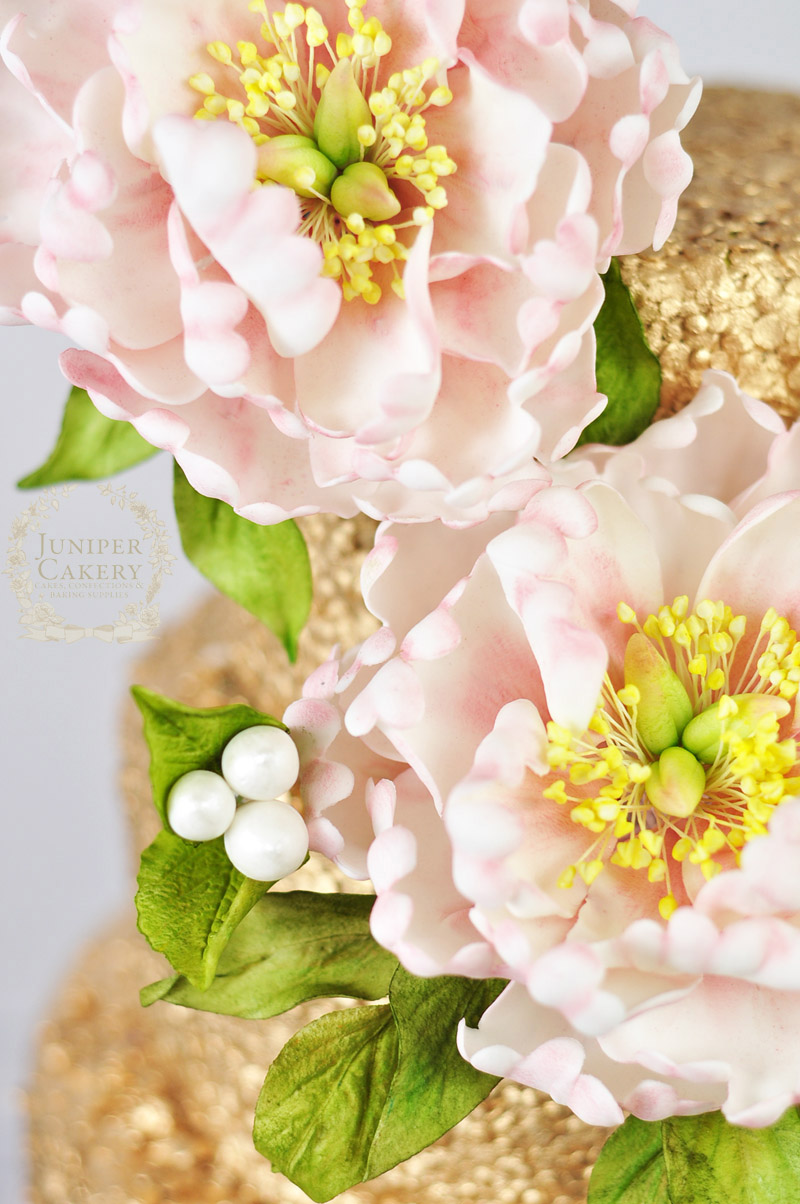
Pretty peony wedding cake by Juniper Cakery

What a delight this wedding cake was for us to design and create! We do admit that we wish it was still in our studio so we could still admire it.  


Ruffles and Elephant Baby Shower Cake!

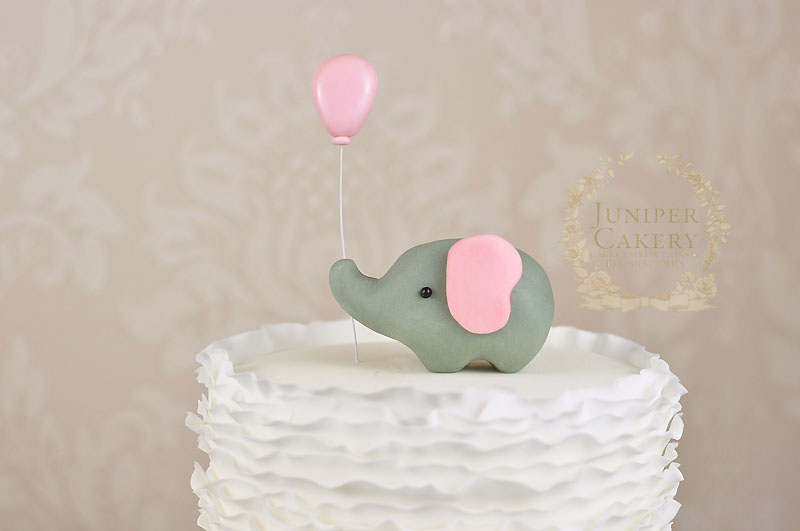
Here’s a very sweet little elephant cake we were asked to create for a fun baby shower! For this design we were requested to decorate a small cake that had a simple elephant theme with soft pinks and ruffles. For an extra bit of adorable playfulness we added in a pink gum paste balloon and made the baby elephant hold it too!

Sweet Ruffle and Elephant Baby Shower Cake by Juniper Cakery

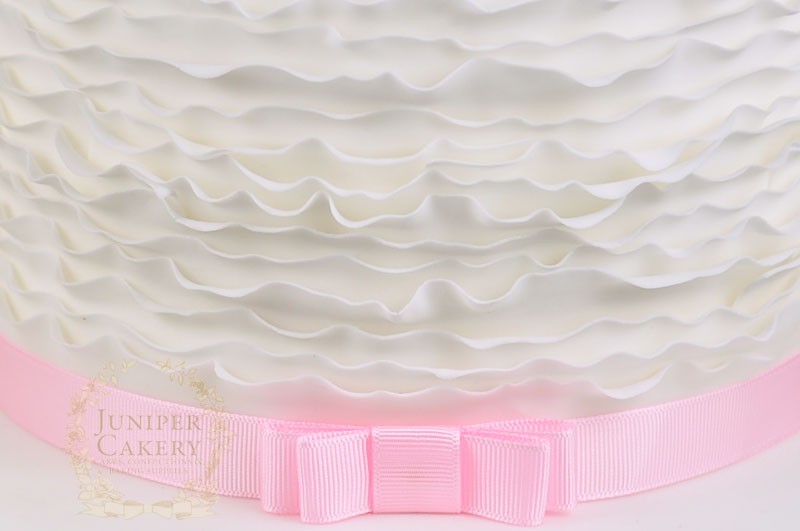
Our first thought was to add delicate fondant ruffles around the sides in a crisp white to keep the cake bright and have the main focus be the tiny grey elephant character and it’s shiny edible balloon. Each pretty ruffled strip of fondant was added individually, tweaked lightly with a dry paintbrush to fan out a little and left to set before we adding the pink ribbon trimmings and the decorations on top.

The cake itself was a Sicilian lemon oil cake filled with fresh raspberry jam and covered with a Madagascan vanilla buttercream and then iced in marshmallow fondant! The smell of this cake in the studio and kitchen was incredible to say the least. This may just need to be a tempting cupcake flavour for late spring/summer that we have to develop and test ourselves!

Fondant ruffles on a cake by Juniper Cakery

Adding fondant frills and ruffles to cakes is such a decadent and lovely technique. It can add texture and drama to a grown-up design or a definite sweet look to a kids’ party cake! We especially love combining ruffles with fashion and vintage glamour inspired tiers and also bright Christening cakes. You can really help bring out fondant or buttercream ruffles with theatrical gold painted sequins and beautifully crafted sugar flowers for a chic wedding creation. For cute baby shower cakes teaming fondant frills with pastel colour palettes, simple blossoms, an adorable character and royal icing polka dots dusted with an edible pearlescent lustre works perfectly!

Ruffled baby shower cake with gum paste elephant by Juniper Cakery

Adorable fondant elephant cake topper with balloon by Juniper Cakery

Creating the gum paste elephant for this ruffled elephant baby shower cake was and is a lot harder than it looks! It’s quite mischievous and deceiving! Due to the elephant being created in one continuous piece of fondant (execpt for the pink ears) it appears to be rather straight-forward and simple. It helps to first begin with a smooth ball of gum paste that has been rolled around in your hands for a few minutes before you begin tackling the shape. Warming up and rolling the fondant or gum paste helps rid the paste of any annoying and horrifying cracks and creases.

Cute baby shower cake with fondant ruffles and elephant by Juniper Cakery

We hope that this sweet little gem of a cake was enjoyed. It was great to work on such a bright and fresh design when the winter days are growing more and more dark in our part of the world!


Ruffled Champagne Cake with The Happy Egg Co. Eggs!

What better way to treat a loved one for Valentine’s Day than with a beautiful and indulgent home-made cake! Using three key Valentine ingredients, and some egg whites from The Happy Egg Co. eggs, we created this truly lovely and decadent cake. One of the best things about this recipe is that it incorporates some incredibly sumptuous flavours and ingredients without being too sweet or rich. Perhaps the only bad thing about this cake is that you’ll find you’ve eaten quite a few slices without realising! Imagine a gorgeously soft and fluffy champagne infused cake smothered with fruity yet creamy strawberry and white chocolate buttercream just waiting to be devoured… can’t wait to start baking? We thought so.

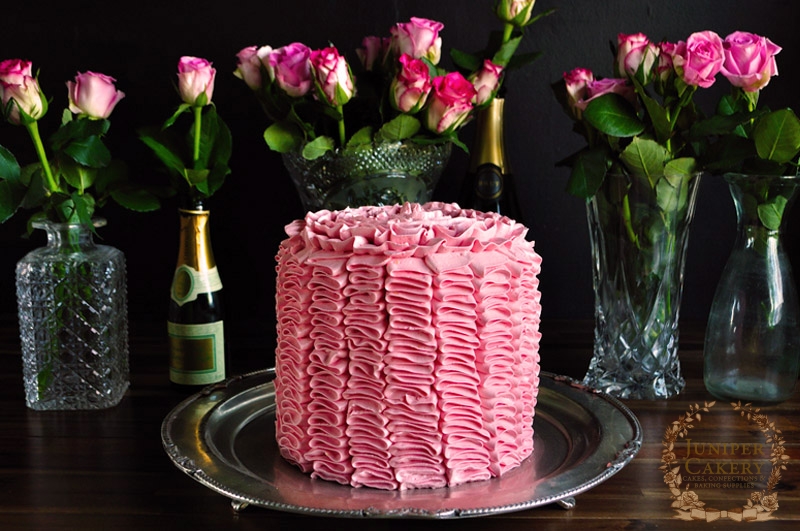
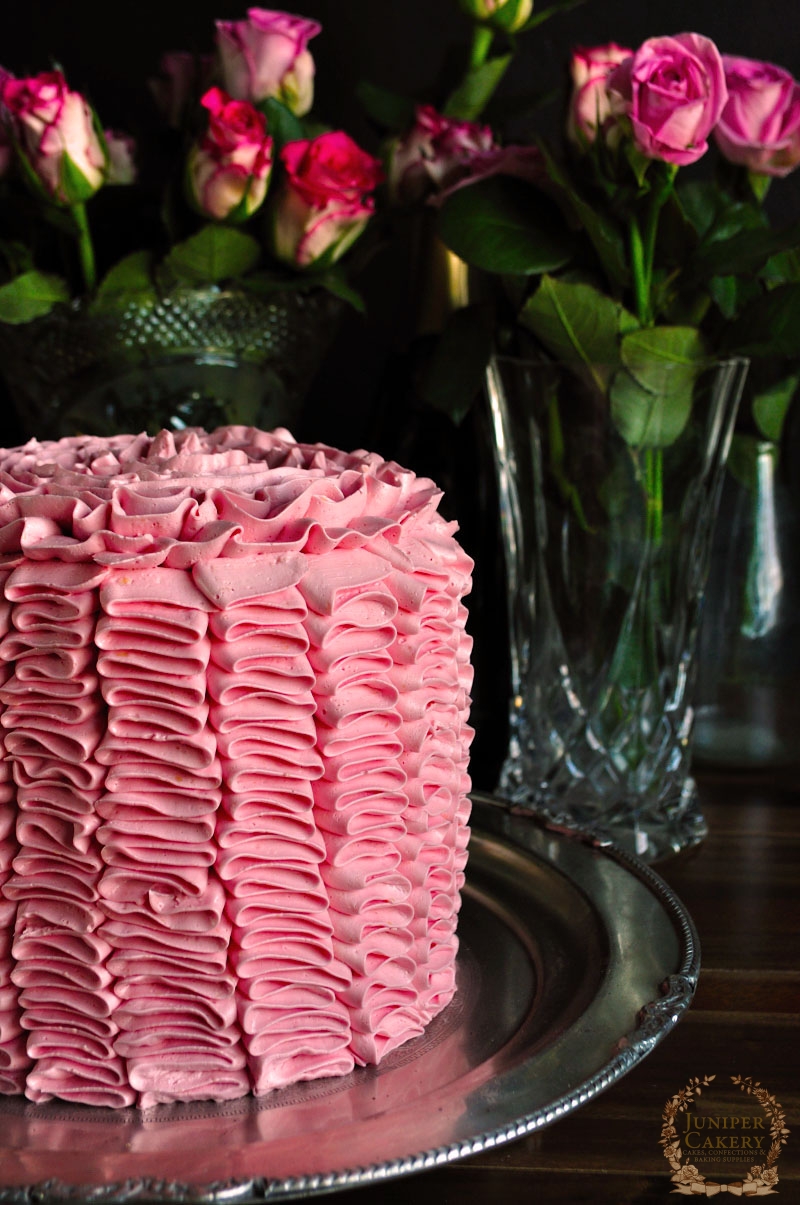
Ruffle Champagne Cake by Juniper Cakery

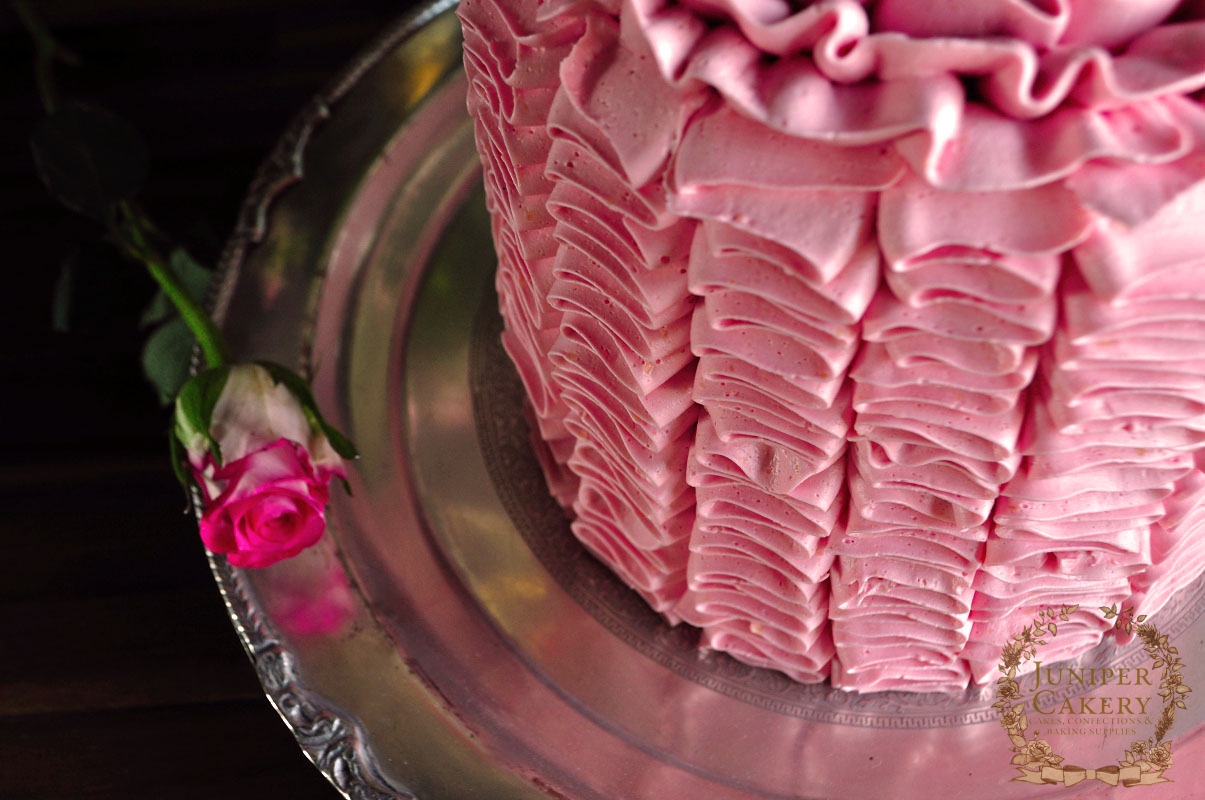
Ruffle Champagne Cake by Juniper Cakery

White Champagne Cake (makes three 9 inch diameter layers one inch deep)

453g Self-raising flour
453g Butter
453g Caster sugar
453g Egg whites from The Happy Egg Co. eggs
400ml Champagne or 12-18 drops of champagne essence

Pre-heat an oven to Gas Mark 3/325F/170C.

In a saucepan add the 400ml of champagne, set to boil then simmer until reduced to half the amount. Set aside to cool.

Cream your butter in a mixer then add the sugar. Add in the flour along with half of the happy eggs for around one minute. Once half of the happy eggs are combined add the remaining eggs along with the champagne or champagne essence. Mix for about 5 minutes.

Pour batter in the pan around 2cm in height and place on the top shelf. Bake for around 40-50 minutes. Repeat this step to create your second and third layer. When all layers are baked leave them to cool fully as you prepare your buttercream!

Ruffle Champagne Cake by Juniper Cakery

Ruffle Champagne Cake by Juniper Cakery

Strawberry and White Chocolate Buttercream

500g Diced/chopped butter at room temperature
300-400g Icing sugar (keep testing when adding to make sure it is the consistency and sweetness you like)
6-12 Drops of strawberry extract
150g Melted white chocolate
Pink gel paste food colour

Add half of the of butter into your mixer and cream. Then gradually add icing sugar and the remaining butter (cut into cubes) until you get a smooth, creamy texture. Add in the melted chocolate and then add the strawberry essence to taste with some pink gel paste food colour.

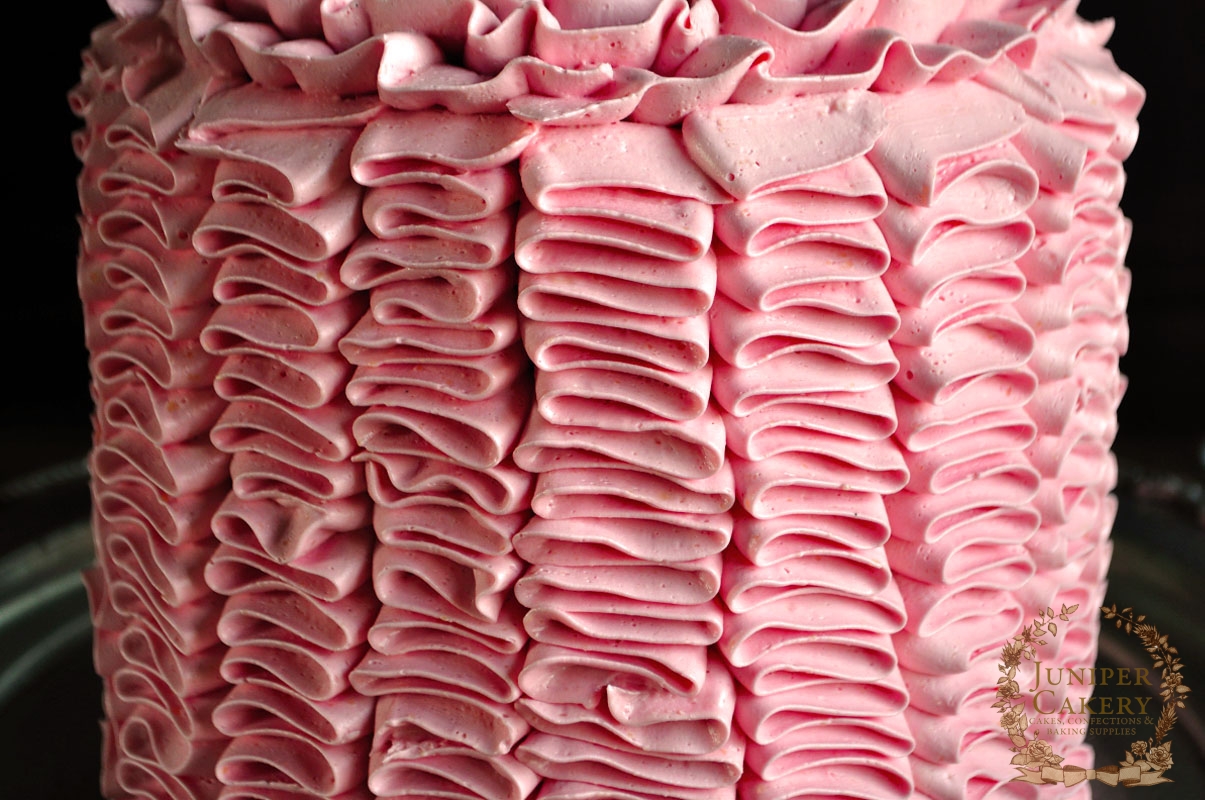
To assemble you need to stack your layers with your buttercream sandwiching them together; now you need to crumb coat your cake. A crumbcoat is a thin layer of buttercream or ganache that seals in the crumbs before being fully iced or covered. With a good angled spatula smoother some of the buttercream atop and around the sides of the stacked cake until covered. Chill in a refrigerator for 20-40 minutes. Once chilled remove and cover with the rest of your strawberries and white chocolate buttercream using a spatula. We covered ours with soft buttercream ruffles for a romantic look.

Ruffle Champagne Cake by Juniper Cakery

We hope you’ve enjoyed our year of various cake recipes utilising eggs from The Happy Egg Co. as we have and that we’ve inspired more people to try their hand a new skill… or several.


Ruffled Golden Acorn Cake with Craftsy.com!

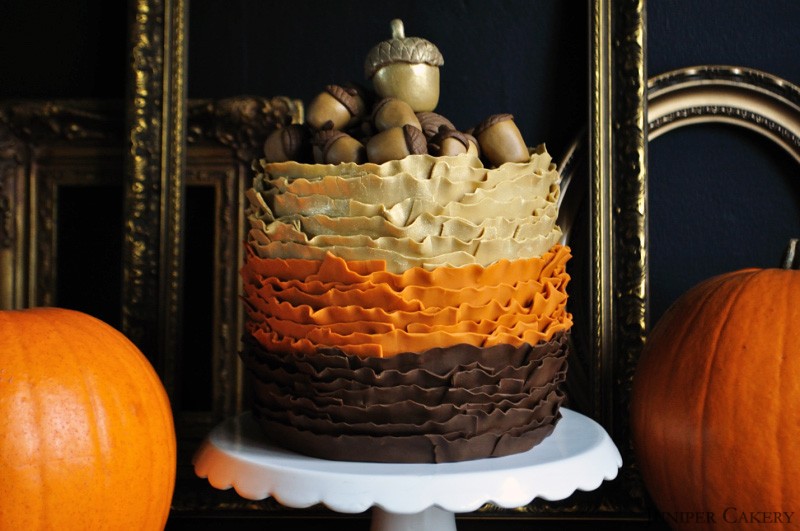
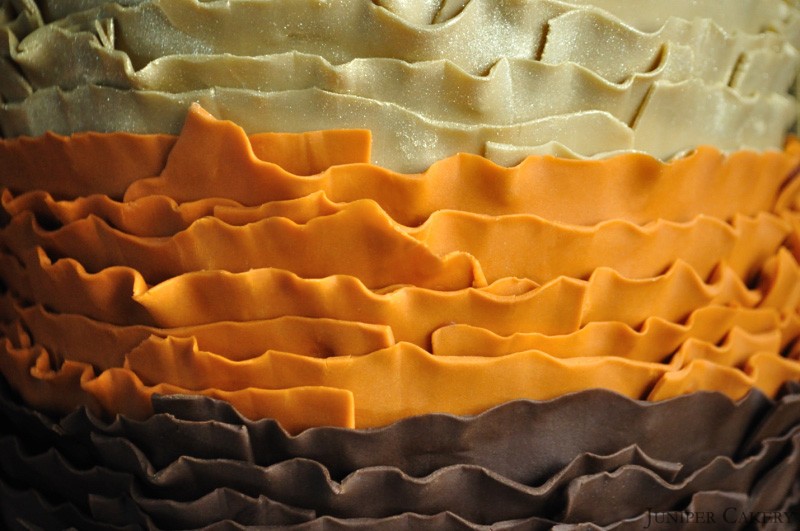
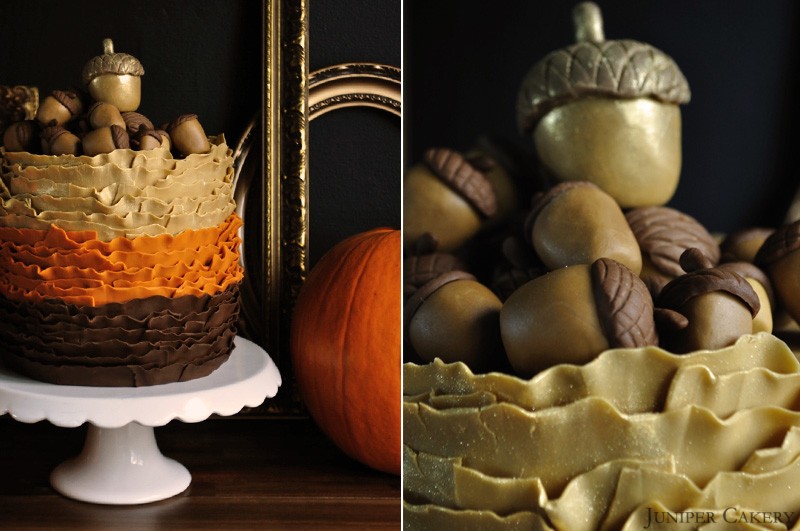
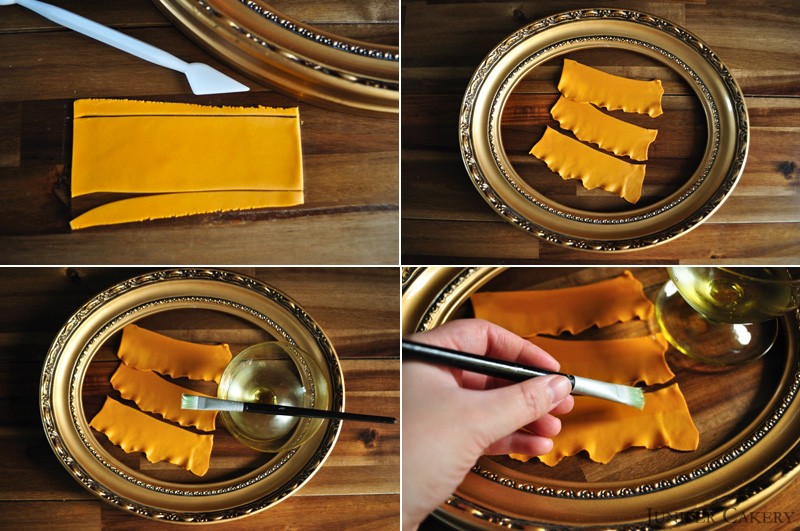
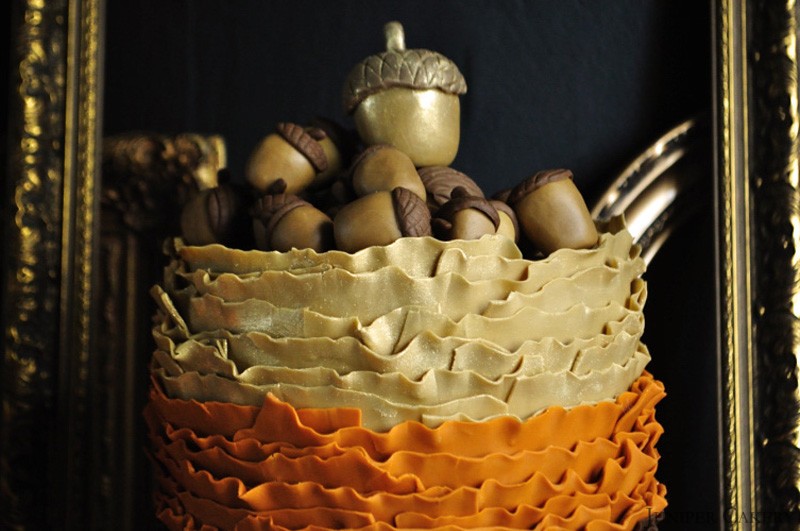
Last week we used Maggie Austin’s Fondant Frills tutorial, via Craftsy.com, to add ruffles to our spooky Witches’ Cauldron cake. Though this technique is certainly not out of place on extravagant wedding cakes the grey and black ruffles we used suited our Halloween cake perfectly! This week we’ve used a rich chocolate brown, glimmering gold and burnt orange to create a glamorous autumnal cake using the same method. We thought the frills on the Witches’ Cauldron cake resembled rugged rocks assenting a cliff face and we believe these frills resemble delicate, crunchy leaves; perfect for the season!

Ruffled Golden Acorn Cake with Craftsy.com

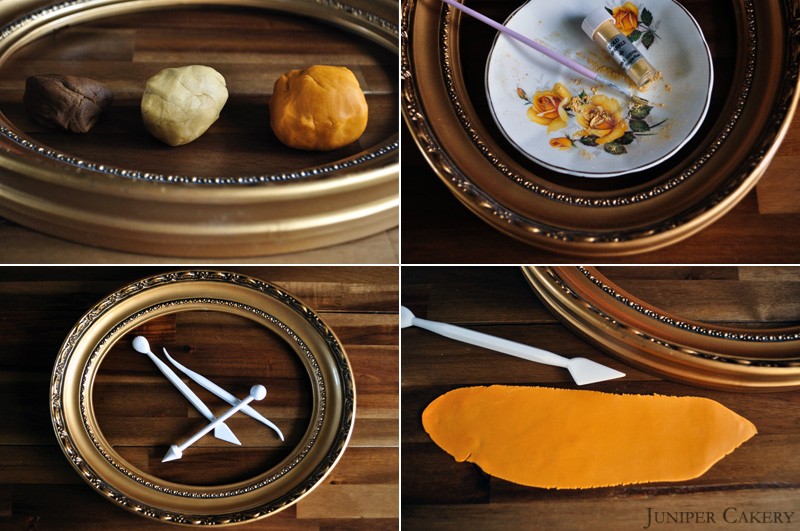
To find out how to create the gorgeous, delicate ruffles we used to decorate our Golden Acorn cake visit Craftsy.com for 25% off of your first cake decorating course. In Maggie Austen’s Fondant Frill class you’ll discover how to make your own flower paste / gumpaste, achieve a pretty ombre look, and create sumptuous cabbage roses. Why not catch the crafting and cake decorating bug in time for the festive season? You’ll be pretty darn popular when Thanksgiving, Christmas or Hanukkah arrives and you’ve created stunning ruffled mini cakes for everyone you love! We had so much fun frilling out fondant strips for our Golden Acorn cake and the dramatic yet subtle texture is perfect for lots of different projects. We’re already thinking of snowdrift themed tiers of ice blue and white ruffles teamed with shimmering hand painted snowflakes and quilting.

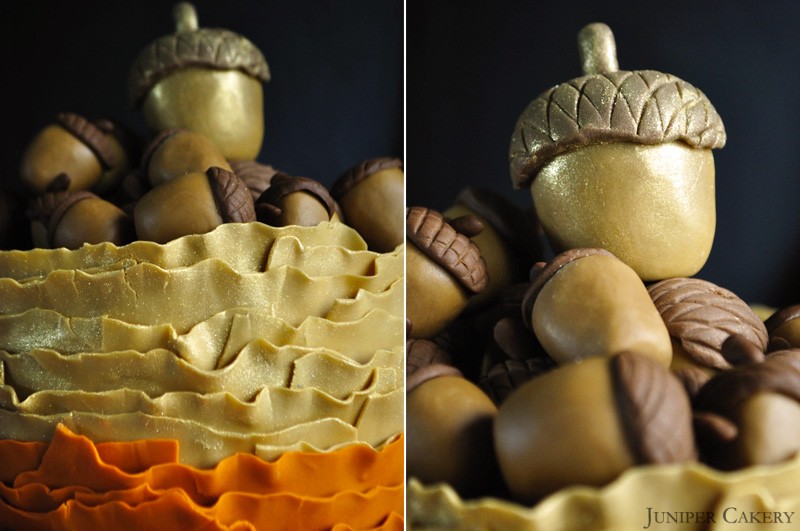
To decorate our cake we created lots of sugarpaste / fondant acorns to topple atop of our warm hued ruffle cake including one large golden acorn perched at the top; perfect for a playful yet glamorous cake. Of course, if you’re thinking of trying out this cake at home and lack the time we had why not fill the top of your cake with chocolate truffles, crumbled cookies, juicy berries or cracked walnuts.

Underneath the rich myriad of ruffles is a delicious chocolate, pumpkin and vanilla Neapolitan style layer cake filled with vanilla buttercream making this cake even more irresistible. With cold and blustery months ensuing this cake is the perfect centrepiece to cosy family get-togethers and dinners. Give our recipe below a try for a decadent treat!

Chocolate cake layer (makes one 1 1/2″ thick 8″ in diameter layer)

165g self-raising flour
165g caster sugar
165g butter
3 to 4 medium eggs
70g cocoa powder

Vanilla cake layer (makes one 1 1/2″ thick 8″ diameter layer)

165g self raising flour
165g caster sugar
165g butter
3 medium eggs
2 teaspoons vanilla extract

Pumpkin cake layer (makes one 1 1/2″ thick 8″ diameter layer)

165g self-rasing flour
165g caster sugar
165g butter
3 eggs
1/2 teaspoon of clove
1/2 teaspoon cinnamon
1/2 teaspoon allspice
1/2 teaspoon ginger
1/2 teaspoon nutmeg
80g pumpkin puree

Pre-heat your over to Gas Mark 3 / 160C / 325F and prep your 8″ circle cake pans with cake release. With each layer mix the appropriate ingredients by creaming your butter and sugar first. When pale and creamy add your eggs and any flavourings (such as cocoa powder, spices, pumpkin puree and extracts). When combined add the flour. Mix well and then pour your silky batter into your cake pan. Bake from around 25 minutes to 40 minutes or until a cake tester comes out clean when tested.

Leaving all of your cake layers to cool on a wire rack start preparing your vanilla buttercream.

Vanilla buttercream

300g butter (stay clear of low fat spreads due to the larger water content)
350g-400g icing / confectioner’s sugar
2 bourbon vanilla pods
1 tablespoon of room temperature water

To begin your buttercream dice up your butter into small cubes before adding them into the bowl of a stand up mixer and creaming until smooth and silky. Once creamed gradually add in the icing sugar by adding a little and leaving to combine in the mixer for approximately 10 seconds. Repeat this until you have a consistency you like. Add in the seeds from the inside of a bourbon vanilla pod. To do this slice the pod in half, to scrape out the seeds inside and pop them into the buttercream. Mix for another 10 seconds.

Now you can stack up your cakes! Our layers consisted of the chocolate first, then a layer of vanilla buttercream, the layer of spiced pumpkin, some more vanilla buttercream and finally the vanilla cake layer. When decorating our striped ruffles corresponded with the cake layers hidden inside! Once your layers are stacked prepare your cake with a smooth crumb coat, chill for an hour, ice with roll out icing / fondant and make your way to Craftsy.com for Maggie Austen’s Fondant Frills class to re-create the delicate ruffles!

Craftsy.com provides online education for creative enthusiasts so they can turn their ideas into reality.Crafty’s online cake decorating courses allow you to learn at your own pace whenever you choose! Click here to receive 25% off your first cake decorating course with Craftsy.

This is a sponsored conversation written by Juniper Cakery on behalf of Craftsy. The opinions and text are all ours.


Witches’ Cauldron Cake Using Craftsy.com’s Fondant Frills Class!

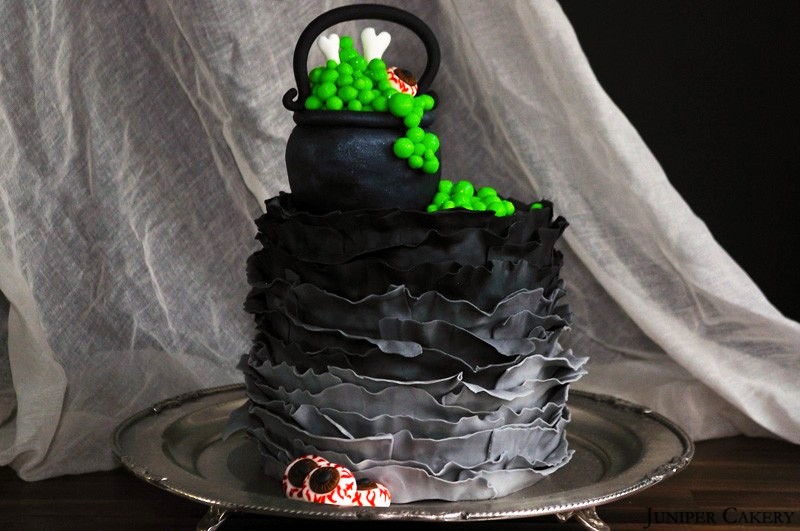
We’re always excited to try out new techniques, recipes, styles and tastes circulating in the cake decorating industry. With this in mind we were more than happy to give Maggie Austen’s famous ruffled fondant method a go courtesy of Craftsy.com!

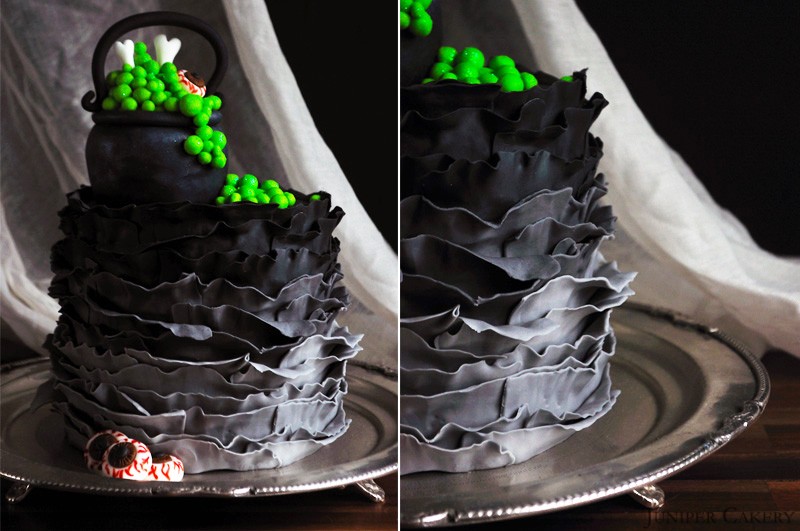
Witches' Cauldron Ruffle Cake

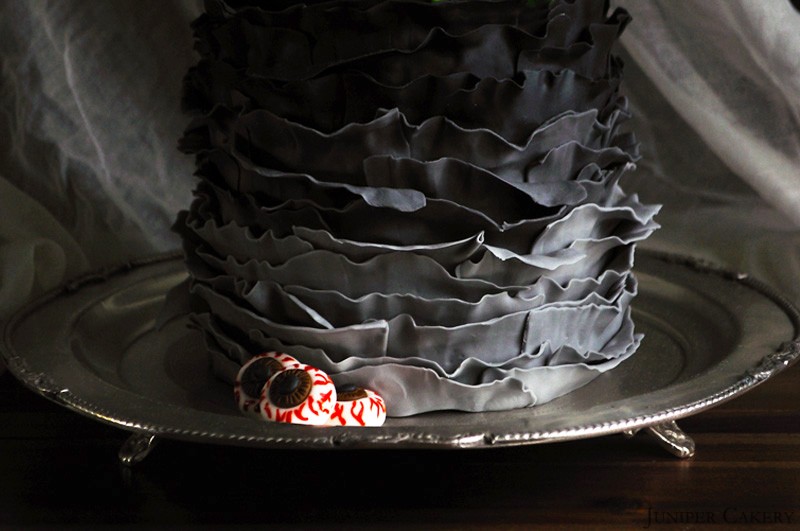
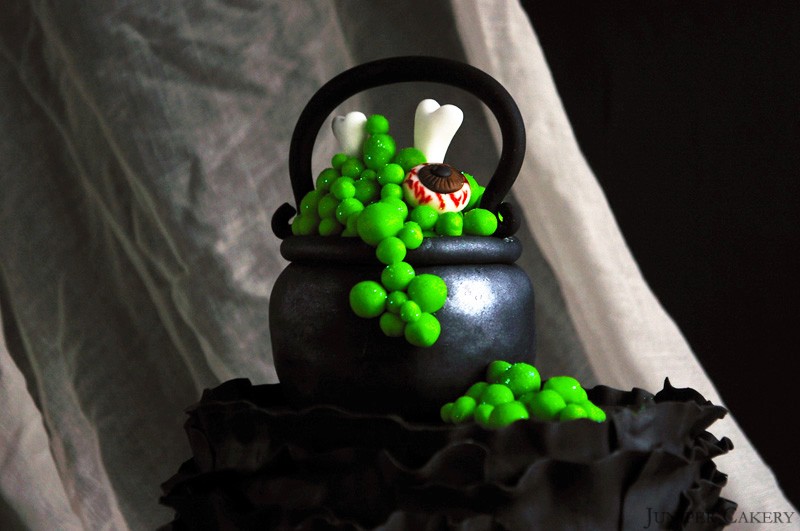
This frilling technique is perfect for so many cake designs; not just for romantic wedding tiers. These sumptuous ruffles would add a dramatic finish to any homemade dessert from birthday surprises to Christmas gateaux and, of course, to any ghoulish Halloween cake! Though we hadn’t seen a ruffled Halloween cake before we thought this was the perfect opportunity to give it a go. As a result here’s our finished spook-tacular Witches’ Cauldron cake made using Maggie Austen’s Fondant Frills class. We would have usually rolled the strips of fondant much thinner to create delicate ruffles but in this instance we deliberately created sightly chunkier ruffles to translate the feel of jagged rock face leading up to the poisonous witches’ cauldron sitting atop.

At Craftsy.com you can learn a wealth of fun D.I.Y techniques and projects including cake decorating, sewing, knitting and embroidery as well as lots of lovely ideas for your home and garden. For cake decorating enthusiasts in particular there’s a wealth of fun classes and tutorials to help create gorgeous cakes and cupcakes. Why not try out Craftsy and get 25% off your first ever class just in time for the holidays!

Witches' Cauldron Ruffle Cake

The wonderful thing about learning online is the ability take things at your own leisure. Everyone has a list of commitments, responsibilities and jobs that already take priority so being able to start or pause a class on your favourite hobby obviously really helps. At Juniper Cakery we find ourselves inundated with a billion tasks and urgent post-it notes per day so when it comes to our own past times learning online is a lifesaver. At Craftsy.com classes can be saved, played and paused for when you have some spare time. Fantastic for busy lives!

Witches' Cauldron Ruffle Cake

Maggie Austen’s Fondant Frills class on Craftsy.com includes a wealth of ideas and tips to help create decadent and textured cakes. A few techniques in this class include how to make your own flower paste / gum paste, how to achieved subtle yet stunning ombre ruffles and how to create beautiful cabbage roses to nestle atop your creation. With so many things to learn in one class we’re pretty certain that you won’t want to stop! Why not create rainbow ruffles for a vibrant birthday, adorn the top of a pretty frilled cake with lots of delicate handmade roses or make a ghoulish Halloween mummy cake by using the Fondant Frills tutorial to re-create bandages.

Witches' Cauldron Ruffle Cake

Craftsy.com provides online education for creative enthusiasts so they can turn their ideas into reality. Craftsy’s online cake decorating courses allow you to learn at your own pace whenever you choose! Click here to receive 25% off your first cake decorating course with Craftsy!

This is a sponsored conversation written by Juniper Cakery on behalf of Craftsy. The opinions and text are all ours.


×