Hoppy Birthday Giant Cupcake

DSC_0033

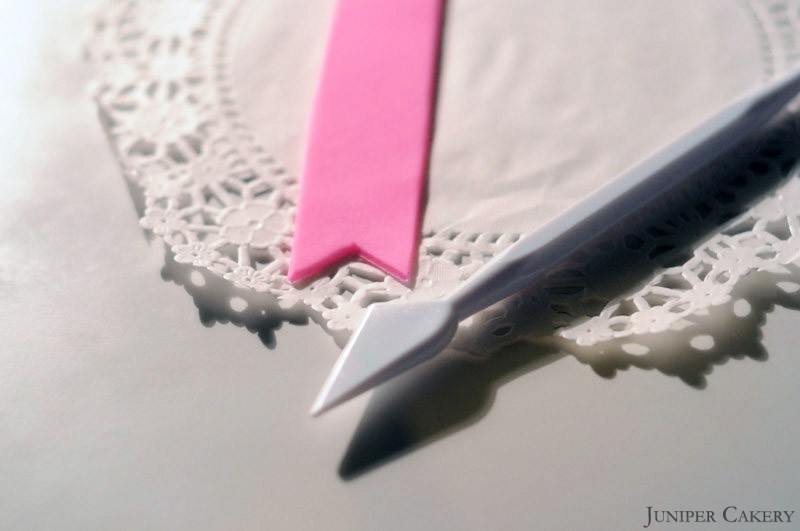
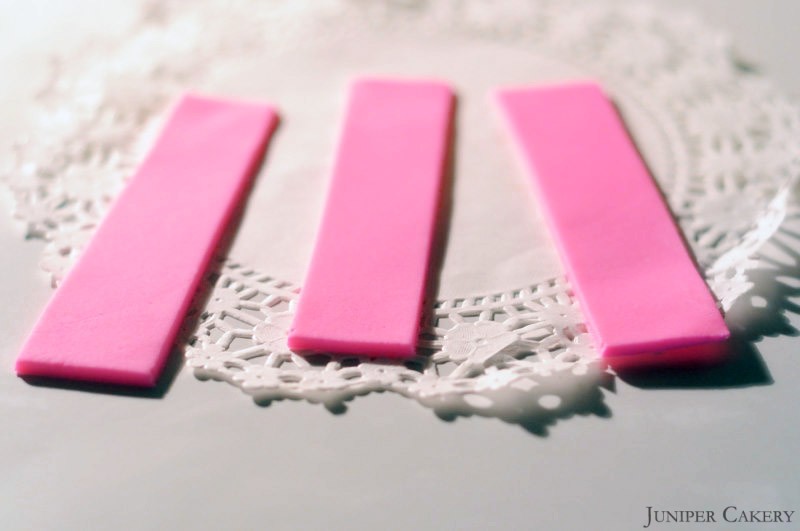
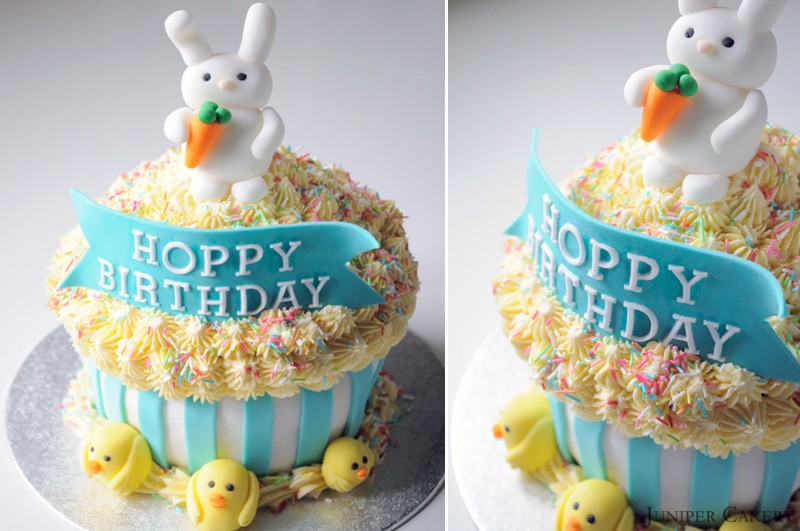
We had lots of fun creating and sharing our Easter tutorials last week! By the end of the week we had to create a fun Easter themed birthday cake for a family member. We decided that our Easter bunny and chicks would be perfect nestled on top of a bright giant cupcake! We teamed our cute  little characters with rainbow sprinkles, and a flowerpaste banner coloured with Squires Kitchen’s Bluegrass gel paste colour for a playful brightness. If you need to re-create this cake why not play with different sprinkles and colour; use flower shaped sprinkles on top of green buttercream for a lovely garden theme, or use Oreo crumbles as patches of soil!
Hoppy Birthday Giant Cupcake

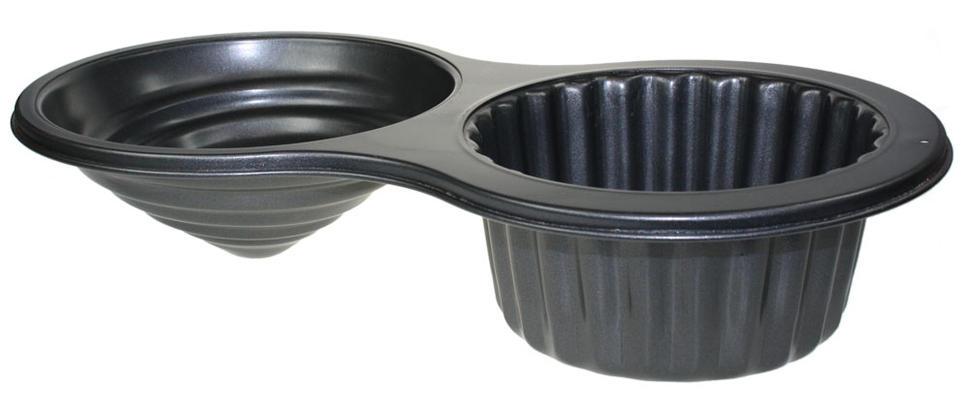
To create our giant cupcake we used our giant cupcake pan and the following recipe…

7-8 eggs
453g self raising flour
453g granulated sugar
453g butter

NOTE: If you add cocoa powder to create a chocolate cake add some extra butter or an extra egg to make up for the extra dry ingredients.

To make the cake cream the butter in a mixer then add the granulated sugar. Add in the flour along with half of the eggs for around one minute. Once half of the eggs are combined add the remaining and mix for approximately 5 minutes.

Once fully mixed pour into the ‘cupcake case’ section of your giant cupcake pan. The ‘buttercream’ or ‘top’ section of the giant cupcake is more shallow and needs less time to bake so the batter to this half needs to be added when the ‘cupcake case’ section is half baked (usually around 20-30 minutes).

Set the cake pan with the ‘cupcake case’ section filled only place on the top shelf of a pre-heated oven at Gas Mark 3/325F/170C. Bake for around 40 minutes to an hour. Keep checking by using a cake tester pushed in and drawn out of the cake’s centre (if the skewer comes out clean then your cake is done).
 

Hoppy Birthday Giant Cupcake


Easter tutorial week: How to make a confetti cake!

Easter tutorial week: How to make a confetti cake!

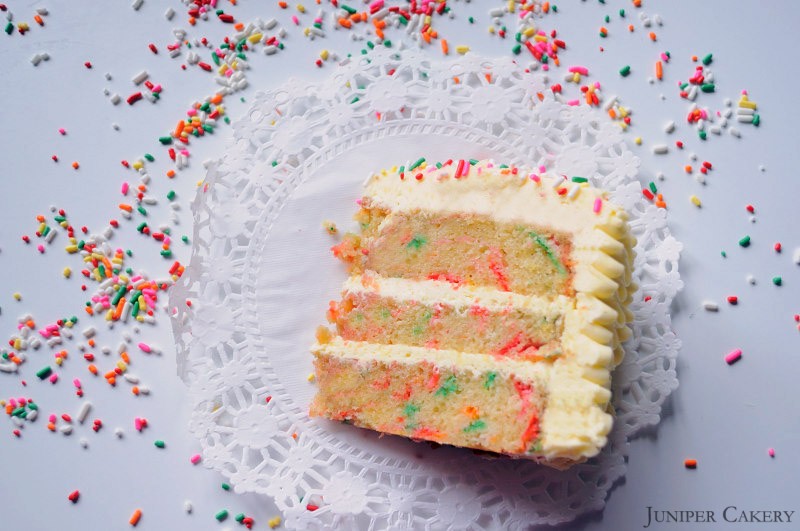
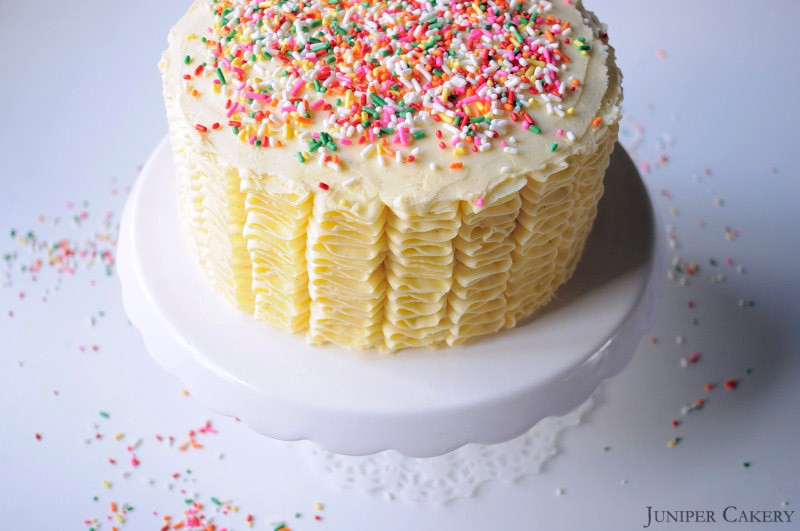
In this tutorial we show you how to make a colourful confetti cake! This fun cake is perfect for all occasions and celebrations and, with the help of some wax covered sprinkles, it is also quick and easy. Once a confetti cake is cut the colours will burst out and the decoration possibilities are endless. Why not go sprinkle crazy and cover the outside with rainbow jimmies, nonpareils or pearls for an ultimate explosion of colour and a little extra crunch! To begin this tutorial take a look at what you will need below.

Easter Tutorial: How to make a confetti cake!

Easter tutorial week: How to make a confetti cake!

What you will need:

Wax covered sprinkles (we used Rainbow Jimmies Sprinkles by Wilton)
Your favourite cake recipe

First step: Mix together the ingredients from your favourite cake recipe in a bowl or mixer until smooth.

Easter tutorial week: How to make a confetti cake!

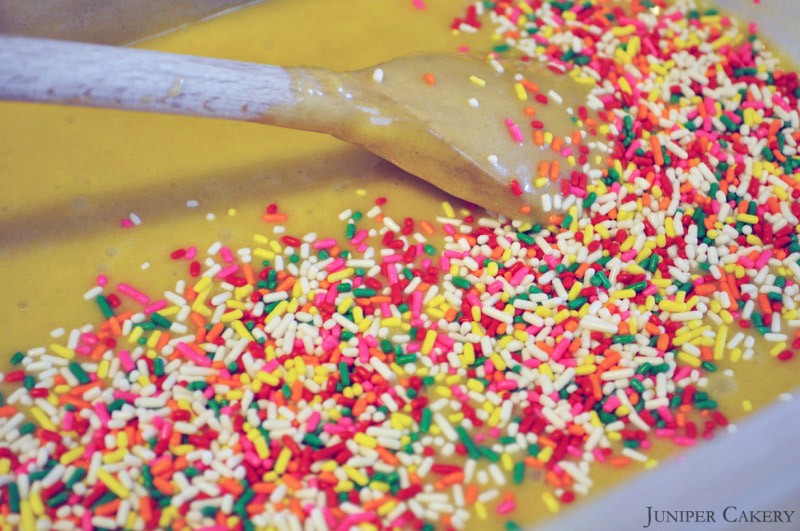
Step two:  Pour in the sprinkles and mix until they’re evenly distributed. At this stage you can decide how many sprinkles to include depending on what result suits you best.

Step three: Bake your cake mix on the same heat you usually would, however, it may need a little longer in the oven as the sprinkles can change the consistency and even add moisture. Check regularly with a cake tester to ensure you don’t over bake.

Easter tutorial week: How to make a confetti cake!

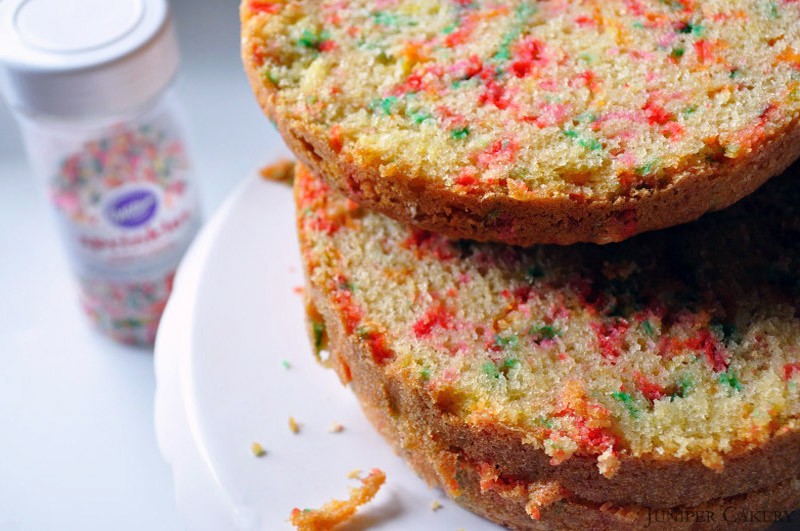
Step four: Once your cake is ready you should be able to see the bursts of colour from the sprinkles which will have exploded with the heat. If this has happened your cake is ready to cool.

Easter tutorial week: How to make a confetti cake!

If you have followed this easy, step-by-step tutorial you will now have your very own confetti cake! If you don’t want to use sprinkles for your cake we recommend these Colourburst Batter Bits by Wilton which are made specially for confetti cakes. These are also available in red, green, blue, orange and pink. Why not mix and match them, make a one-colour confetti cake or even create a cake with alternate layers of confetti! Take the tips from this tutorial but don’t be afraid to put your own spin on this simple cake. It would look great at any themed party covered in lashings of buttercream, iced in brightly coloured fondant or  even just being enjoyed at home with a cup of tea.


Easter Tutorial Week: How to make an edible looped bow!

Easter Tutorial Week: How to make a sugarpaste looped bow!

In this tutorial we show you how to create your own fantastic looped bow out of modelling flower paste. Sometimes there is nothing better and more striking to nestle on top of a bright and vibrant cake than a good ol’ looped bow! Who wouldn’t love a cake that looks like a present? It’s fun, eye-catching and guaranteed to wow both children and adults.

You can play with colour, texture (why not emboss your paste or change the stitching detail), size, add a message along a loop or even hand paint your bow to match your cake. Why not making mini ones for cupcakes too!

Easter tutorial: How to make an edible looped bow!

Easter Tutorial Week: How to make a sugarpaste looped bow!

What you need:

Fondant rolling pin
Large knife
Coloured modelling / flower paste (or normal sugarpaste with a sprinkle of Tylo powder added)
Circle cookie or pastry cutter (approximately 2 inches in diameter)
Edible glue
Bubble wrap or kitchen roll
Candy melts
Quilting roller tool

Easter Tutorial Week: How to make a sugarpaste looped bow!

Step one: Roll out some flower paste and with the pastry cutter cut out a circle for the bow’s base

Easter Tutorial Week: How to make a sugarpaste looped bow!

Step two: With your knife carefully slice two strips (3 inches in length and 1 inch in width) of rolled our flower / modelling paste

Step three: Take two of the strips and cut v shaped notches out of one end of each strip

Easter Tutorial Week: How to make a sugarpaste looped bow!

Step four: Take your quilting toll and roll along the edges to create a lovely stitch effect to all strips of ‘ribbon’

Step five: Roll up a little bit of bubble wrap or kitchen roll to lay your bow tails over to create shape

Easter Tutorial Week: How to make a sugarpaste looped bow!

Step six: With your knife carefully slice eleven more strips (3 inches in length and 1 inch in width) of rolled our flower / modelling paste

Easter Tutorial Week: How to make a sugarpaste looped bow!

Step seven: Add the stitching details to the edges to strips. Loop all of the strips and pinch the ends together with some edible glue. Hold the loops in shape using some rolled up bubble wrap and kitchen roll. Leave to dry.

Easter Tutorial Week: How to make a sugarpaste looped bow!

Step eight: Using candy melts affix your loops to the circle base. For our bow we attached six loops onto the base and on top of those loops we fixed the bow tails on either side and then ‘glued’ four loops before adding one loop stood up in the bow’s center

Easter Tutorial Week: How to make a sugarpaste looped bow!