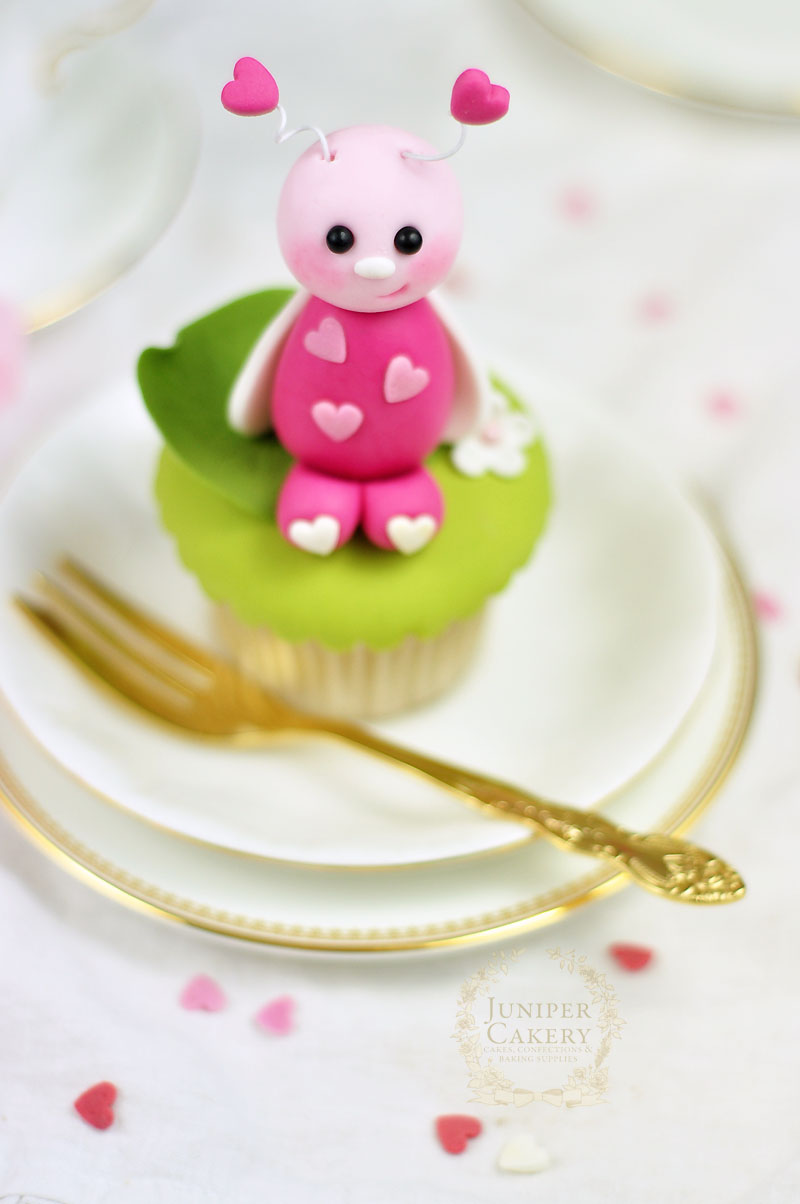
Hoppy Easter Cake Decorating: Quick and Cute Fondant Chick Tutorial!

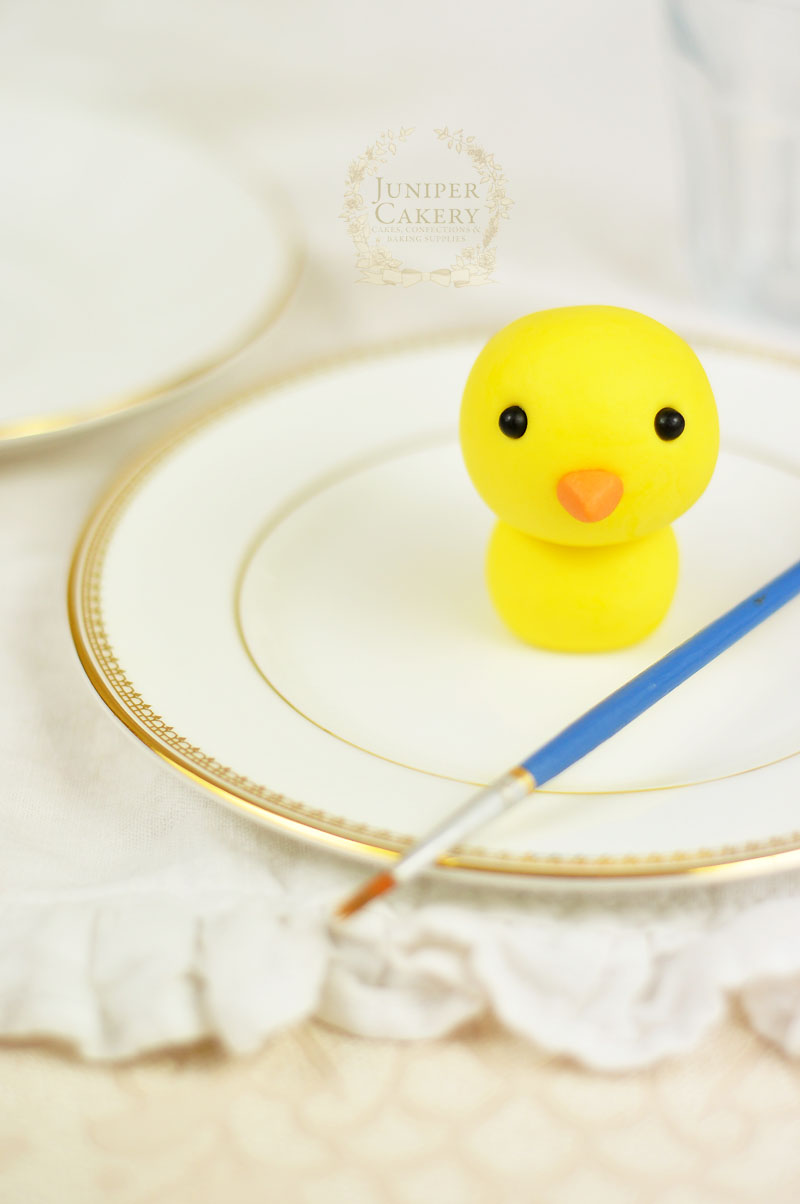
For Easter or general spring-themed treats it’s easy to feel a little overwhelmed, but why not add a little extra sweetness to your cakes with our surprisingly pain-free tutorial for an adorable fondant (or gum paste) chick! This little cutie is perfect for adding a little character to novelty cupcakes or freshly baked cakes so read on for our step-by-step guide on how to make your very own lovable little bird.

Fondant chick tutorial for cakes and cupcakes by Juniper Cakery

How to create a fondant chick tutorial…

Materials needed:

  • Yellow fondant/sugar paste or gum paste/modelling paste
  • Small black fondant balls approx. 4mm in size
  • A little orange fondant
  • Pink petal dust
  • Paintbrush
  • Edible glue
  • Uncooked spaghetti stick
  • Blade tool
  • Small ball tool
  • Small blossom cutter

Step 1:
Make a small ball of yellow fondant approximately the size of a standard marble. This will be your chick’s body.
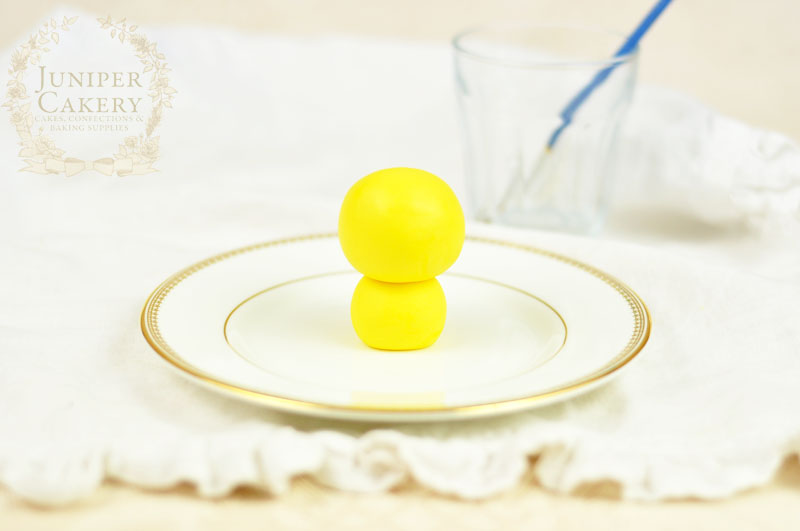
Create a sweet fondant chick with this tutorial by Juniper Cakery

Step 2:
Roll a larger ball of yellow fondant similar in size to a golf or ping pong ball. This will become the head.

Step 3:
Take a piece of spaghetti stick around 1cm longer than the first small ball of fondant you rolled and dip in edible glue before plunging carefully down the centre of your chick’s body (aka the smaller ball you rolled in step 1).

Step 4:
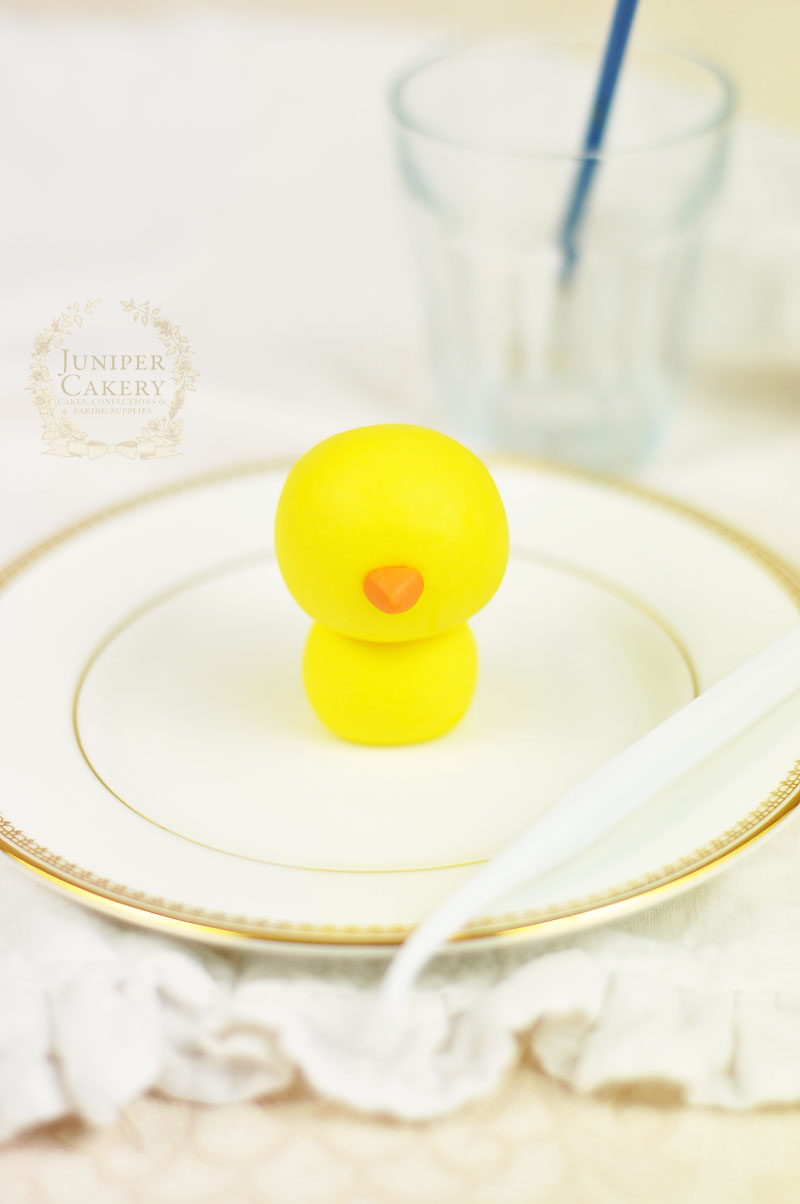
Paint the exposed part of the spaghetti with edible glue and attach the larger ball/ head onto the body.
Easter chick tutorial for cakes and cupcakes by Juniper Cakery

Step 5:
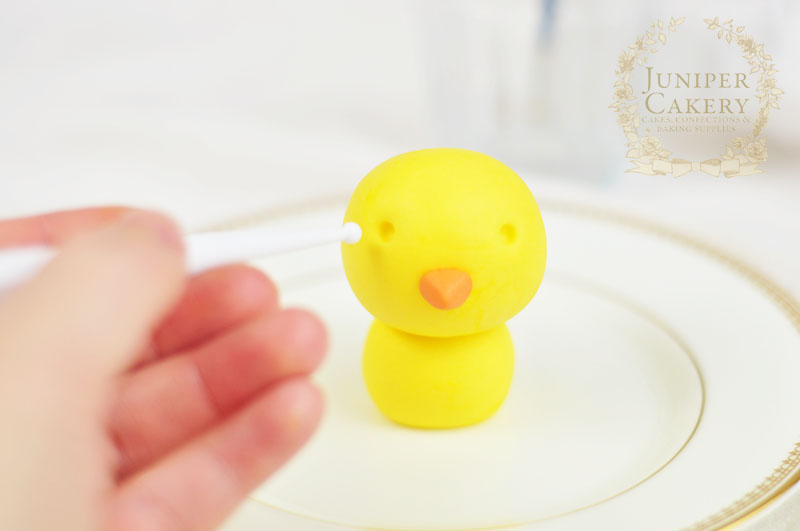
For the beak take a small ball of orange fondant and mould into a rounded triangular shape. Attach in the centre with edible glue.
Gum paste chick tutorial by Juniper Cakery

Tutorial for a cute edible chick by Juniper Cakery

Step 6:
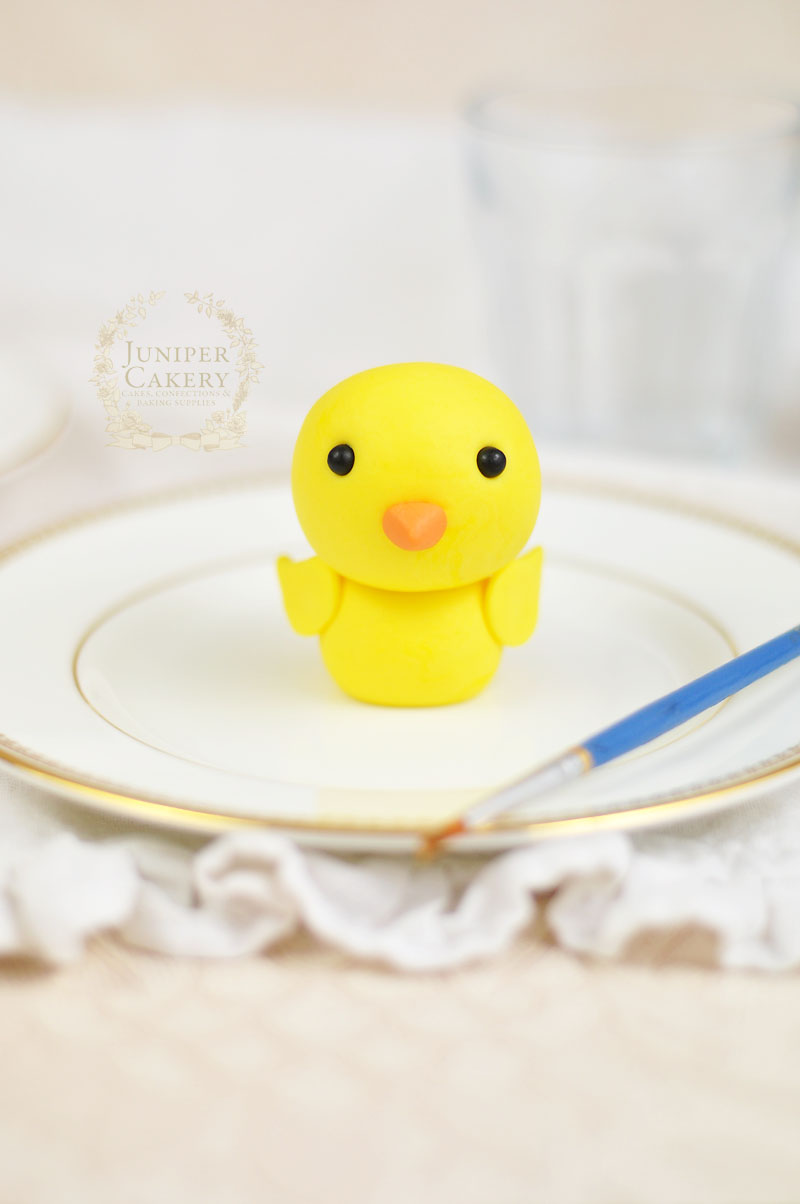
Indent two circles onto the head just higher than the middle of the ball to create the eye sockets. Attach the black fondant balls with edible glue.
Make a cute chick from fondant with this tutorial by Juniper Cakery

Easter fondant or gum paste chick birt tutorial by Juniper Cakery

Step 7:
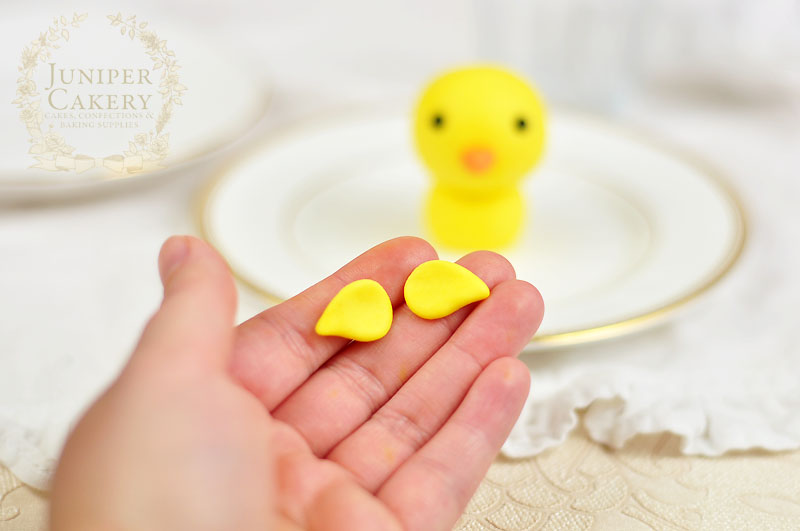
To add wings roll two equal sized balls of fondant a quarter of the size of the body. Flatten and smooth a little with your hands before pinching one side of each to form a tapered wing shape. Attach to the sides of the chick’s body with edible glue.
Step by step guide to making a fondant chick for Easter cupcakes by Juniper Cakery

Easter sugar paste chick tutorial by Juniper Cakery

Step 8:
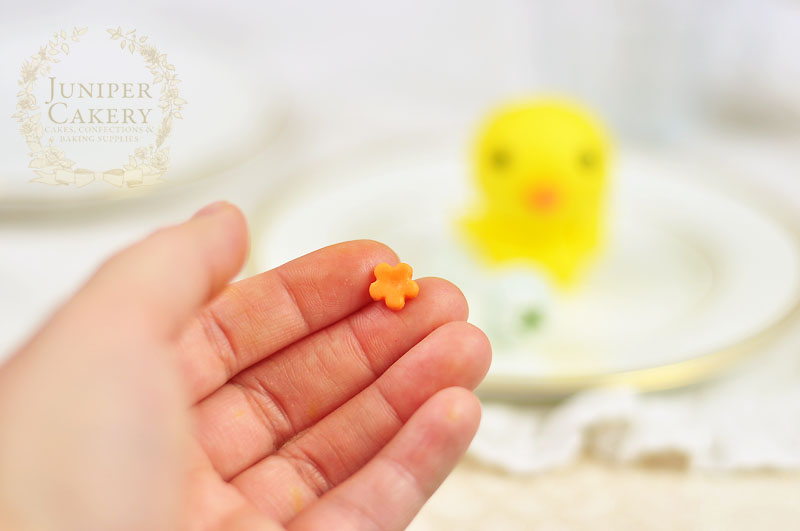
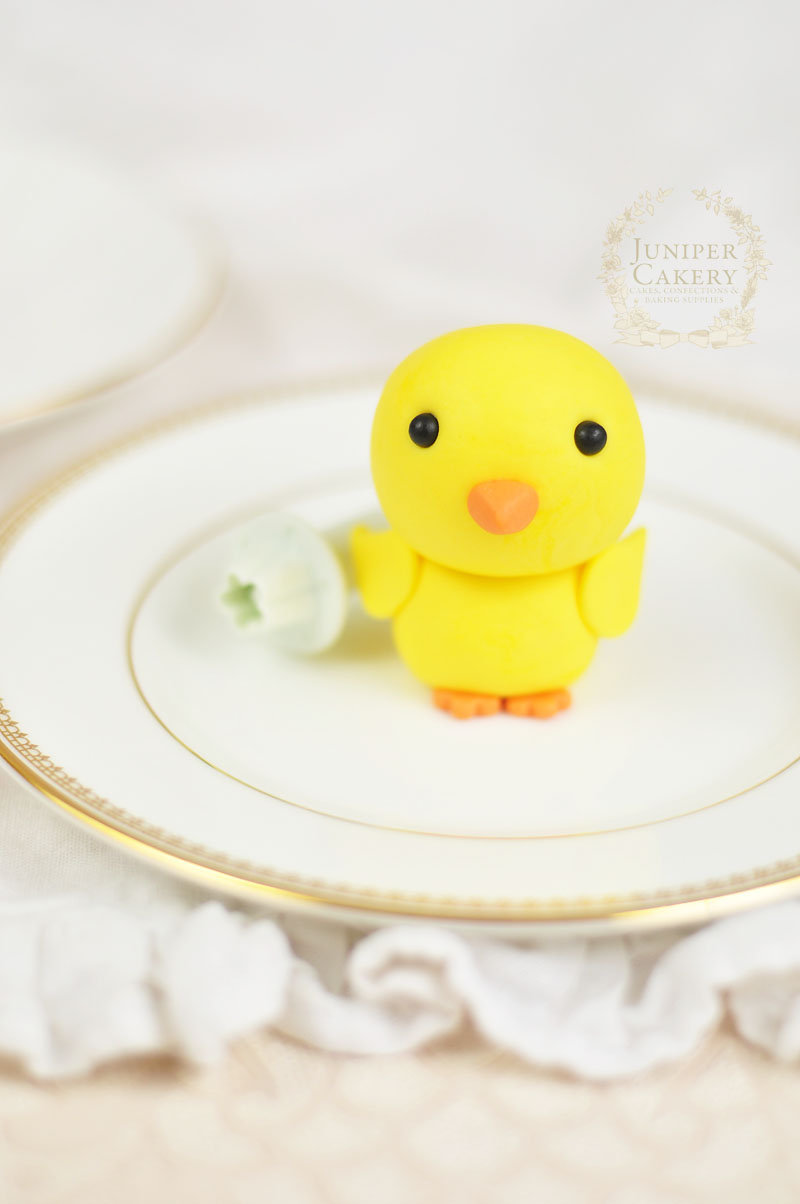
For cute tiny feet roll out some orange fondant to a thickness of around 4mm and cut two blossom shapes with a cutter of each chick. Attach to the bottom of the body with three scallops or petals of the blossom poking out from underneath.
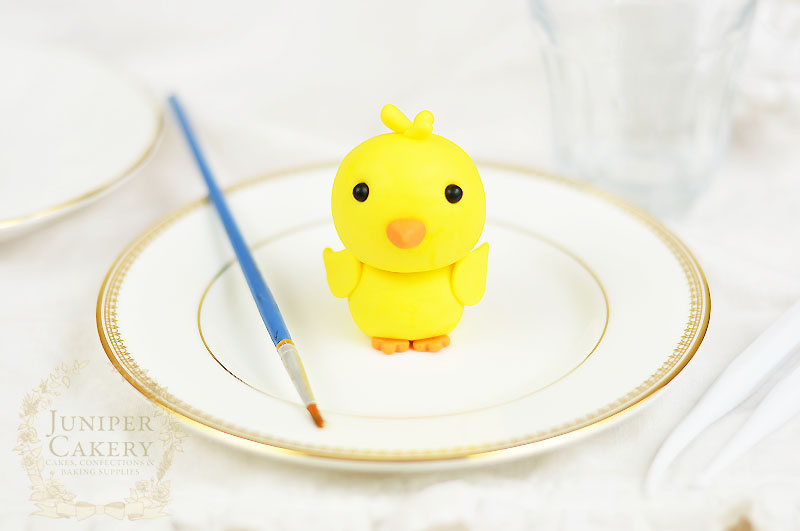
Modelling paste Easter chick tutorial by Juniper Cakery

Step 9:
If you want to add a cute little tuft of feathers on the head create three tiny teardrop shapes of yellow fondant and attach to the top with a dab of edible glue.

Step 10:
Finally add some lovely flushed cheeks with a little pink petal dust!
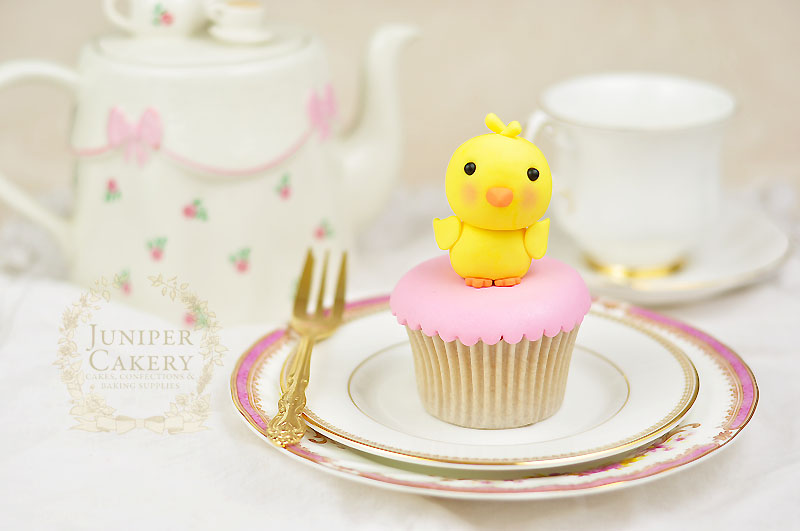
How to create a gum paste chick for Easter cake decorating by Juniper Cakery

Fondant Easter chick tutorial by Juniper Cakery

You can easily customise your fondant chick to suit so many different themed cakes and treats. Add tiny baseball caps or flags for sports themed designs, attach a bold fondant letter to them to personalise a fun party cake for someone special or change the colours (like blue for a Twitter addict)! 


Hoppy Easter Cake Decorating: How To Make a Simple Yet Sweet Bunny Rabbit!

Yes, it’s that time again and with spring paving the way for all the wonderful pastel Easter festivities it’s time for us to unveil the very first of our Easter cake decorating tutorials; how to make a simple yet sweet bunny rabbit! This adorable edible bunny would be the perfect finish to any delicious cake or cupcake so read on for our step-by-step guide!

How to create a cute and easy fondant bunny…

How to make a cute and simple fondant bunny by Juniper Cakery

Step-by-step tutorial for a fondant rabbit by Juniper Cakery

Materials needed:

How to assemble and make an edible bunny cupcake topper by Juniper Cakery

Step 1:
Take a small ball of fondant around the size of a standard marble and roll into a ball before tapering slightly into a rounded teardrop shape.

Step by step tutorial for a fondant bunny by Juniper Cakery

Step 2:
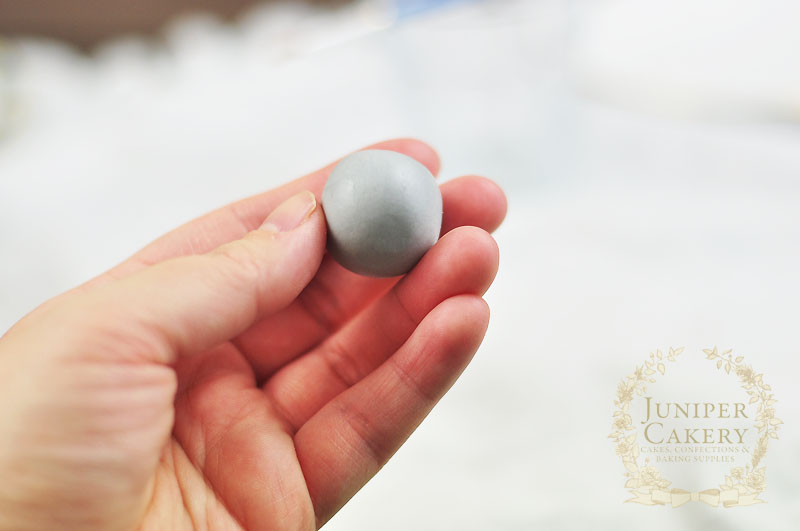
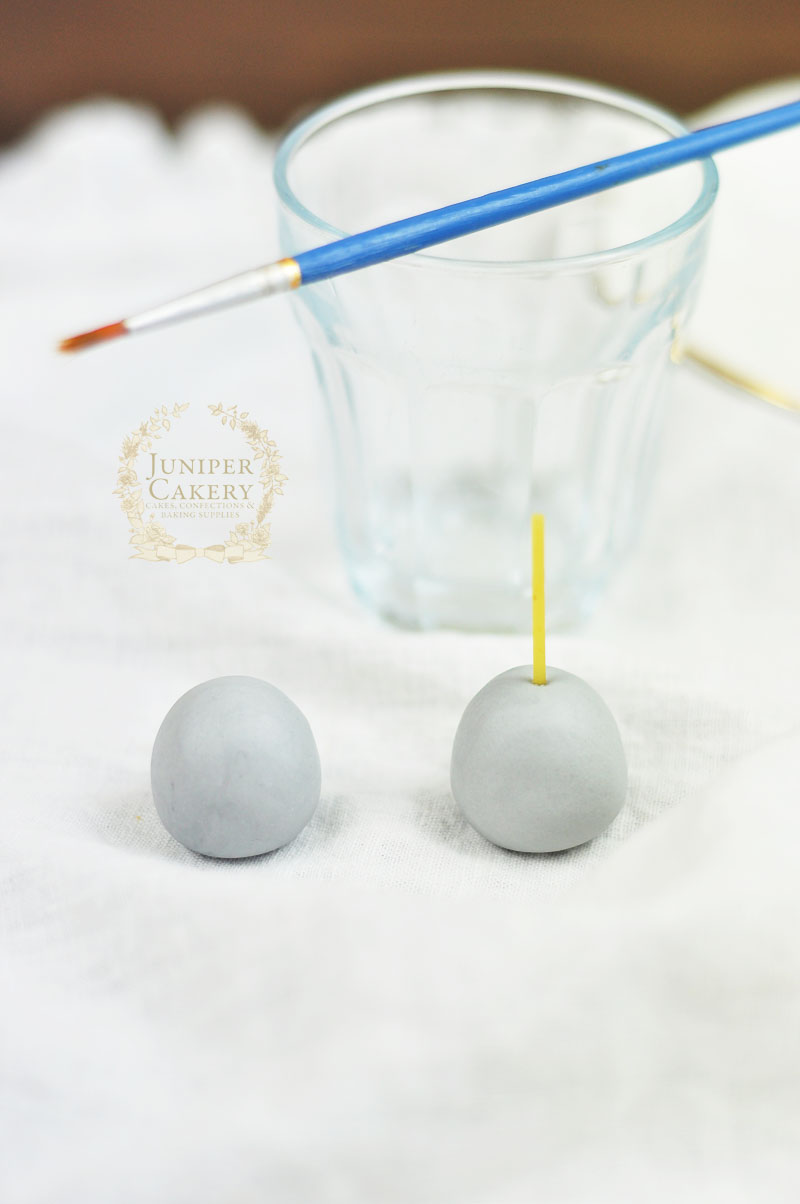
Paint a broken spaghetti stick around 1cm longer than the body you created in step 1 with edible glue. Insert into the centre of the fondant bunny’s body. Above is a photo of the fondant or gum paste ball before and then with the spaghetti stick inserted.

Make a sweet gum paste rabbit with this tutorial from Juniper Cakery

Step 3:
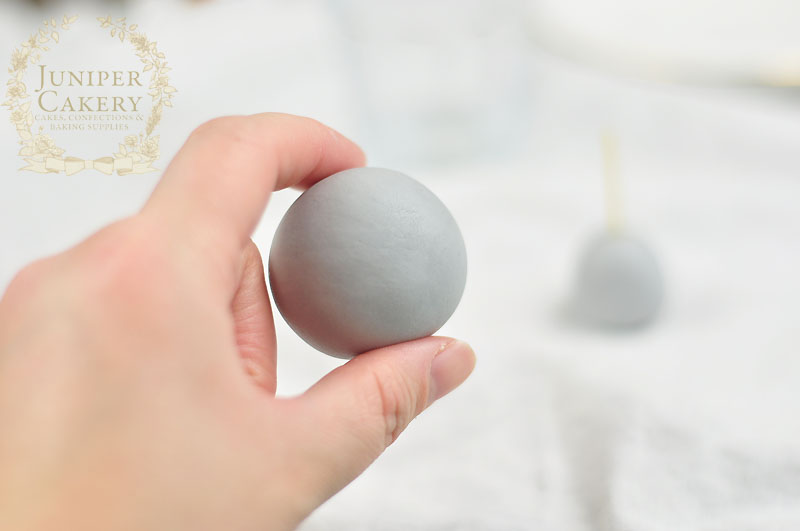
Roll a larger ball of fondant approximately the size of a golf ball. 

Learn how to make a gum paste bunny rabbit with this tutorial by Juniper Cakery

Step 4:
Add edible glue to the exposed half of the spaghetti stick and attach the larger ball of fondant on top. This will be the head of your rabbit.

Create a cute sugarpaste bunny for Easter bakes with this tutorial from Juniper Cakery

Step 5:
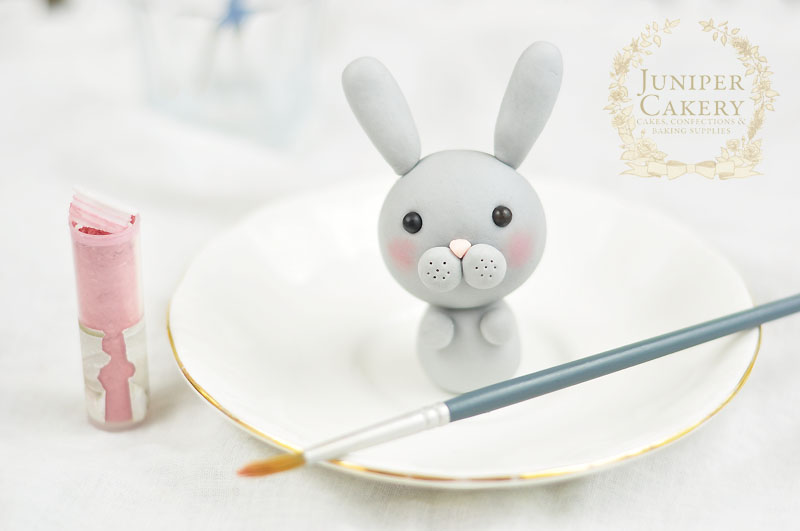
Create two tiny balls of fondant and attach midway up the head to create the muzzle. 

Easy tutorial for  bunny rabbit cupcake topper from Juniper Cakery

Edible gum paste rabbit tutorial by Juniper Cakery

Step 6:
Using a small ball tool indent two eye sockets and attach your black fondant balls into these with a dab of edible glue.

How to make a lovely Easter bunny rabbit

Step 7:
Add a tiny pink button nose with a small triangular shaped piece of pink fondant and some edible glue.

For Easter try this sweet tutorial for an edible bunny from Juniper Cakery

Step 8: 
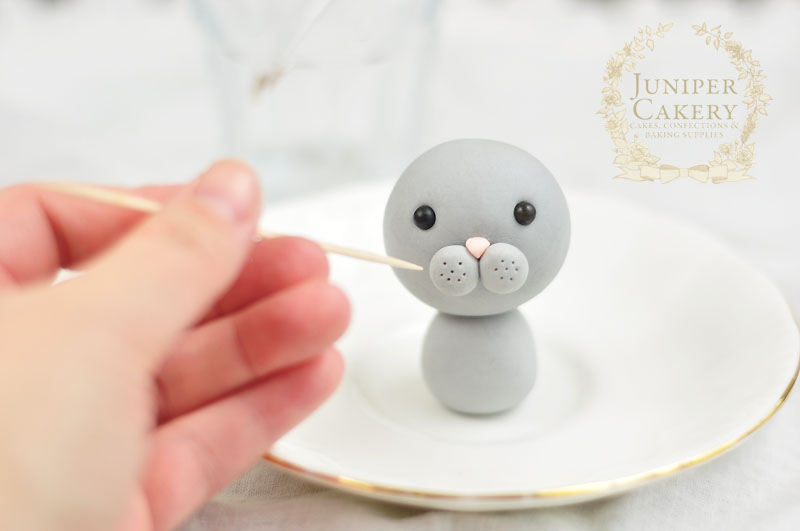
Add detail to the muzzle with a scriber tool or even the pointed end of a cocktail stick!
Fondant or gum paste rabbit tutorial from Juniper Cakery

Step 9:
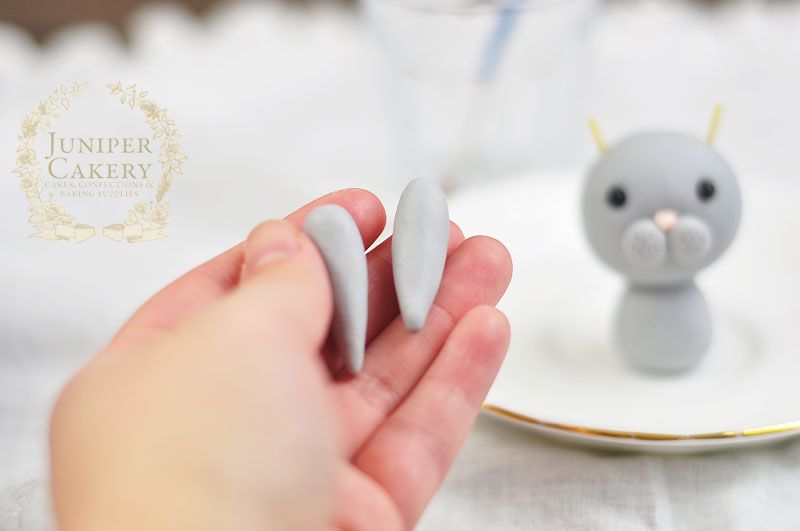
To add ears roll out two equal sized balls of fondant around the size of a small to medium bean before rolling lengthways to form long rounded teardrop shapes. 

How to make a bunny for cakes and cupcakes by Juniper Cakery

Step 10:
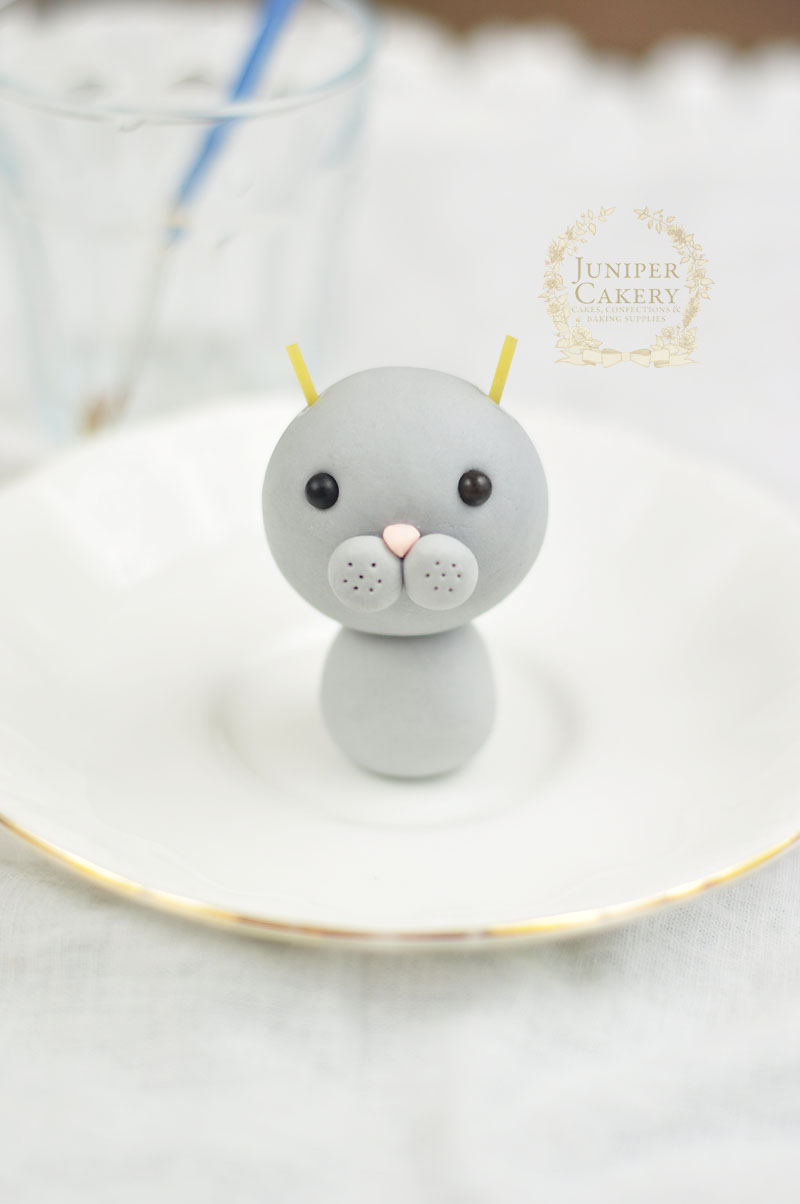
Insert two lengths of spaghetti sticks where you’d like the ears to sit. Make sure that each is the same length as the fondant ears. Paint these with a little edible glue.

Fondant bunny rabbit tutorial by Juniper Cakery

Step 11:
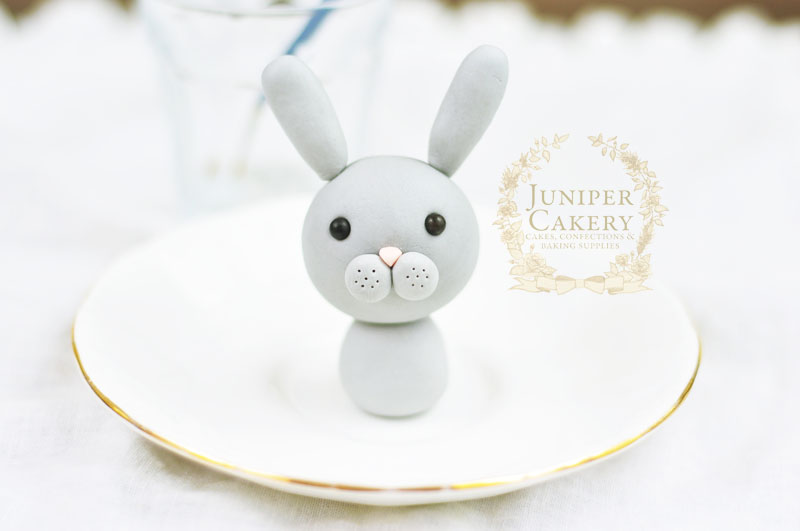
Carefully push each fondant ear onto the spaghetti and flatten slightly.

Adorable edible rabbit tutorial by Juniper Cakery

Step 12:
To create a cute bunny-like stance attach two small balls of fondant underneath it’s head. These will be adorable little paws perched just under the bunny’s face!

Made super cute bunny rabbits for Easter cakes with this tutorial from Juniper Cakery

Step 13:
Add some flushed cheeks to your bunny with some edible petal dust.

Adorable fondant bunny cupcake by Juniper Cakery

Create a cute gum paste edible Easter bunny with this tutorial from Juniper Cakery

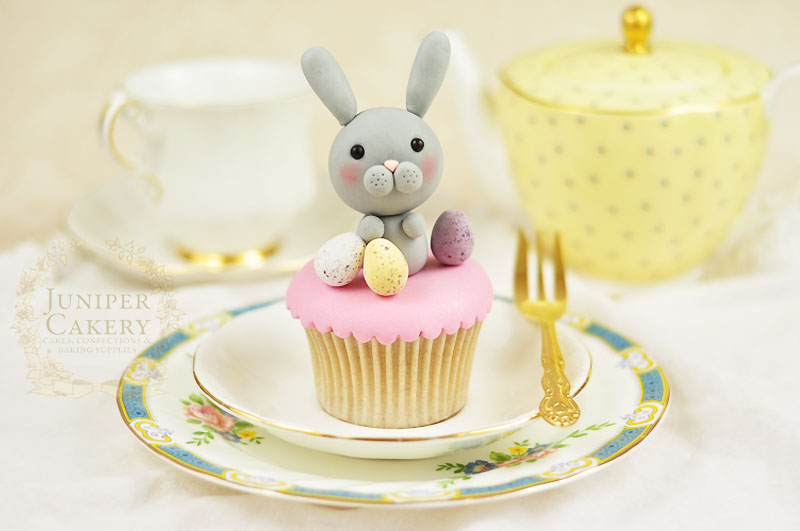
If you’ve followed our tutorial step by step then you should now be faced with one wonderfully sweet little bunny ready to nestle into a freshly buttercream cupcake or attach on top of an iced cake; ready just in time for a fun Easter party!


Tutorial Tuesday: How To Make a Fondant Love Bug!

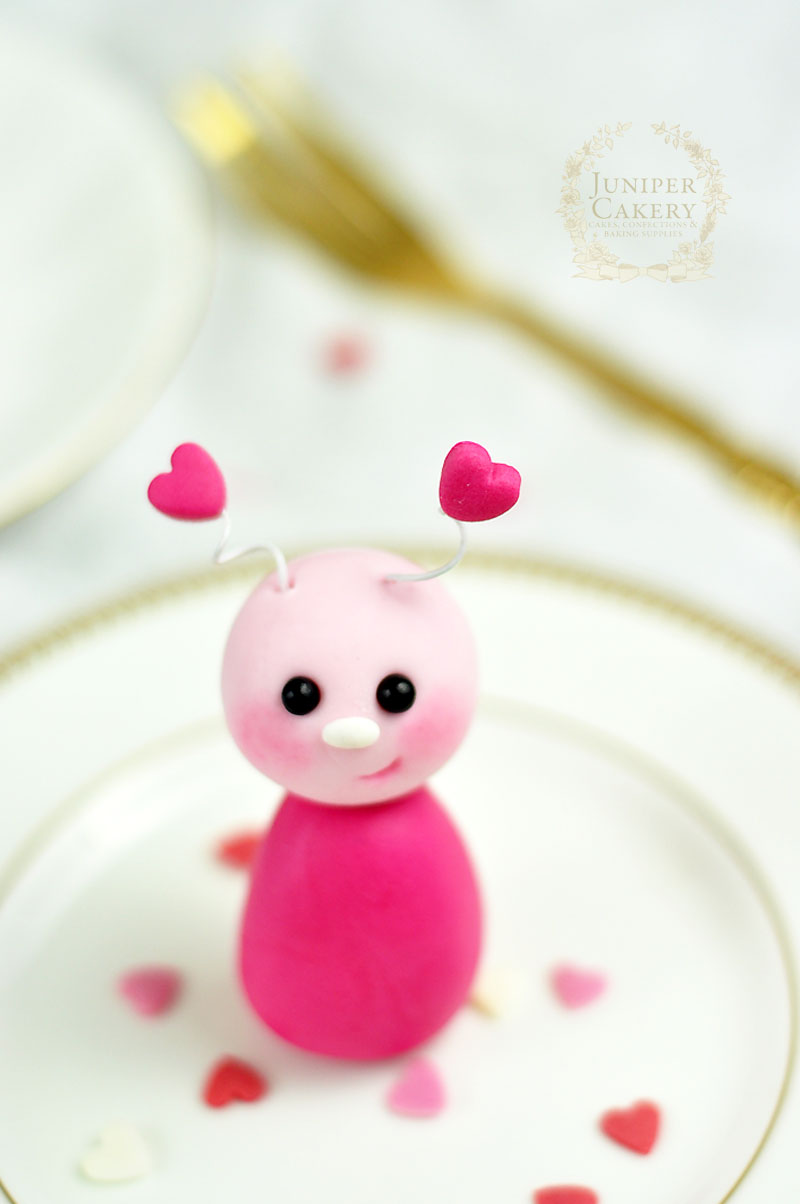
It’s Valentine’s Day around the corner and love certainly is in the air for our adorable little love bug! This fun and wonderfully cute tutorial is surprisingly pain-free so why not follow our step by step guide and create a heart-warming collection of Valentine cupcakes for your sweetheart?

Fondant love bug tutorial to fall head over heels for!

Valentine's Day cupcake decorating tutorial on how to make a cute edible love bug from Juniper Cakery

Valentine Love Bug cupcake tutorial by Juniper Cakery

Materials needed:

How to make a fondant love bug for Valentine's Day by Juniper Cakery

Step 1:

Make a medium size ball of soft pink fondant / sugar paste with a small amount of tylo powder added… 1 teaspoon per 250g of paste).

Step 2:

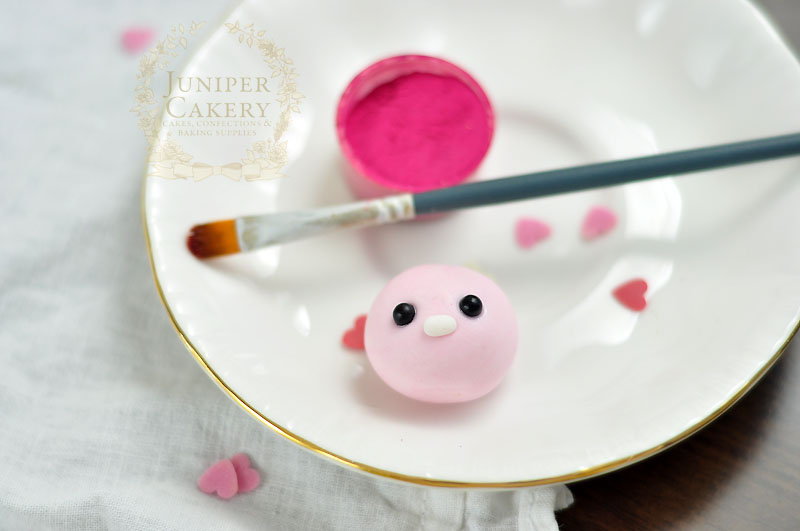
Roll two tiny balls of black fondant. Indent where you want to place the eyes with the small ball tool and with a little edible glue attach the black fondant balls in place.

Step 3:

For the nose shape a tiny piece of white fondant into an oval shape and attach with edible glue.

Make a cute little edible love bug cupcake topper with this tutorial by Juniper Cakery

Step 4: 

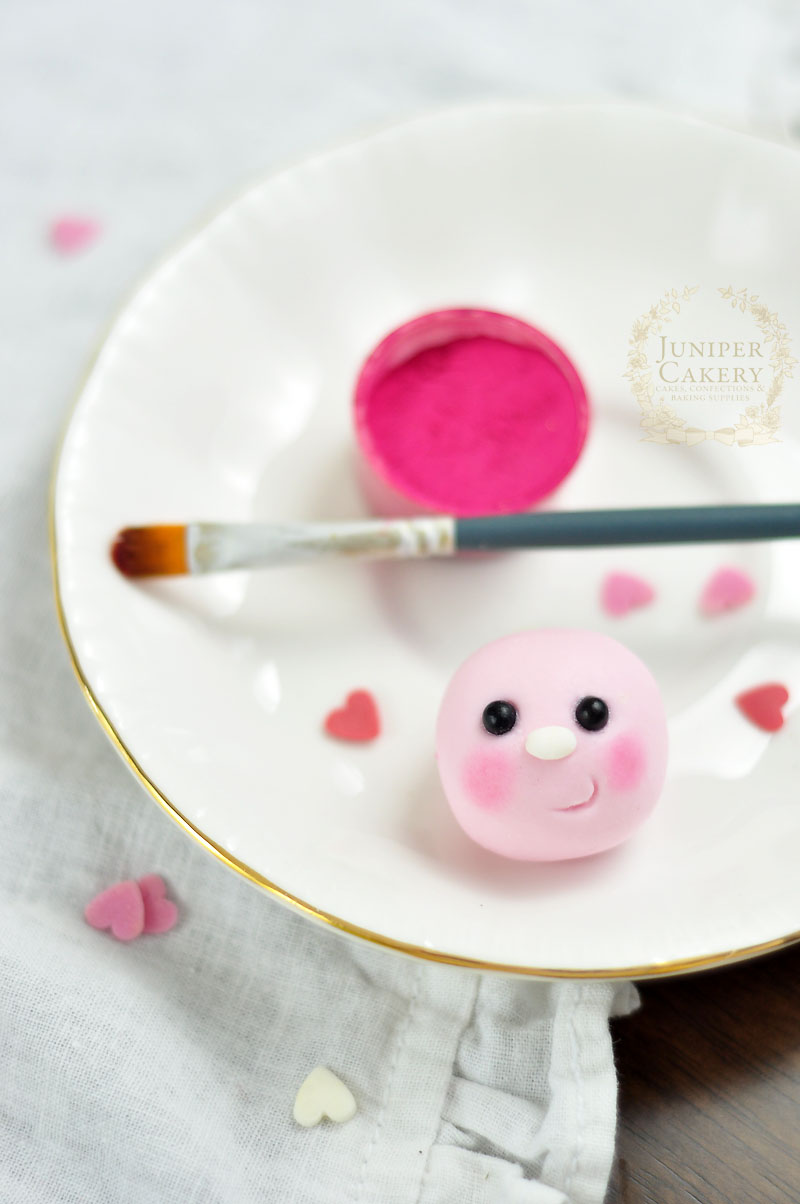
For the mouth take a round piping tip and carefully press half of it into the face. Accentuate the smile with a little pink petal dust.

Step 5:

To add some rosy cheeks dust a little pink petal dust at a time underneath and opposite the nose.

Pink love bug cupcake topper tutorial from Juniper Cakery

Step 6:

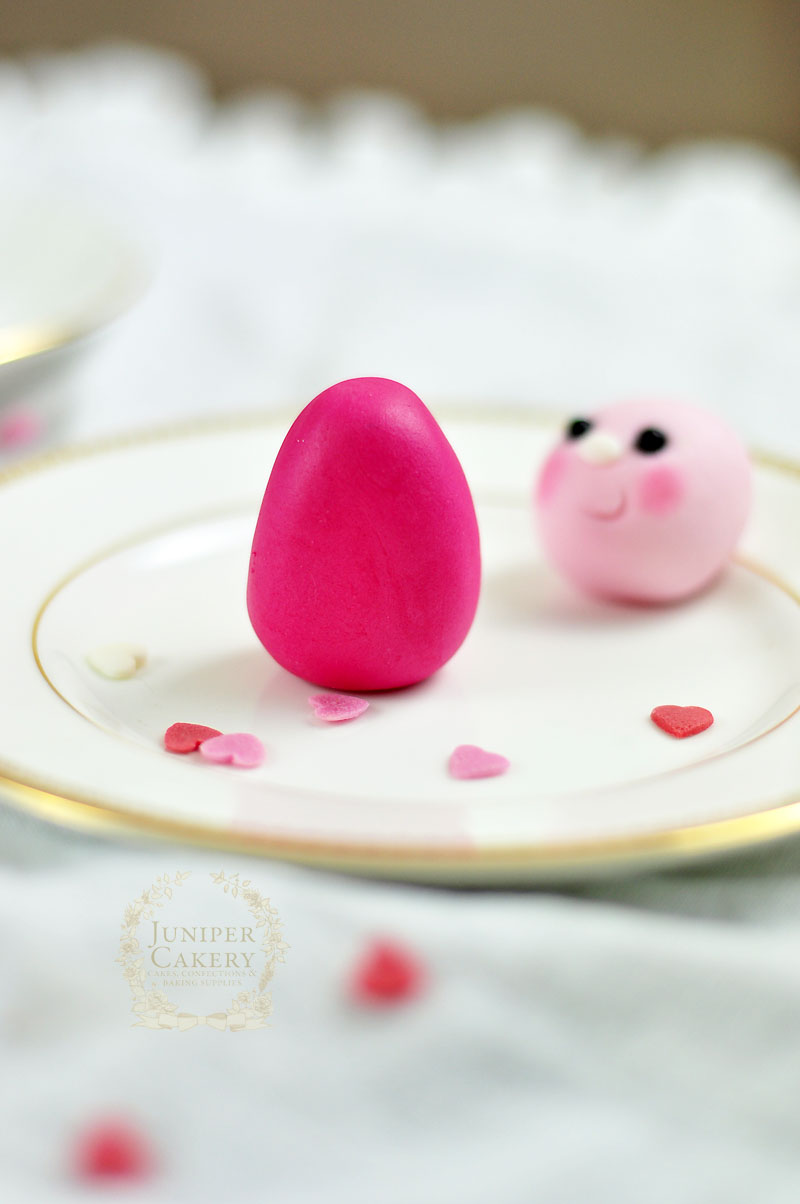
To create the body take some hot pink fondant mixed with some tylo powder and form into a teardrop shape. 

Step 7:

Take a stick of uncooked spaghetti and push into it’s centre leaving some protruding to hold the head of the bug on. Attach with some edible glue and by carefully pressing the head onto the body through the spaghetti.

Create a sugar paste love bug for your Valentine's cupcakes with this how-to from Juniper Cakery

Step 8:

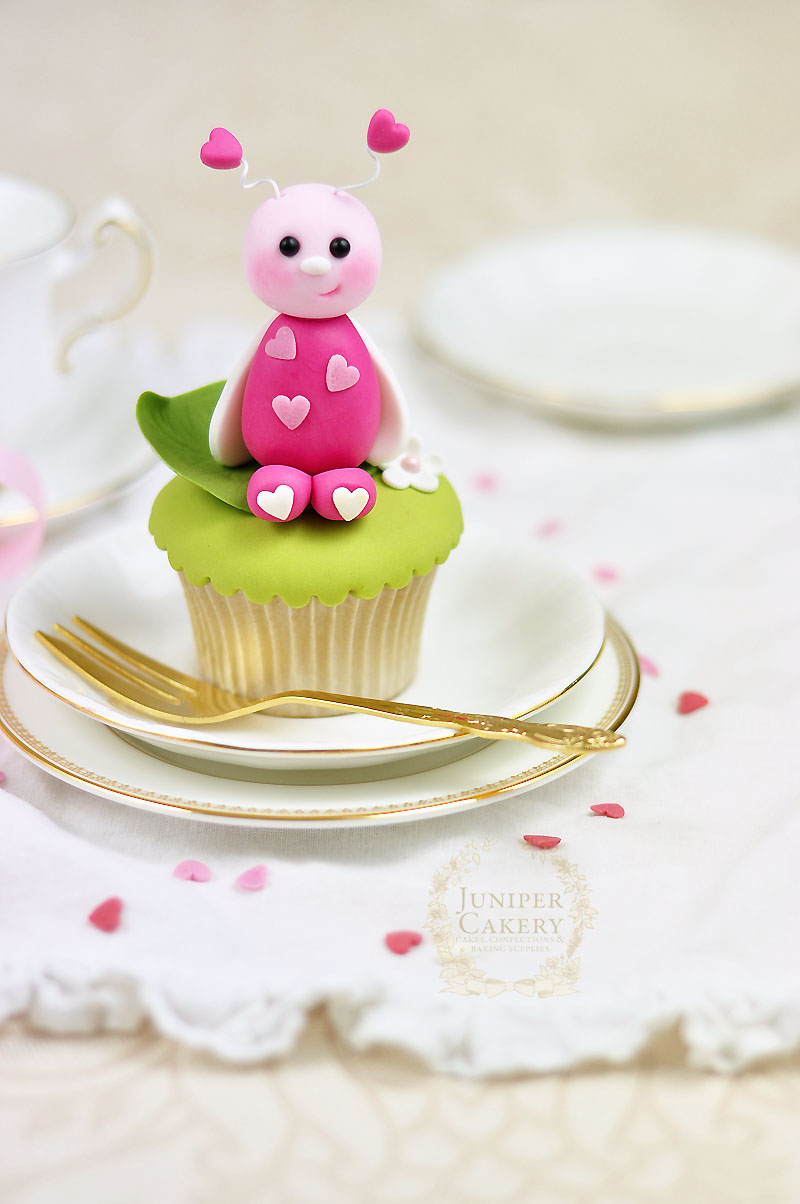
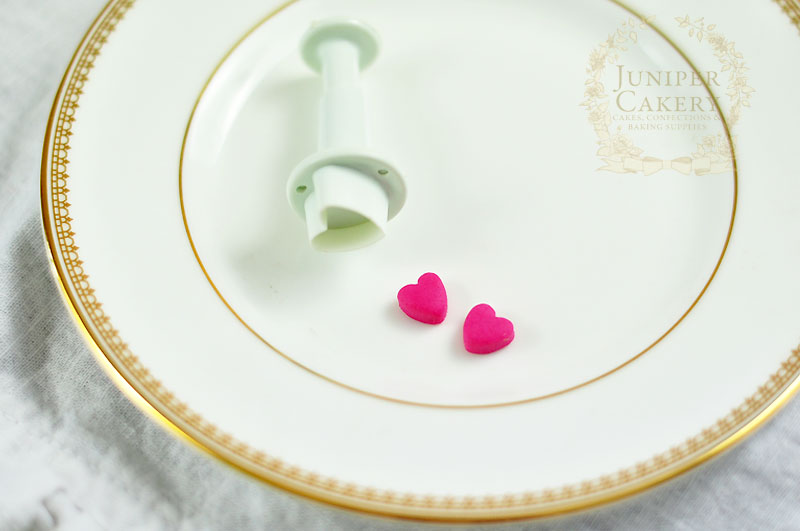
Now it’s time to make your little love bug’s antennae! Roll out some hot pink fondant to a thickness of around 5mm and with a small heart shaped plunger cutter cut out two hearts.

Sweet little fondant love bug tutorial by Juniper Cakery

Step 9:

Cut two pieces of floral wire around 2 inches long and curl around a thin paintbrush before sliding off and snipping down to around 1 inch in length.

Step 10:

Carefully straighten out a little bit at the end and with each tip dipped in some edible glue insert into the plunger cut hearts half way.

Step 11:

Carefully insert each antenna into the top of your bug’s head.

Edible fondant lovebug tutorial from Juniper Cakery

Step 12:

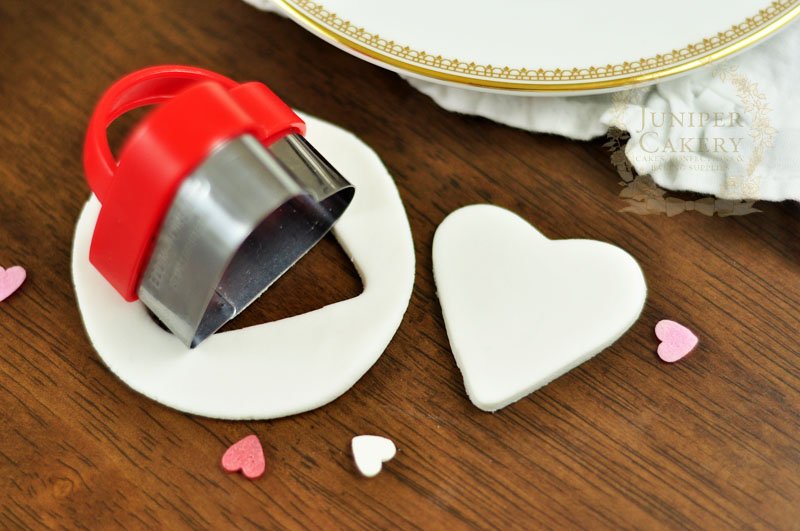
For the wings roll out some white fondant and cut out a medium sized heart using a cookie or pastry cutter.

Step 13:

With a small sharp knife slice the heart into half lengthwise and attach to the back of your bug with edible glue.

How to make a fondant love bug Valentine cupcake figure by Juniper Cakery

Step 14:

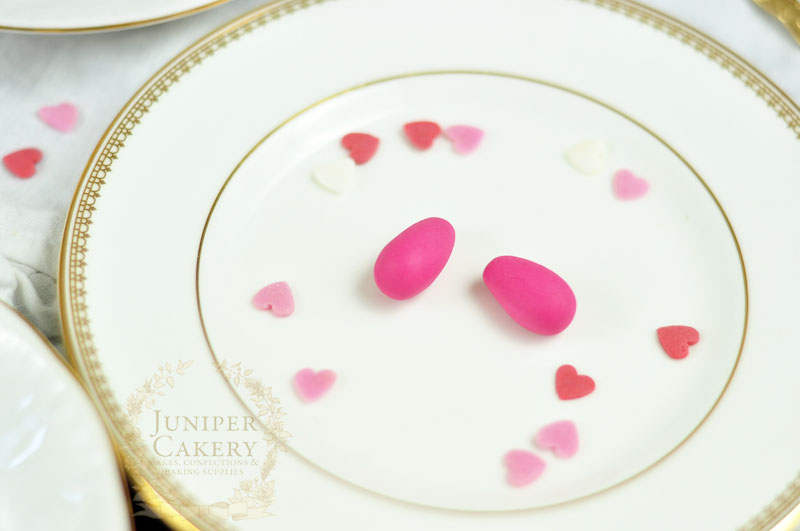
To add legs create two small rounded teardrop shapes from some hot pink fondant. Pinch and flatten the tapered ends together slightly. Attach and place your bug on top of the legs with a little edible glue.

Adorable fondant love bug for cupcakes by Juniper Cakery

Step 15:

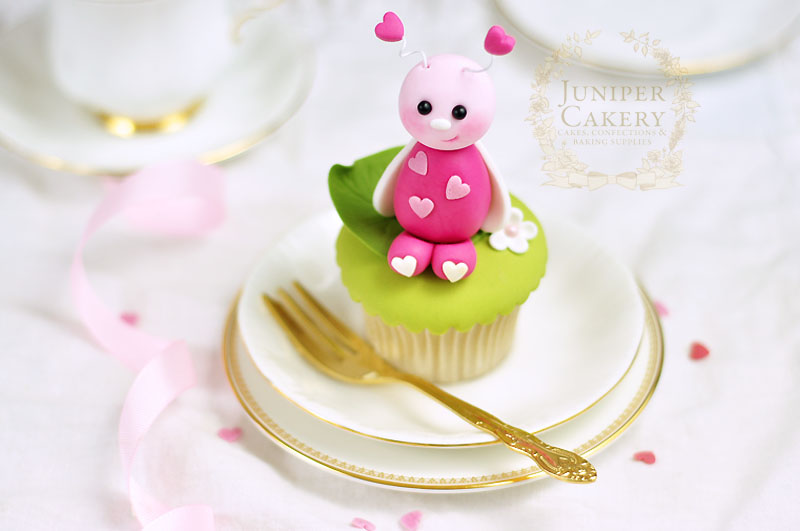
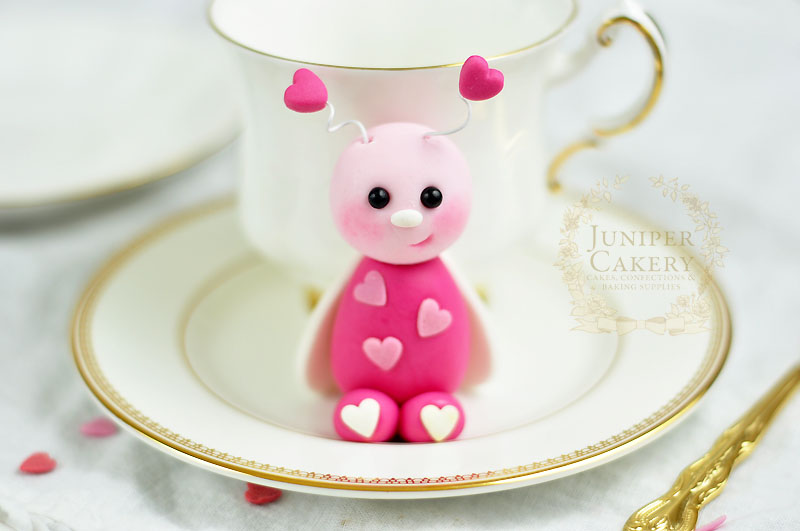
Add some lovely heart details to your love bug with some heart shaped sprinkles!

This fondant love bug tutorial by Juniper Cakery is perfect for Valentine's Day cupcakes!

We like to think that a cutie like this would indeed look rather fetching perched on top of cakes as well as cupcakes so have fun making a little fondant love bug for large or small treats! For gorgeous baby shower cakes a sweet little heart themed bug like this would be positively show stealing. We love the idea of a pastel hued love bug sat atop of fondant ABC building blooks as part of a fun cake design!


×