Tutorial Tuesday: How To Colour Your Own Sprinkles!
In this week’s cake and cupcake tutorial we show you a quick and simple way to custom colour your own sprinkles and pearls to match your cakes and cupcakes! By following these four easy steps you could begin the decoration early and have as many, or as little, custom sprinkles you need. Why not make the colours you require and store them for future use? Simply check the use by dates on the bottle of your lustre dust and sugar pearls/nonpareils and write which ever comes around first on the ziplock bag and store in a cool, dry place.
What you need:
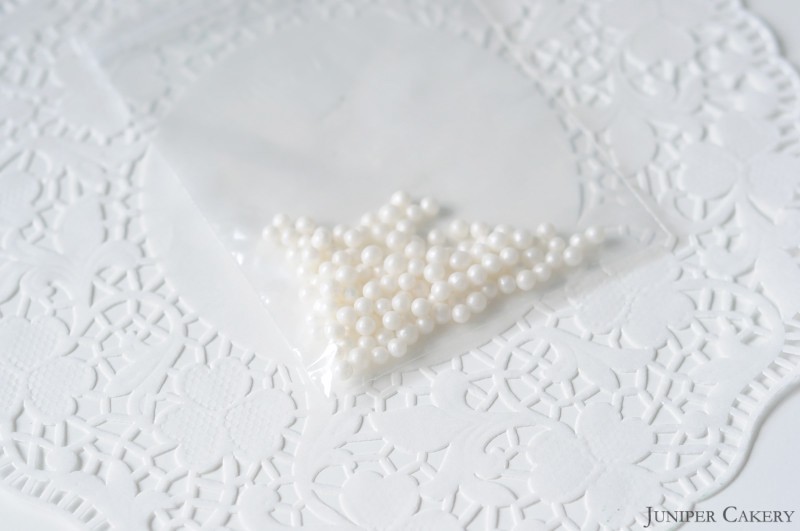
White sugar pearl beads or white nonpareils
Coloured lustre dust
Ziplock bag

Step one: Place your white sugar pearls or nonpareils into the ziplock bag.

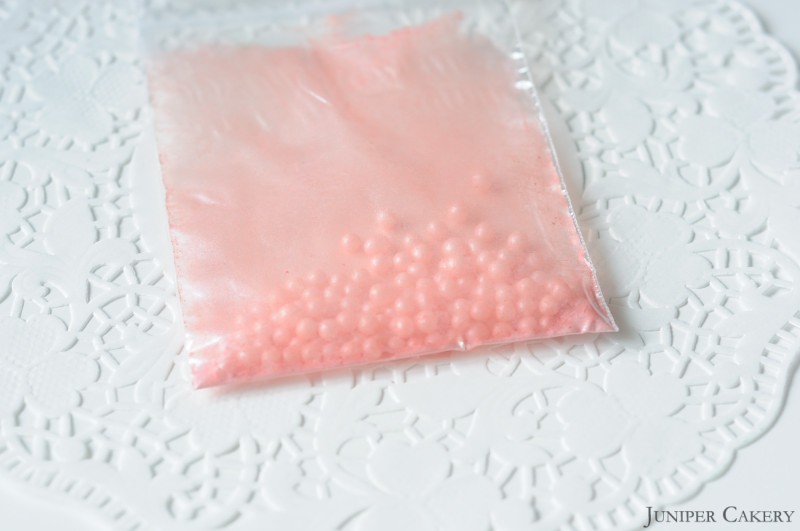
Step two: Pour a small amount of your chosen lustre dust in and lock the zip securely. The amount of lustre dust you add is really up to you and can be adjusted for different tones.

Step three: Shake the ziplock bag until you’re confident the lustre dust has covered all of the pearls/nonpareils. You can continue to shake again if required.

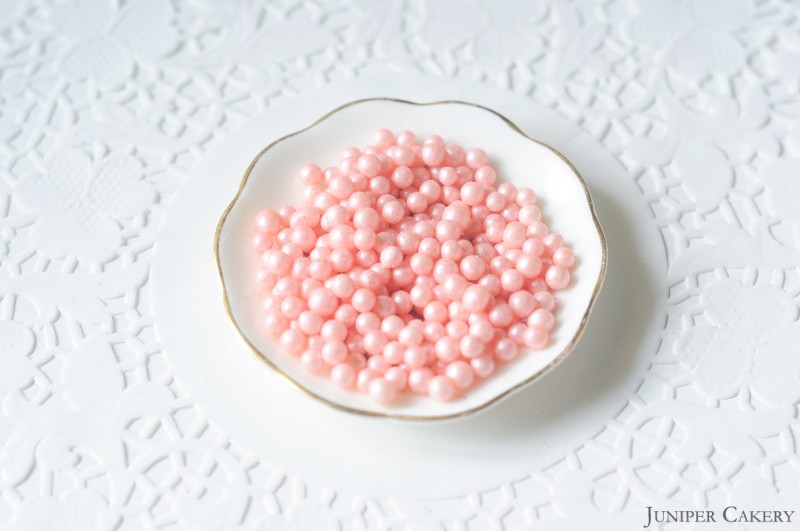
Step four: Pour your pearls/nonpareils out into a dish or plate and put the ziplock bag to one side. If you have any excess lustre dust left in the bag be sure to pour it back into the container.

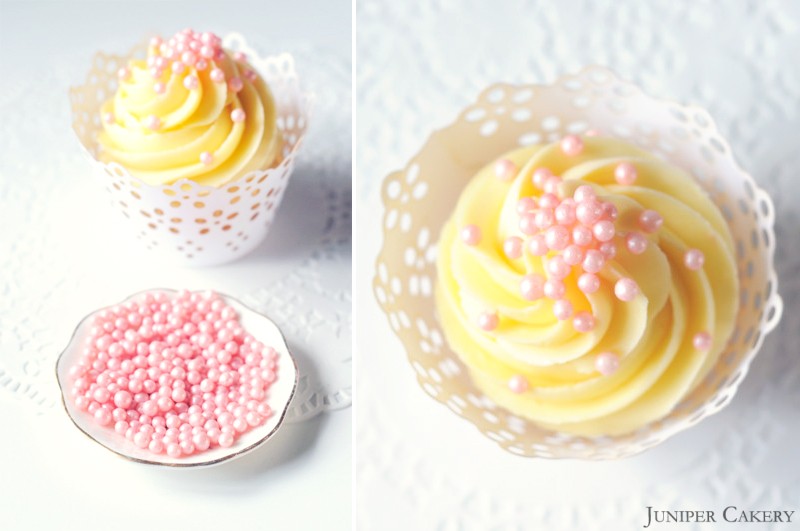
Below is an example of them on a cupcake but why not experiment. These would look fantastic on cookies, cakes and cakes pops also.

If you have followed this tutorial you will have coloured your own sprinkles! Why not make them in lots of colours and mix them together for a rainbow themed cake.

