Tutorial Tuesday: How to Make a Sugar Anemone Flower!

This week’s cake and cupcake decorating tutorial shows you how to create a beautiful and softly ruffled Anemone! We’ve been seeing Anemone flowers pretty much everywhere over the past couple of months. They’ve been found nestled into bouquets, fabric prints, photography and wedding decor They’re striking and unique on top of cakes and make cupcakes look instantly grown up and sophisticated too!
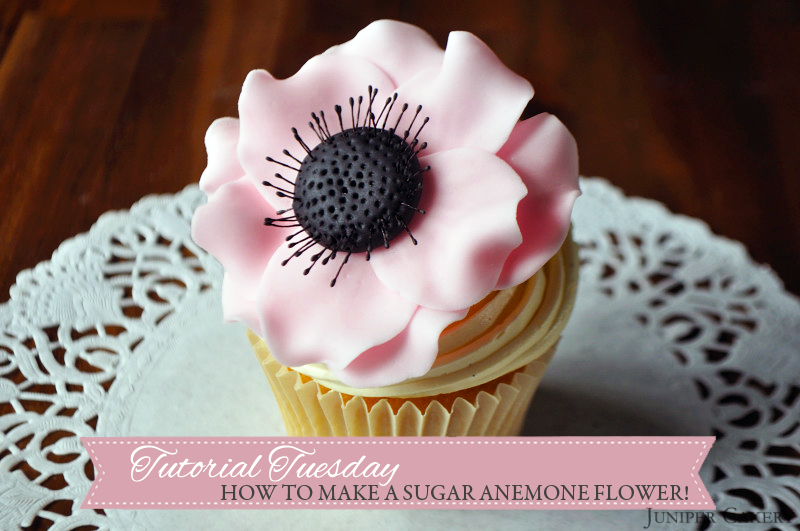
Tutorial Tuesday: How to make a sugar anemone flower for cakes

Tutorial Tuesday: How to make a sugar anemone flower for cakes

You will need…

Black sugarpaste
Pink sugarpaste (or any colour you like)
Tylo Powder (mix a little in your sugarpaste to help harden)
Quilting modelling tool
Ball modelling tool
Fondant rolling pin
Rose petal cutters
Flower Foam Pad
Black stamens or light colour stamens painted with black food dye
Edible glue
Paint brush
Flower forming cup
Foil
Icing sugar
Tutorial Tuesday: How to make a sugar anemone flower for cakes

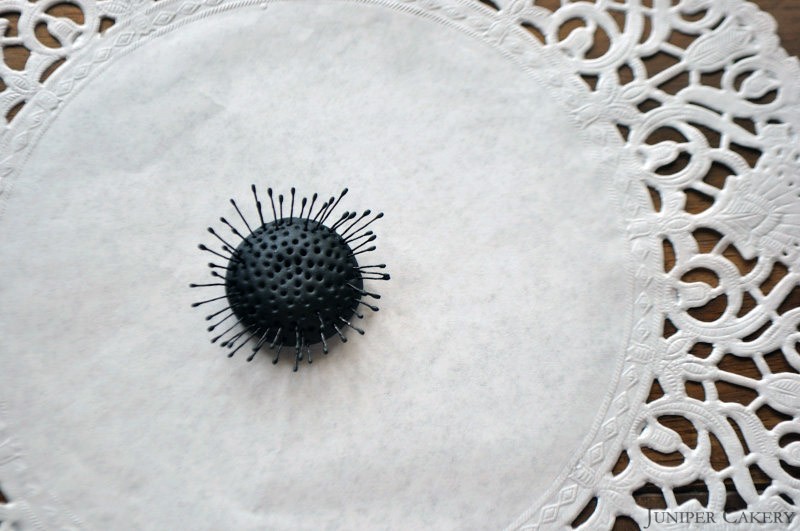
Step one: Create a ball about the size of a 10 pence coin (or 25 cents in the U.S) with your black sugarpaste. Flatten this slightly and smooth the surface.

Step two: Take your quilting tool and indent lots of ‘dots’ into the surface.

Step three: Cut down your stamens and insert these around the outer edge of the centre of your flower.
Tutorial Tuesday: How to make a sugar anemone flower for cakes

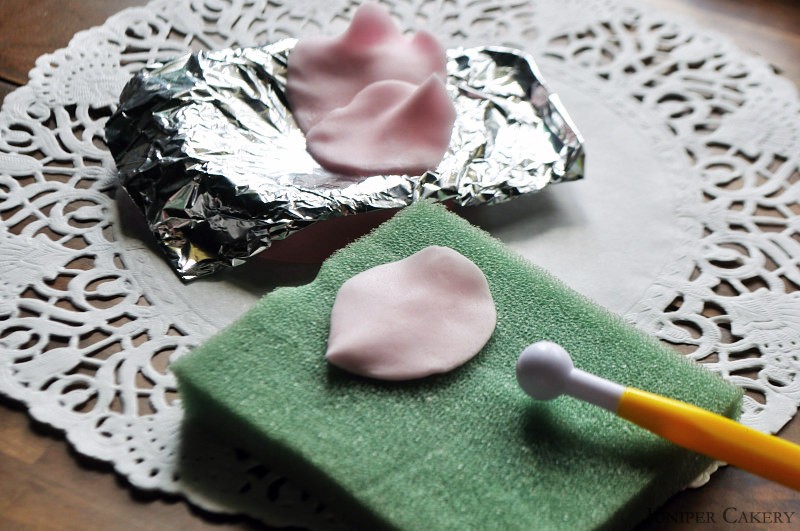
Step four: Cover your flower forming cup with foil and dust lightly with icing sugar so your petals won’t stick to the foil.

Step five: Add Tylo powder to the sugarpaste you’re using for the petals.

Step six: To make your petals roll out your sugarpaste thin and cut with your largest rose petals cutters.

Step seven: Now you need to ruffle the edges of your petals. To do this you need to lightly ‘massage’ the edges of your petals with your ball tool atop of a flower foam pad. Tweak the edge ever so slightly with your fingers.
Tutorial Tuesday: How to make a sugar anemone flower for cakes

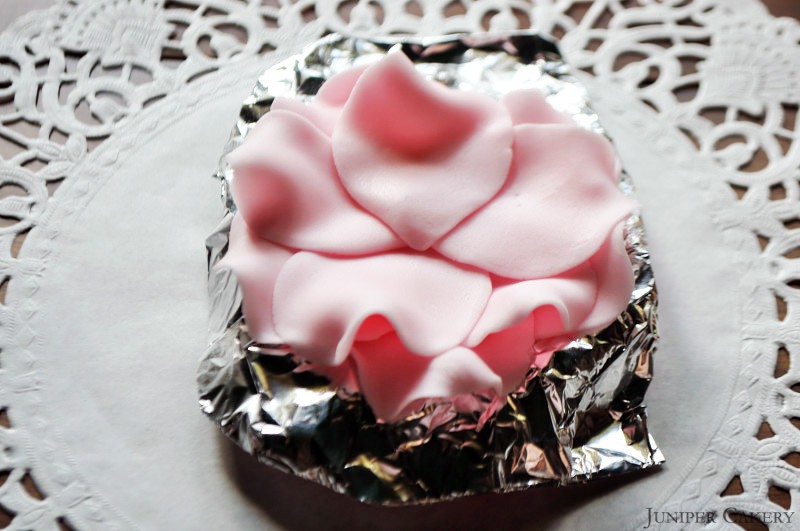
Step eight: We created 10 individual petals to create this Anemone. Nestle the first five petals into your forming cup and slightly atop each other with edible glue fixing them together. Lay the next layer of 5 petals where the petals of the first layer overlap.
Tutorial Tuesday: How to make a sugar anemone flower for cakes

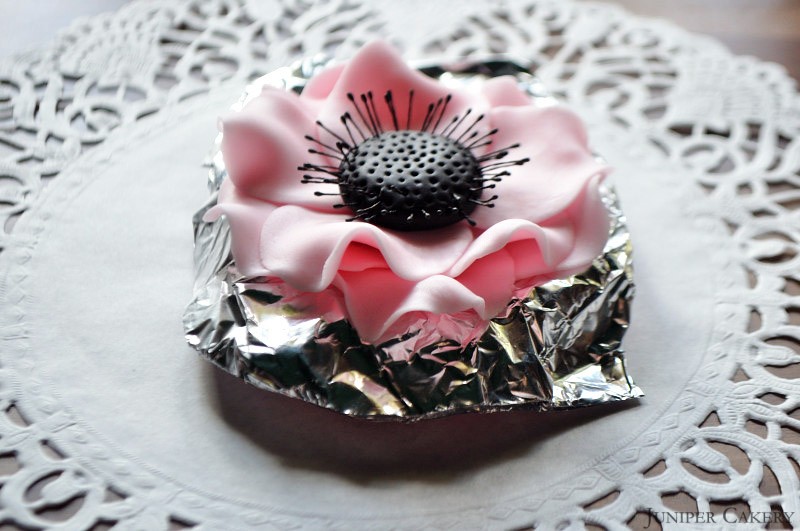
Step nine: Add some edible glue to the centre of your petals and attach the stamen studded centre you made earlier.

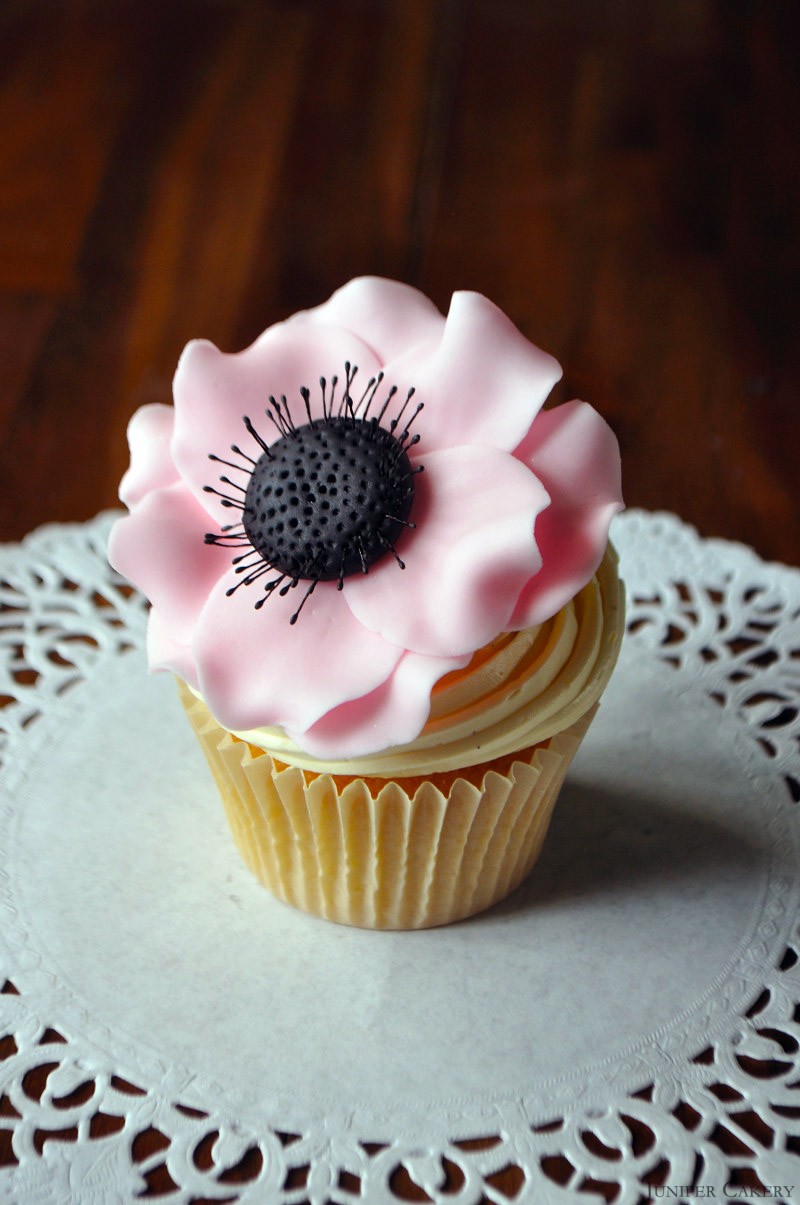
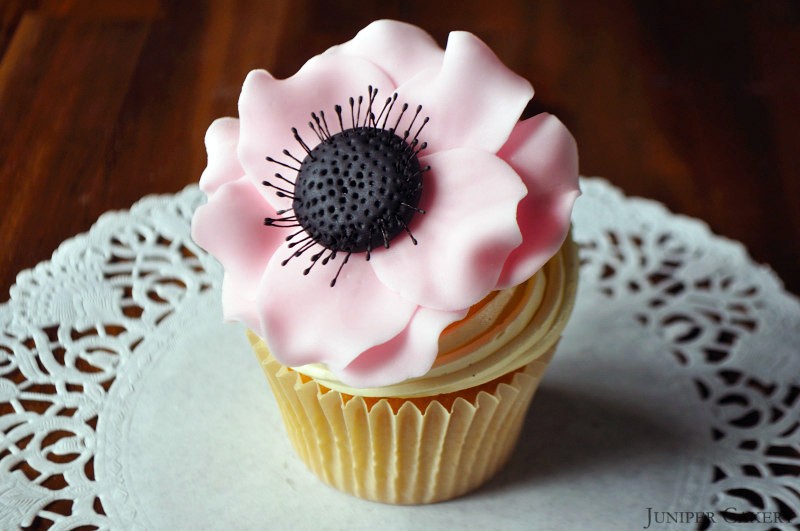
You should now be left with a gorgeous and elegantly ruffled Anemone flower; perfect for cakes and cupcakes!
Tutorial Tuesday: How to make a sugar anemone flower for cakes


‘Tutorial Tuesday': How to make a sugarpaste mouse!

What you will need:
PME Shell tool
PME Blade tool
PME Ball tool
Various sugarpaste colours
Thin paintbrush
Toothpicks
Water and icing sugar (to make edible glue)

Step one: Knead your main sugarpaste colour and form into two somewhat pear shaped pieces. The large will be your mouse’s body and the smaller will be the head.

Step two: Insert a toothpick into the mouse’s body, paint some edible glue onto the neck and around the top of the toothpick. Place the smaller piece onto the body.

Step three: To make your mouse’s tummy roll out some contrasting sugarpaste in an oblong shape and glue to your mouse.

Step four: Now for you mouse’s ears! Make a small oblong shape with your main sugarpaste colour and stick a smaller oblong in a contrasting colour on top. Next cut in half.

Step five: Paint glue onto the sides of the head and attach the ears.

Step six: For the nose use the smaller end of the ball tool to make an indentation where the nose should be. Make a tiny ball of contrasting sugarpaste, paint on some edible glue and stick the little nose in place.

Step seven: Using some contrasting sugarpaste shape some tiny little hands and feet (they can be balls, oblonges or triangular shaped). To make cute little toes and fingers on your mouse use the shell tool!

Step eight: For the tail it best that the majority of it stick to the body as it is delicate and may snap off. Using the smaller ball tool make a large-ish indentation in the mouse’s bum. Roll out about 2 inches of contrasting sugarpaste into a tail shape and attach to the bum.

Step nine: Finally, using the small ball tool make some eyes. Yay! Now you have your own adorable little sugar paste mouse!

Coming soon! A tutorial on how to create the lovely little sugarpaste cupcake on which our mice are about to nibble!


×