Crème de Menthe Cake in Partnership with The Happy Egg Co.

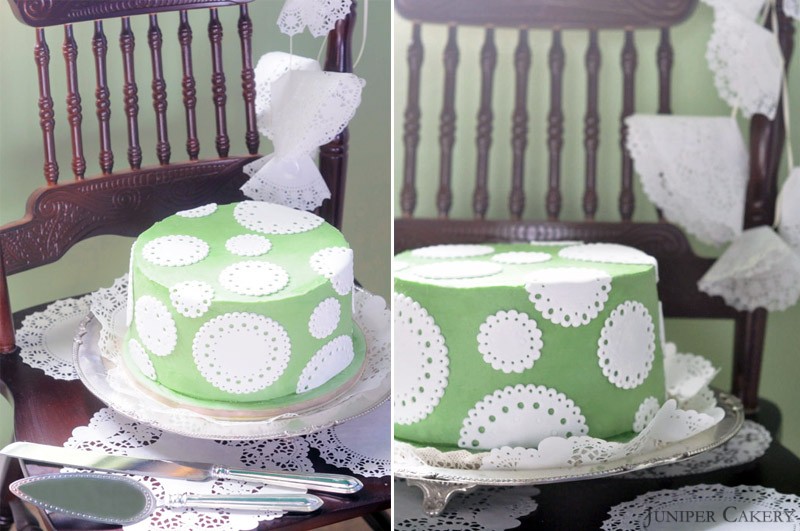
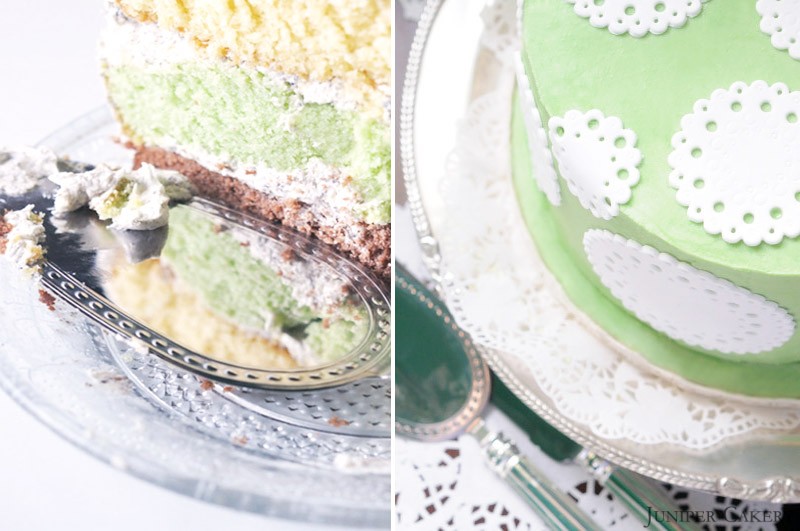
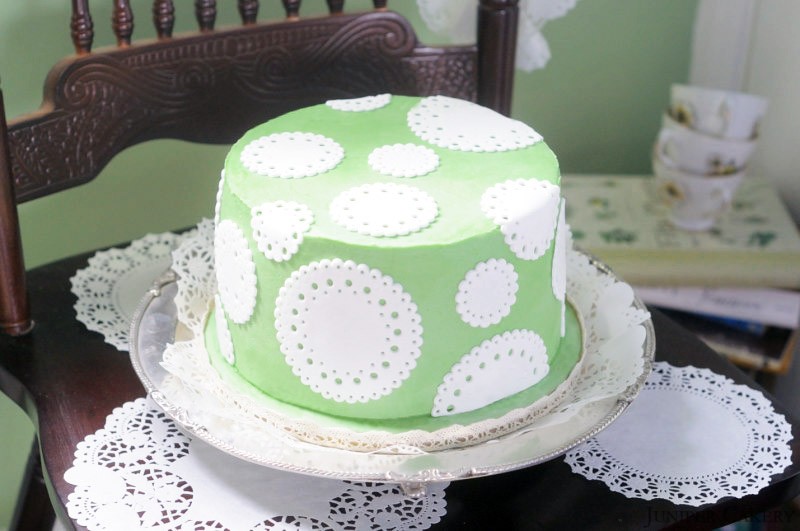
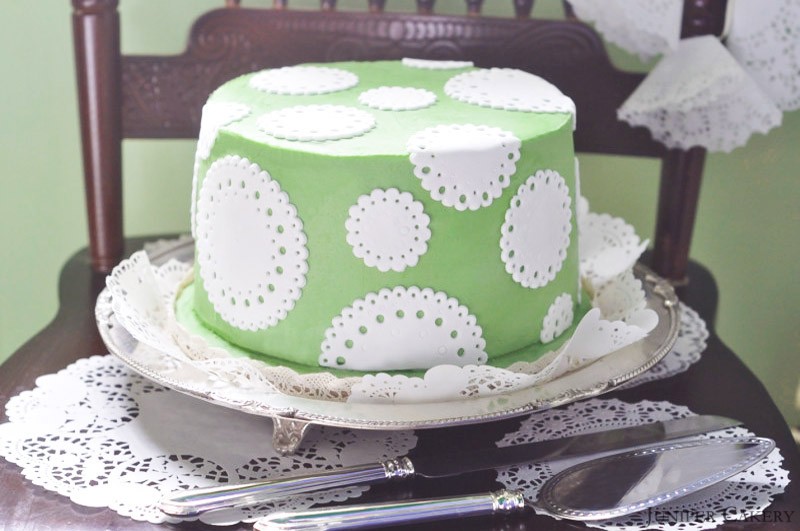
Welcome to our second cake, recipe and cake decorating tutorial post in partnership with The Happy Egg Co.! In our design and development post we blogged about creating a sophisticated cake inspired by an American classic, the Grasshopper Pie. To recreate the flavours and texture of The Grasshopper we chose a layer cake made with a chocolate base, crème de menthe middle and vanilla top filled with a cookie crumb and vanilla buttercream. After the following images of the finished cake you’ll find the recipe and a tutorial on how to make this cake and the decorative doilies. Why not create this cake, or elements of it, yourself?


Cookies & Crème de Menthe Cake Recipe
To create this cake (three 9 inch circle layers) you will need the following…
7-8 free range eggs by The Happy Egg Co.
453g self raising flour
453g caster sugar
453g butter
Cocoa powder
Green food colour paste
Vanilla extract (flavour to your own taste)
Crème de Menthe flavouring or alcohol
For the buttercream between the cake layers you will need…
1lb butter (don’t use margarine as the water content is higher and not suitable for buttercream)
Vanilla extract (flavour to your own taste)
Up to 1kg icing sugar (choose your own consistency and taste)
7 chocolate sandwich cookies (finely crumbled)
For the buttercream that covers your cake you will need the same ingredients above except the chocolate sandwich cookies.
To make the cake cream your butter in a mixer then add the caster sugar. Add in the flour along with half of the happy eggs for around one minute. Once half of the happy eggs are combined add the remaining and mix for approximately 5 minutes.
Once the batter is fully mixed separate evenly into three bowls to colour and flavour. Add Vanilla extract to one bowl and set aside. In another bowl add the Crème de Menthe flavouring and the green food colour paste and set aside. In the final bowl add some cocoa power and mix.
Pour each colour into separate greased cake pans (we use Wilton’s Bake Easy Non-Stick Spray to prepare our cake pans) and place on the top shelf of a pre-heated oven at Gas Mark 3/325F/170C. Bake for around 30 minutes. Baking time may differ slightly depending on your oven as the majority of ovens can be around 10-15 degrees over or under (unless you have a state of the art catering oven).
Leave to cool and in the meantime prepare your buttercream.
For the buttercream add half of the 1lb of butter diced into pieces. Cream the butter in a mixer. Then gradually add icing sugar and the remaining butter (cut into cubes). Once the buttercream is of a smooth consistency add some Vanilla extract and mix well. Once you are ready to use your buttercream add in your finely ground cookie crumbs (any large pieces will make fondant icing on your cake lumpy and if you are using this recipe for cupcakes large bits of cookie will block up piping tips and nozzles). When making cookies and cream buttercream we always add the cookie crumbs at the very end and mix lightly to avoid getting a grey looking frosting.
To make the buttercream for the outside of your cake simply repeat the above steps omitting the cookie crumbs and instead adding a little green colour paste.
Crumb coating
To get a smooth finish on your buttercream cake you need to first do a ‘crumb coat’. This ensure that you not only achieve a lovely level surface to work on, but seals in crumbs to avoid any messiness.
Crumb coating a cake is fairly simple. Set aside a few large dollops of buttercream in another bowl and with a spatula place some buttercream on the top of your cake. Smooth out to the edges of the top and with more buttercream smooth around the sides of your cake ensuring you cover every bit. Keep working around the cake until even and then leave to chill for a few hours in a fridge. Once chilled you can then buttercream your cake and leave to set.
How to make the sugarpaste ‘doilies’

Flowerpaste
Three scallop pastry cutters
6 inch fondant roller
Small round piping tips to punch out your design
Blade tool to neaten any edges
Icing sugar to dust
Edible glue to fix the doilies to your cake

Step one: Dust your work surface with icing sugar and roll out your flowerpaste to a 3mm-5mm thickness.
Step two: Cut out your doily shapes as you need them (the flowerpaste will begin to set fairly quickly and not bend easily around the curve of your cake so you should make your doilies and attach them individually)and neaten the edges with your blade tool.

Step three: Using your small round piping tip(s) punch out and indent a variety of repeat patterns into your shape.
Step four: To affix the doilies to your cake use a little bit of edible glue.


