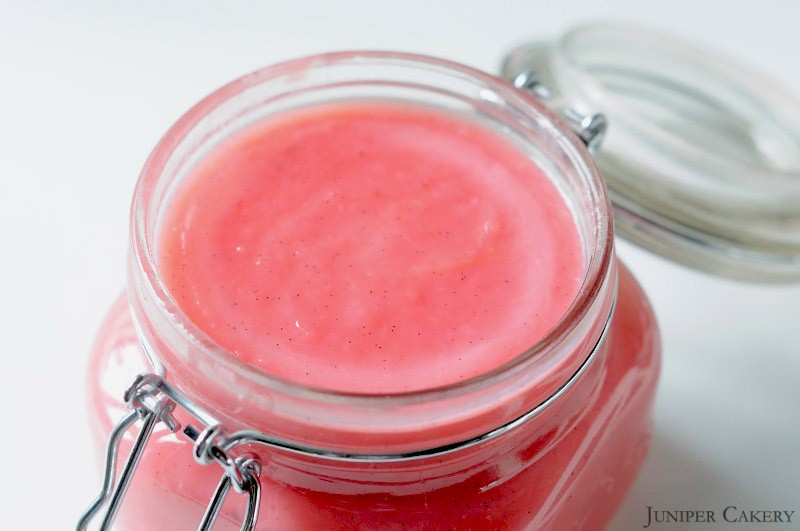
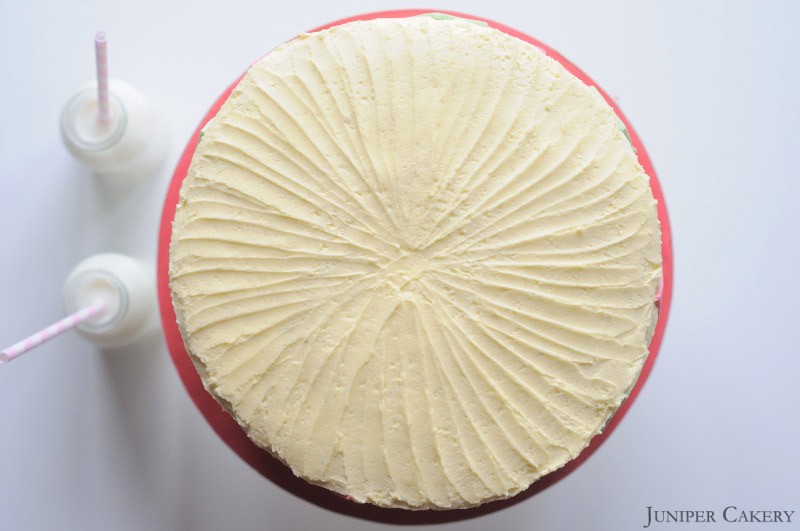
Raspberry Ripple Sandcastle Cake with The Happy Egg Co. Eggs!

Visiting the seaside isn’t just a tradition enjoyed by people all over the UK, it’s what makes a summer for some people! With this in mind we created a novelty beach themed cake full of vanilla buttercream and raspberry jam to recreate classic raspberry ripple ice cream. This sandcastle cake is perfect for a nostalgic summertime treat so why not try our recipe below for themed parties and picnics at the beach!
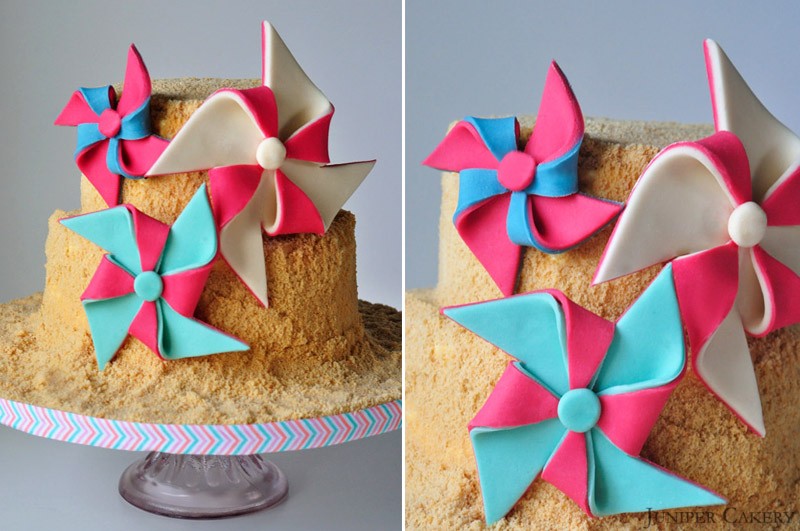
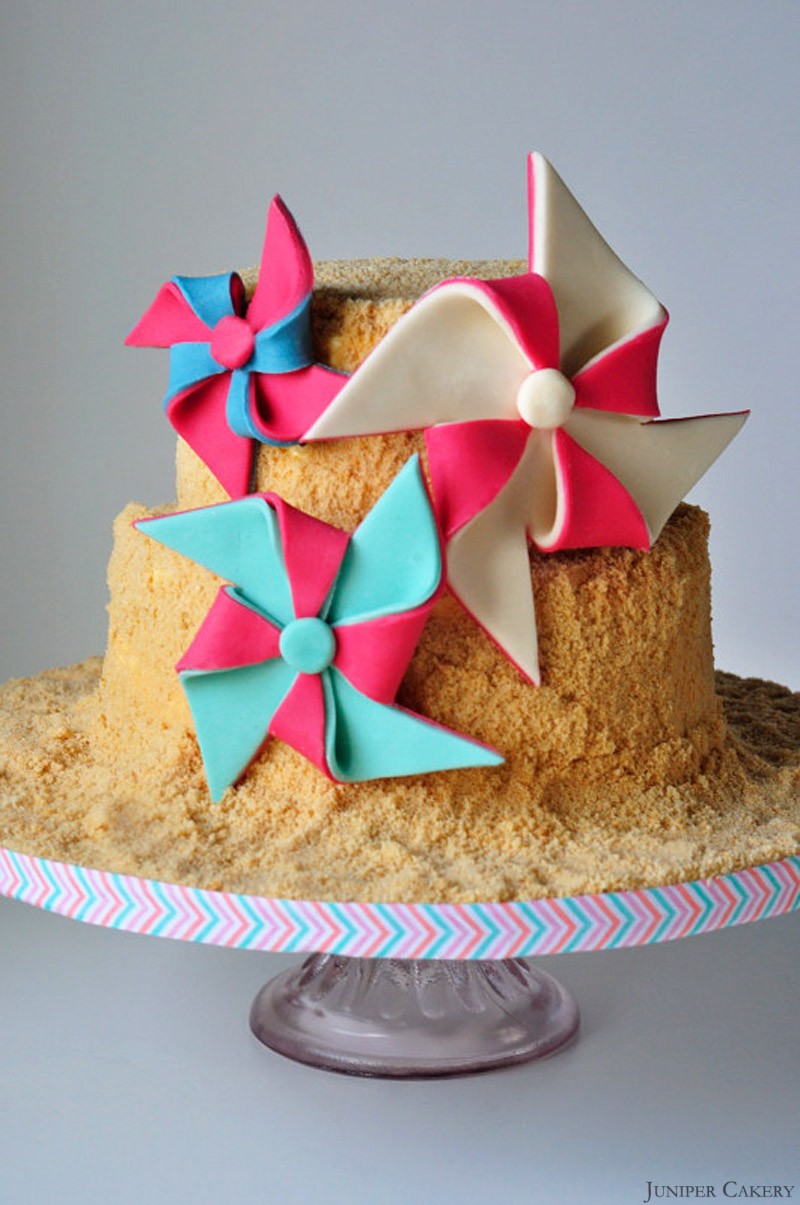
Raspberry Ripple Sandcastle Castle Cake by Juniper Cakery

Raspberry Ripple Sandcastle Castle Cake by Juniper Cakery

Basic Cake Recipe (Makes two 8″ layers and two 6″ layers)

7-8 eggs by the happy egg co.
453g self-raising flour
453g caster sugar
453g butter

The Happy Egg Co. Eggs

Cream your butter in a mixer then add the caster sugar. Add in the flour along with half of the happy eggs for around one minute. Once half of the happy eggs are combined add the remaining and mix for about 5 minutes.

Pour batter in the pan until 2/3 full and place on the top shelf of a pre-heated oven at Gas Mark 3/325F/170C. Bake for around 30 minutes. Repeat this step four times for each circle layer or put an 8″ and a 6″ layer in at the same time.

Vanilla Buttercream Recipe

250g butter
400g icing sugar
2 bourbon vanilla pods
5 tablespoons of room temperature water

Add half of the of butter diced into pieces. Cream the butter in a mixer. Then gradually add icing sugar and the remaining butter (cut into cubes) until you get a smooth, creamy texture.

Easy Raspberry Jam Recipe

500g raspberries
1 lemon
500g jam sugar (should contain pectin)

Add raspberries and the juice of one lemon into a large saucepan. Mash the raspberries and leave to cook for 5 minutes until stewing a little.

Sieve your raspberry pulp. Use a wooden spoon to push the berries through if needed. Place your raspberry juice AND pulp back into the pan and gradually stir in the sugar.

Pour into clean jars, seal and leave to cool before using!

Edible ‘Sand’

600g digestive biscuits
Food processor

Place half of the digestive biscuits into the food processor. Blitz on full power for about five seconds. If the biscuits are sand-like tip them into a bowl, place the other half of the digestive biscuits in the processor and repeat.

Decorating this cake is fun and simple and there is no reason to worry about straight edges! Sandwich your layers together adding swirls of raspberry jam and vanilla buttercream. With the left over vanilla buttercream crumb coat each tier with a generous amount and any imperfections will only add to the authenticity of a sandcastle cake!

Once both tiers are covered begin applying your biscuit crumb ‘sand’. Have fun with this by throwing it, patting it, smoothing it until the cake is fully covered and appropriately sandcastle- like!

Finally, to add a burst of colour, why not make some pinwheels as pictured above? Or even seaside flags or chocolate seashells and seahorses!
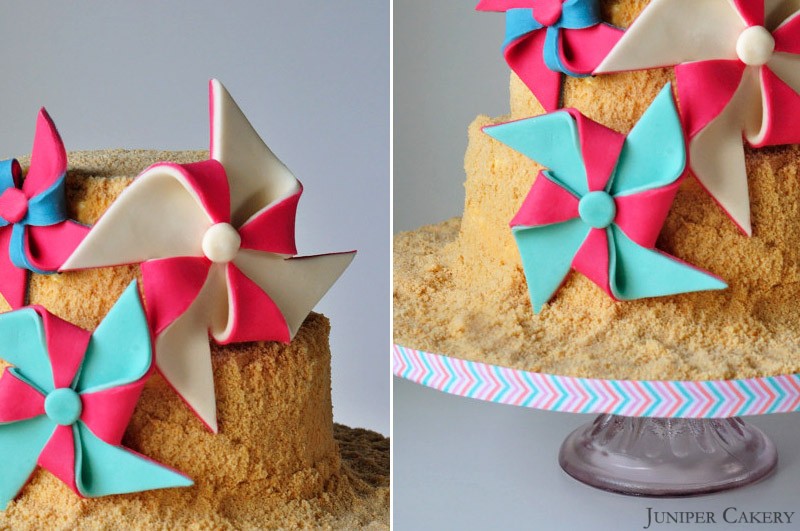
Raspberry Ripple Sandcastle Castle Cake by Juniper Cakery


Recipe: Lemon and Passion Fruit Cupcakes

Now that we are in the middle of summer we thought we’d share a popular recipe of ours that is perfect barbecues and parties! These Lemon and Passion Fruit cupcakes are fruity, bright and fun. Add some Lemon Sherbet Crystals and you’ll be left with lovely tangy and fizzy buttercream!

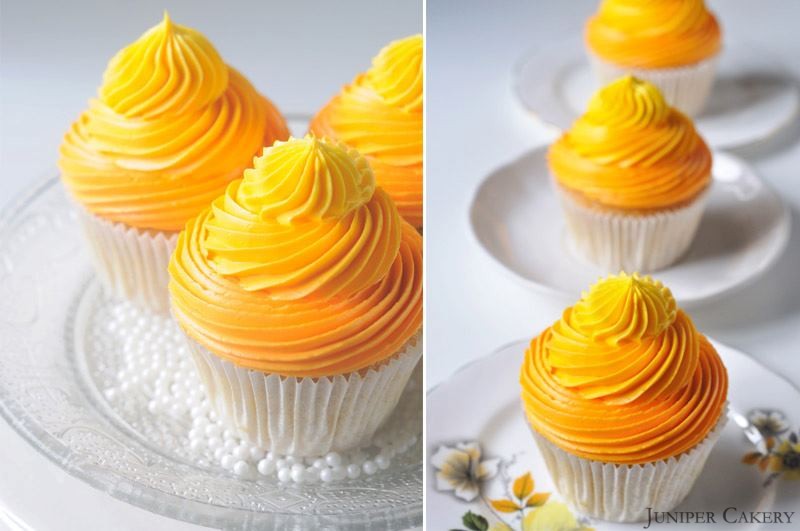
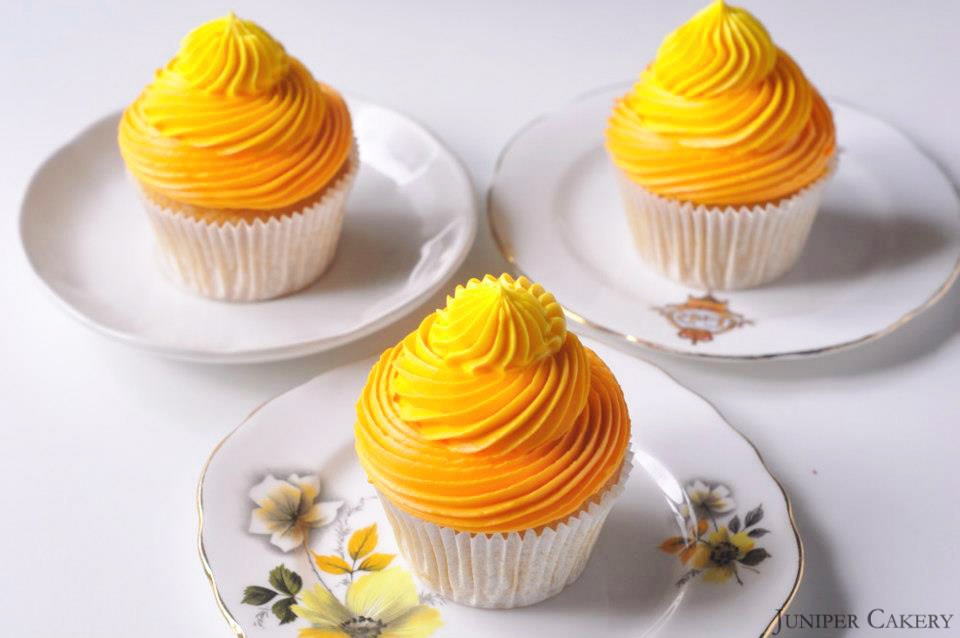
Lemon and Passion Fruit cupcakes by Juniper Cakery

Makes approximately 12 cupcakes

For the cupcakes…

226g self raising flour
226g butter
226g caster sugar
4 eggs

Step one: Preheat your oven to Gas Mark 3/325F/170C

Step two: Cream the butter with sugar, flour and then the eggs.

Step three: Set out twelve cupcake cases in your pan and fill each case 2/3 full.

Step four: Bake from around 12-18 minutes or until a golden brown on top and leave to cool on a counter.

For the buttercream…

We make our buttercream using our own intuition. We’ve tried countless recipes; all of which failed to pass our test (and stability) tests. It’s best that you begin to develop and ‘eye’, ‘feel’ and ‘taste’ so that you know when your frosting is perfect for you. For starters though, the recipe below is a rough guide…

250g butter
250-350g icing sugar
1-2 teaspoons of Lemon Extract
1-2 teaspoons of Passion Fruit Essence
Orange Food Gel Colour Paste
Golden Yellow Food Gel Colour Paste
868 piping tip/nozzle
Piping bags
Lemon Sherbet Crystals

Step one: Cut your butter into small cubes and cream your butter until soft. Gradually add icing sugar until a good consistency.

Step two: Separate your buttercream into two halves. Add some Passion Fruit Essence with Orange Food Gel Colour Paste to one half. To the other add Lemon Extract with some Golden Yellow Food Gel Colour Paste.

Step three: Scoop each flavour buttercream into separate piping bags fitted with an 868 piping tip/nozzle (this tip/nozzle creates lovely linear patterned buttercream).

Step: To pipe begin with your darker colour (Passion Fruit) and pipe one layer of buttercream onto your cupcakes. Now pipe your light colour (Lemon) buttercream atop.

For a little extra pop of flavour sprinkle your cupcakes with Lemon Sherbet Crystals!

Lemon and Passion Fruit cupcakes by Juniper Cakery

Now you can sit back and enjoy these fruity cupcakes! We suggest keeping them all to yourself.


The Happy Egg Co Cake - Blueberry Season

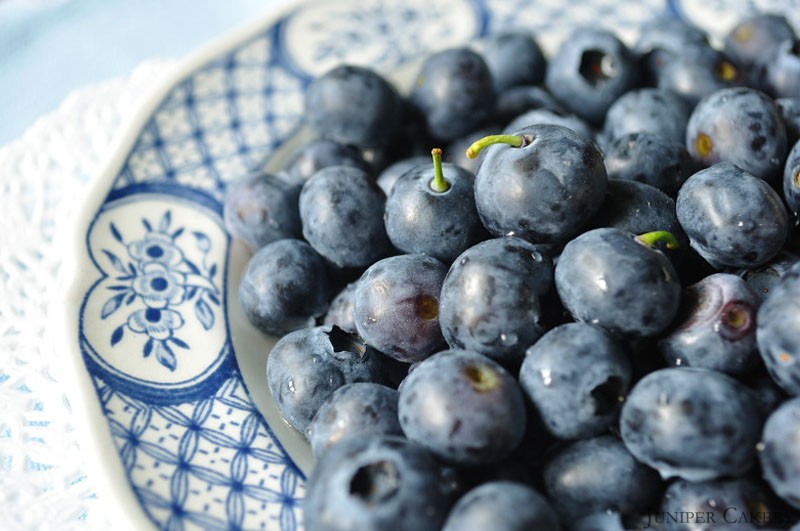
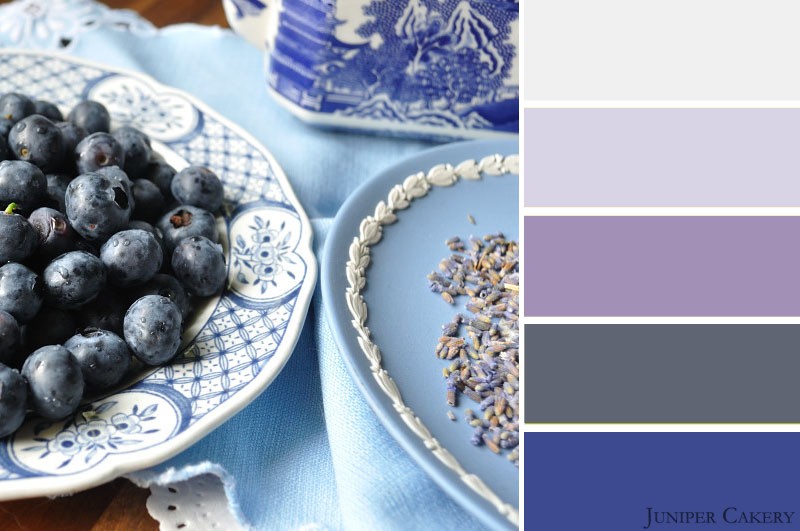
As fresh blueberries ripen in the Juniper Cakery HQ garden what better way to enjoy the month of July than by including them in this month’s happy egg recipe! Everywhere you go you’ll see blueberries in drinks, yogurts, desserts and maybe even in your own garden too.

Blueberry Cake by Juniper Cakery

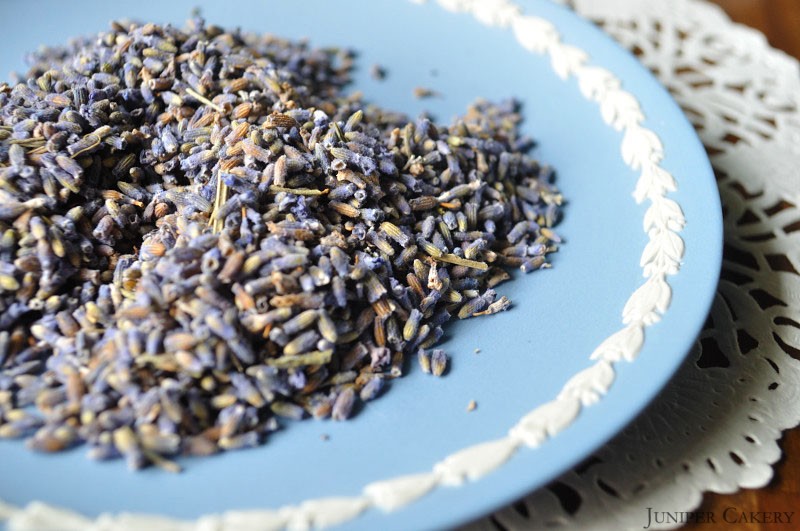
The tart taste of blueberry is perfect for a summer-themed cake recipe but the freshness they bring also makes them subtle enough to be paired with another flavour. The scent of fresh plants, trees and flowers have become a frequent enjoyment here at Juniper Cakery now that the warm, balmy weather is finally here; the most prominent of all being lavender!

Lavender and Blueberry by Juniper Cakery

Lavender would bring subtle tones of floral flavour to an otherwise all fruit recipe so our minds were soon made up; this month’s happy egg co. cake will be a white layer cake with blueberries and lavender baked in and filled with lashings of white chocolate buttercream! The natural, deep tones included in this month’s colour pallet are inspired by the blue and purple hues taken from the blueberries and lavender themselves.

Blueberry and Lavender by Juniper Cakery


The Happy Egg Co. Cake - Summer Citrus

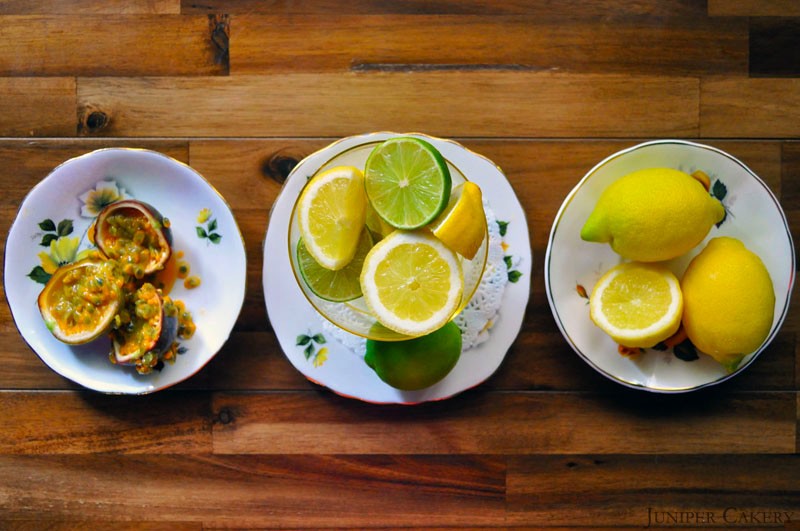
As dark clouds turn to blue skies over the UK we couldn’t think of a better way to enjoy the month of June than with fresh, tart, fruity flavours! Everywhere you go you’ll see slices of lemon and lime bobbing in iced fizzy drinks, in ice creams, sorbets and ice pops and even squeezed on fish and chips on a trip to the sea side.

Lemon, Lime and Passion Fruit Cake

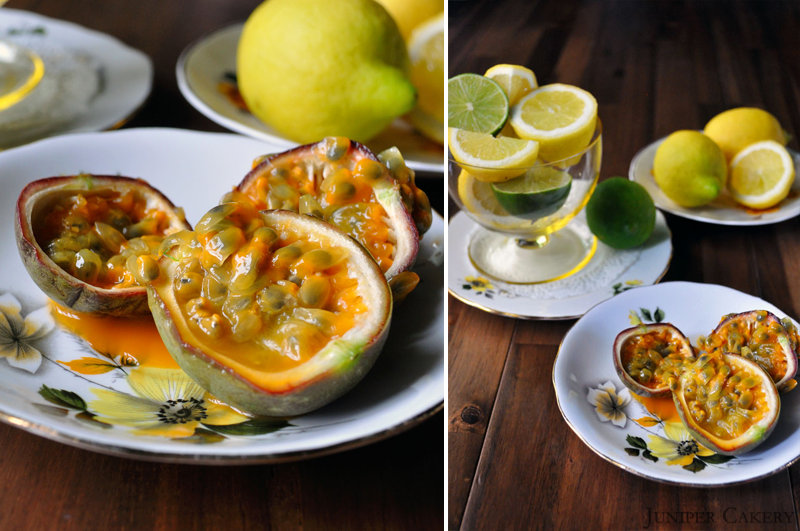
The citrus taste of lemon and lime also happens to make a delicious cake, which is great news for us! We’re yet to meet someone who doesn’t love a classic lemon drizzle cake but we wanted to add a third flavour to the mix. We considered mango, coconut and raspberry before we decided upon passion fruit!

Lemon, Lime and Passion Fruit Cake

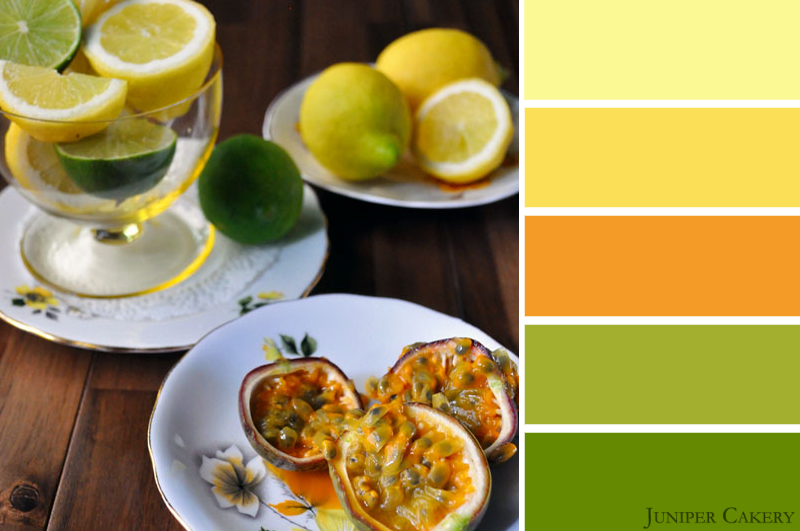
The passion fruit adds a luxurious tropical kick to an old British favourite so our minds are made up; this month’s Happy Egg Co. cake will be lemon, lime and passion fruit flavoured! The vibrant tones included in this month’s colour palette were naturally inspired by the fruits themselves and the golden hues and zesty greens are perfect for June and July.

Lemon, Lime and Passion Fruit Cake


Recipe: Lemon and Lavender Cupcakes

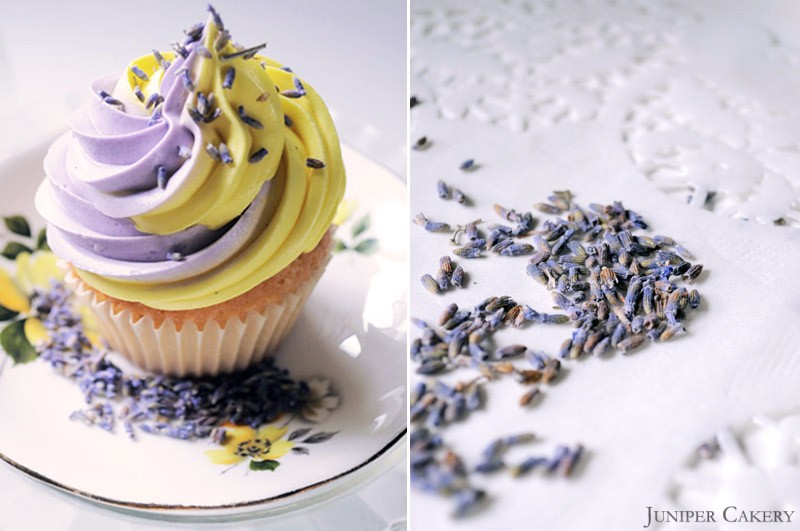
Lemon and Lavender cupcakes by Juniper Cakery

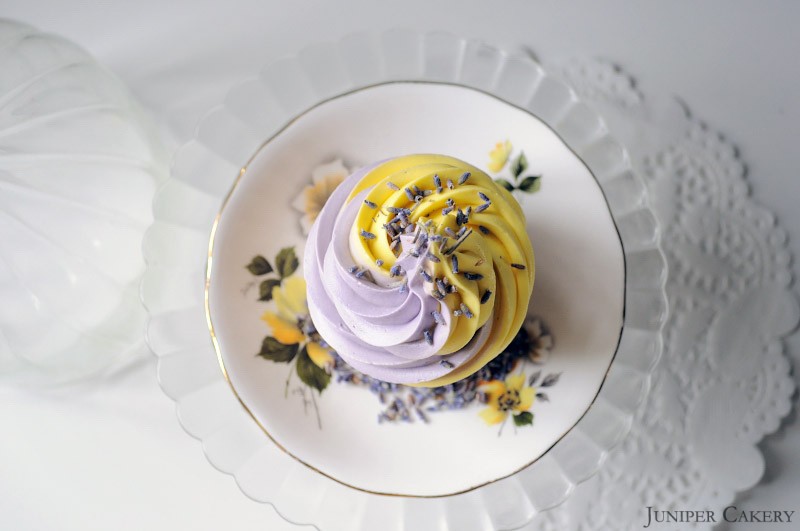
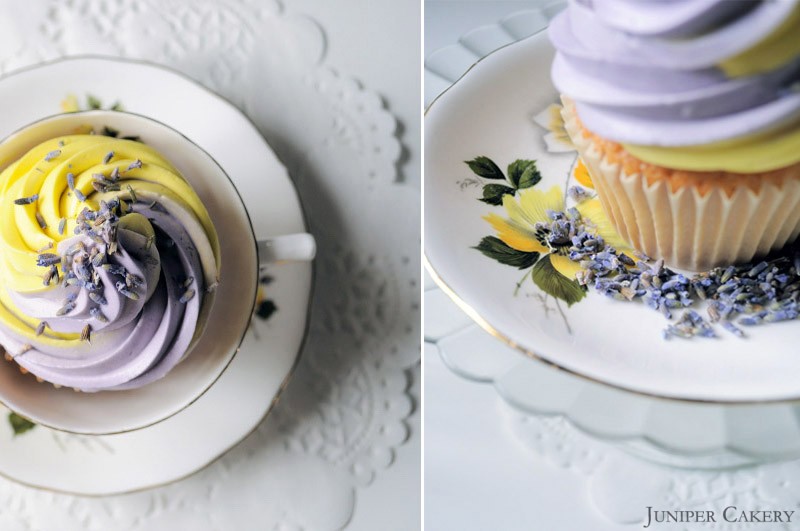
On Wednesday we created our delicious Lemon & Lavender cupcakes.  We whipped up a batch of vanilla cupcakes, piped them with two-toned swirls of buttercream and adorned them with all natural lavender florets. The light, fragrant flavour of the lavender combined with a subtle zing of lemon encouraged us to think further about fruity and floral flavours perfect for the summer months.

Lemon and Lavender cupcakes by Juniper Cakery

The florets are a great form of decoration, especially in spring and summer, and prove to be the perfect way to bring the outside in! The soft bursts of fresh lavender are a fantastic addition to the creamy texture of the lemon & and lavender buttercream.

Lemon and Lavender cupcakes by Juniper Cakery

Makes approximately 12 cupcakes

For the cupcakes…

226g self raising flour
226g butter
226g caster sugar
4 eggs
1 Bourbon Vanilla Pod 

Step one: Preheat your oven to Gas Mark 3/325F/170C

Step two: Cream the butter with sugar, flour and then the eggs. Add the tiny flecks inside the Bourbon Vanilla Pod and mix well.

Step three: Set out twelve cupcake cases in your pan and fill each case 2/3 full.

Step four: Bake from around 12-18 minutes or until a golden brown on top and leave to cool on a counter.

For the buttercream…

We make our buttercream using our own intuition. We’ve tried countless recipes; all of which failed to pass our test (and stability) tests. It’s best that you begin to develop and ‘eye’, ‘feel’ and ‘taste’ so that you know when your frosting is perfect for you. For starters though, the recipe below is a rough guide…

250g butter
250-350g icing sugar
1-2 teaspoons of Lavender Extract
1-2 teaspoons of Lemon Extract
Yellow Food Gel Colour Paste
Lilac Food Gel Colour Paste
855 piping tip/nozzle
Piping bags
Lavender Florets

Step one: Cut your butter into small cubes and cream your butter until soft. Gradually add icing sugar until a good consistency.

Step two: Separate your buttercream into two halves. Add some Lemon Extract with Yellow Food Gel Colour Paste to one half. To the other add Lavender Extract with some Lilac Food Gel Colour Pastee.

Step three: To get a fun two toned/dual flavoured effect scoop your lavender buttercream down one half of a piping bag fitted with an 855 piping tip/nozzle (this tip/nozzle creates lovely ruffled buttercream). After doing so the other half of your bag should be free for you to add your lemon buttercream.

Step four: Now you can pipe lots of generous and tasty swirls of buttercream on top of your cupcakes! Finish with a sprinkle of fragrant Lavender Florets and they’re ready to enjoy!

Lemon and Lavender cupcakes by Juniper Cakery

Lemon and Lavender cupcakes by Juniper Cakery


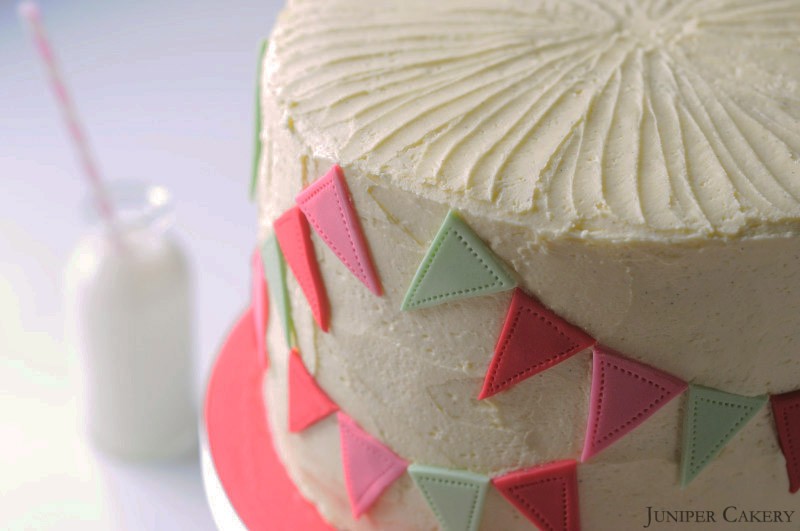
Rhubarb, Honey & Vanilla Cake in Partnership with The Happy Egg Co.

Rhubarb, Honey & Vanilla Cake in Partnership with The Happy Egg Co.

Rhubarb, Honey & Vanilla Cake in Partnership with The Happy Egg Co.

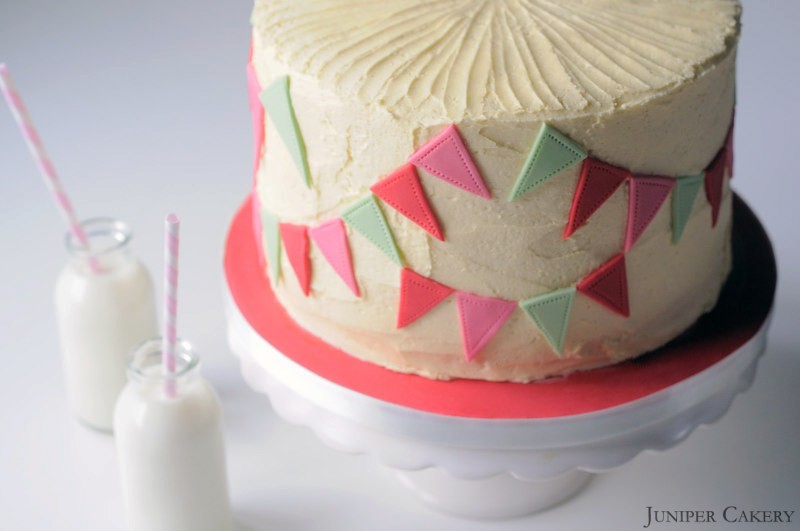
Welcome to our third cake, recipe and cake decorating tutorial in partnership with The Happy Egg Co.! In our development post we blogged about creating a traditional cake which would fit right in at picnics or at summer fetes. To recreate that sense of tradition we chose a layer cake filled with our rhubarb and honey curd decorating it with lashings of vanilla pod infused buttercream. To add a textured, homemade finish we ensured the buttercream was rugged and imperfect by spreading it on in layers resulting in a fun, quick and easy cake. After the following images you’ll find the recipe and a tutorial on how to make this cake and the decorative bunting. Why not try it for yourself?

Rhubarb, Honey & Vanilla Cake in Partnership with The Happy Egg Co.

Cake and buttercream recipe

To create this cake (a 9 inch circle) you will need the following…

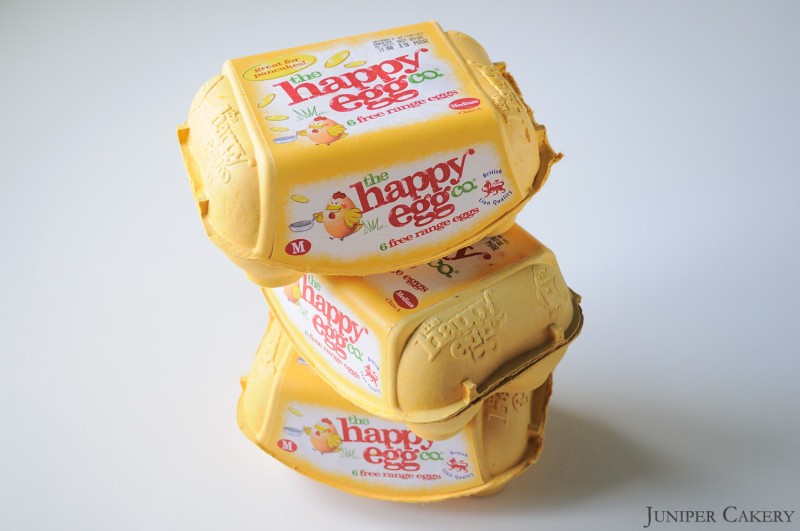
7-8 free range eggs by The Happy Egg Co. depending on egg size
453g self raising flour
453g caster sugar
453g butter

For the buttercream you will need…

453g butter (don’t use margarine as the water content is higher and not suitable for buttercream)
453g - 553g icing sugar (choose your own consistency and taste)
3 vanilla pods

Rhubarb, Honey & Vanilla Cake in Partnership with The Happy Egg Co.

Rhubarb, honey and vanilla curd recipe

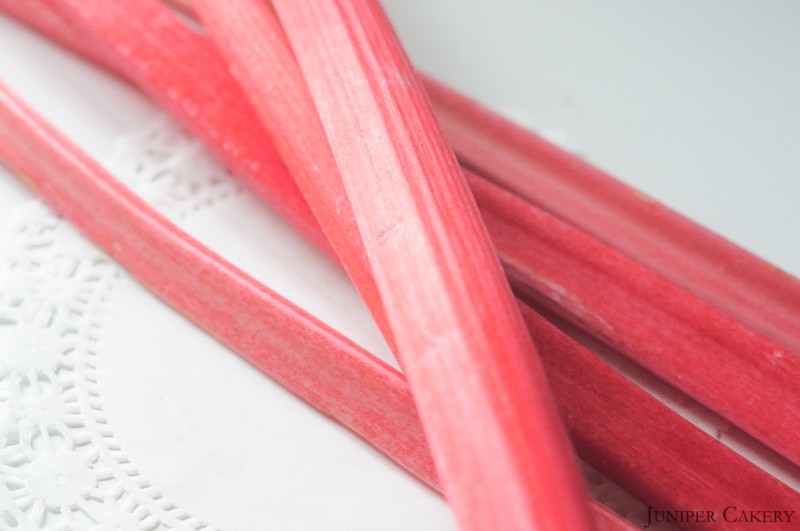
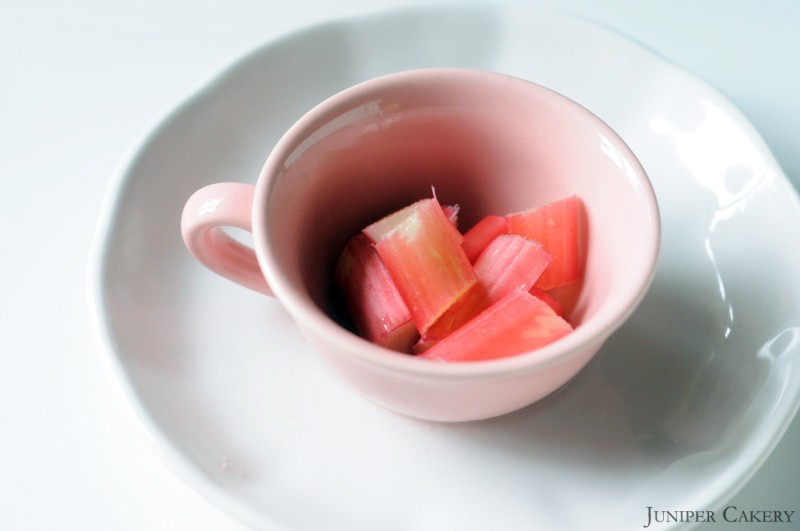
400g rhubarb cut into pieces
60g granulated sugar
60g butter
3 egg yolks
1 tablespoons of honey
2 vanilla pods
Airtight jar

To make the cake cream your butter in a mixer then add the caster sugar. Add in the flour along with half of the happy eggs for around one minute. Once half of the happy eggs are combined add the remaining and mix for about 5 minutes.

Pour each colour into separate greased cake pans and place on the top shelf of a pre-heated oven at Gas Mark 3/325F/170C. Bake for around 30 minutes.

Leave to cool and in the meantime prepare your buttercream.

For the buttercream add half of the 1lb of butter diced into pieces. Cream the butter in a mixer. Then gradually add icing sugar and the remaining butter (cut into cubes). Once the buttercream is of a smooth consistency add some the inside of your vanilla pods and mix well.

Rhubarb, Honey & Vanilla Cake in Partnership with The Happy Egg Co.

Now to make the rhubarb, honey and vanilla curd filling! Boil all 400g of rhubarb in a saucepan of water stirring every so often with a wooden spoon. When the rhubarb is ‘mushy’ pour into a colander to remove the water. Lower the heat on the stove to half of what you used to get to boiling point. Pour the rhubarb back into the pan and add the sugar. Stir gently until the sugar is dissolved then add the two tablespoons of honey. Stir again until well mixed then add the insides of your two vanilla pods. Now add the butter and stir until melted.

Rhubarb, Honey & Vanilla Cake in Partnership with The Happy Egg Co.

In a separate bowl beat your egg yolks well. Pour these slowly into your rhubarb mix and keep stirring the yolks in gently. Keep mixing and checking the curd by scooping the back of your wooden spoon into the curd; when the curd coats the back of your spoon thickly then it is ready to pour into a jar and set.

Rhubarb, Honey & Vanilla Cake in Partnership with The Happy Egg Co.

Buttercream technique

The great thing about working with buttercream is that it is easy to change, sculpt and even scrap off and start again. Another selling point to butercream icing your cakes is that it doesn’t matter if it is perfect; buttercream is messy and evokes a rustic charm. The fact that buttercream creates a lovely homemade look is perfect for this cake inspired by traditional flavours!

A very simple and effective buttercream technique to use is to create a pinwheel look on the top of your frosted cake. Once you’ve iced your cake smoothly take a small spatula and using only its tip begin in the centre of the top of your cake. You want to quickly (and not too heavily) drag the end of your spatula from the centre to the edge of your cake. Keep doing this around the cake and you should be left with the below effect! Once finished the edges will just need a quick tidy with your spatula.

Rhubarb, Honey & Vanilla Cake in Partnership with The Happy Egg Co.

How to make the edible bunting

To make your edible sugarpaste bunting you will need…

Sugarpaste coloured in three or more colours (we coloured ours with Wilton’s Juniper Green, Wilton’s Rose Pink and Sugarflair’s Dusky Rose)
A good straight edged knife or pizza cutter
A quilting or stitching tool (optional)
Icing sugar to dust the surfaces with
Fondant rolling pin

Step one: Dust the surface with icing sugar and begin to roll out your chosen fondant. Cut it into an oblong shape and put any excess sugarpaste to one side. The size and length of the oblong will depend on how large you would like your bunting to be.

Step two: With a knife or pizza cutter begin cutting out triangular shapes at your required size. See the images for the technique we used and repeat with all of your fondant using your first piece of bunting as a template.

Step three: Now you have your bunting use the quilting tool to add traditional stitching detail to your bunting.

Step four: If the buttercream on your cake is still soft simply stick the pieces of bunting in place.


×