Ruffled Champagne Cake with The Happy Egg Co. Eggs!

What better way to treat a loved one for Valentine’s Day than with a beautiful and indulgent home-made cake! Using three key Valentine ingredients, and some egg whites from The Happy Egg Co. eggs, we created this truly lovely and decadent cake. One of the best things about this recipe is that it incorporates some incredibly sumptuous flavours and ingredients without being too sweet or rich. Perhaps the only bad thing about this cake is that you’ll find you’ve eaten quite a few slices without realising! Imagine a gorgeously soft and fluffy champagne infused cake smothered with fruity yet creamy strawberry and white chocolate buttercream just waiting to be devoured… can’t wait to start baking? We thought so.
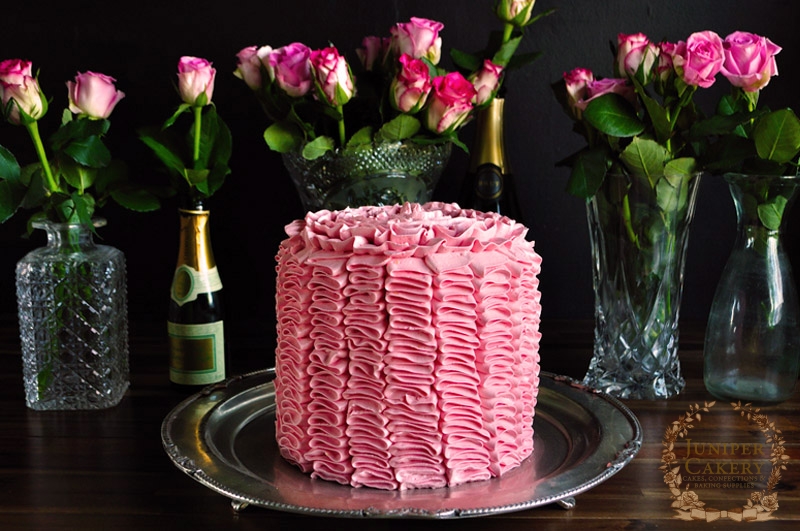
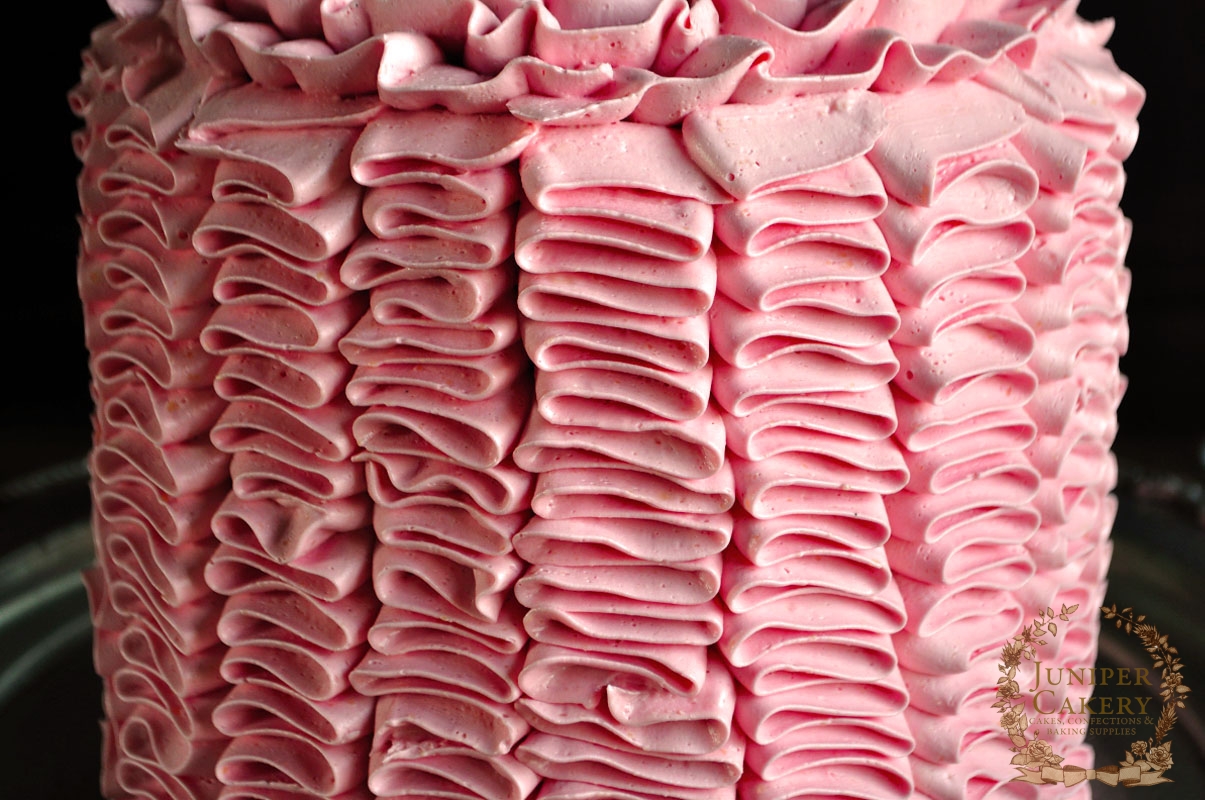
Ruffle Champagne Cake by Juniper Cakery

Ruffle Champagne Cake by Juniper Cakery

White Champagne Cake (makes three 9 inch diameter layers one inch deep)

453g Self-raising flour
453g Butter
453g Caster sugar
453g Egg whites from The Happy Egg Co. eggs
400ml Champagne or 12-18 drops of champagne essence

Pre-heat an oven to Gas Mark 3/325F/170C.

In a saucepan add the 400ml of champagne, set to boil then simmer until reduced to half the amount. Set aside to cool.

Cream your butter in a mixer then add the sugar. Add in the flour along with half of the happy eggs for around one minute. Once half of the happy eggs are combined add the remaining eggs along with the champagne or champagne essence. Mix for about 5 minutes.

Pour batter in the pan around 2cm in height and place on the top shelf. Bake for around 40-50 minutes. Repeat this step to create your second and third layer. When all layers are baked leave them to cool fully as you prepare your buttercream!

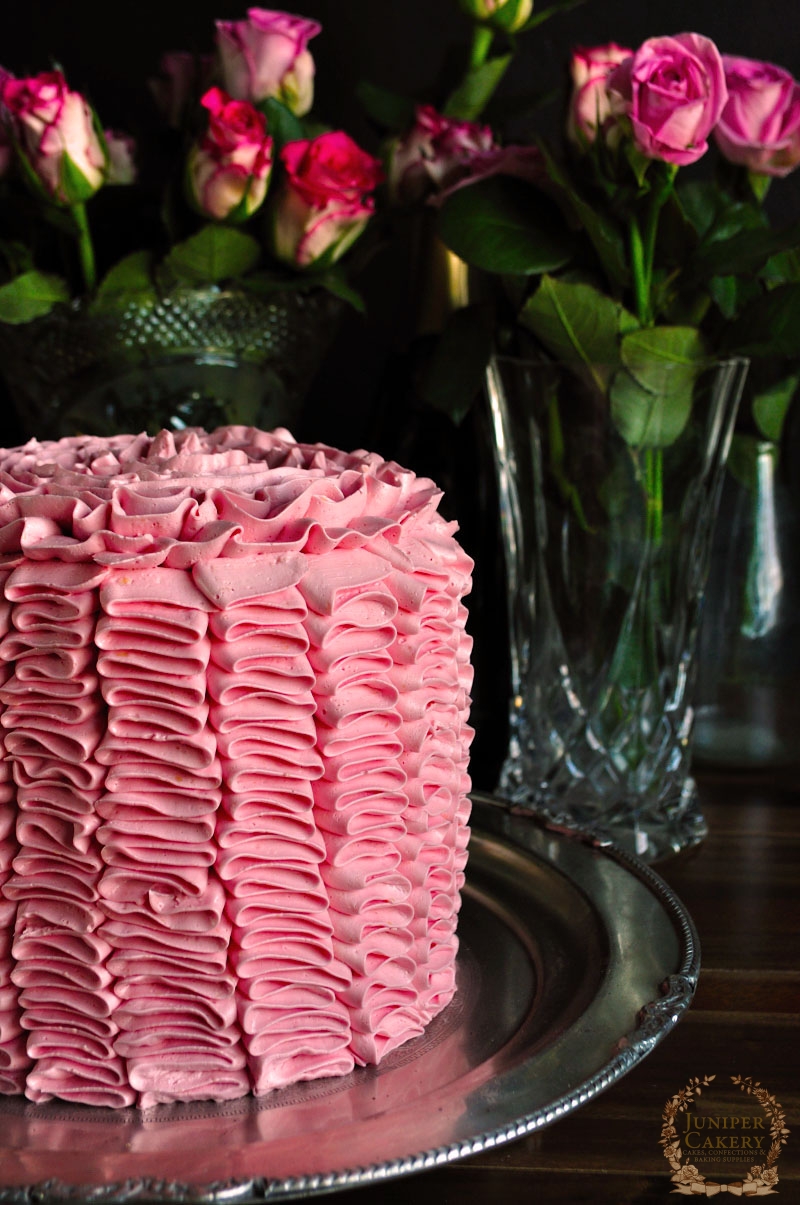
Ruffle Champagne Cake by Juniper Cakery

Ruffle Champagne Cake by Juniper Cakery

Strawberry and White Chocolate Buttercream

500g Diced/chopped butter at room temperature
300-400g Icing sugar (keep testing when adding to make sure it is the consistency and sweetness you like)
6-12 Drops of strawberry extract
150g Melted white chocolate
Pink gel paste food colour

Add half of the of butter into your mixer and cream. Then gradually add icing sugar and the remaining butter (cut into cubes) until you get a smooth, creamy texture. Add in the melted chocolate and then add the strawberry essence to taste with some pink gel paste food colour.

To assemble you need to stack your layers with your buttercream sandwiching them together; now you need to crumb coat your cake. A crumbcoat is a thin layer of buttercream or ganache that seals in the crumbs before being fully iced or covered. With a good angled spatula smoother some of the buttercream atop and around the sides of the stacked cake until covered. Chill in a refrigerator for 20-40 minutes. Once chilled remove and cover with the rest of your strawberries and white chocolate buttercream using a spatula. We covered ours with soft buttercream ruffles for a romantic look.
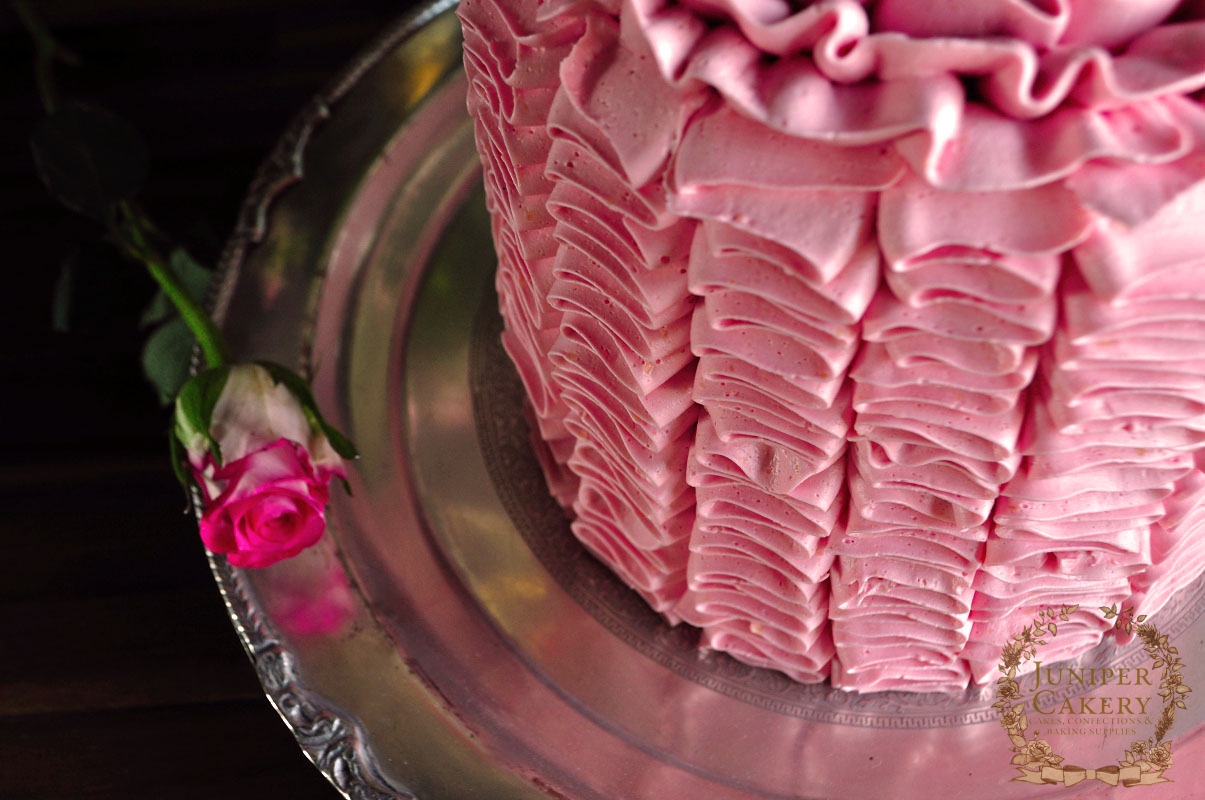
Ruffle Champagne Cake by Juniper Cakery

We hope you’ve enjoyed our year of various cake recipes utilising eggs from The Happy Egg Co. as we have and that we’ve inspired more people to try their hand a new skill… or several.


The Happy Egg Co. Cake - Valentine Sweetheart

2014 is officially here which means our partnership with The Happy Egg Co. is coming to an end. We’ve made a selection of delicious cakes for them over the past year and experimented with lots of flavours, palettes and designs; our last cake certainly won’t be any different! Though the new year brings with it the beginning of winter, Valentine’s Day offers the opportunity to use otherwise ‘summery’ ingredients; strawberries and champagne! With this in mind we’re very excited to announce that our very last cake with The Happy Egg Co. incorporates some of life’s little luxuries; strawberries, white chocolates, and roses all tied together with a generous helping of champagne!

Champagne, Chocolate and Strawberries Cake Development

Champagne, Chocolate and Strawberries Cake Development

Champagne, Chocolate and Strawberries Cake Development

For this cake our colour palette is inspired by gorgeous bouquets of roses that traditionally find themselves delivered to loved ones on Valentine’s Day. The vibrant and soft pinks of roses combined with fresh greens and delicate creams lend themselves wonderfully to cakes and other sweet treats of the season!

Champagne, Chocolate and Strawberries Cake Development


After Dinner Mint Cake with The Happy Egg Co. Eggs!

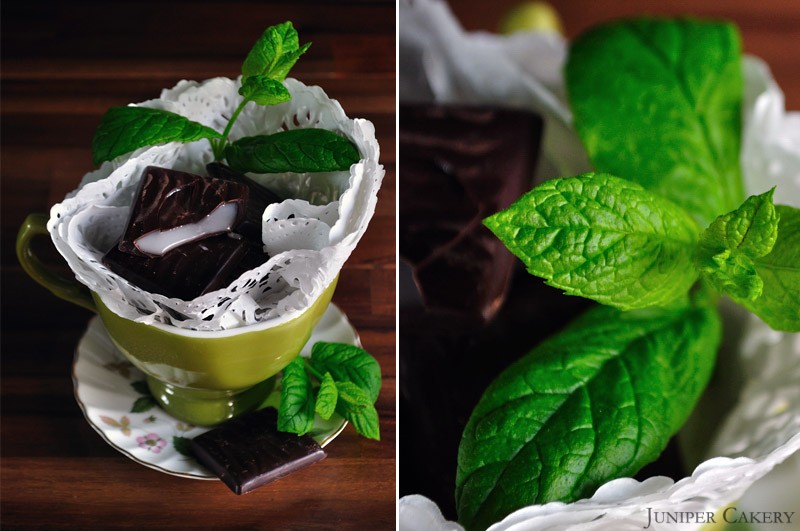
Hurrah! Christmas is now just around the corner and as we all prepare for evenings adorned with festive lights, cosy mulled wine and hours of Christmas TV specials why shouldn’t we also treat ourselves to a generous slice of cake too! Every month we create a delicious recipe using eggs from The Happy Egg Co. for you to re-create and enjoy at home. This month’s is a simple yet decadent treat inspired by every dinner host’s crowd pleaser; the After Dinner Mint. We absolutely adore the sweet and creamy chocolate paired with the fresh zing of peppermint; enjoy with a glass of ice cold milk or a steaming hot mug of coffee to help de-stress after all that Christmas shopping!

After Dinner Mint Cake by Juniper Cakery

After Dinner Mint Cake by Juniper Cakery

Basic Chocolate Cake (makes approximately 2 x 2″ layers of an 8″ diameter round cake)

453g self raising flour
453g butter
453g caster sugar
7 eggs
3 heaped tablespoons of cocoa powder mixed in a paste with  boiling water
1 teaspoon baking powder

The Happy Egg Co. Eggs

Cream your butter in a mixer then add the sugar. Add in the flour along with half of the happy eggs for around one minute. Once half of the happy eggs are combined add the remaining eggs along with the cocoa paste and baking powder. Mix for about 5 minutes.

Pour batter in the pan until 2/3 full and place on the top shelf of a pre-heated oven at Gas Mark 3/325F/170C. Bake for around 30 minutes. Repeat this step to create your second layer.

Chocolate and Peppermint Buttercream Recipe

500g diced/chopped butter at room temperature
300-400g icing sugar (keep testing when adding to make sure it is the consistency and sweetness you like)
6-12 drops of peppermint extract
100g melted dark chocolate
1 heaped tablespoon cocoa powder

Add half of the of butter into your mixer and cream. Then gradually add icing sugar and the remaining butter (cut into cubes) until you get a smooth, creamy texture. Add in the melted chocolate and cocoa powder then add the peppermint extract to taste.

For more hints and tips see our tutorial on how to make buttercream here.

After Dinner Mint Cake by Juniper Cakery

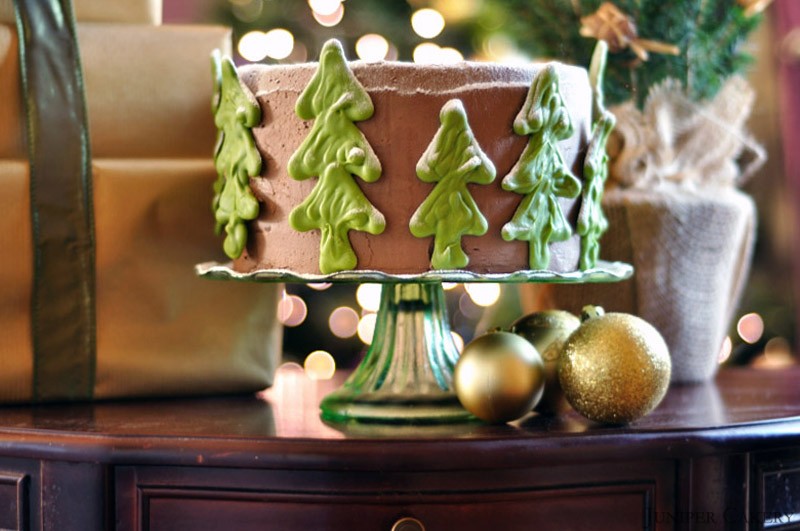
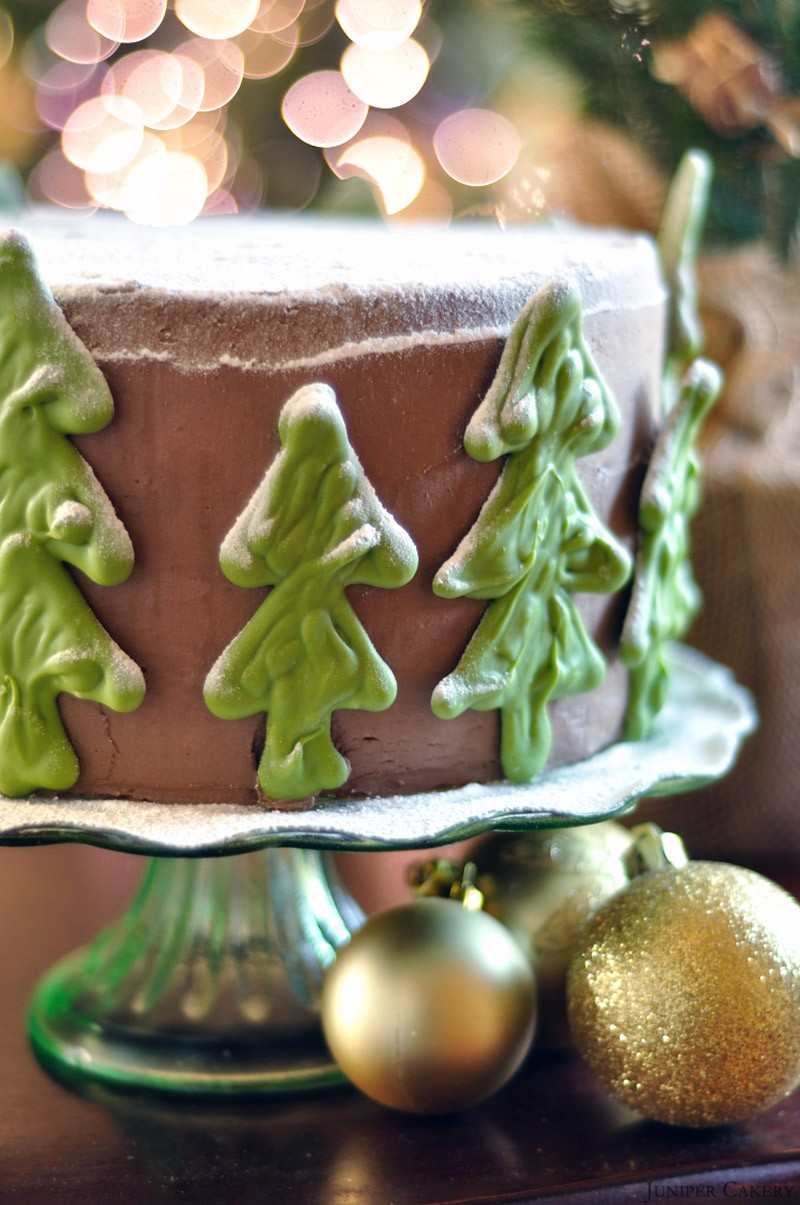
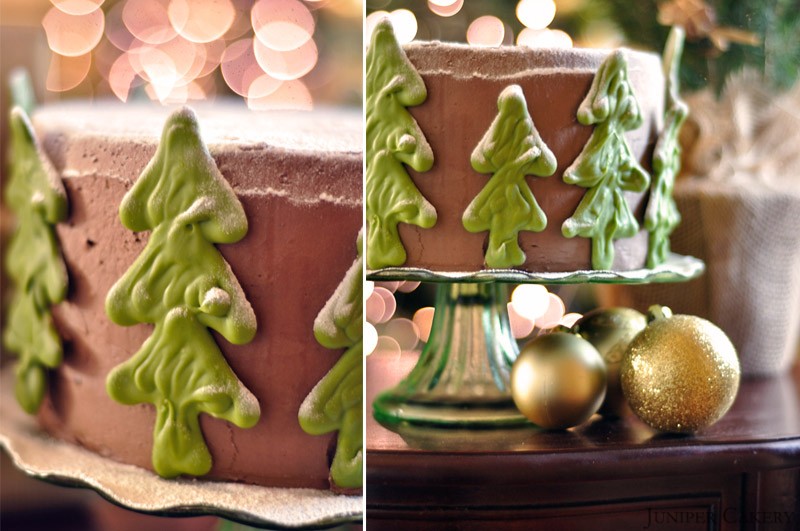
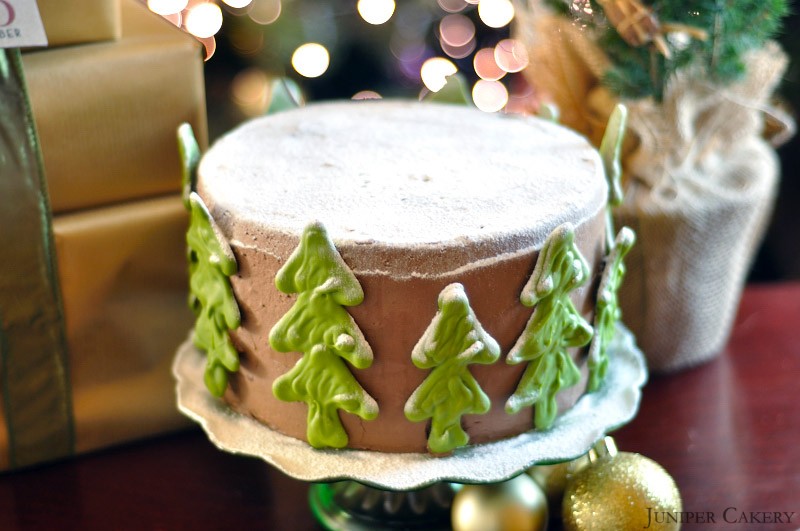
Decoration-wise you can keep the look of your cake plain and simple or flex your decorating muscles with fondant elves and snow people. We created some large green trees with candy melts and some green gel paste food colouring. Simply pipe the melted candy melts onto parchment paper on a flat tray and chill until hard. We also created some subtle ridges in our chocolate buttercream and dusted the top with icing sugar to create the look of a mountainous snow sprinkled background.

After Dinner Mint Cake by Juniper Cakery

Once finished you should find yourself left with one tempting cake. Remember to try to save at least half for everyone else to fight over.

Happy Holidays!


The Happy Egg Co. Cake - After Dinner Mint

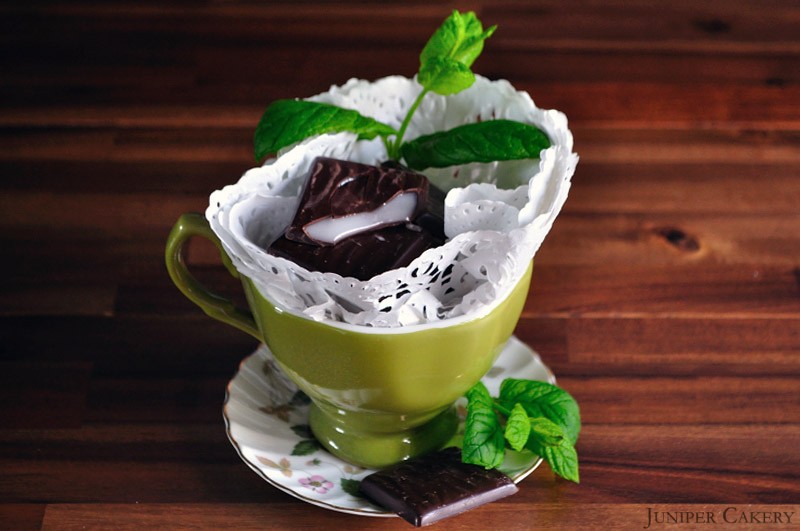
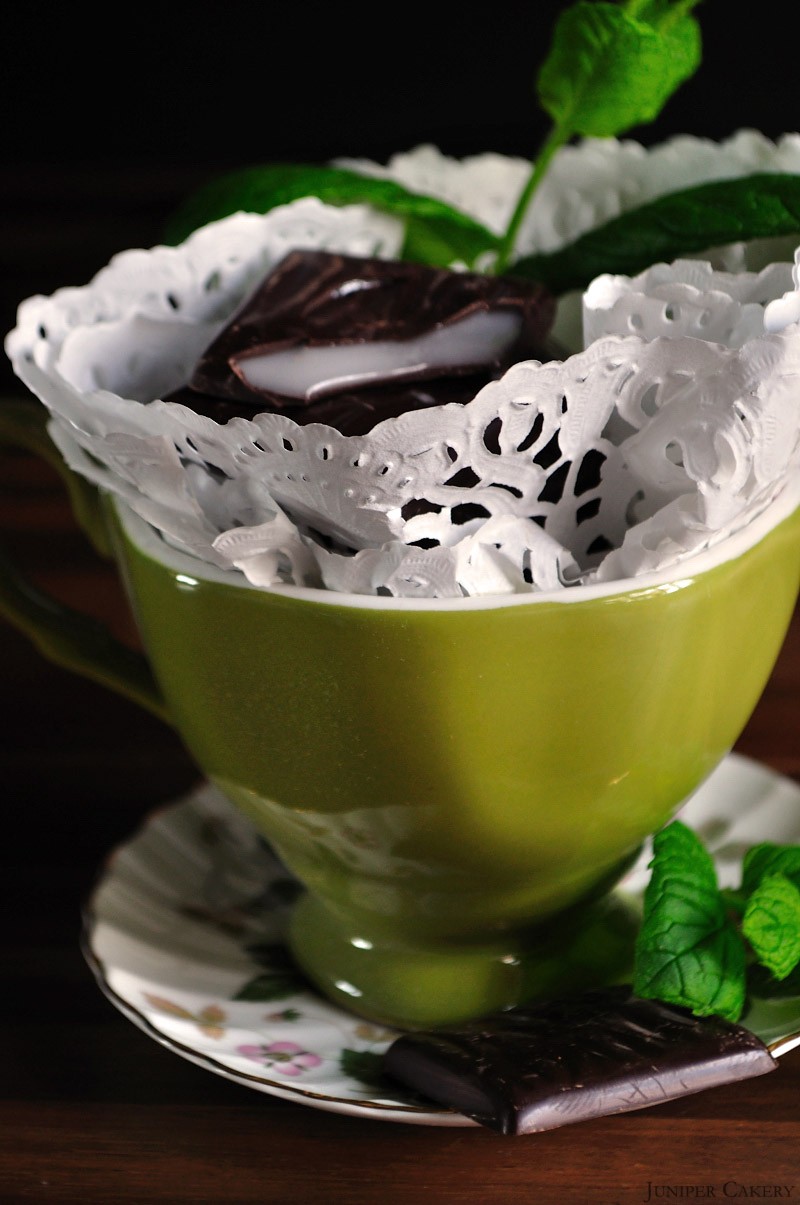
The festive season is just around the corner and of course we are incredibly excited! We love everything about this time of year; woolly jumpers, blustery weather, houses adorned with tinkling lights and the abundance of fantastic flavours on offer! With all this in mind an obvious flavour choice for our next cake with The Happy Egg Co. jumped out at us; after dinner mint! The luxurious combination of dark chocolate and smooth mint cream is a seasonal classic around the Christmas dinner table, and one to share with family and friends while watching winter TV specials! We loved the idea of a decadent cake incorporating the fresh sweet taste of peppermint and the bitter creaminess of dark chocolate. Why not finish a festive dinner with an after dinner mint cake instead? We certainly will; we’re salivating at the thought!

mint1

mint2

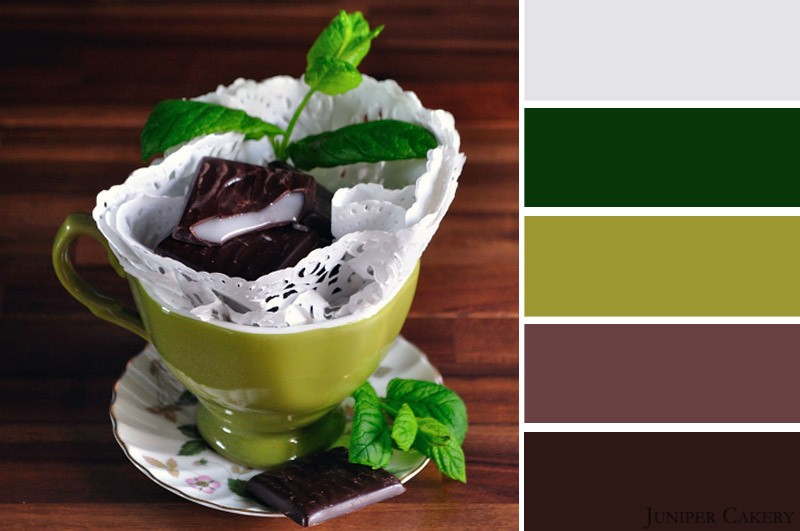
Another thing we adore about combining peppermint with dark cocoa is the vibrancy of natural greens contrasted perfectly next to warm browns and crisp grey whites. They do say that you eat with your eyes first so festive greens and natural browns will help tempt everyone!

mintpalette

mintduo

You don’t even have to wait until after your evening meal to enjoy such a cake flavour. It’s winter in less than a month so why not indulge and warm up your tummy with a generous slice and a piping hot mug of peppermint hot cocoa! Excited? Watch this space for our truly tempting and taste bud tingling recipe!


Spiced Apple & Caramel Cake with The Happy Egg Co.!

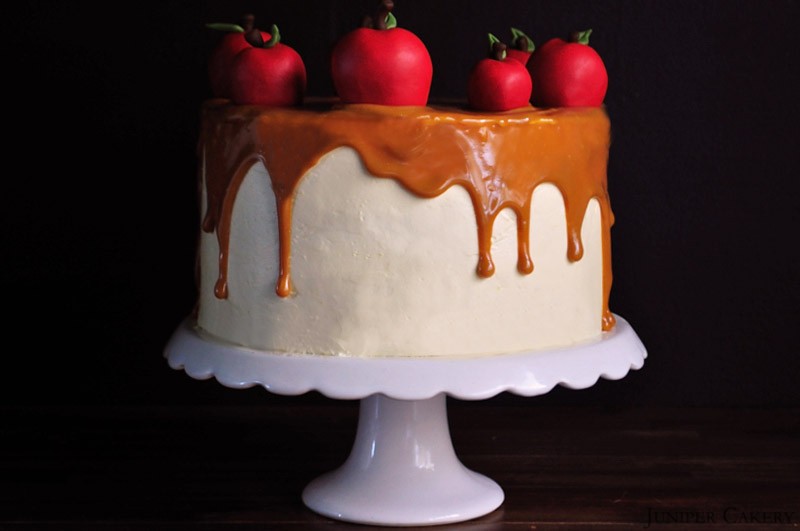
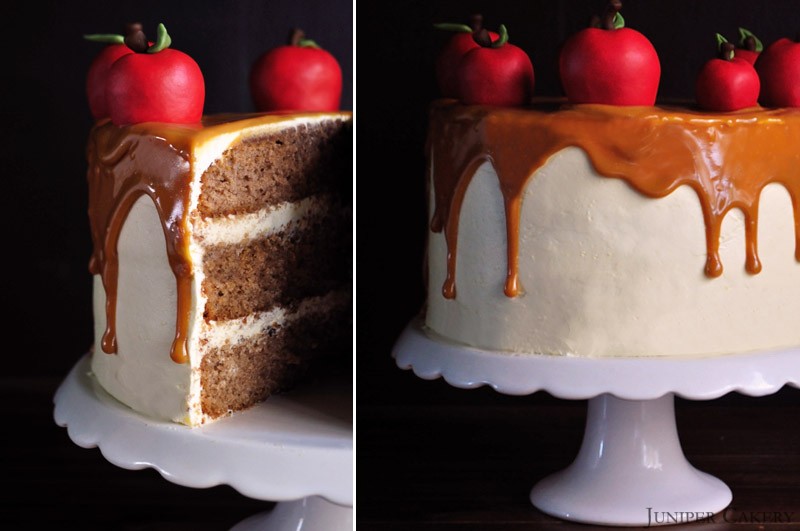
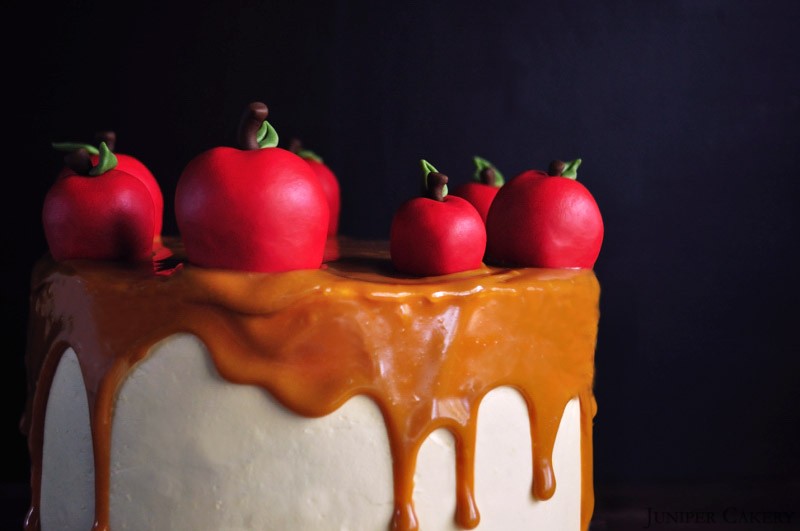
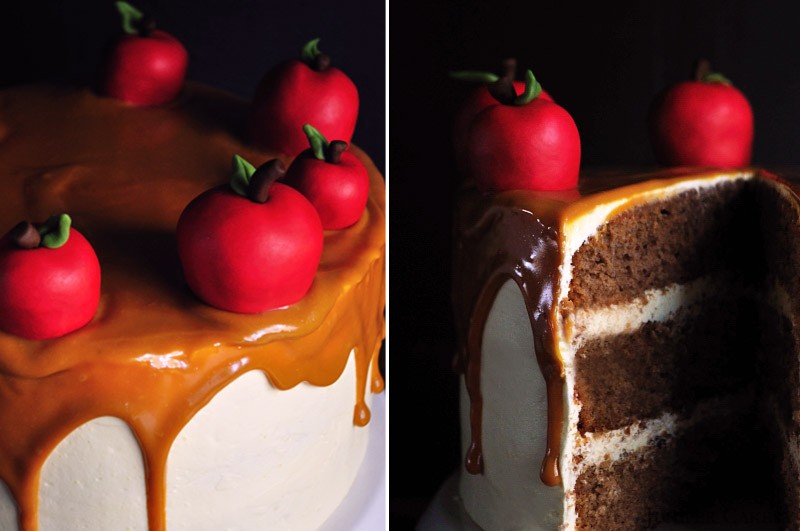
Autumn always brings forth some wonderfully warming and indulgent flavours when it comes to food and celebrations. As Guy Fawkes’ Night festivities commence in the United Kingdom this month’s cake is nothing short of a subtle yet sumptuous treat; perfect to enjoy during the Bonfire Night shenanigans! Imagine slicing into a fragrant cake spiced with cinnamon, nutmeg, allspice, cloves and ginger; covered and filled with home made caramel sauce and scrumptious apple buttercream; and then drizzled with even more caramel sauce! Wouldn’t that be the perfect addition to your dinner table this 5th of November and during the rest of the chilly season! If you’re outside of Great Britain we’re sure you’ll still enjoy this recipe too. The rich spices, tangy apple frosting and sweet caramel pair wonderfully with any autumnal soirée. The little fondant apples sat happily amidst dripping caramel resemble glistening apples bobbing in a barrel of water ready for party games.

Spiced Apple & Caramel Cake by Juniper Cakery

Spiced Apple & Caramel Cake by Juniper Cakery

Simple Spiced Cake Recipe (makes approximately 3 x 1″ layers of an 8″ diameter round cake)

453g self raising flour
453g butter
453g brown sugar
7 eggs
1/2 teaspoon ground cloves
1 1/2 teaspoon cinnamon
1 teapoon nutmeg
1 teaspoon allspice
1/2 teaspoon ground ginger

The Happy Egg Co. Eggs

Cream your butter in a mixer then add the brown sugar. Add in the flour along with half of the happy eggs for around one minute. Once half of the happy eggs are combined add the remaining and the spices to taste. Mix for about 5 minutes.

Pour batter in the pan until 2/3 full and place on the top shelf of a pre-heated oven at Gas Mark 3/325F/170C. Bake for around 30 minutes. Repeat this step to create your second and third layer.

Apple Buttercream Recipe

500g butter (around two packs in the UK)
300-400g icing sugar (keep testing when adding to make sure it is the consistency and sweetness YOU’D like)
6-12 drops of natural apple essence

Add half of the of butter diced into pieces. Cream the butter in a mixer. Then gradually add icing sugar and the remaining butter (cut into cubes) until you get a smooth, creamy texture. Add the flavour to taste.

For more hints and tips see our tutorial on how to make buttercream here.

Spiced Apple & Caramel Cake by Juniper Cakery

Easy Caramel Sauce Recipe

260g caster sugar
4 tablespoons of room temp water
140ml double cream
50g butter

On medium heat dissolve the sugar with the water whilst stirring in a saucepan. Raise the heat until the sugar mixture bubbles and turns a lovely golden brown (this should take around 5 minutes). Take off the heat and stir the cream and butter into your caramel sugar mixture. Leave to cool and it’s ready to fill and pour atop of your cake!

To assemble your cake smooth caramel sauce and apple buttercream between each layer of cake. Next apply a thin layer of buttercream over your cake evenly leaving extra buttercream for later. Smooth and leave in the fridge to chill for 30 minutes to an hour. Once chilled smother the rest of the lovely apple flavoured buttercream over the sides and top and smooth with a spatula. Now carefully pour the caramel sauce over the cake and use a clean spatula to push the sauce to the edges so it drips luxuriously! Finally you can decorate the top with little fondant apples, fudge pieces, cinnamon sticks or caramel filled truffles!

Spiced Apple & Caramel Cake by Juniper Cakery

We do hope you thoroughly enjoy this warm and taste bud tingling recipe during the ensuing chilly months. Try a generous slice with a cup of spicy chai tea or gingerbread flavour coffee for an uplifting treat!


The Happy Egg Co. Cake - Spiced Apple

October is officially here which means burnt reds, oranges and yellows are quickly taking over the leafy greens of summer. Though this is, perhaps, the biggest change when we look through our window here at Juniper Cakery HQ there are also notable changes being made in the food and baking world too. The thought of warming seasoned fruits, soups and desserts have inspired this month’s recipe which is to be a spiced apple cake!

Spiced Apple

Spiced Apple

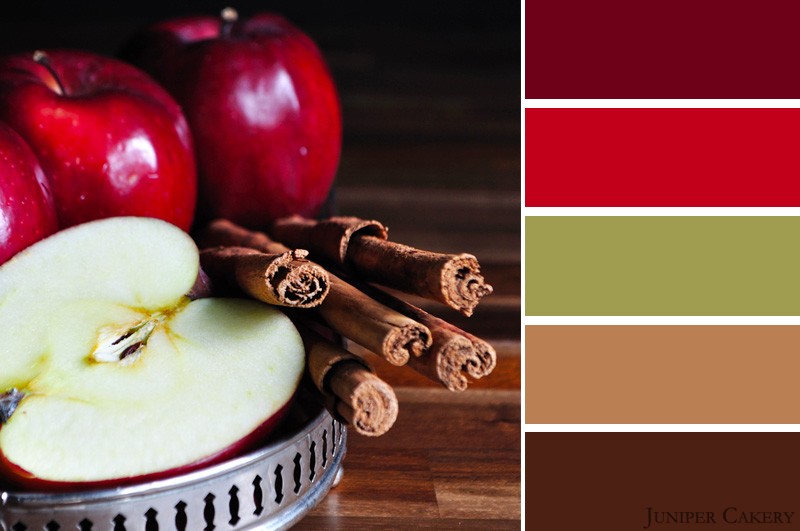
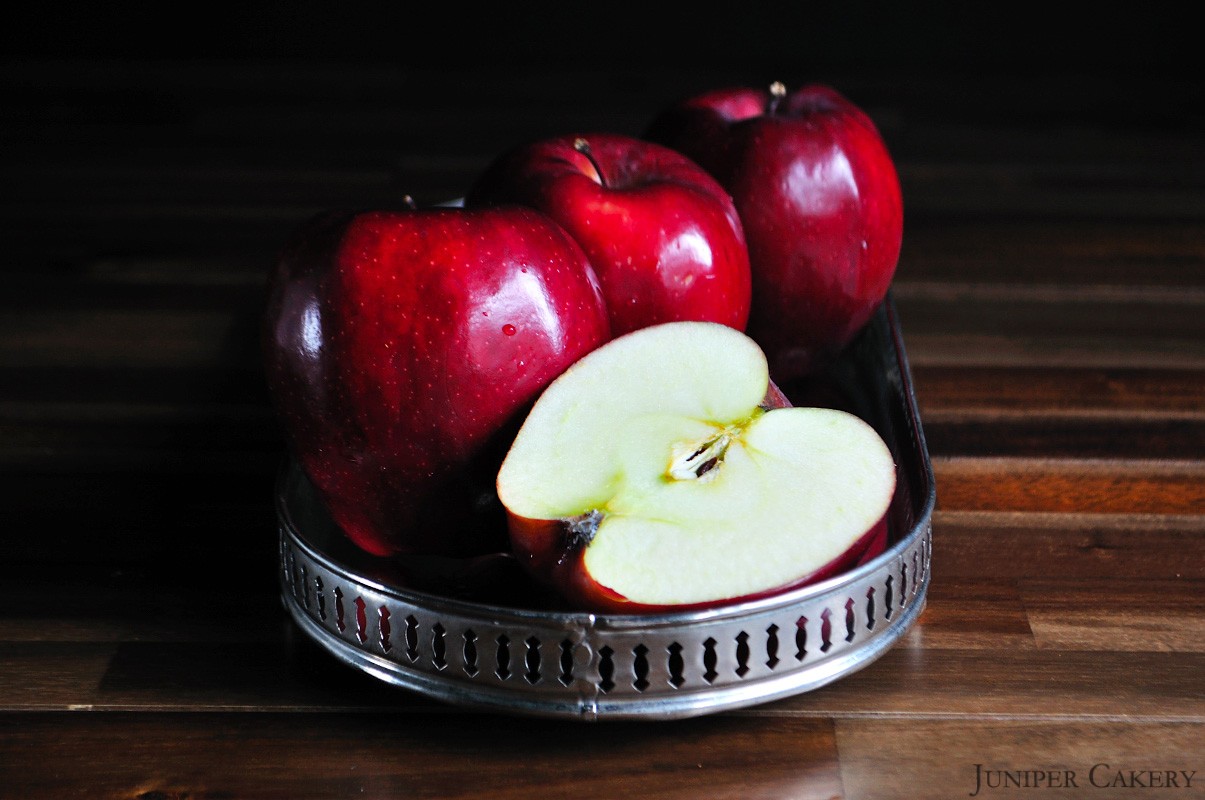
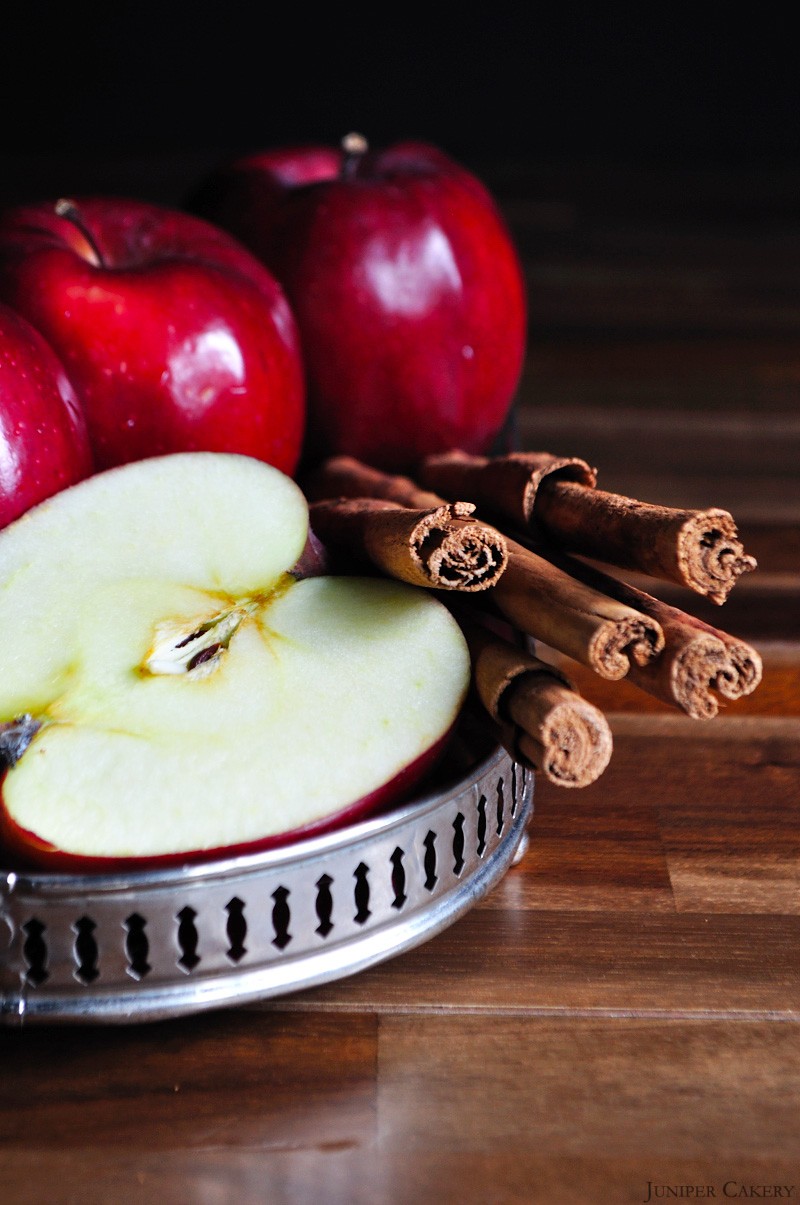
The bittersweet taste of apple and their deep reds and autumnal greens are perfect for this time of year. Their traditional, and much loved, pairing with cinnamon, clove, nutmeg and allspice creates a warm, homemade feel perfect for getting cosy in the coming blustery months.

Spiced Apple


Coffee, Brown Sugar and Caramel Cake with The Happy Egg Co. Eggs!

On September 22nd the British summertime ended and autumn began! Cooler mornings and darker evenings makes this month’s cake the perfect treat. Our coffee, brown sugar and caramel cake is simple to recreate as the indulgent flavours combine to make a wonderful autumn treat perfect for any occasion!

Coffee, Brown Sugar and Caramel Cake

Coffee Cake Recipe (Makes two 8″ layers)

4-5 eggs by the happy egg co.
250g self-raising flour
250g brown sugar
250g butter
6-12 drops of natural coffee essence

Coffee, Brown Sugar and Caramel Cake

The Happy Egg Co. Eggs

Cream your butter in a mixer then add the brown sugar. Add in the flour along with half of the happy eggs for around one minute. Once half of the happy eggs are combined add the remaining and flavour to taste. Mix for about 5 minutes.

Pour batter in the pan until 2/3 full and place on the top shelf of a pre-heated oven at Gas Mark 3/325F/170C. Bake for around 30 minutes. Repeat this step to create your second layer.

Coffee, Brown Sugar and Caramel Cake

Caramel Buttercream Recipe

250g butter
400g icing sugar
5 tablespoons of room temperature water
6-12 drops of natural caramel essence

Add half of the of butter diced into pieces. Cream the butter in a mixer. Then gradually add icing sugar and the remaining butter (cut into cubes) until you get a smooth, creamy texture. Add the flavour to taste.

Coffee, Brown Sugar and Caramel Cake

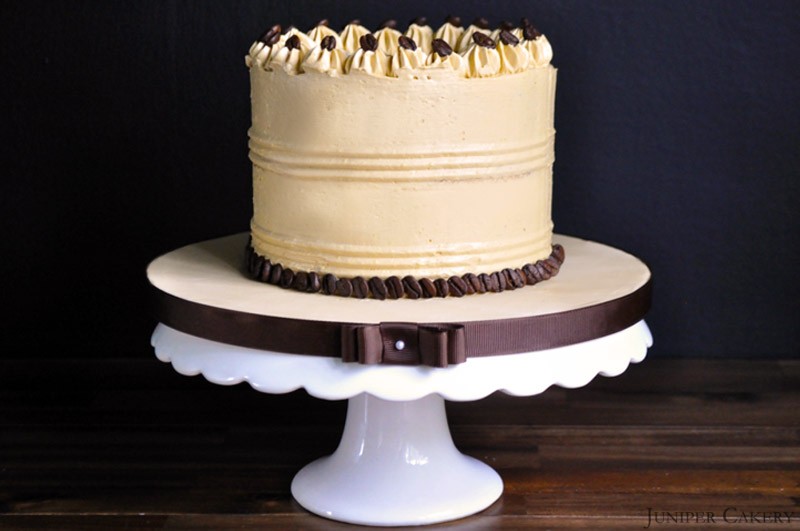
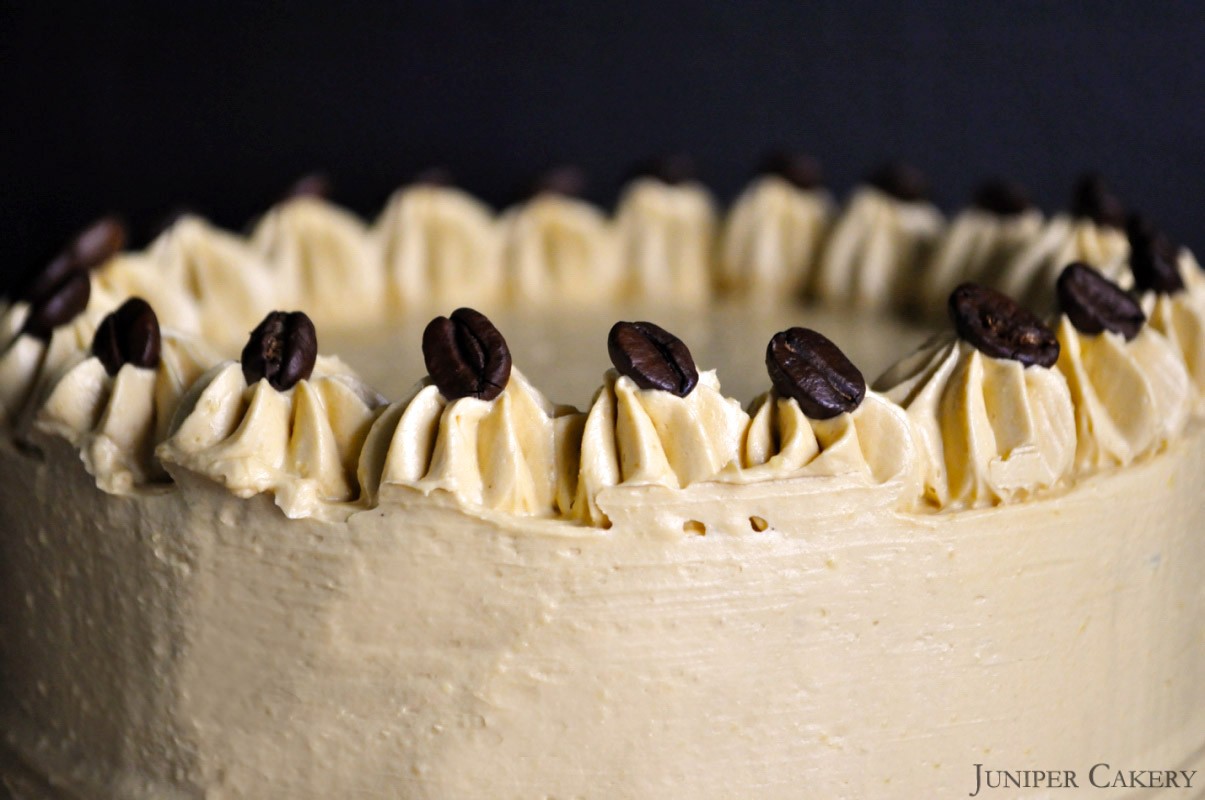
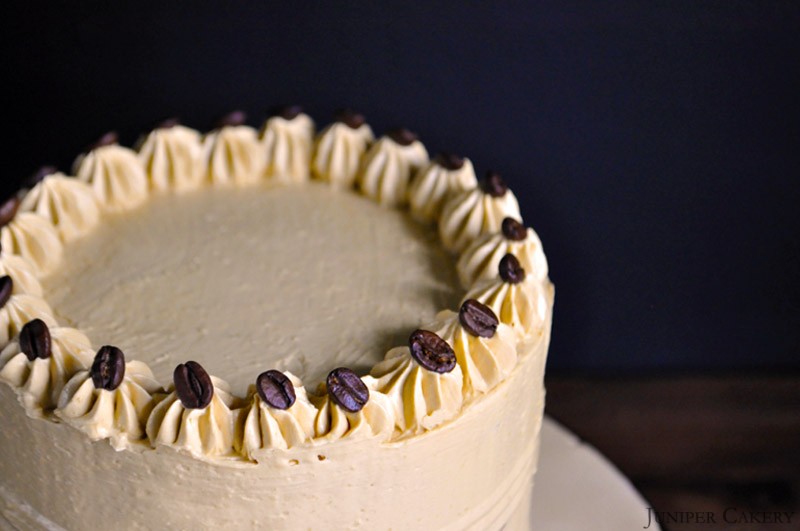
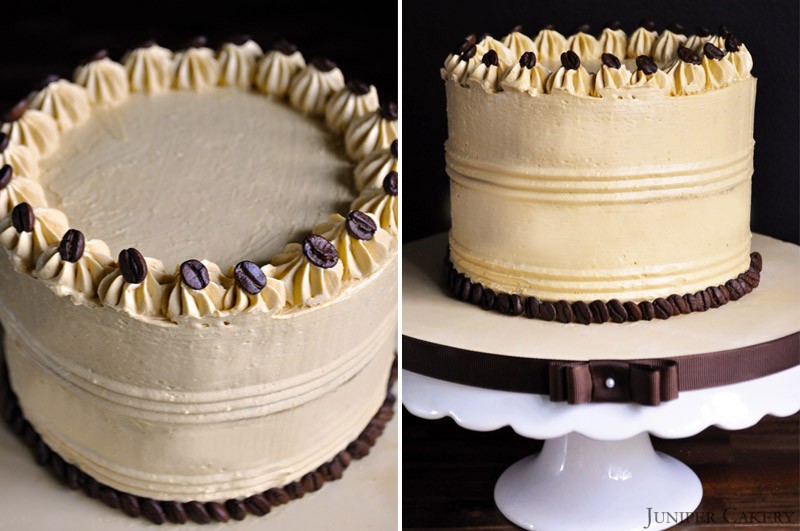
Adding whole coffee beans for decoration is a great way to finish this cake off, why not give it a go!


The Happy Egg Co. Cake - Coffee, Caramel and Brown Sugar

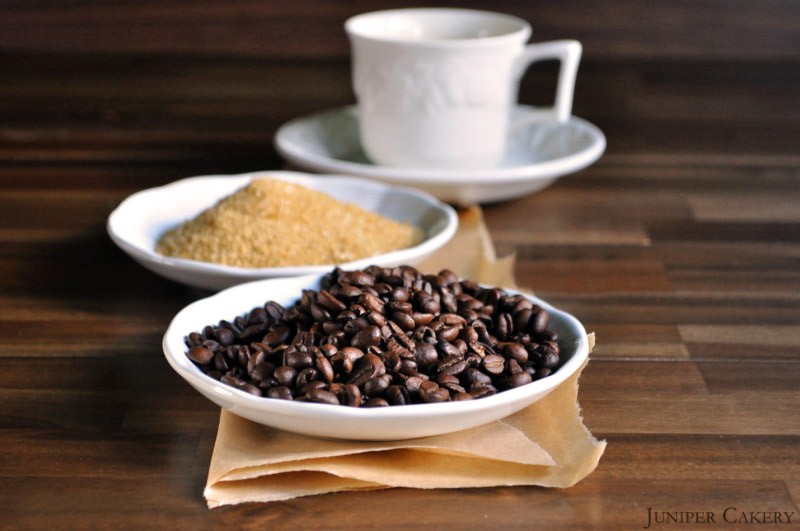
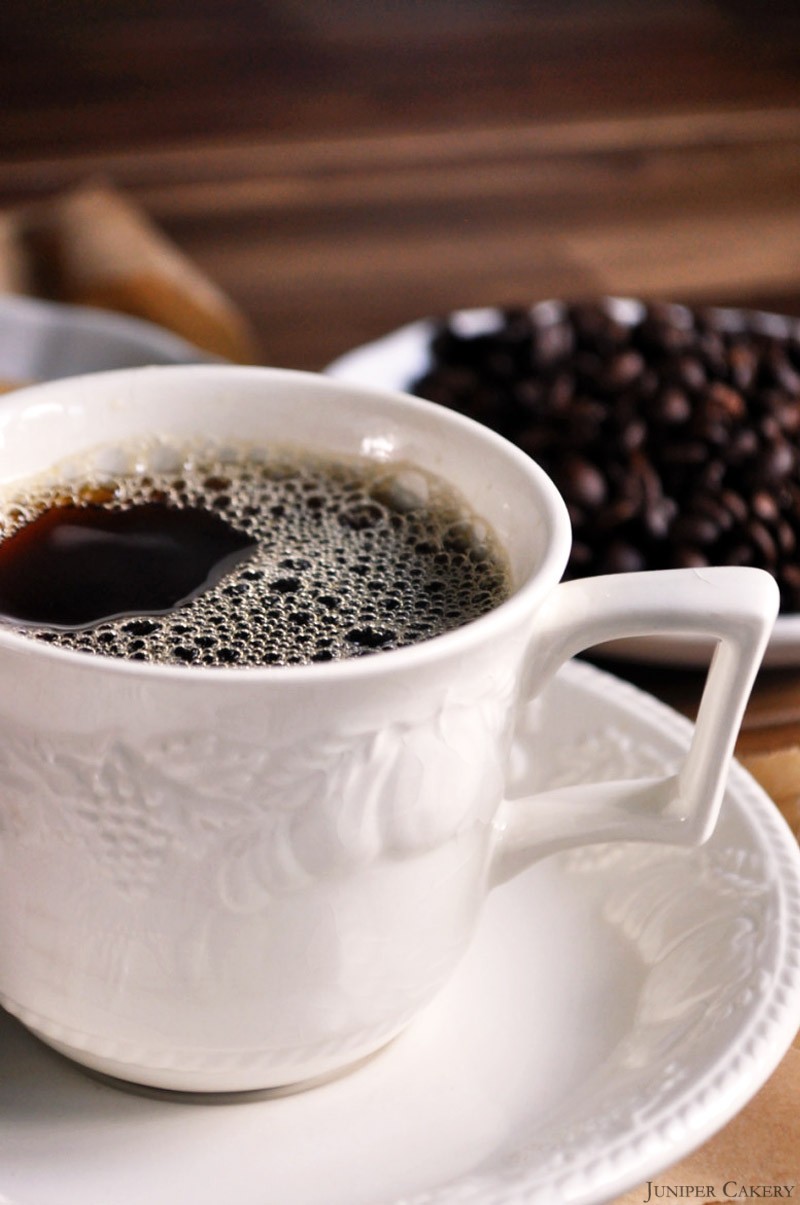
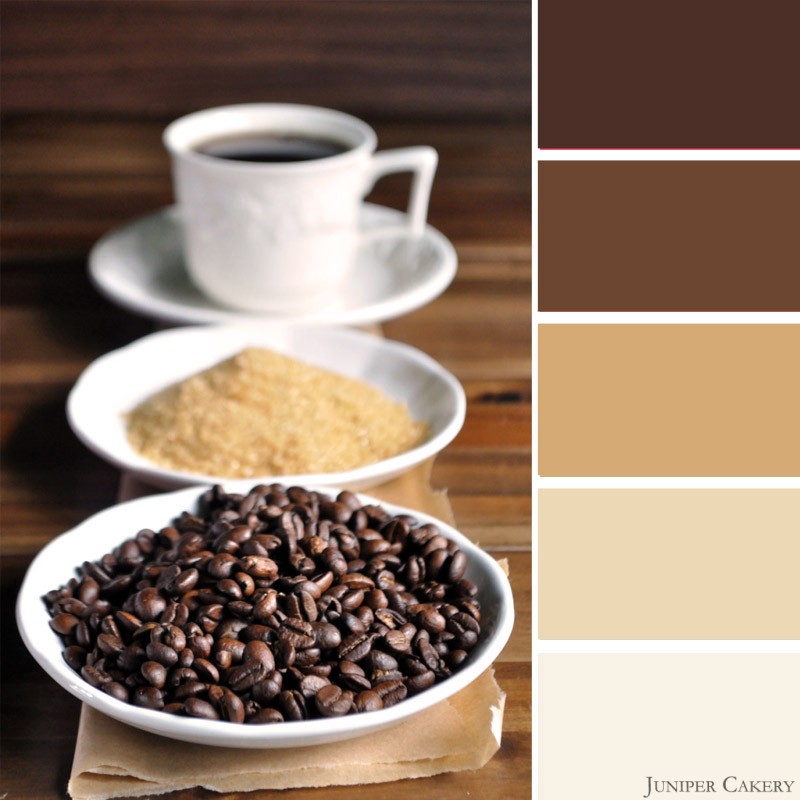
September is quickly moving towards October which means wrapping up and keeping warm is a must! The thought of cool, crisp mornings and dark evenings have inspired this month’s recipe which is to be a coffee, caramel and brown sugar cake! The rich, nutty tones of coffee and the crunchy texture of brown sugar fits right in when we imagine the burnt oranges, yellows and reds of autumn.

Coffee, Carmel and Brown Sugar

The inviting scent of coffee beans we’ve had circulating through our studio reminds us of winter mornings when a warm drink is a great substitute for a lie in! Coffee cake is a classic and adding brown sugar to the mix will deepen the colour and enrich the flavour too!

Coffee, Carmel and Brown Sugar

Pairing a caramel buttercream with coffee and brown sugar adds another dimension and reminds us of fun, flavoursome hot drinks offered by coffee shops in winter. The recipe we have in mind would also work wonderfully with gingerbread or eggnog but we think a silky caramel buttercream would add a luxurious taste and texture without overpowering the coffee and brown sugar.

coffeecolour1


Raspberry Ripple Sandcastle Cake with The Happy Egg Co. Eggs!

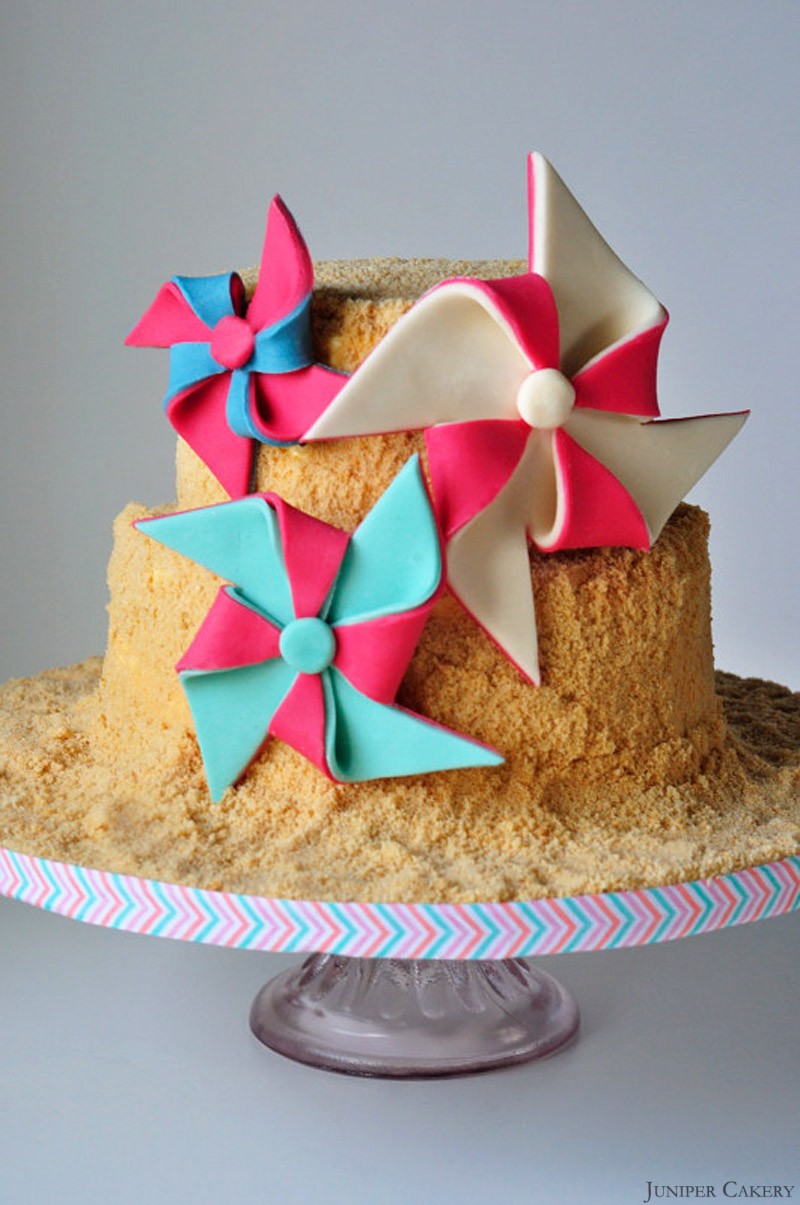
Visiting the seaside isn’t just a tradition enjoyed by people all over the UK, it’s what makes a summer for some people! With this in mind we created a novelty beach themed cake full of vanilla buttercream and raspberry jam to recreate classic raspberry ripple ice cream. This sandcastle cake is perfect for a nostalgic summertime treat so why not try our recipe below for themed parties and picnics at the beach!

Raspberry Ripple Sandcastle Castle Cake by Juniper Cakery

Raspberry Ripple Sandcastle Castle Cake by Juniper Cakery

Basic Cake Recipe (Makes two 8″ layers and two 6″ layers)

7-8 eggs by the happy egg co.
453g self-raising flour
453g caster sugar
453g butter

The Happy Egg Co. Eggs

Cream your butter in a mixer then add the caster sugar. Add in the flour along with half of the happy eggs for around one minute. Once half of the happy eggs are combined add the remaining and mix for about 5 minutes.

Pour batter in the pan until 2/3 full and place on the top shelf of a pre-heated oven at Gas Mark 3/325F/170C. Bake for around 30 minutes. Repeat this step four times for each circle layer or put an 8″ and a 6″ layer in at the same time.

Vanilla Buttercream Recipe

250g butter
400g icing sugar
2 bourbon vanilla pods
5 tablespoons of room temperature water

Add half of the of butter diced into pieces. Cream the butter in a mixer. Then gradually add icing sugar and the remaining butter (cut into cubes) until you get a smooth, creamy texture.

Easy Raspberry Jam Recipe

500g raspberries
1 lemon
500g jam sugar (should contain pectin)

Add raspberries and the juice of one lemon into a large saucepan. Mash the raspberries and leave to cook for 5 minutes until stewing a little.

Sieve your raspberry pulp. Use a wooden spoon to push the berries through if needed. Place your raspberry juice AND pulp back into the pan and gradually stir in the sugar.

Pour into clean jars, seal and leave to cool before using!

Edible ‘Sand’

600g digestive biscuits
Food processor

Place half of the digestive biscuits into the food processor. Blitz on full power for about five seconds. If the biscuits are sand-like tip them into a bowl, place the other half of the digestive biscuits in the processor and repeat.

Decorating this cake is fun and simple and there is no reason to worry about straight edges! Sandwich your layers together adding swirls of raspberry jam and vanilla buttercream. With the left over vanilla buttercream crumb coat each tier with a generous amount and any imperfections will only add to the authenticity of a sandcastle cake!

Once both tiers are covered begin applying your biscuit crumb ‘sand’. Have fun with this by throwing it, patting it, smoothing it until the cake is fully covered and appropriately sandcastle- like!

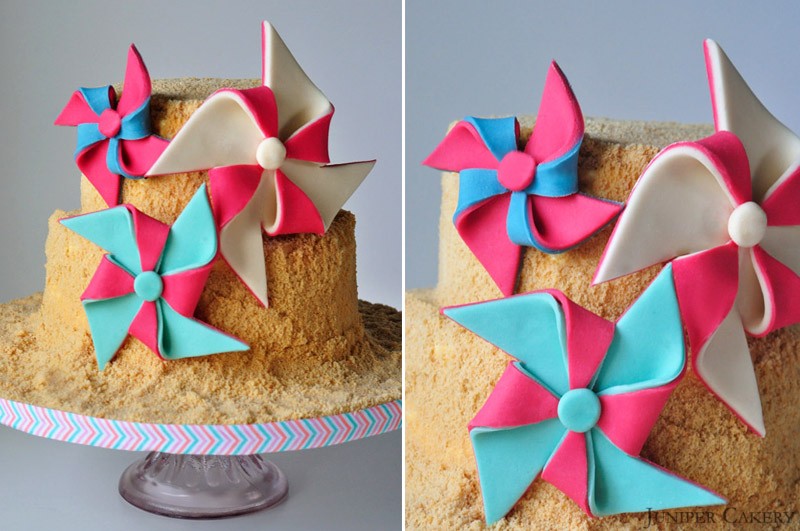
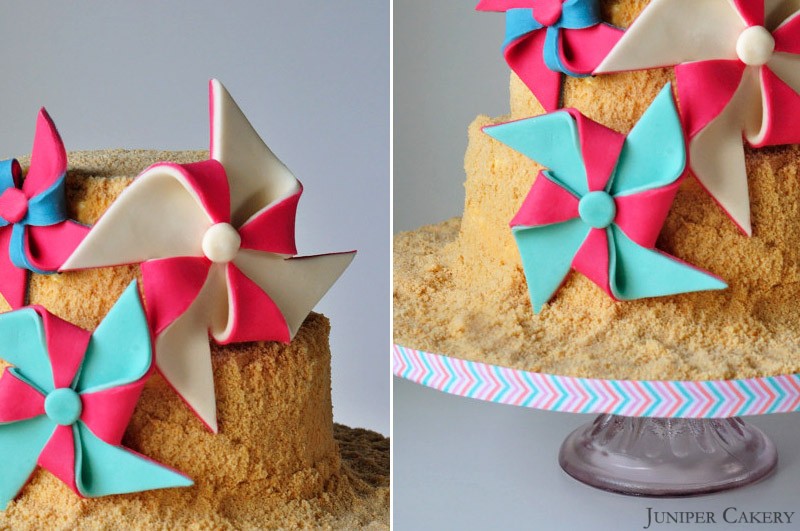
Finally, to add a burst of colour, why not make some pinwheels as pictured above? Or even seaside flags or chocolate seashells and seahorses!

Raspberry Ripple Sandcastle Castle Cake by Juniper Cakery


The Happy Egg Co. Cake - Raspberry Ripple

As the end of summer looms beaches across the UK are jam-packed with holiday makers hoping to enjoy the last bit of warm weather. We too enjoyed a trip to the seaside where we were on a mission to eat lots of fruity ice cream and make sandcastles. When we returned home we were inspired to put the two together and create a raspberry ripple sandcastle cake for this month’s happy egg co. recipe!

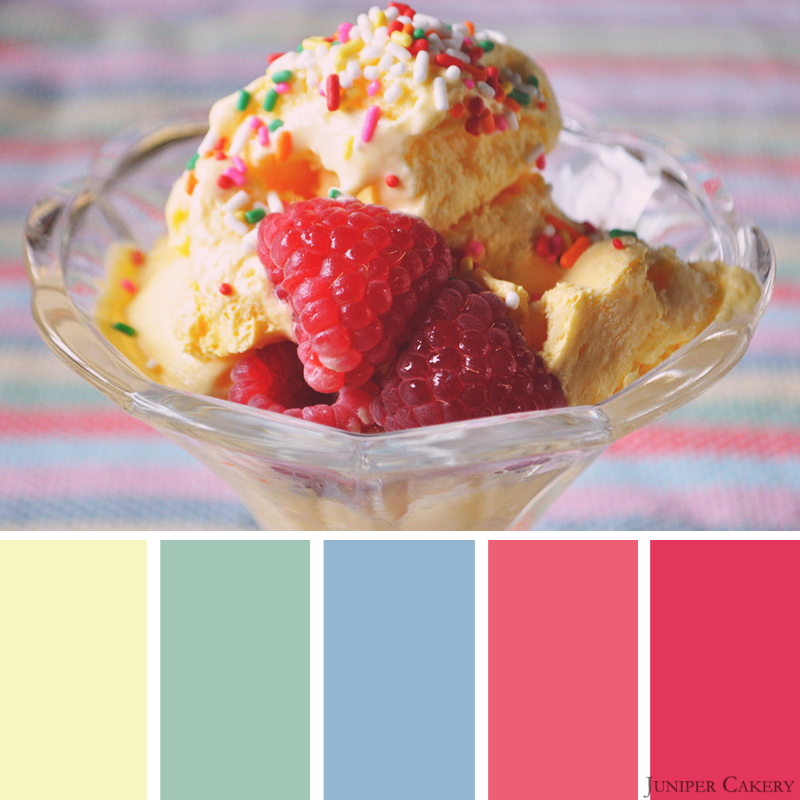
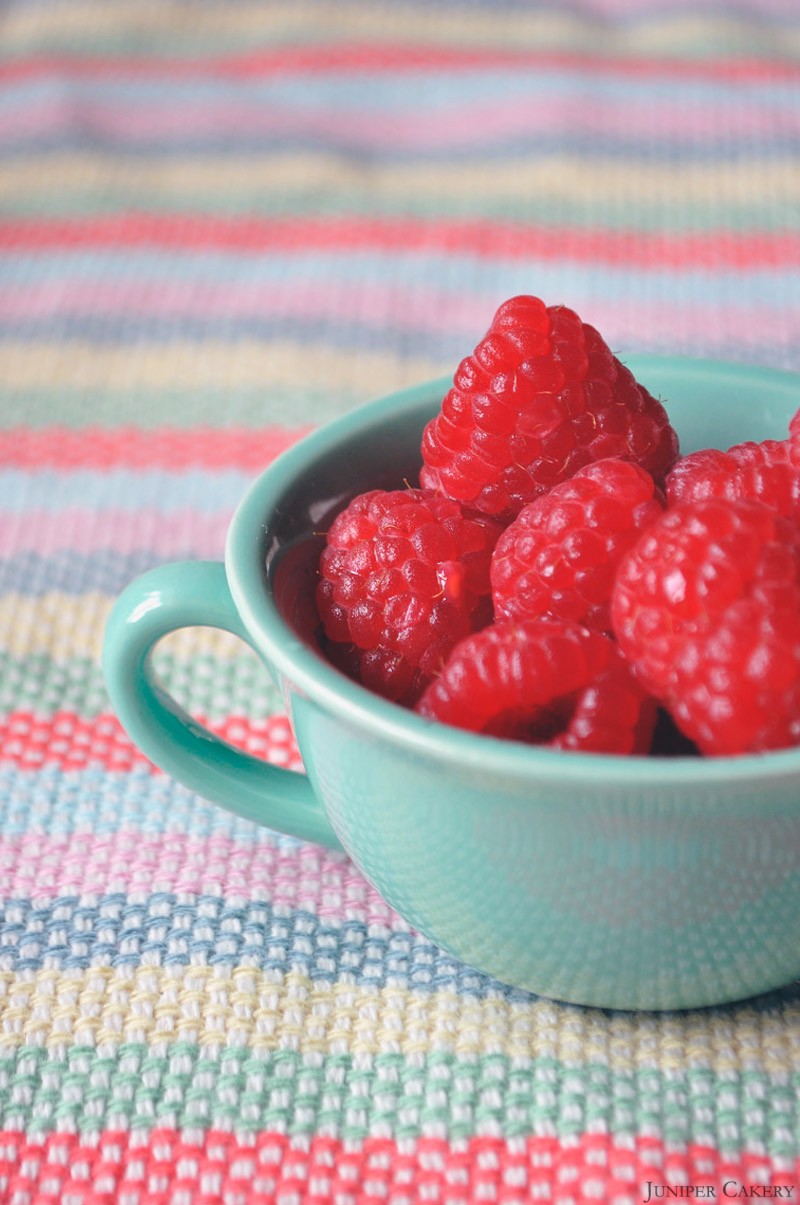
Raspberry Ripple Cake Development Raspberry Ripple Cake Development Raspberry Ripple Cake Development

The tart bursts of flavour from fresh raspberries remind us of past, and recent, visits to the beach on a typical British summer day. Classic flavours like vanilla, chocolate, strawberry, raspberry ripple and banana would attract adults and children alike to ice cream parlors and vans across the country. Raspberry ripple was always our favourite but it wouldn’t be a ‘ripple’ if it wasn’t accompanied by another classic flavour, vanilla!

Pairing fresh, homegrown raspberries and vanilla pod infused buttercream is a great, simple way to recreate a seaside staple! The fun, novelty sandcastle cake for this month is a wonderful way to enjoy the remaining sunshine from the comfort of your own home!


×