Hurrah! Christmas is coming! Whilst this is ever so exciting we understand that whipping up (pun fully intended due to the nature of this blog post) festive treats for the holiday season need to be both striking yet stress-free. That’s why for our collection of Christmas cake, cupcake and cookie decorating tutorials and recipes we’ve tried our best to keep them simple. This week we begin our festive series with some delightfully easy Meringue Christmas Trees!
How to whip up easy Meringue Christmas Trees…
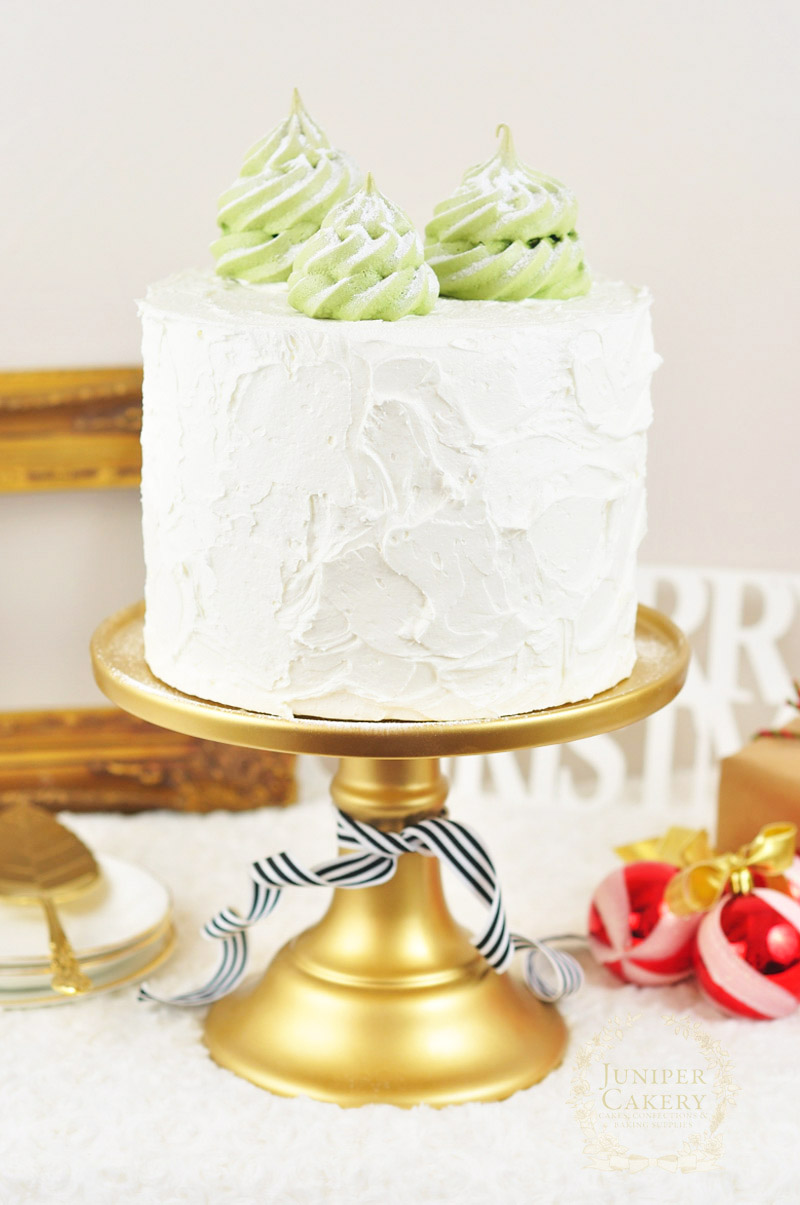
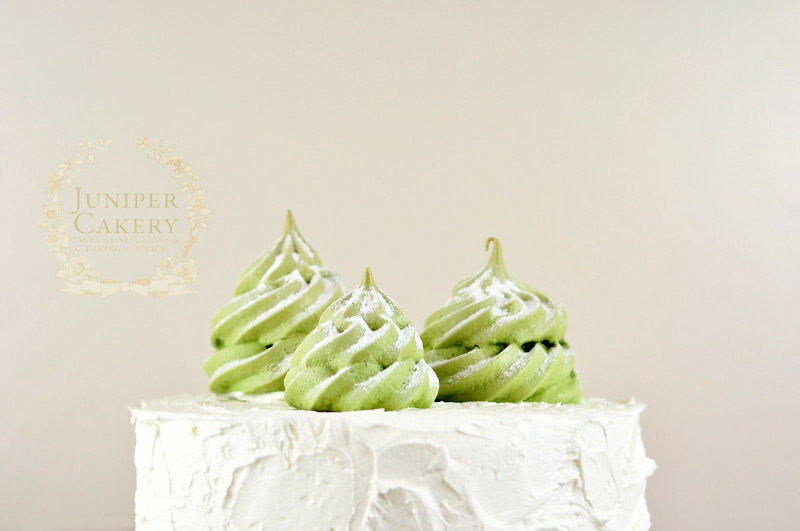
Ingredients needed
- 60g egg whites (room temperature works best)
- 120g caster sugar (this needs to be caster sugar as it dissolves perfectly in a meringue)
- Green gel or paste food colour
Note: As a general rule you need double the amount of caster sugar to egg whites so if you need to make a large bowl of meringue keep this in mind!
Materials needed
- Piping bag
- 828 Ateco piping tip
- Cookie sheet/tray or any flat baking tray
- Parchment paper or silicone baking mat
- Clean kitchen paper towels
- Lemon juice
Step 1:
Pre-heat your oven to gas mark 2/300F/170C and line a flat baking try with either parchment paper or a silicone mat.
Step 2:
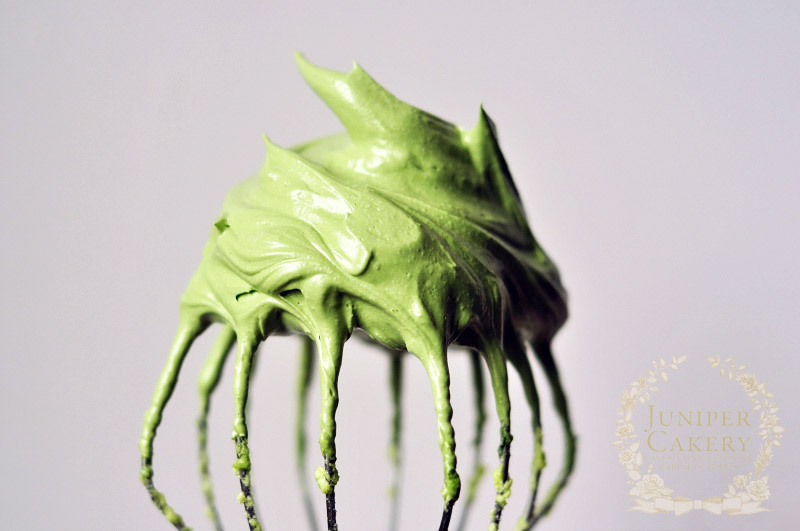
In the lemon juice wiped (this rids any fat residue with can make a meringue seriously fail) bowl on a stand-up mixer add your room temperature egg whites and whisk on high speed for a few minutes or until lovely stiff peaks are formed!
Step 3:
Add in your food coloring and mix for around 20 seconds or until fully incorporated. Don’t worry if your egg whites begin to look a little ‘clumpy’ or if they all seem to congregate inside your whisk. Adding the sugar next ‘loosens’ them.
Step 4:
Gradually add in your caster sugar a tablespoon at a time as you whisk on high until glossy, stiff peaks form.
Step 5:
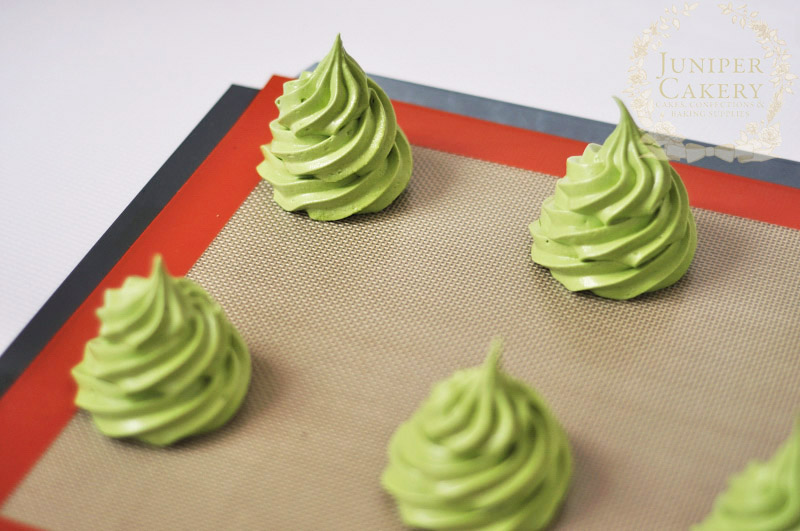
Fill a piping bag fitted with a 828 piping tip with your green meringue mix and shake the bag down to rid yourself of any unwanted air bubbles.
Step 6:
Pipe a row of Christmas trees at least 2 inches apart on your tray. To do this simply pip as your would with cupcake buttercream/frosting yet a little taller.
Step 7:
Place in the oven on the lowest rack for around 1 hour. To prevent the tops from browning add a thin sheet of foil to the top tray of your oven and increase your baking time to 1 hour and 30 minutes.
Step 8:
When baked remove and set aside to cool. You can then work on some decorations like fondant/sugar paste stars using rolled out fondant or sugar paste icing, some star shaped cutters and a little pearlescent, gold or silver lustre dust! Attach any extra decorations on with a tiny dab of melted white chocolate and you should be left with a miniature forest of festive trees.
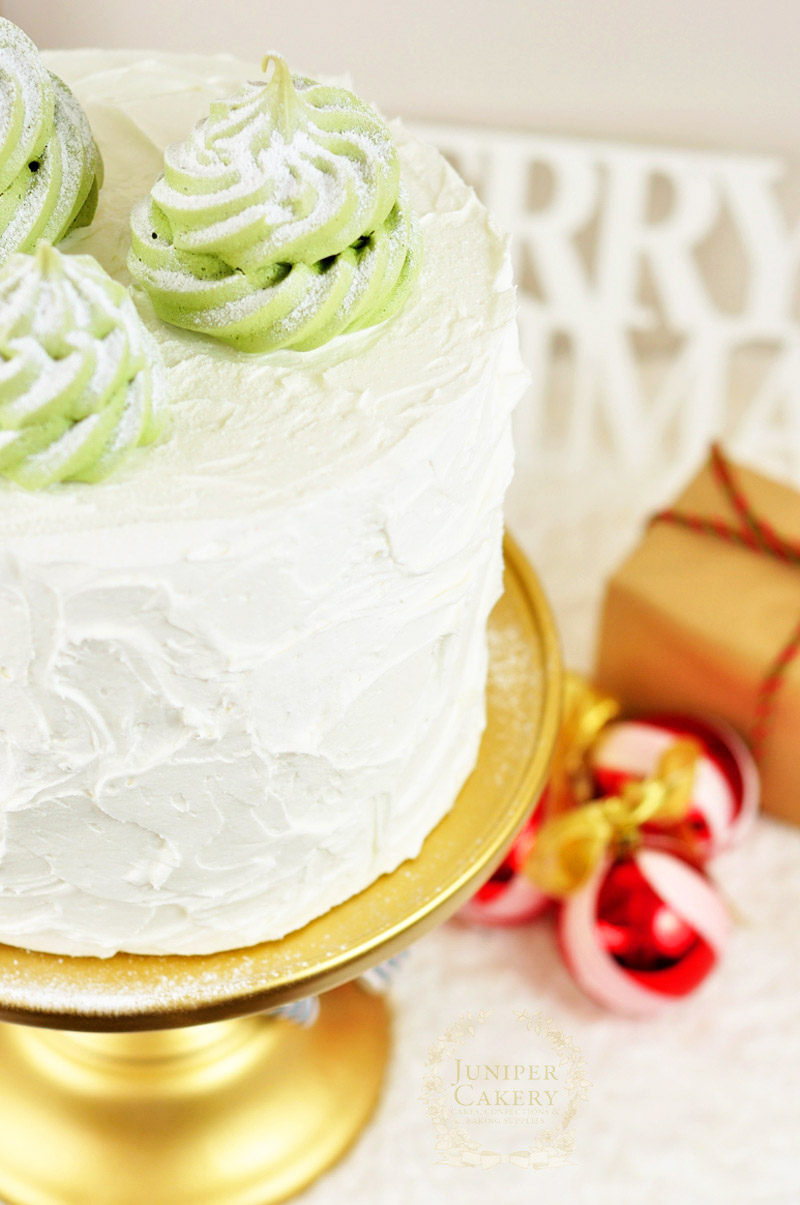
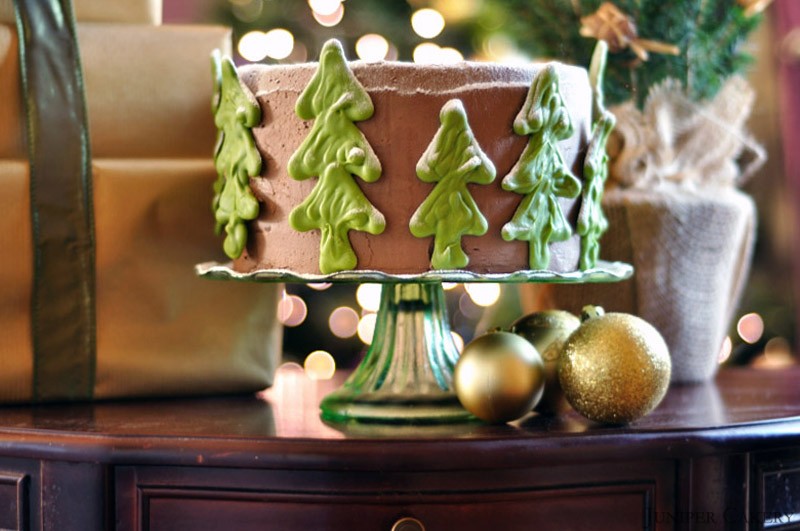
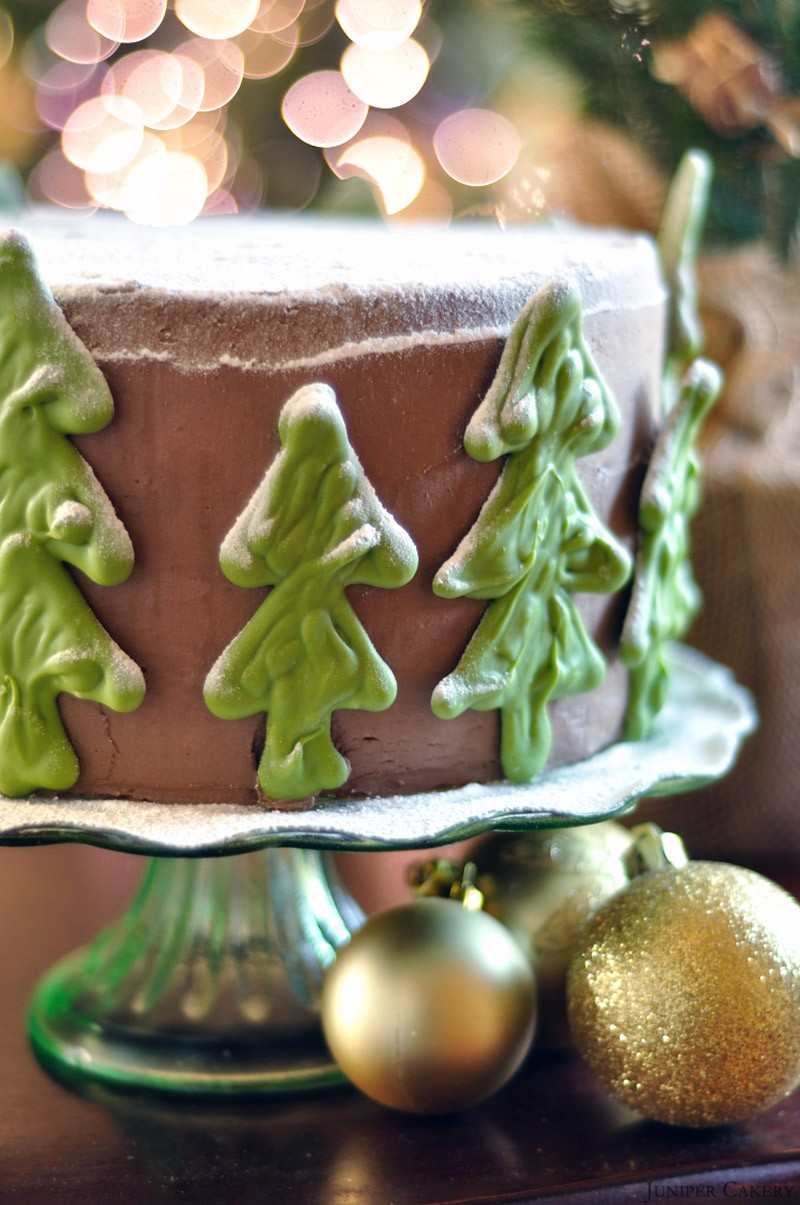
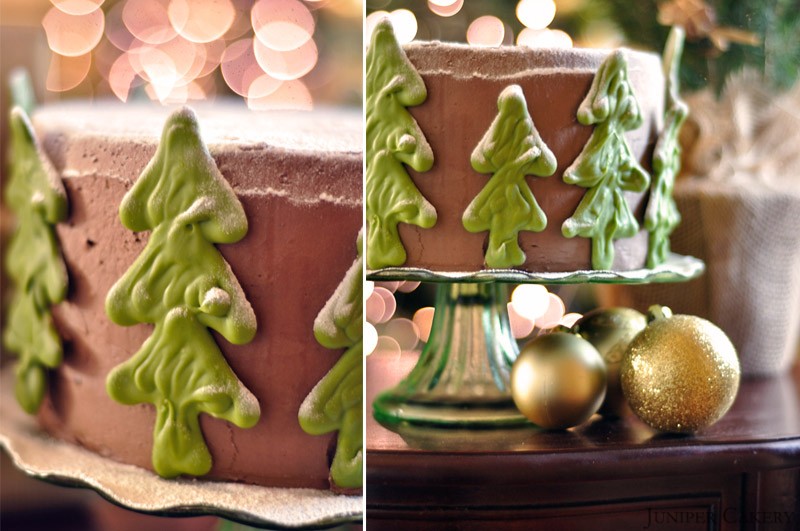
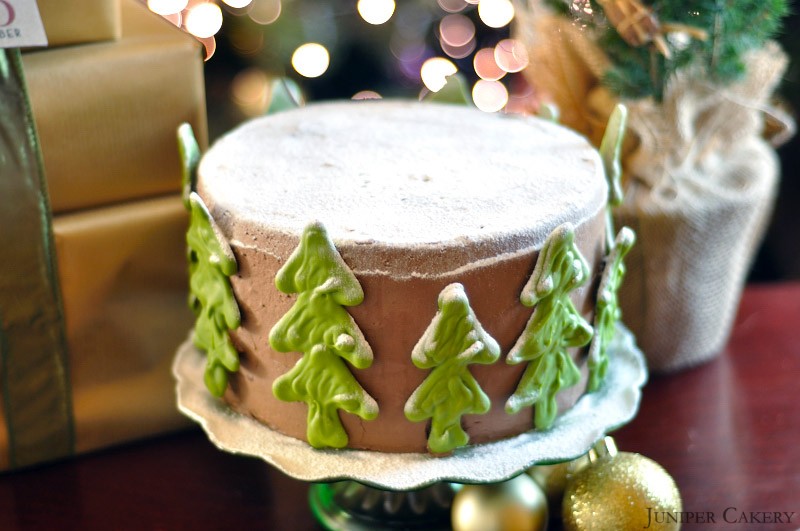
There are lots of fabulous ways you can use these adorable edible Christmas trees for holiday treats. We added ours on top of a red velvet cake smothered with rustic and white cream cheese buttercream before dusting them lightly with a little icing sugar to create a quaint snowy scene.
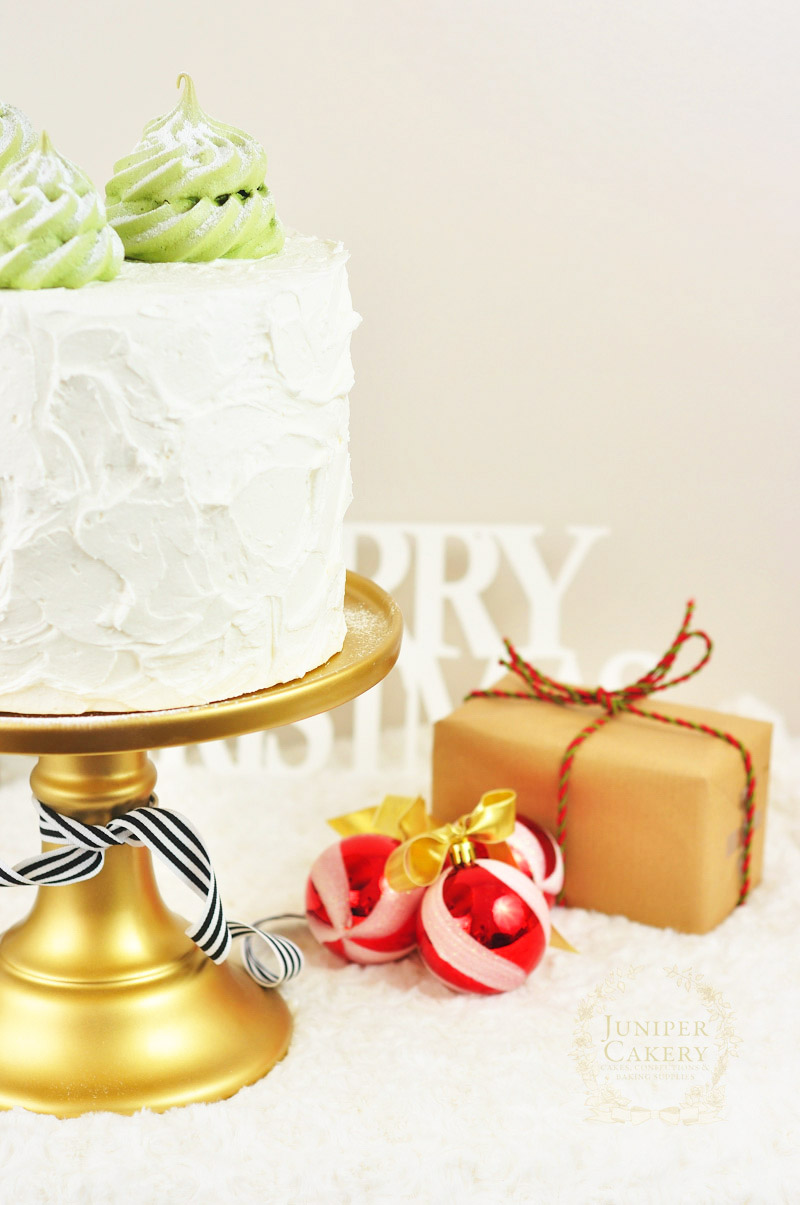
Some great ideas on how you could decorate cakes and cupcakes with your easy Meringue Christmas Trees are to nestle them on top of tasty cupcakes, add them around the edges of a freshly baked and iced cake, or your could even serve them up on a silver platter just as they are!


