Tutorial Tuesday: How to Use Tappits!

In this week’s tutorial we’re going to show you how to master the art of Tappits. Using these cutters to create text on your baked creations is time consuming, but your cakes will end up looking much more sleek and professional!

How to use tappits

Whether you’re making a cake for a family member or for a client you will most likely need to add a name or a phrase at some point. There are plenty of alphabet cutters available in the cake decorating world in all sorts of sizes and fonts so you may have used Tappits already. In our experience letters made using larger alphabet cutters are prone to stretching out of shape, or ending up bumpy and ripped at the edges. Letters made using Tappits, on the other hand, are much hardier than they look (they can also be fiddly and need a steady hand) and we’ve found they make any cake look instantly more polished.

Graduation Cake by Juniper Cakery

Once we mastered our Tappit making skills they soon became one of our most used tools in our kit. In this tutorial we offer you some simple tips to help make using them easier and quicker!

What you’ll need:

Tappit set
Fondant rolling pin
Modelling paste/sugarpaste coloured to suite your needs
Icing sugar
Paintbrush
Cocktail stick
How to use Tappits

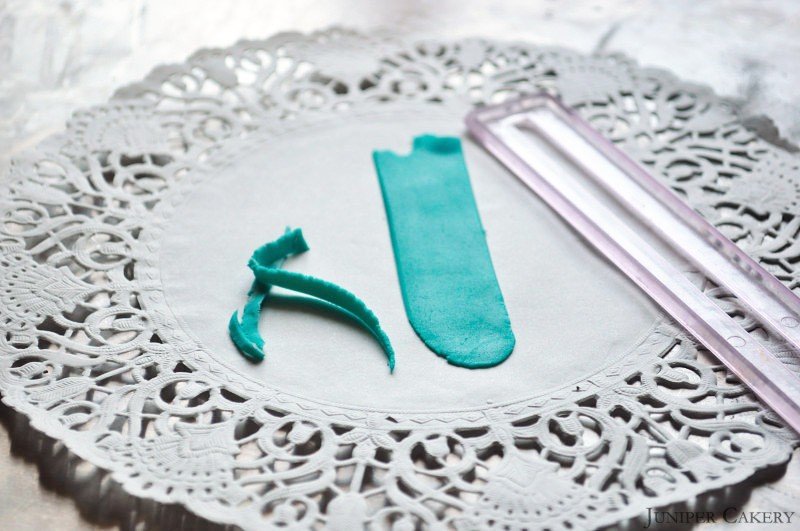
Step one: Using your fondant/sugarpaste rolling pin roll out your modelling paste/sugarpaste as thinly as possible (we use modelling paste as it is much more workable than sugarpaste but sugarpaste will work too if you add a little tylo/tylose powder). Now use the tappit strip cutter to create the perfect size to work with.
How to use Tappits

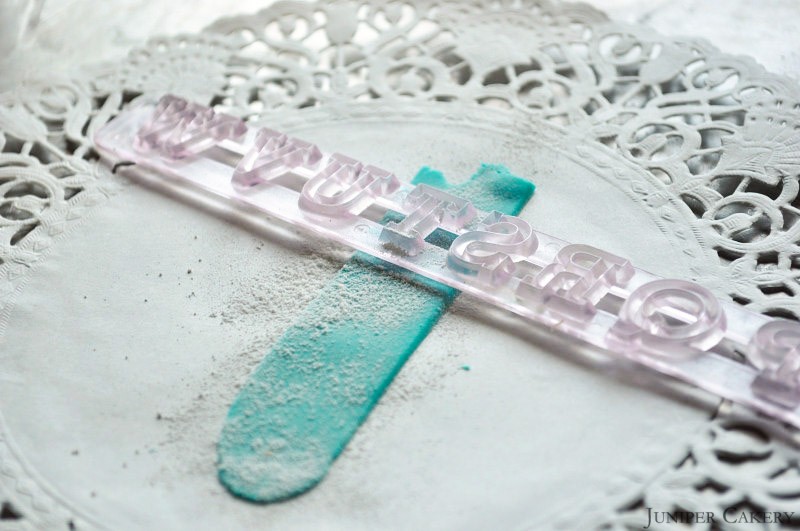
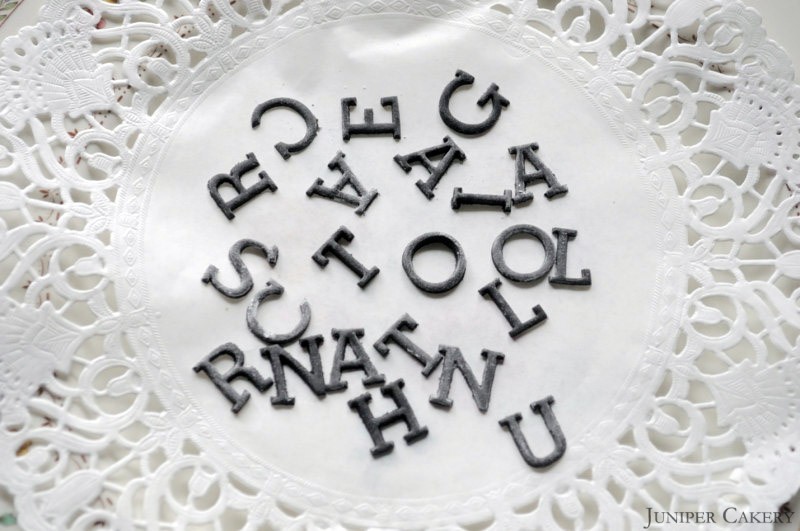
Step two: Dust down the current letter you require with a generous amount of icing sugar before you begin. Now press that letter into the modelling paste/sugarpaste and press it down as hard as you can. Using the end of your rolling pin tap/press the tappit again ensuring it has cut through properly.
How to use Tappits

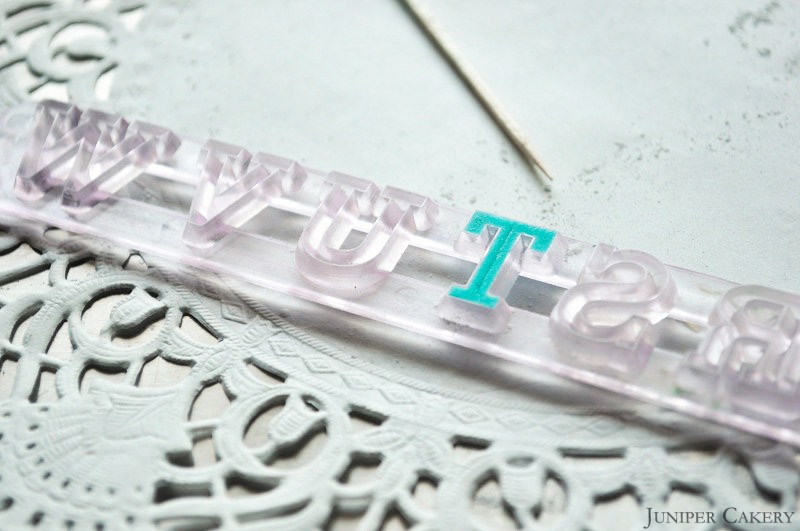
Step three: Turn your tappit over to see if you can see the edges of your letter poking through. If you can your tappit is ready (if not keep tapping/pressing with the rolling pin). If there is any excess modelling paste/sugarpaste on the outside of your letter use your cocktail stick to remove it.
How to use Tappits

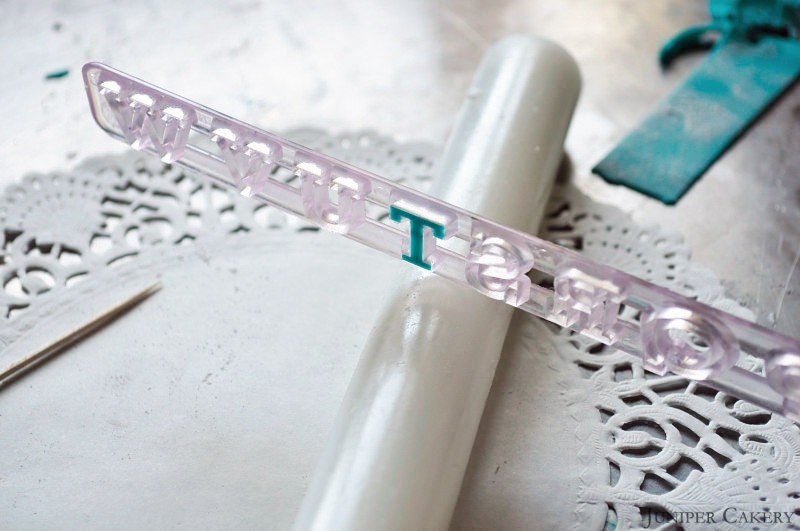
Step four: Place your rolling pin on a hard surface and rest your tappit set on it while you hold one end. Lean your tappit set forward and begin tapping, with force, until the letter falls out and on to your work surface.

Continue the above process until you have the name, age, phrase you need to finish your baked creation!
How to use Tappits


‘Re-launch Week Tutorial No. 1′: How to make an easy Rudolf the Red Nose Reindeer cupcake

This is a really quick and easy tutorial to make your cupcakes festive and fun in the winter months! What makes the Rudolf the Red Nose Reindeer cupcake even better is that anyone can try it! If you’ve limited cake decorating experience, want quick cupcakes to wow your family and friends with or you need a tasty project to do with the kids in the holiday season then this may be the perfect tutorial for you!

What you will need:

A cupcake
Buttercream (your prefered flavour, we used butterscotch)
Pretzels
M&Ms or Cinnamon Drop sprinkles by Wilton
808 tip by Ateco
White Candy Melts by Wilton
Jet black edible ink pen by Rainbow Dust
Disposable piping bag by Ateco
Fully edible glitter by Twinkle Baker Decor

Step one: Take your filled disposable piping bag by Ateco and pipe a generous swirl atop of your cupcake. Sprinkle with some fully edible glitter to finish!

Step two: Set your cupcake aside and take two white candy melts by Wilton. Using the jet black edible ink pen by Rainbow Dust draw pupils in the centre of the candy melts; now you have your reindeer eyes.

Step three: Now push your reindeer’s eyes into the buttercream at the top and then nestle an M&M below at the centre for Rudolf’s nose.

Step Four: Take your pretzels and push them into the top of the buttercream behind the eyes.

Now you have created your very own Rudolf the Red Nose Reindeer cupcake to enjoy during the holidays! Keep checking back to find out how to whip up the other cupcakes below!

Merry Christmas from Juniper Cakery


‘Tutorial Tuesday': How to make marshmallow cream or ‘Fluff’!

What you need:

3 egg whites at room temperature
256g icing sugar
256g light corn syrup (easily found on Amazon or online American food stores)
1/2 tea spoon of salt 
Natural vanilla essence 

Step one: Weigh the icing sugar and corn syrup in preperation and leave them to one side. Seperate three egg whites into a bowl.

Step two: Place the egg whites, corn syrup and salt into your mixer and leave on high speed for 5 minutes. This will be done when it turns white in colour.

Step three: Now add the icing sugar little by little as you continue to mix your ingredients on a low speed. Once the icing sugar has been intregrated it is time to pour in your chosen flavouring (this can be adjusted acording to taste). Once your 'Fluff' has gained volume it is done.

Now you are ready to adorn your cakes with your homemade marshmallow cream or 'Fluff'!


‘Tutorial Tuesday': How to make a sugarpaste mouse!

What you will need:
PME Shell tool
PME Blade tool
PME Ball tool
Various sugarpaste colours
Thin paintbrush
Toothpicks
Water and icing sugar (to make edible glue)

Step one: Knead your main sugarpaste colour and form into two somewhat pear shaped pieces. The large will be your mouse’s body and the smaller will be the head.

Step two: Insert a toothpick into the mouse’s body, paint some edible glue onto the neck and around the top of the toothpick. Place the smaller piece onto the body.

Step three: To make your mouse’s tummy roll out some contrasting sugarpaste in an oblong shape and glue to your mouse.

Step four: Now for you mouse’s ears! Make a small oblong shape with your main sugarpaste colour and stick a smaller oblong in a contrasting colour on top. Next cut in half.

Step five: Paint glue onto the sides of the head and attach the ears.

Step six: For the nose use the smaller end of the ball tool to make an indentation where the nose should be. Make a tiny ball of contrasting sugarpaste, paint on some edible glue and stick the little nose in place.

Step seven: Using some contrasting sugarpaste shape some tiny little hands and feet (they can be balls, oblonges or triangular shaped). To make cute little toes and fingers on your mouse use the shell tool!

Step eight: For the tail it best that the majority of it stick to the body as it is delicate and may snap off. Using the smaller ball tool make a large-ish indentation in the mouse’s bum. Roll out about 2 inches of contrasting sugarpaste into a tail shape and attach to the bum.

Step nine: Finally, using the small ball tool make some eyes. Yay! Now you have your own adorable little sugar paste mouse!

Coming soon! A tutorial on how to create the lovely little sugarpaste cupcake on which our mice are about to nibble!


×