Browsing Tag

tutorials

25th October 2017 // 1 Comments

Tutorial: DIY Candy Eye Sprinkles for Halloween Treats!

DIY candy eye sprinkles tutorial for Halloween

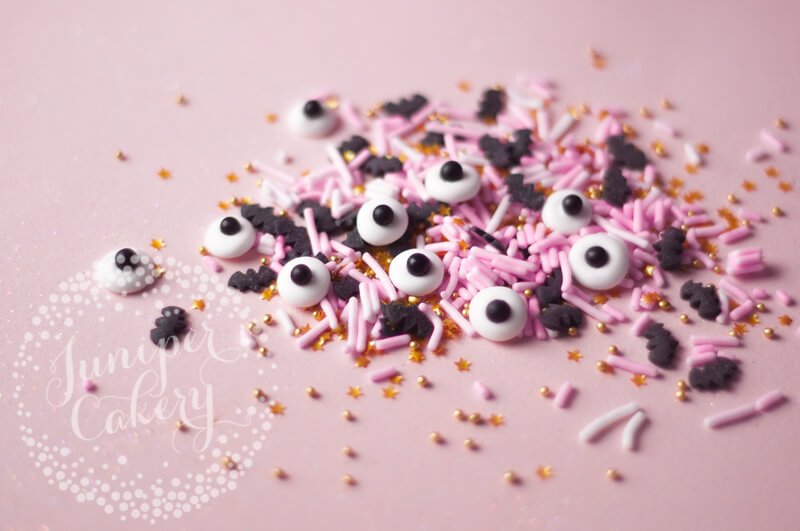
Here’s a super quick and easy tutorial that we use every year to make our creepy candy eyes. They are so much fun to use once they’ve dried. We add them onto cupcakes, cookies, cakes and even macarons for some Halloween (black) magic! Another spook-facular idea is to mix them in with Halloween colour themed sprinkles for an extra ghoulish look. Check out our easy to follow DIY candy eye sprinkles tutorial!

DIY candy eye sprinkles tutorial!

Spooky candy eye tutorial for Halloween

DIY candy eyes tutorial for Halloween baking

Materials and tools needed…

Tutorial for fun Halloween candy eye sprinkles

Step 01:

Lay out a sheet of parchment paper or your silicone mat onto a flat surface. If you’re going to need to move your candy eyes out of the way to dry it’s a good idea to use a baking tray underneath.

Make sure to tape down your parchment paper or else it’ll lift or wiggle around as you pipe. You can also hold down your parchment paper with a blob of royal icing at each corner.

Tip! Be sure to use good quality parchment paper. Cheaper brands tend to tear or stick way too hard to whatever you’re working with.

Meringue kisses recipe by Juniper Cakery

Step 02:

Fit your disposable piping bag with the piping tip and fill with royal icing. Your royal icing should be a nice soft yet stiff consistency that forms peaks with a little droop or curl at the tip!

We added a shot above that illustrates what you should be looking for in terms of softness and stiffness. The icing should hold itself, but look soft right at the tips.

Step 03:

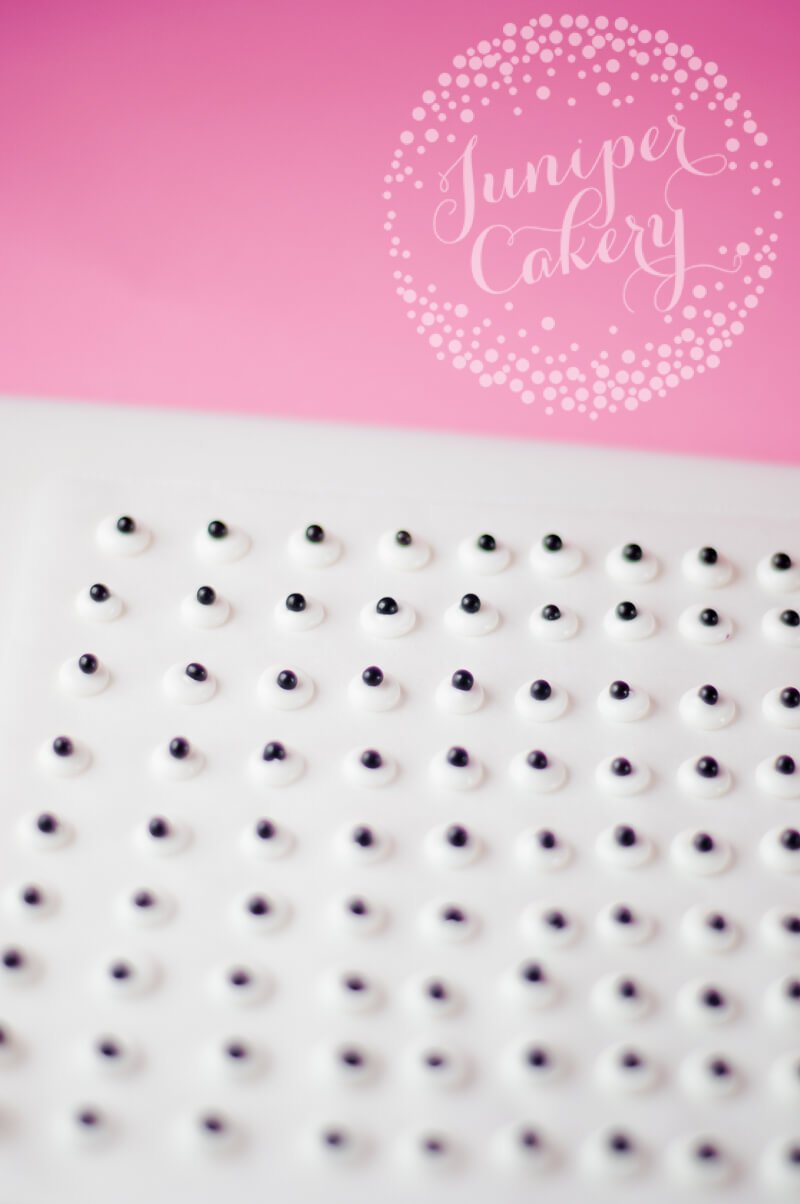
Now pipe out a row of white royal icing ’rounds’ onto your parchment paper or silicone mat. You can pipe these to whatever size you want. Our’s measured at 7mm.

Tip! Work one row at a time so that the icing doesn’t crust over before adding

Cool DIY for candy eyes sprinkles

How to make sugar eyes fir cakes and cupcakes at Halloween

Step 04:

Now add your black sugar pearls to your royal icing eyes. You can keep them in the middle or go crazy and add them off to the sides too!

When done leave your candy eyes to set for around 6-12 hours. In some humid countries drying times can take as long as 24 hours so keep this in mind. When ready they should just peel off!

Tutorial for fun Halloween candy eyes

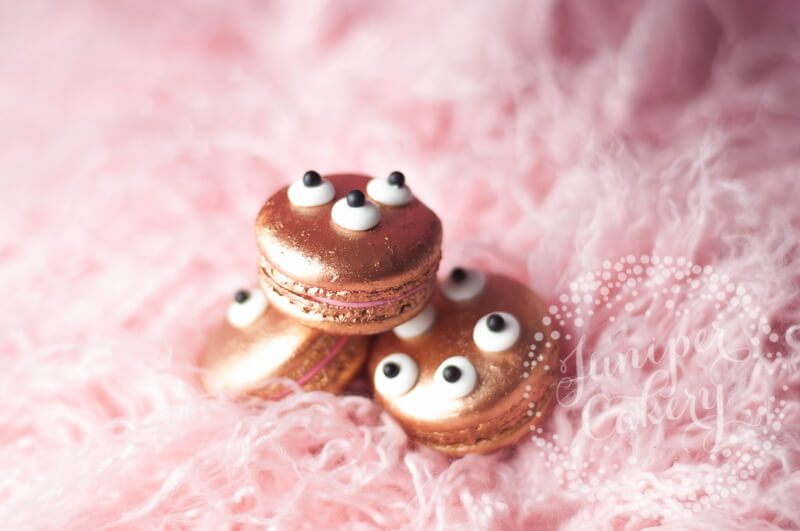
We added our DIY candy eyes to our Bubblegum Monster macarons this Halloween. They helped add a creepy yet fun seasonal look to glistening copper painted treats! To attach we used a little royal icing piped onto the back of each eye. You can also use a tiny amount of melted white chocolate if you like.
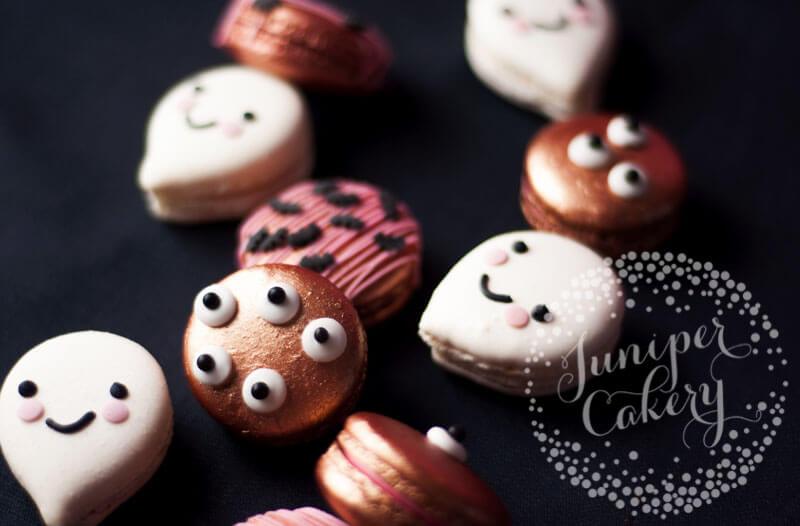
DIY candy eyes for Halloween cupcakes, cookies and treats

DIY candy eyes tutorial for Halloween fun

30th May 2017 // 2 Comments

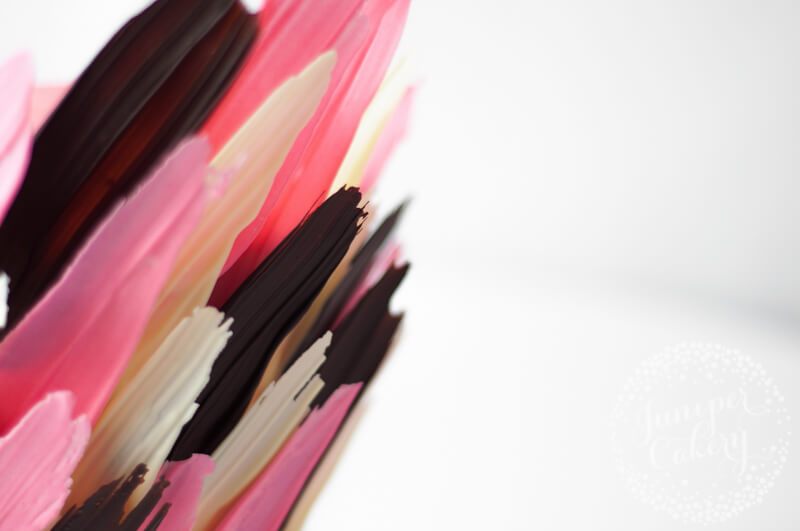
Our Brushstroke Cake Tutorial via Craftsy!

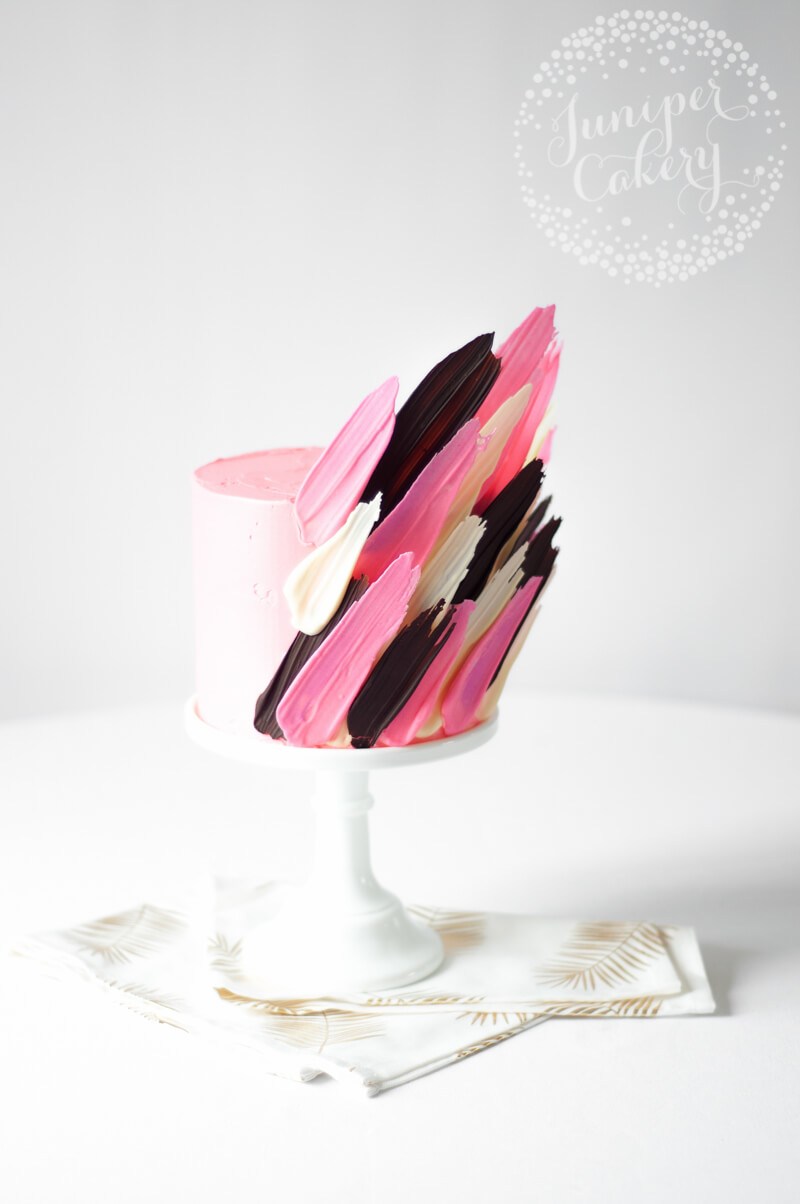
Pink brushstroke cake by Juniper Cakery

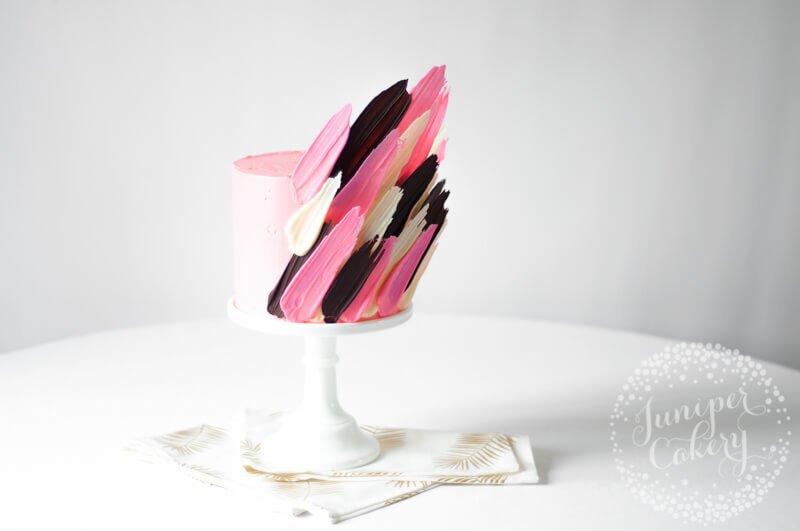
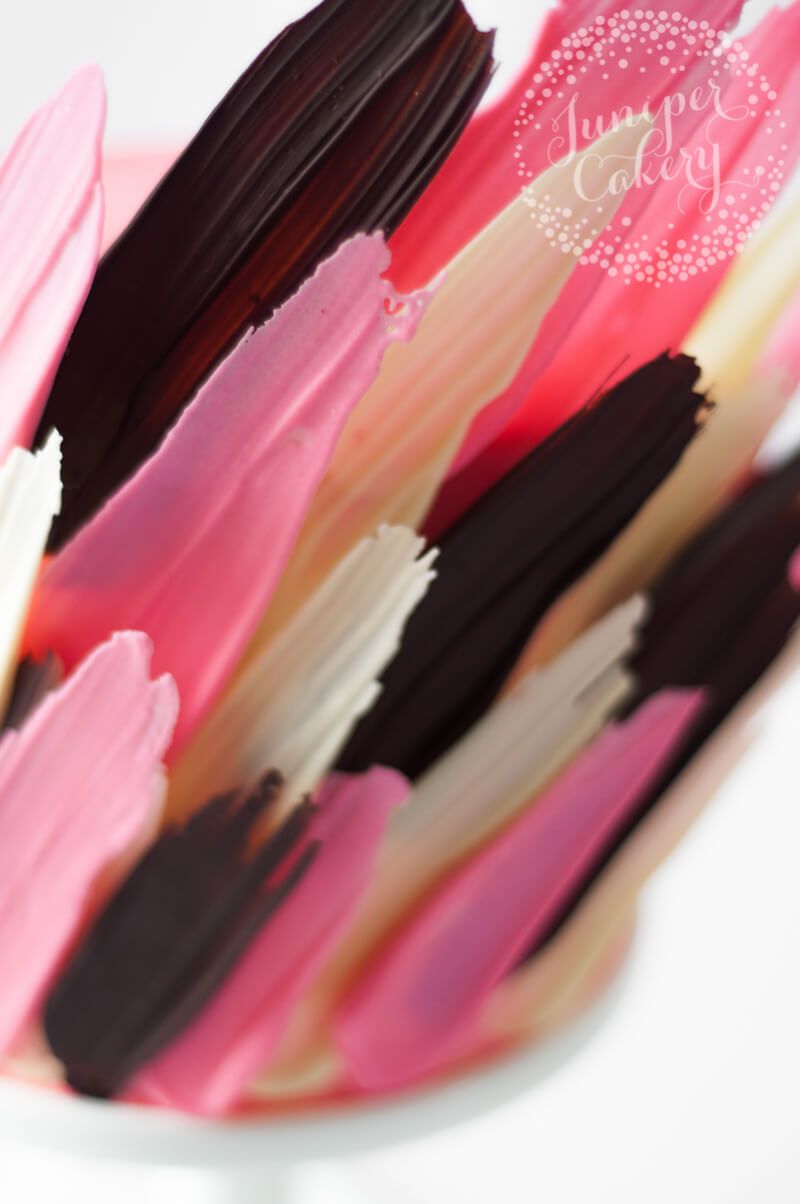
We’re huge fans of keeping up to date when it comes to the latest cake trends. We spotted this super cool idea a little while ago and couldn’t wait to give it try! When the fabulous folks over at Craftsy suggested it for a tutorial we jumped at the chance! How amazing are these edible brushstrokes made completely out of chocolate? They look hard to create and incredibly delicate, but they are in fact so easy to make! To find out how to re-create this look head on over to our brushstroke cake tutorial on the Craftsy blog!

Chocolate brushstroke cake by Juniper Cakery

Layered on top of each other these pretty chocolate brushstrokes resemble feathers! How amazing would these look in various shades of pink on a flamingo themed party cake? Wouldn’t chocolate brushstrokes also look cute on buttercream swirled cupcakes too? Arrange a few in varying sizes on top, add some super fun sprinkles and then gild the brushstroke pieces with edible gold leaf.

The cool thing about making these chocolate brushstrokes is that you can use different coloured candy melts for themed cakes instead of chocolate. Sometimes the idea of tempering chocolate is a little scary so candy melts are a pretty stress-free alternative.

Candy melt brushstroke cake by Juniper Cakery

Chocolate and candy melt brushstroke cake by Juniper Cakery

For an incredibly dramatic cake how about covering three tiers with elegant chocolate or candy melt brushstroke pieces? They’d look pretty striking cascading all the way down one side of the cake! We also think a few painted with edible gold would add to the wow factor! For something modern in feel why not opt for black candy melt brushstrokes with white buttercream and a glam gold splatter?

Bright pink brushstroke cake tutorial by Juniper Cakery

Yay! Check out our ridiculously easy to follow brushstroke cake tutorial over on the Craftsy blog now! You’ll be whipping up gorgeously stunning chocolate or candy melt decorated cakes in no time!

2nd May 2017 // 1 Comments

Tutorial: Adorable Fondant Unicorn!

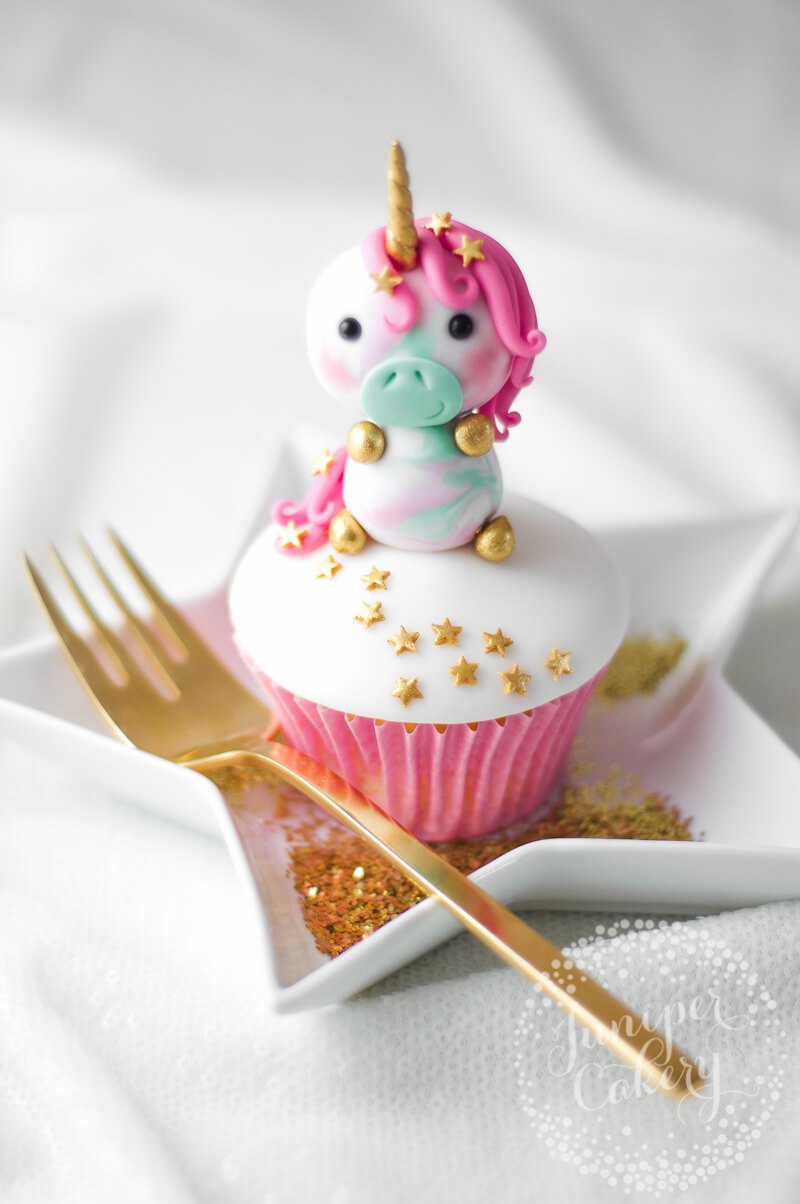
How to make a fun pastel fondant unicorn cupcake topper by Juniper Cakery

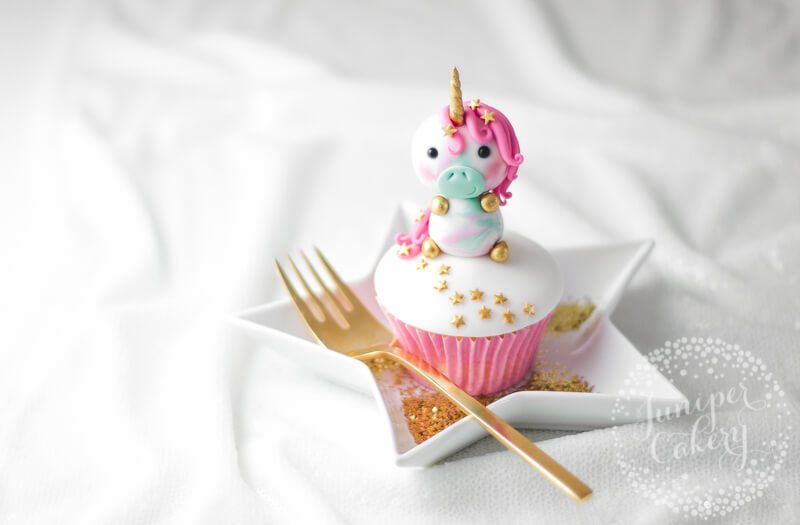
OK, so April was our month of the unicorn and it is now May, but we’re not finished yet! This week we have one insanely adorable fondant unicorn cupcake topper tutorial for everyone to re-create at home. Perfect for on-trend cupcakes or fun birthday cakes this little cutie is going to be so popular! Plus… is it just us or is this unicorn channelling Jem / Jerrica from Jem & the Holograms?!? Check out our step-by-step tutorial below!

Utterly adorable fondant unicorn cupcake topper tutorial!

Skill level: intermediate

Materials needed:

Marbled fondant unicorn tutorial by Juniper Cakery

How to marble pastel fondant

Step 01:

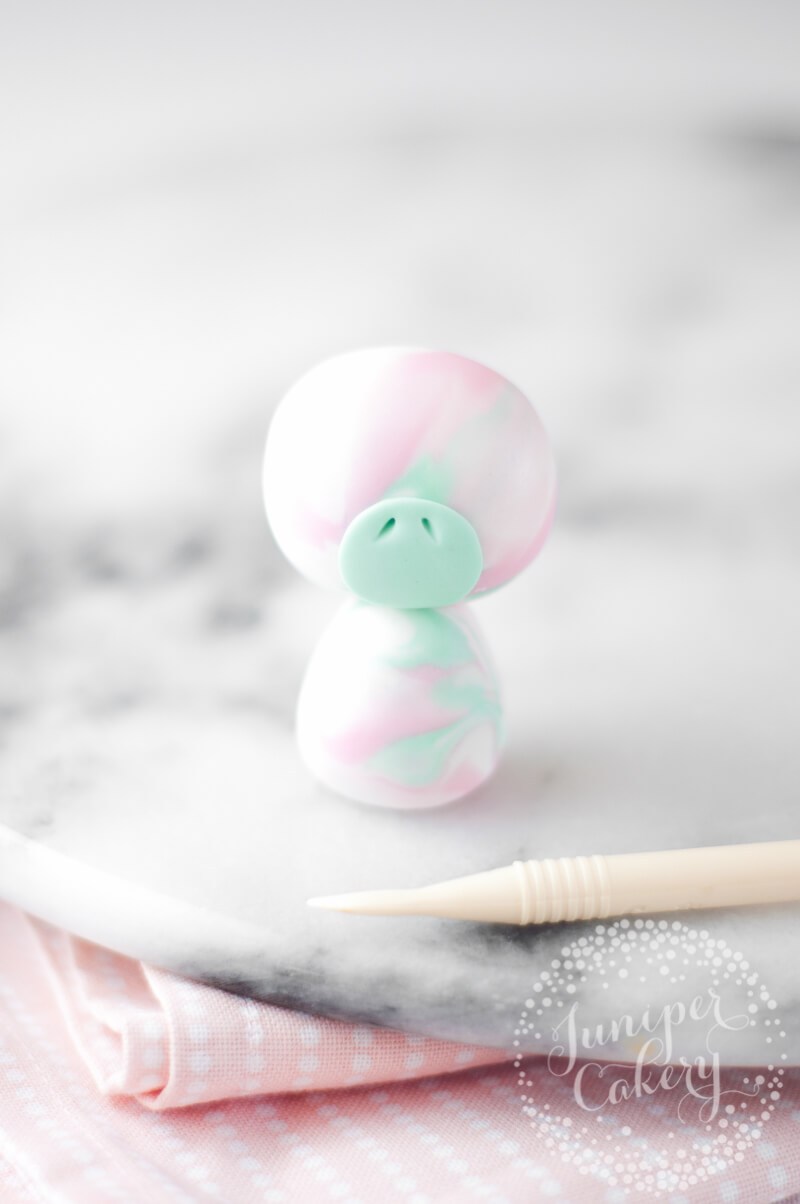
To begin you should create the body of your unicorn first. This is so that it can set a little before you make and attach the head onto it. You can help your figure set a little quicker by strengthening the fondant too. To do this first mix your fondant / sugar paste with a little CMC or Tylo powder (usually 1 teaspoon per 250g of fondant).

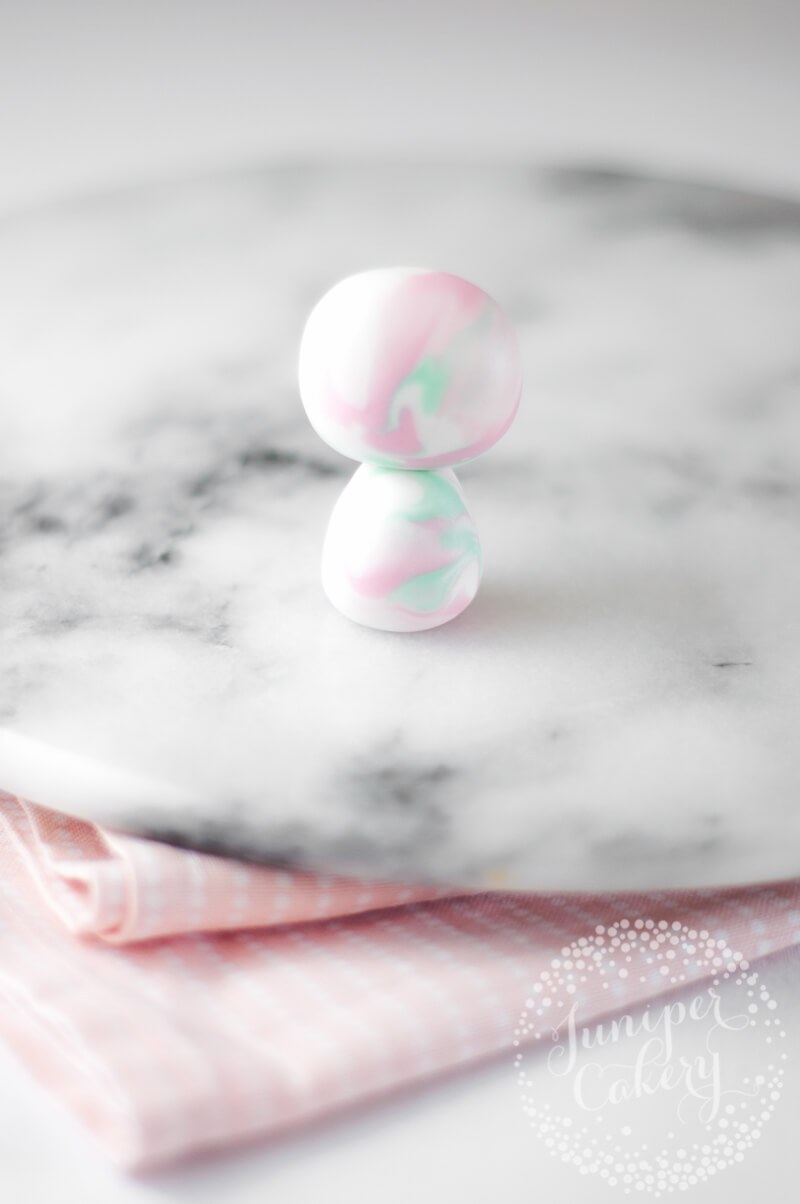
Our little fondant unicorn features a pastel marbled look (oh so fashionable right now). We simply twisted large ropes of white fondant together with skinnier ropes of blush pink and light turquoise before kneading lightly. Basically to get a marbled look with fondant / sugar paste you just need to not fully mix in the colours you’ve added!

Tip! We marbled the body and head of our unicorn individually to get the best look. You could pre-marble a larger amount of fondant if you like, but in our experience once you mould and work with it again after marbling this mixes in the colour more (leading to less of the marbled effect).

NOTE: Remember to leave some of your coloured fondant for the mane and muzzle of your unicorn!

Roll your fondant into a medium sized ball (around 2/3 the size of a golf ball) before working it into a fat teardrop shape. Take a broken off piece of uncooked spaghetti and insert right down the middle of your fondant unicorn’s body.

Marbled unicorn cupcake tutorial by Juniper Cakery

Step 02:

For your unicorn’s head use more of the marbled fondant and roll up a ball around the size of a gold ball. The head should be a little larger than the body. With a little edible glue attach onto your unicorn’s body. Remember to fix the head onto the body centrally or else it could lean or fall over!

How to make a fondant unicorn cupcake topper for parties by Juniper Cakery

Step 03:

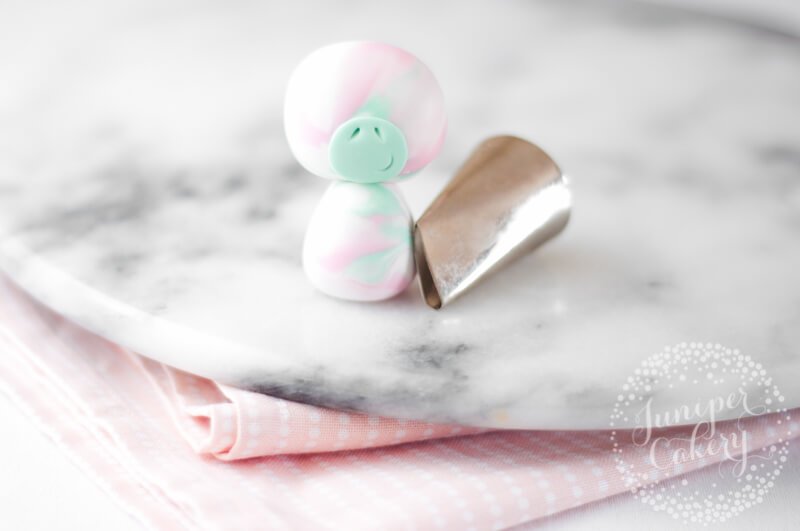
For the muzzle section roll out some turquoise fondant to a thickness of around 2-3mm. Cut out a 2cm diameter circle from this and attach to the lower part of the head with a small amount of edible glue.

How to make a fondant unicorn cupcake by Juniper Cakery

Step 04:

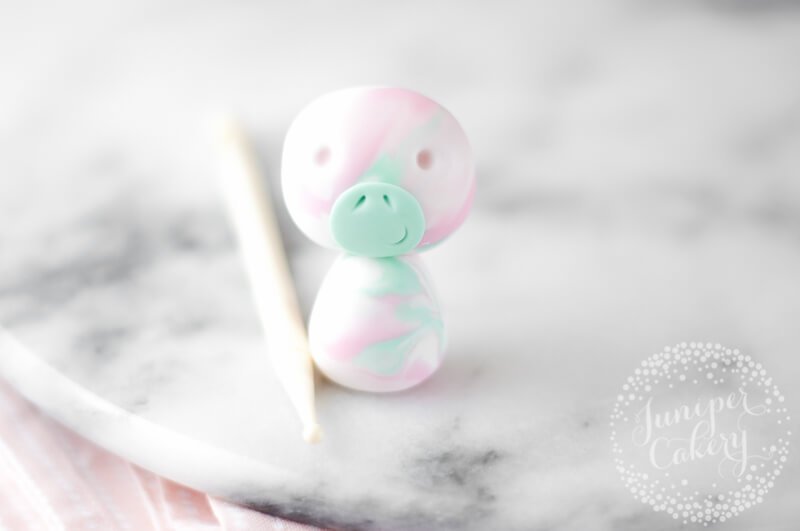
Next you need to add the nostril detailing onto the muzzle of your unicorn. To do this use the smaller end of your veining tool to poke or indent them into the top middle part of the fondant muzzle.

While working on the muzzle section add in your unicorn’s sweet tiny smile! You can do this by using the curved part of the piping end of your tip. Just angle your tip and press so that only half of the piping tip indents into the fondant.

Edible unicorn tutorial by Juniper Cakery

Fondant edible unicorn tutorial by Juniper Cakery

Step 05:

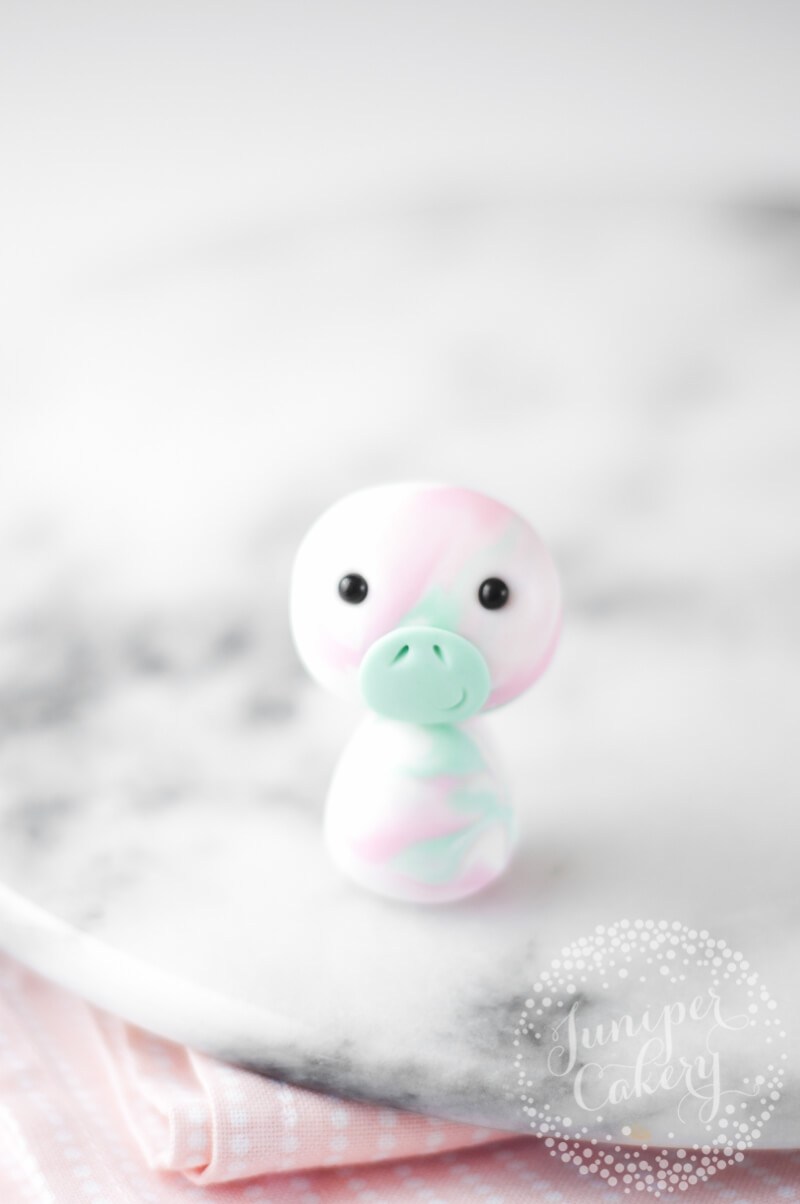
Indent two eye sockets with a small ball tool, add in a tiny amount of edible glue and then attach the black sugar pearls for the eyes.

How make an edible unicorn by Juniper Cakery

How make a sugar paste unicorn by Juniper Cakery

How make a cute sugar paste unicorn by Juniper Cakery

Step 06:

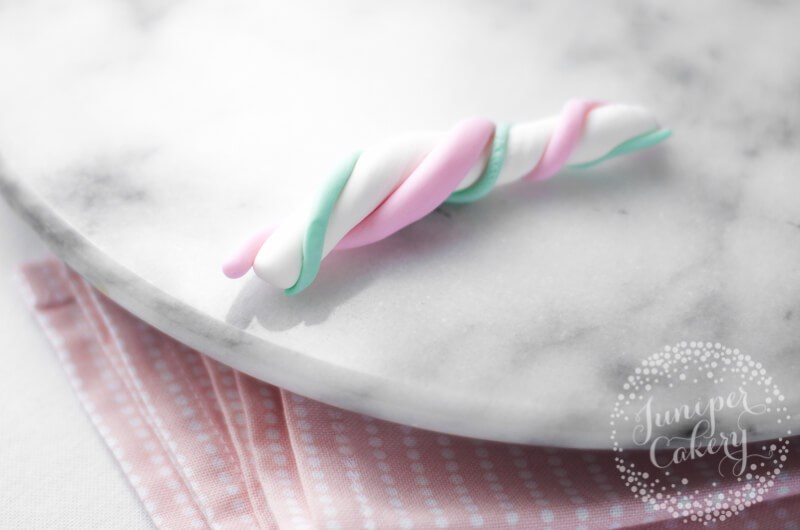
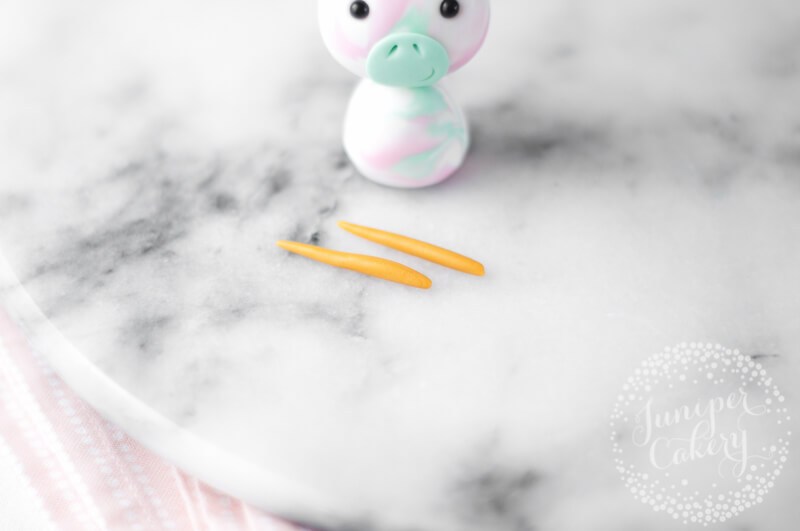
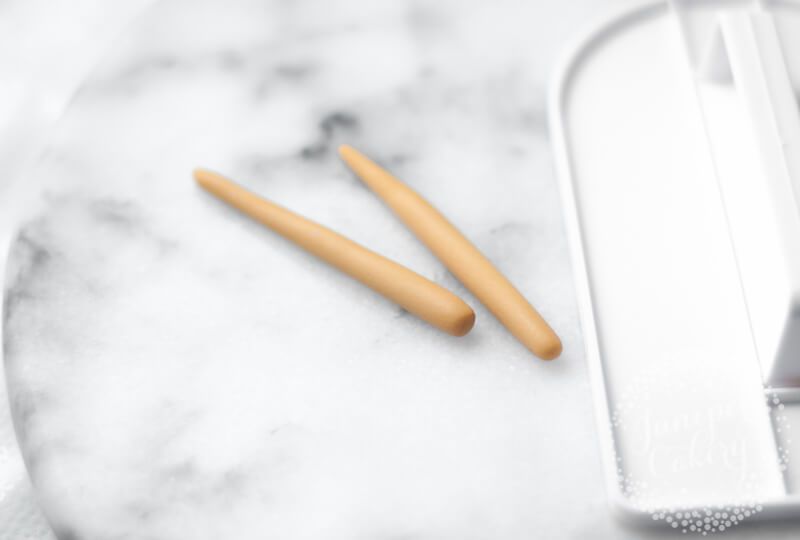
To create the horn take two small (around the size of a medium sized pea) pieces of caramel tinted fondant. Roll each into equal size and length ropes that taper at one end. Twist both together gently and set aside to stiffen up before attaching.

When fully dry you can add this to your unicorn! With a little edible glue attach to the front centre part of your unicorn’s head.

Step 07:

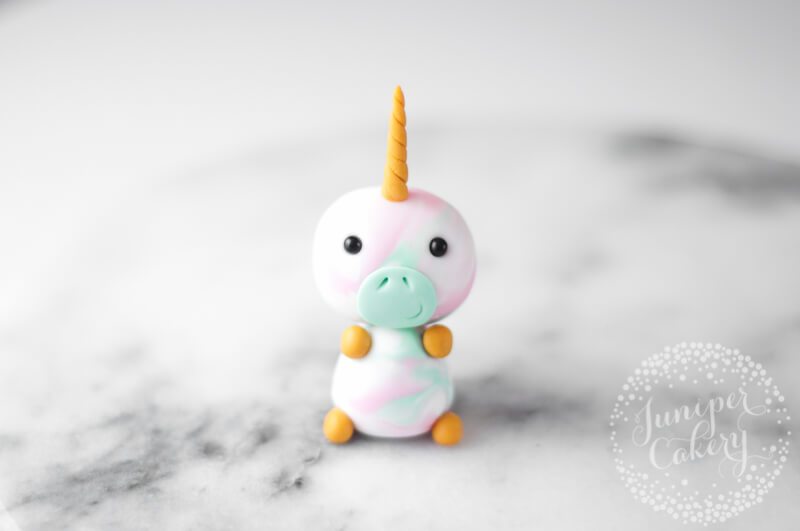
To make the legs roll out and shape four small (around the size of small pea) balls of caramel coloured fondant. Attach in place with some edible glue.

Create a cute unicorn cupcake with this tutorial from Juniper Cakery

Cute little fondant unicorn cupcake topper tutorial from Juniper Cakery

Step 08:

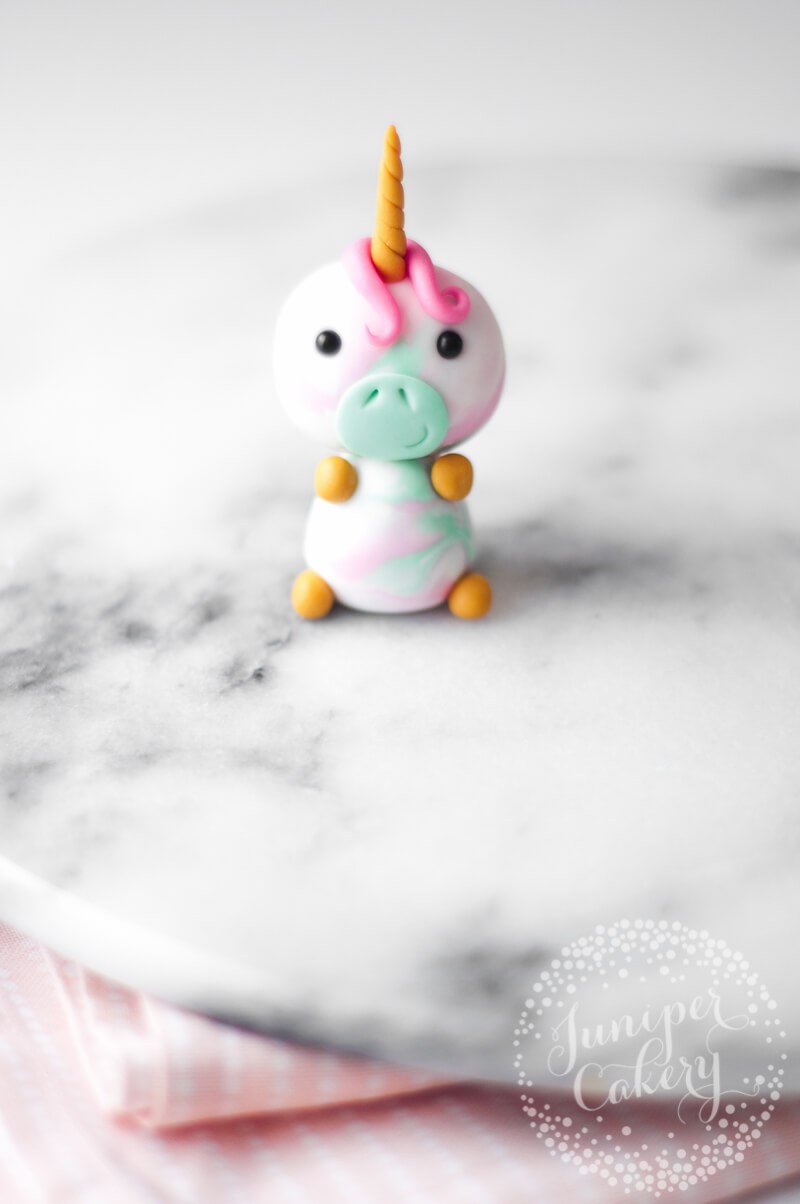
Create the colourful mane and tail by rolling out lots of ropes of pink fondant! Attach them in place onto your unicorn’s head with edible glue. You can even pre-curl each strand before sticking in place.

Adorable little unicorn cupcake topper tutorial from Juniper Cakery

Step 09:

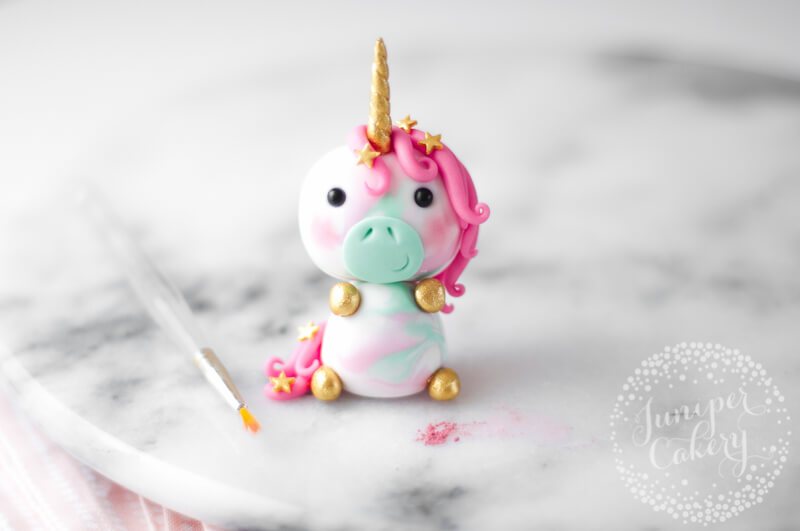
We thought it’d such a cute idea of ‘accessorise’ our little fondant unicorn with tiny stars. You can use hearts or even edible glitter instead if you like. To add the stars you can either use sprinkles or roll out fondant / sugar paste and cut each by hand using a tiny star plunger cutter. Attach wherever you’d like them to be using a little dab of edible glue.
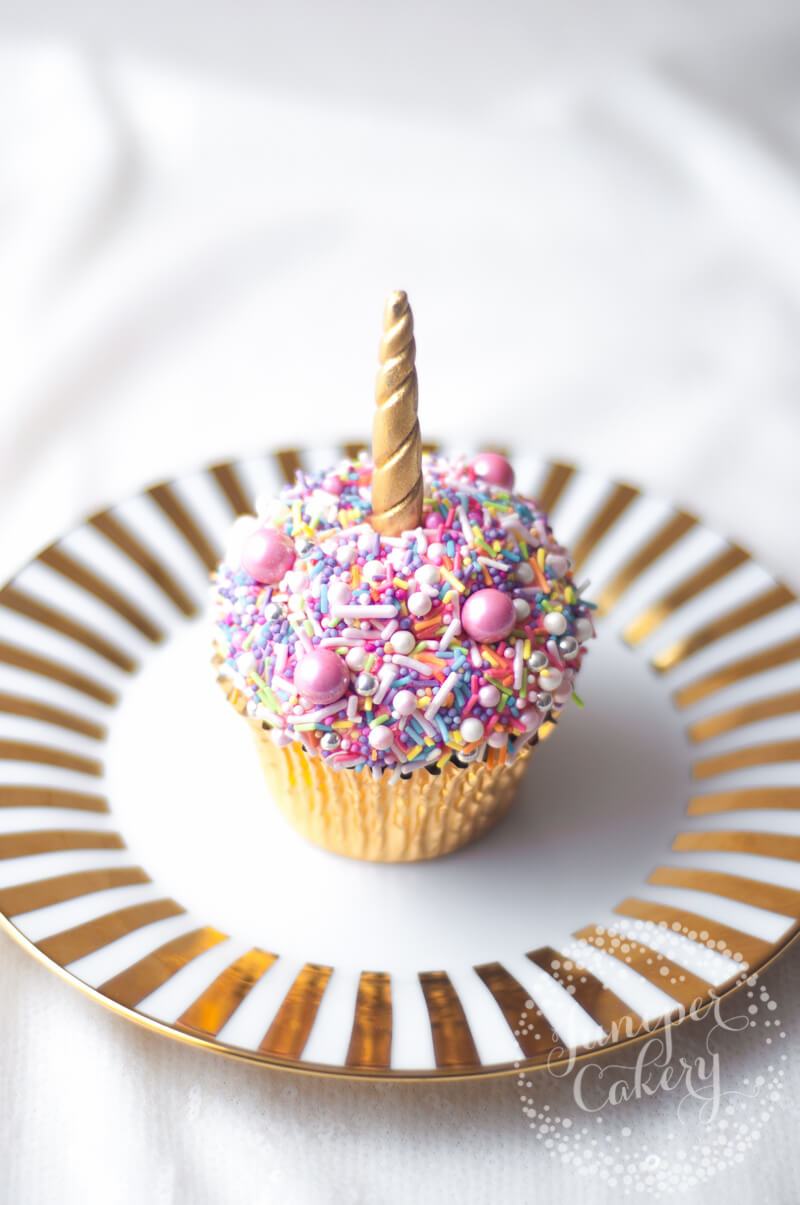
Step 10:

Paint the horn, hooves and stars gold!

Sweet little fondant unicorn cupcake topper tutorial from Juniper Cakery

Step 11:

We then added little rosy cheeks with a little blush of light pink edible petal dust!

How to make a cute pastel fondant unicorn cupcake topper by Juniper Cakery

Now you feel all magical because you should have one freaking cute little unicorn staring up at you! We created this fondant unicorn cupcake topper specifically for sweet and petite cupcakes, but it’d look amazing on cakes too. You can easily change the colours for it to fit in with specific themes or swap the little stars for other sweet shapes!

How to make a pretty pastel fondant unicorn cupcake topper by Juniper Cakery

28th April 2017 // 8 Comments

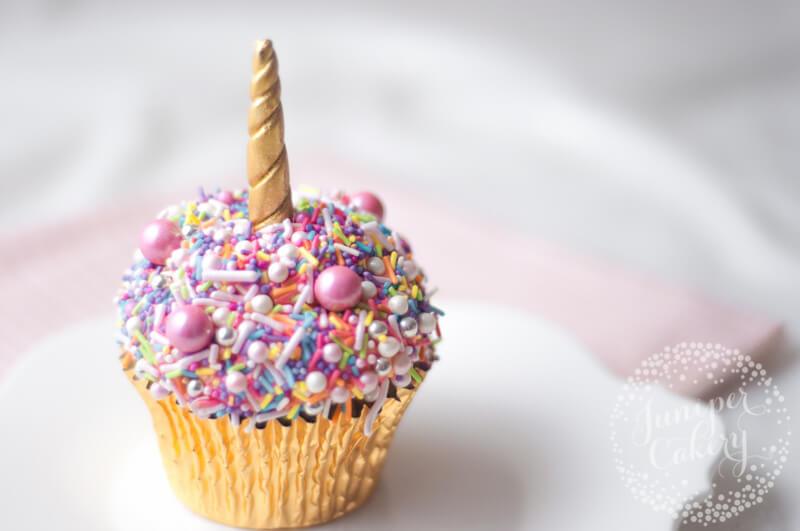
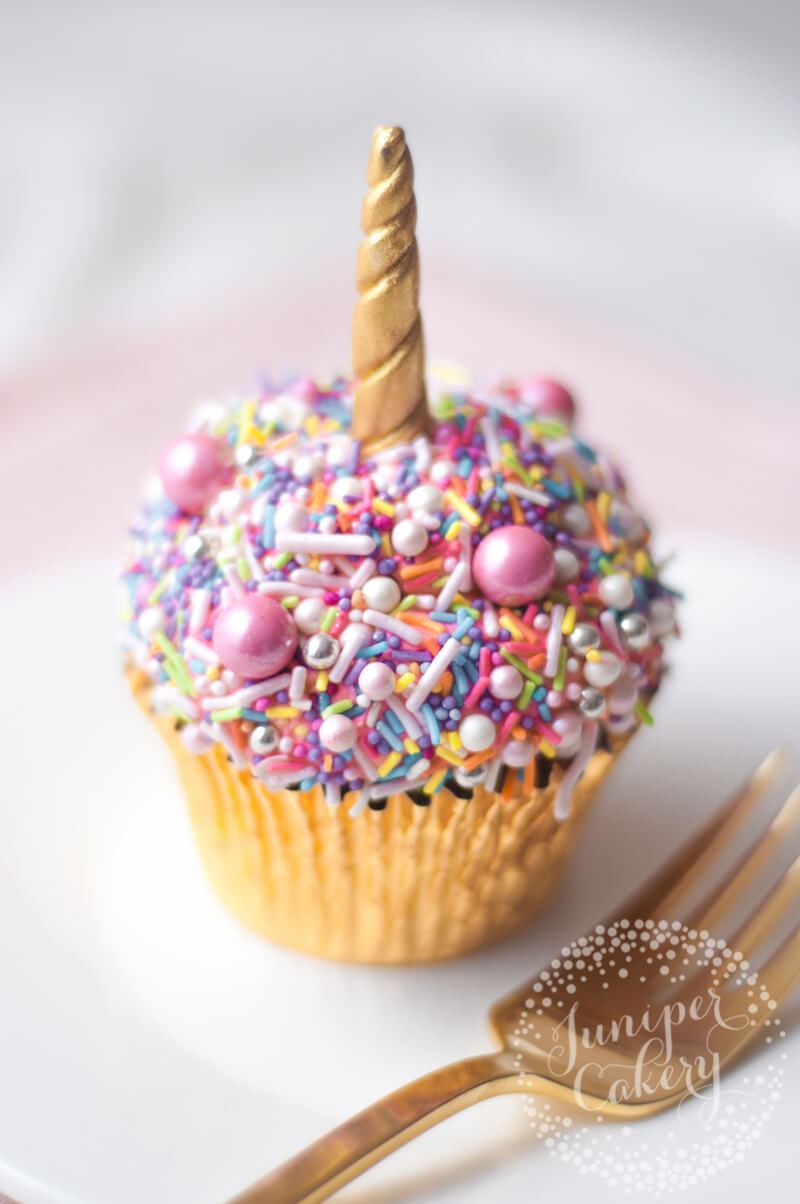
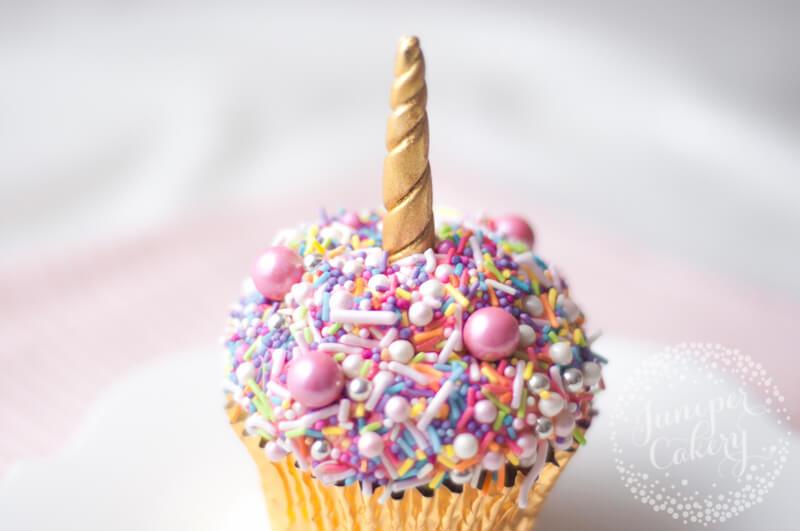
Tutorial: Super Easy Rainbow Sprinkle Unicorn Cupcake!

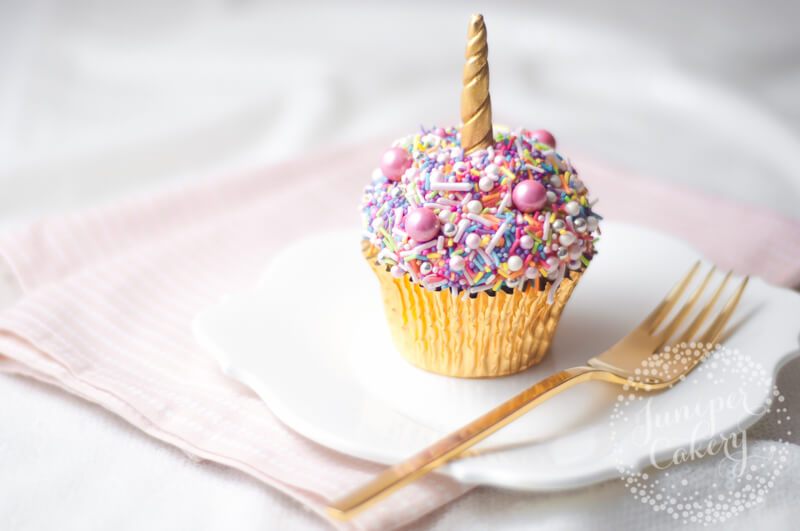
Easy rainbow sprinkle unicorn cupcake tutorial by juniper Cakery

It’s still unicorn month (just about) on our blog! Yay! We’ve been busy for the past few weeks developing tutorials and recipes… all unicorn related of course. With that in mind we had a few requests for an easy and super quick to make unicorn cupcake tutorial. Well, here it is. As unicorn cupcakes go you really cannot get any easier or quicker than this fun little thing. Check out our tutorial on how to re-create this below!

Super easy rainbow sprinkle unicorn cupcake tutorial by juniper Cakery

Easy unicorn cupcake tutorial!

Quick and easy unicorn cupcake tutorial by Juniper Cakery

Skill level: Beginner

Materials needed:

How to make easy unicorn cupcakes by Juniper Cakery

Step 01:

To begin this easy unicorn cupcake tutorial you need to swirl those cupcakes! As you are going to be dipping the buttercream swirl into all those bright rainbow-unicorn-friendy sprinkles your swirl doesn’t have to be absolutely perfect. You can also use whatever large cupcake piping tip you have to hand. You’re not going to see the swirl once all those sprinkles are attached!

Rainbow sprinkle cupcake by Juniper Cakery

Step 02:

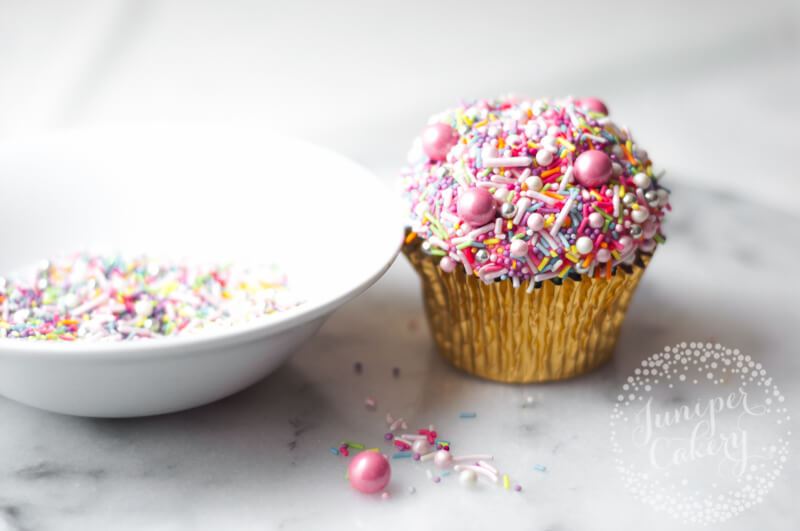
Pour your chosen sprinkles into a shallow dish. Then pick up your buttercream swirled cupcake and gently turn it upside-down. Dip into the bowl of sprinkles and gently angle the cake or the bowl a little to cover up the buttercream at the base.

Tip: If your buttercream seems a little too unstable or sloppy and you’re worried about it dropping off place it in a fridge for 5 minutes. Once a little firm you can dip!

Unicorn horn tutorial by Juniper Cakery

Step 03:

Take two pieces of your caramel coloured fondant and with your icing smoother roll out into two medium length (approx 2″ / 5cm) ropes that taper at one end. To do this just roll the fondant back and forth with the smoother before then angling the smoother down a little and work on rolling one end of each fondant piece.

Easy fondant unicorn horn tutorial by Juniper Cakery

Step 04:

Now carefully twist both pieces together. It helps to twist in one direction at one end of the pieces and the opposite at the other!. Try not to be too heavy handed and squish or misshape the pieces.

Fondant unicorn horn tutorial for cupcakes by Juniper Cakery

Step 05:

Tidy and even up your fondant unicorn horn by using your icing smoother to simply roll the horn back and forth a little.

How to create a fondant unicorn horn by Juniper Cakery

Step 06:

Reach for the metallic paint and finish your unicorn horn with a shimmering golden (or silver, copper, rose gold or even pearl) glow! Set aside to dry.

Ridiculously easy unicorn cupcake tutorial by Juniper Cakery

Step 07:

Finally, to finish up this easy unicorn cupcake tutorial you just need to add your unicorn horn! Once it’s fully dry insert your unicorn horn into the centre of your cupcake.

Rainbow unicorn cupcake tutorial by Juniper Cakery

See? Easy! This easy unicorn cupcake tutorial helps make perfect treats for last minute parties, weekend sweets or as fun thank you gifts too! You can easily make them fit any themed event by just changing the colours. Try pale pastel sprinkles for baby showers. For wedding or engagement treats with a twist dip your cupcakes into white pearlescent sprinkles and add gold, white pearl or silver painted horns and a small sugar flower!

Cute and easy unicorn cupcake tutorial by Juniper Cakery

Quick rainbow sprinkle unicorn cupcake tutorial by Juniper Cakery

SaveSave

25th April 2017 // 0 Comments

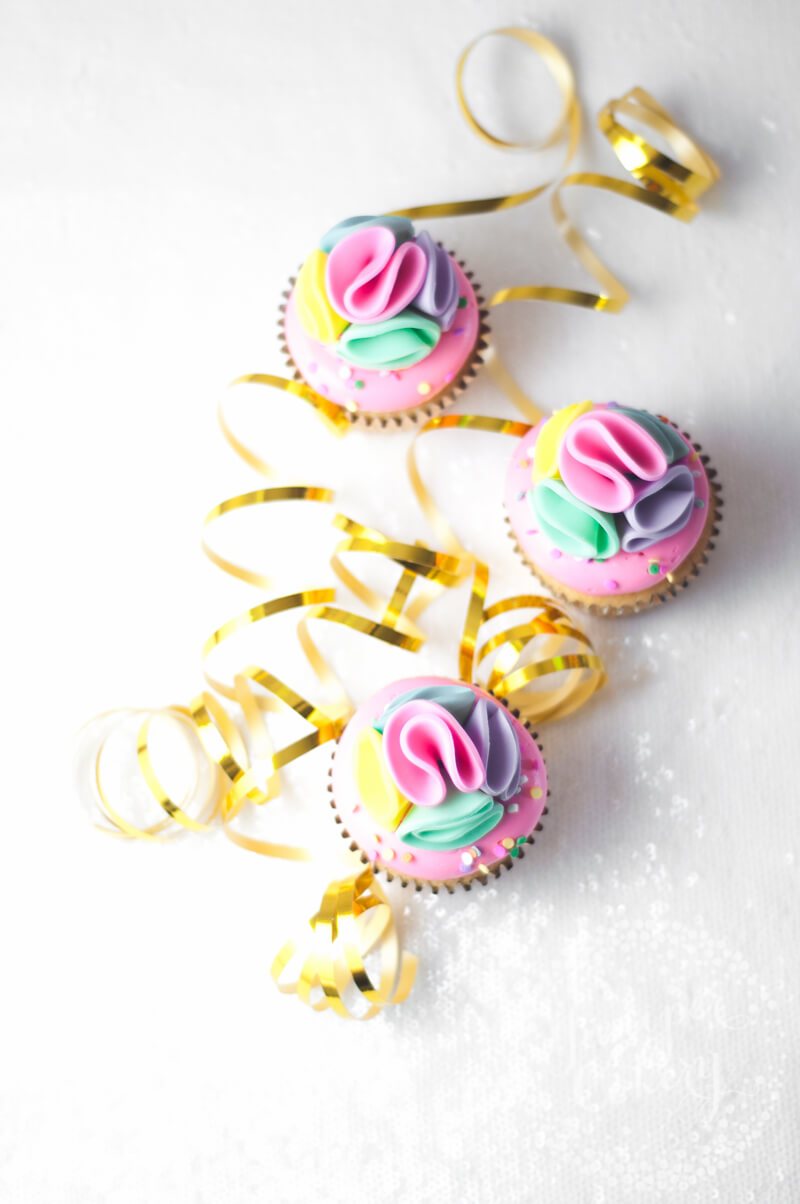
Tutorial: Rainbow Pom Pom Cupcakes!

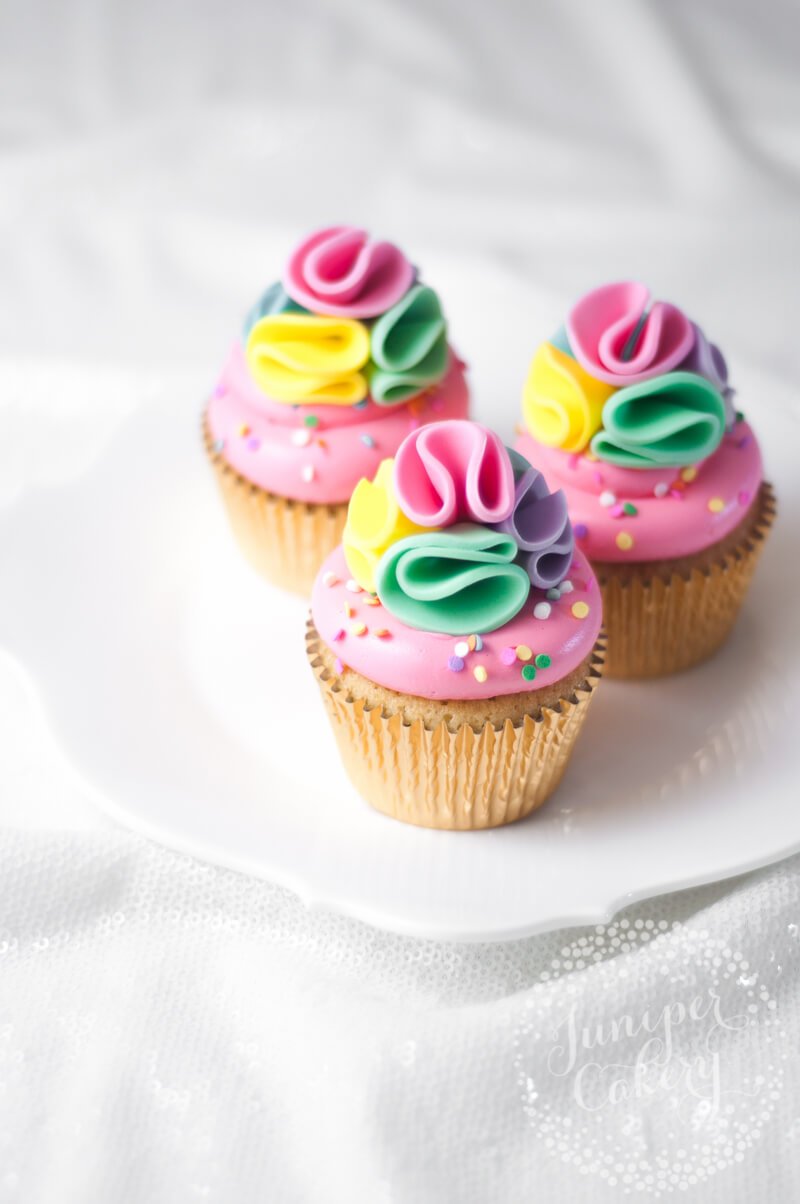
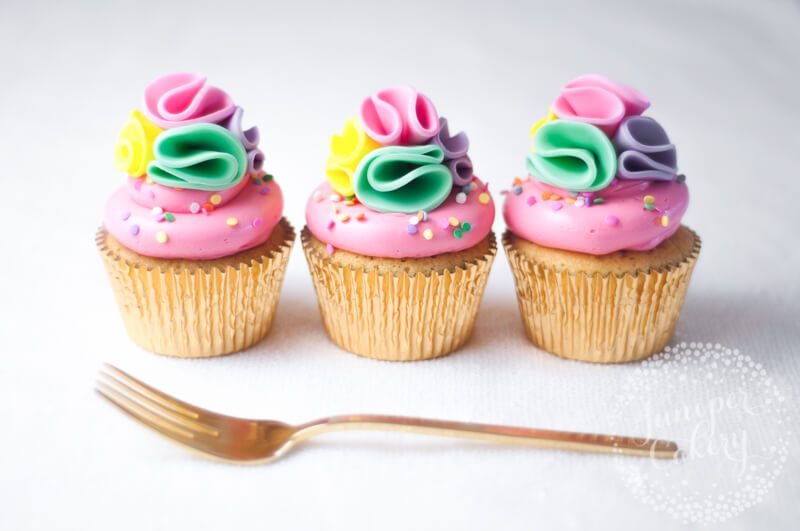
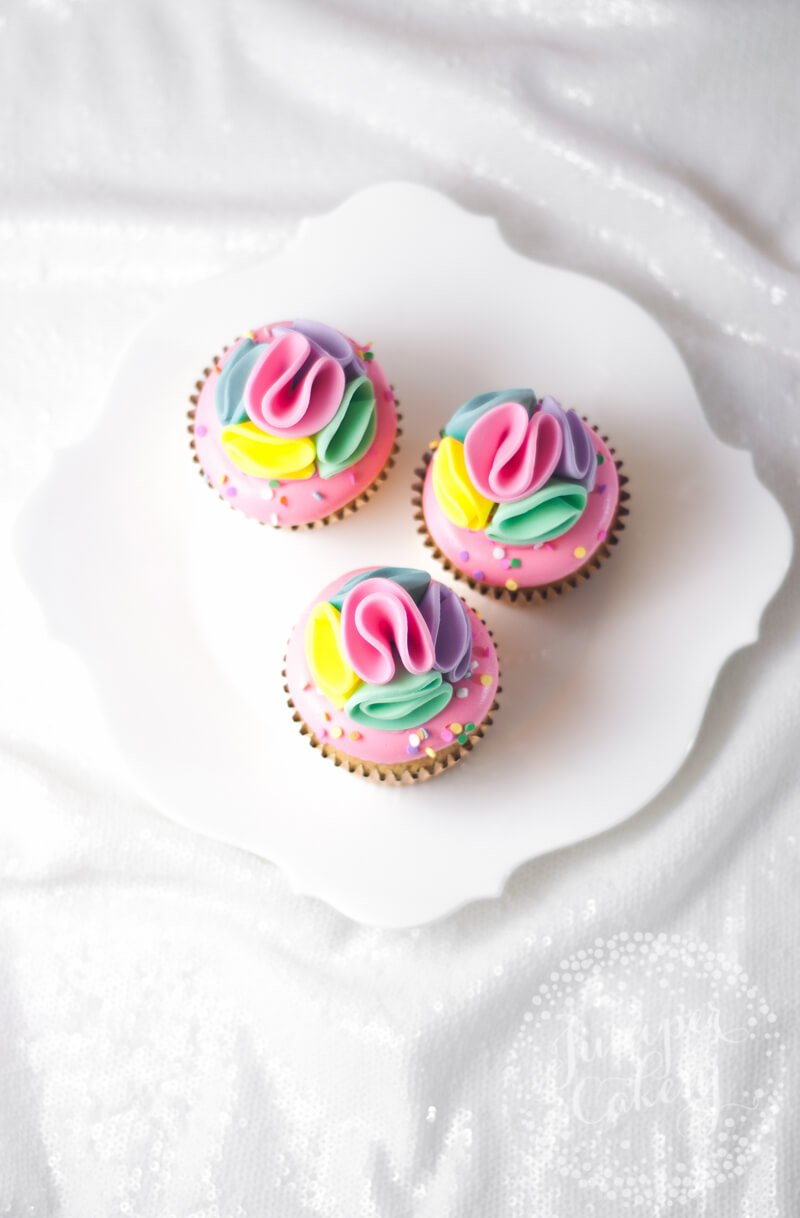
Rainbow pom pom cupcakes by Juniper Cakery

It’s time for another fun unicorn inspired treat! Hooray! This week’s tutorial is super fun and also pretty easy to follow. These fondant / sugar paste ruffle pom poms are ridiculously fun, bright and they’re perfect for party time! You can use the finished edible pom poms to top cupcakes with, add on top of a cake among swirly lollipops or make tiny versions for cake pops!

Unicorn rainbow pom pom cupcakes by Juniper Cakery

Rainbow pom pom cupcakes tutorial!

Materials and tools needed…

Fondant rainbow pom pom cupcakes tutorial form Juniper Cakery

Step 01:

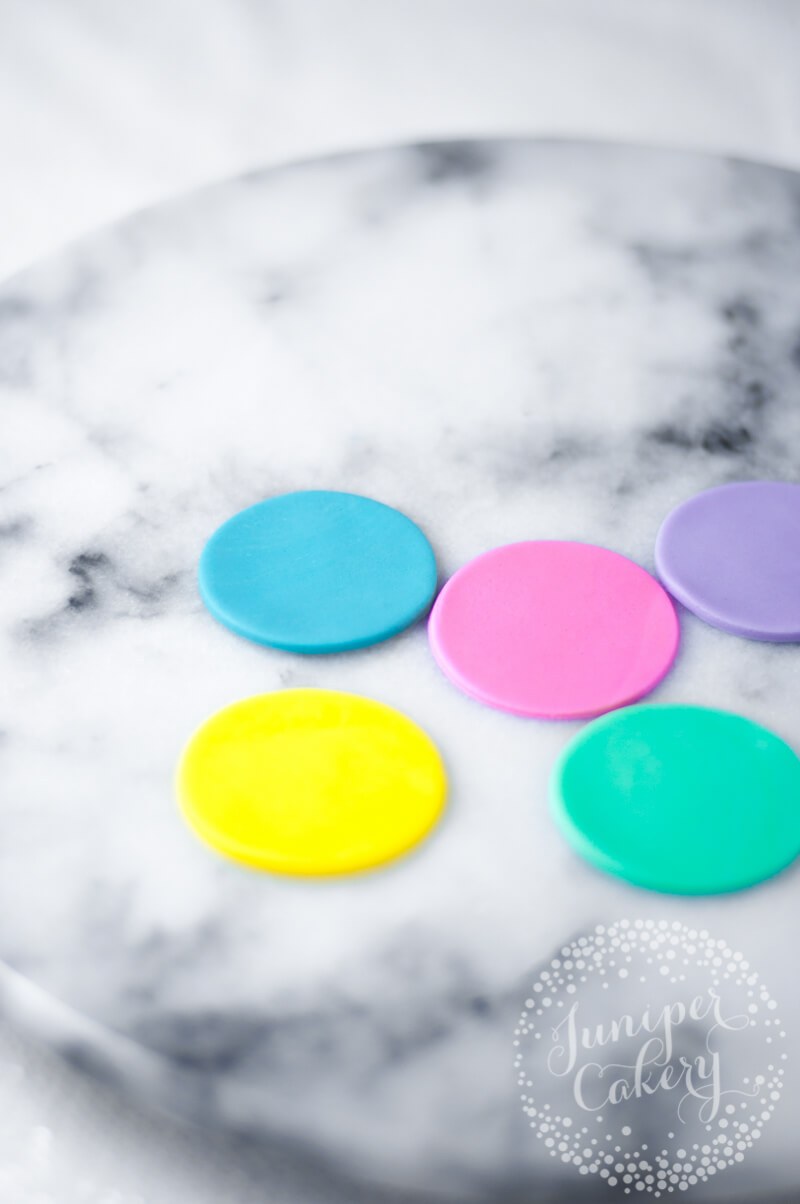
Roll out each of your coloured fondant / sugar paste to a thickness of around 2-3mm. Once rolled cut out your circles! You’ll need one of each of the 5 colours per cupcake.

Make ruffled fondant pom poms with this tutorial by Juniper Cakery

Step 02:

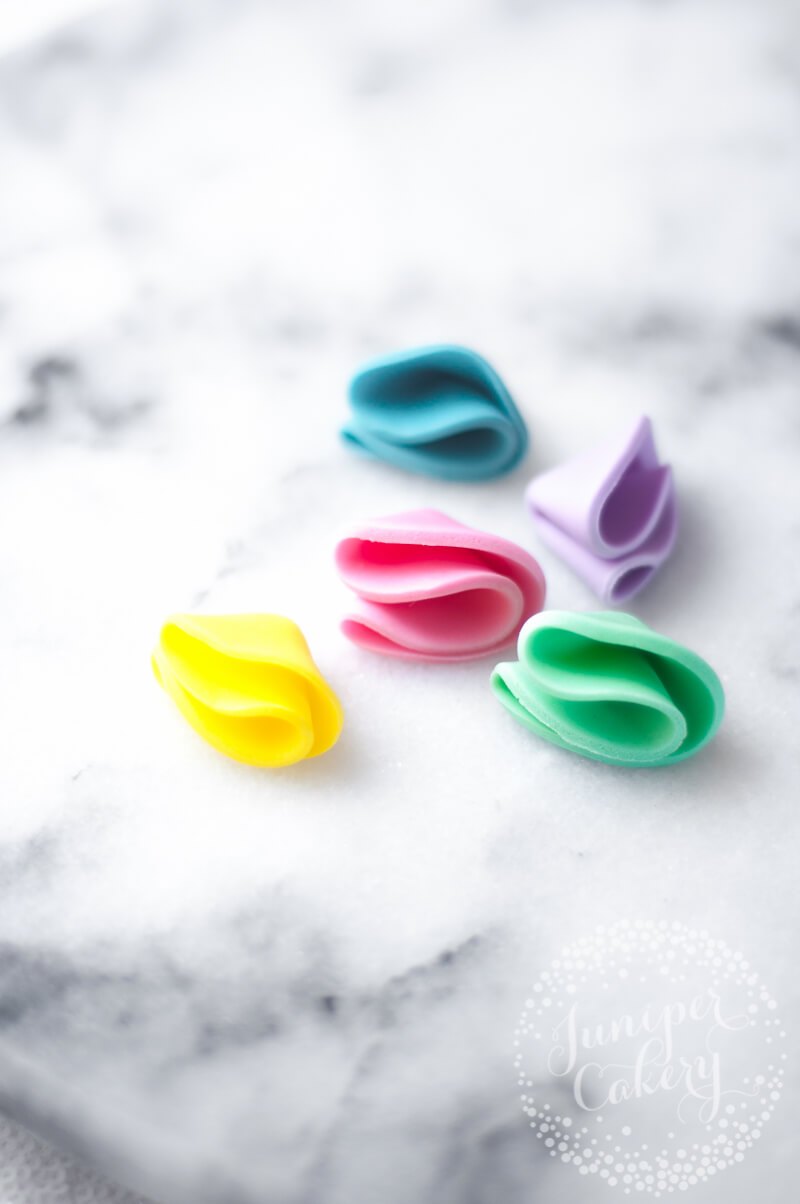
Turning those fondant circles into ruffled pieces is pretty easy! All you need to do is gently fold a circle in half and then into quarters. It pays to be quite light handed with this as you don’t want your ruffles to squish or sag.

Note: If your fondant seems a little too much on the floppy side chances are your ruffle pieces will end up just being folded pieces of sugar paste. If this happens try adding a little CMC or tylo powder (1 teaspoon per 250g of fondant is a general rule of thumb).

Edible fondant rainbow pom pom cupcakes by Juniper Cakery

Step 03:

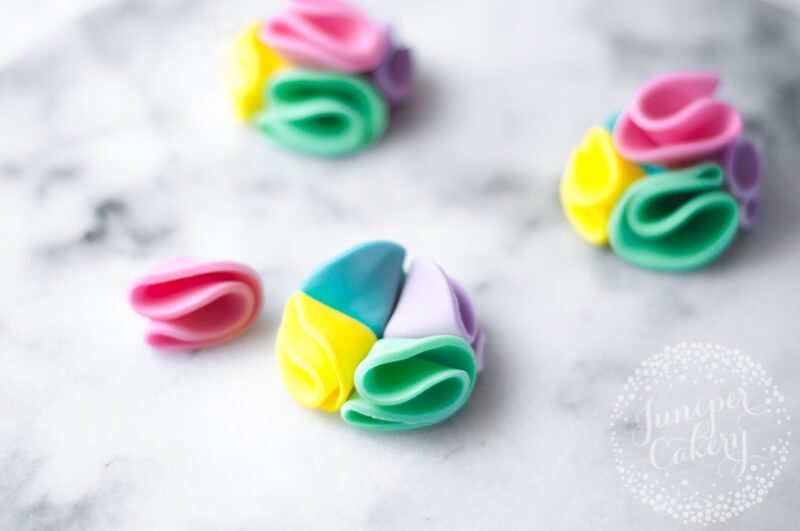
Now you can arrange your little ruffled pieces however you like. We wanted the top ruffles to be pink so we created our lower half of the pom pom with our yellow, mint, purple and turquoise pieces first! When you’re happy with the look stick the pieces together with a little edible glue!
Note: Try not to add too much edible glue as things could get messy! Glue squishing or seeping out of work also never looks good.
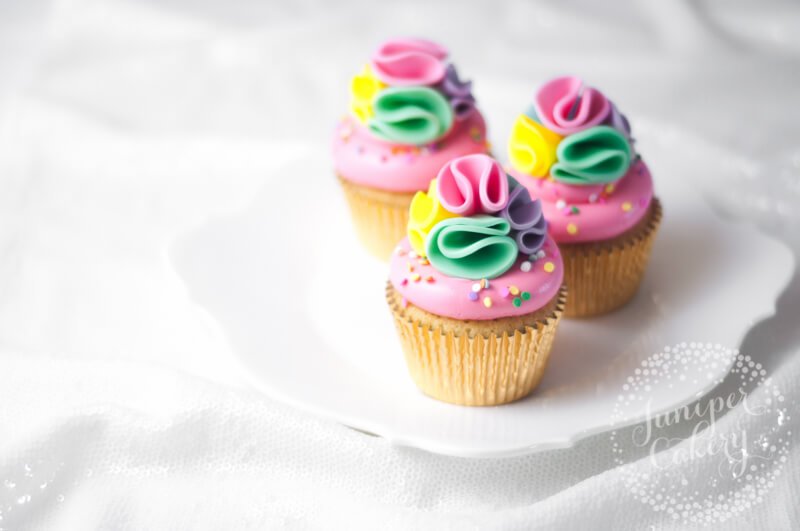
Pretty rainbow pom pom cupcakes by Juniper Cakery

Step 04:

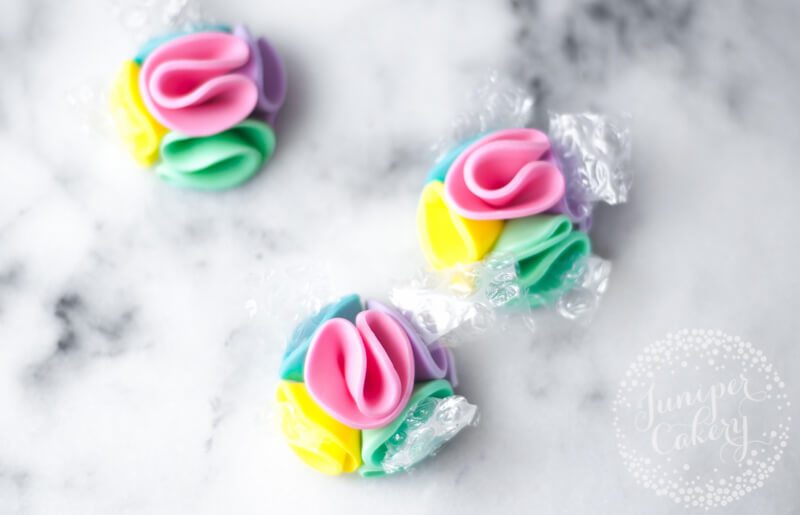
Add small pieces of bubble wrap (or even paper kitchen towel) to help your ruffles keep their shape as they set!

Cute rainbow cupcakes by Juniper Cakery

Yay! Party ready unicorn-inspired cupcakes that are ridiculously fun! You can even add in golden painted unicorn horns made from fondant nestled into the ruffles to go super unicorn themed; opt for different colours for themed parties or make a huge version to add on top of an iced birthday cake (note… you may need a few more ruffle circle pieces for that cool idea).

Rainbow pom pom cupcakes tutorial for parties by Juniper Cakery

How to make fondant pom poms by Juniper Cakery


SaveSave

SaveSave