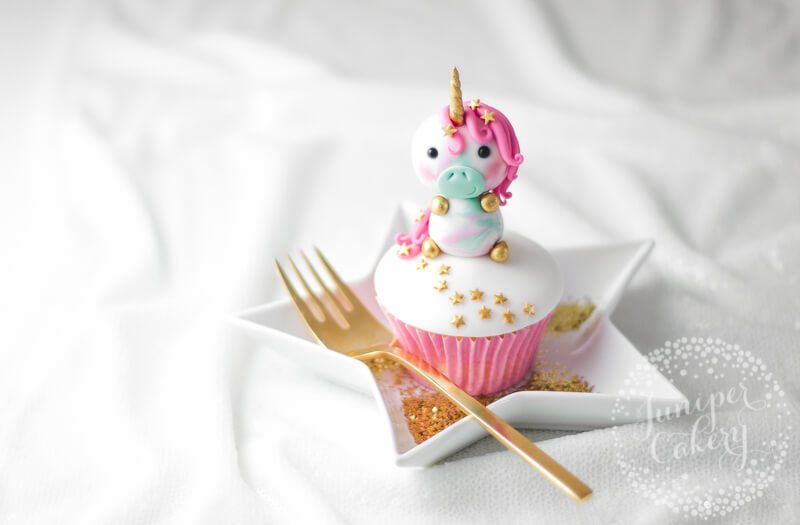
OK, so April was our month of the unicorn and it is now May, but we’re not finished yet! This week we have one insanely adorable fondant unicorn cupcake topper tutorial for everyone to re-create at home. Perfect for on-trend cupcakes or fun birthday cakes this little cutie is going to be so popular! Plus… is it just us or is this unicorn channelling Jem / Jerrica from Jem & the Holograms?!? Check out our step-by-step tutorial below!
Utterly adorable fondant unicorn cupcake topper tutorial!
Skill level: intermediate
Materials needed:
- White fondant / sugar paste
- Blush pink fondant / sugar paste (we tinted our white fondant using Rainbow Dust Pro Gel in Strawberry)
- Light turquoise fondant / sugar paste (we tinted our white fondant using Rainbow Dust Pro Gel in Turquoise)
- Caramel coloured fondant / sugar paste (we tinted our white fondant using Rainbow Dust Pro Gel in Caramel)
- CMC or Tylo powder
- Edible gold paint
- Edible pink petal dust
- Food safe paint brushes
- Edible glue
- Uncooked spaghetti sticks
- Black sugar pearls
- Small ball tool
- Small round piping tip (you’ll use the wider base to cut out the muzzle)
- Wilton 125 petal piping tip (we used the curved piping end to indent the smile)
- Veining tool
- Tiny star sprinkles or star shaped cutter

Step 01:
To begin you should create the body of your unicorn first. This is so that it can set a little before you make and attach the head onto it. You can help your figure set a little quicker by strengthening the fondant too. To do this first mix your fondant / sugar paste with a little CMC or Tylo powder (usually 1 teaspoon per 250g of fondant).
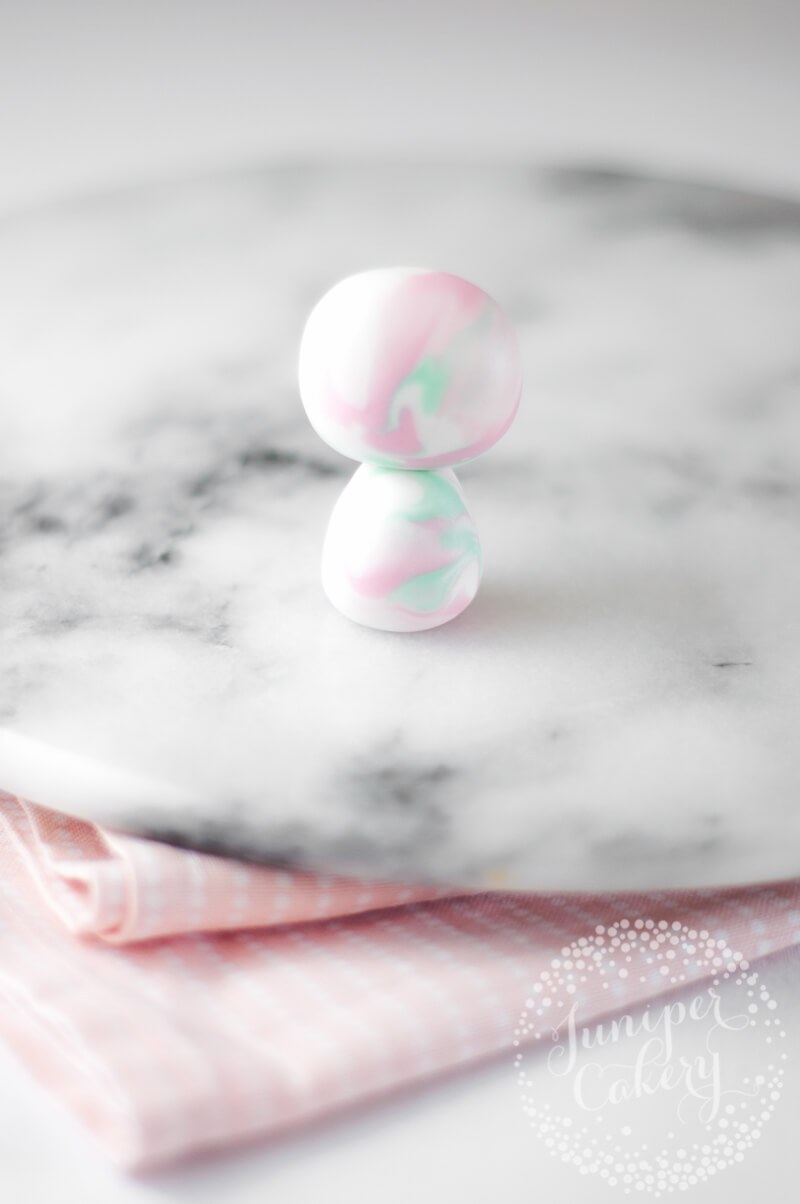
Our little fondant unicorn features a pastel marbled look (oh so fashionable right now). We simply twisted large ropes of white fondant together with skinnier ropes of blush pink and light turquoise before kneading lightly. Basically to get a marbled look with fondant / sugar paste you just need to not fully mix in the colours you’ve added!
Tip! We marbled the body and head of our unicorn individually to get the best look. You could pre-marble a larger amount of fondant if you like, but in our experience once you mould and work with it again after marbling this mixes in the colour more (leading to less of the marbled effect).
NOTE: Remember to leave some of your coloured fondant for the mane and muzzle of your unicorn!
Roll your fondant into a medium sized ball (around 2/3 the size of a golf ball) before working it into a fat teardrop shape. Take a broken off piece of uncooked spaghetti and insert right down the middle of your fondant unicorn’s body.
Step 02:
For your unicorn’s head use more of the marbled fondant and roll up a ball around the size of a gold ball. The head should be a little larger than the body. With a little edible glue attach onto your unicorn’s body. Remember to fix the head onto the body centrally or else it could lean or fall over!
Step 03:
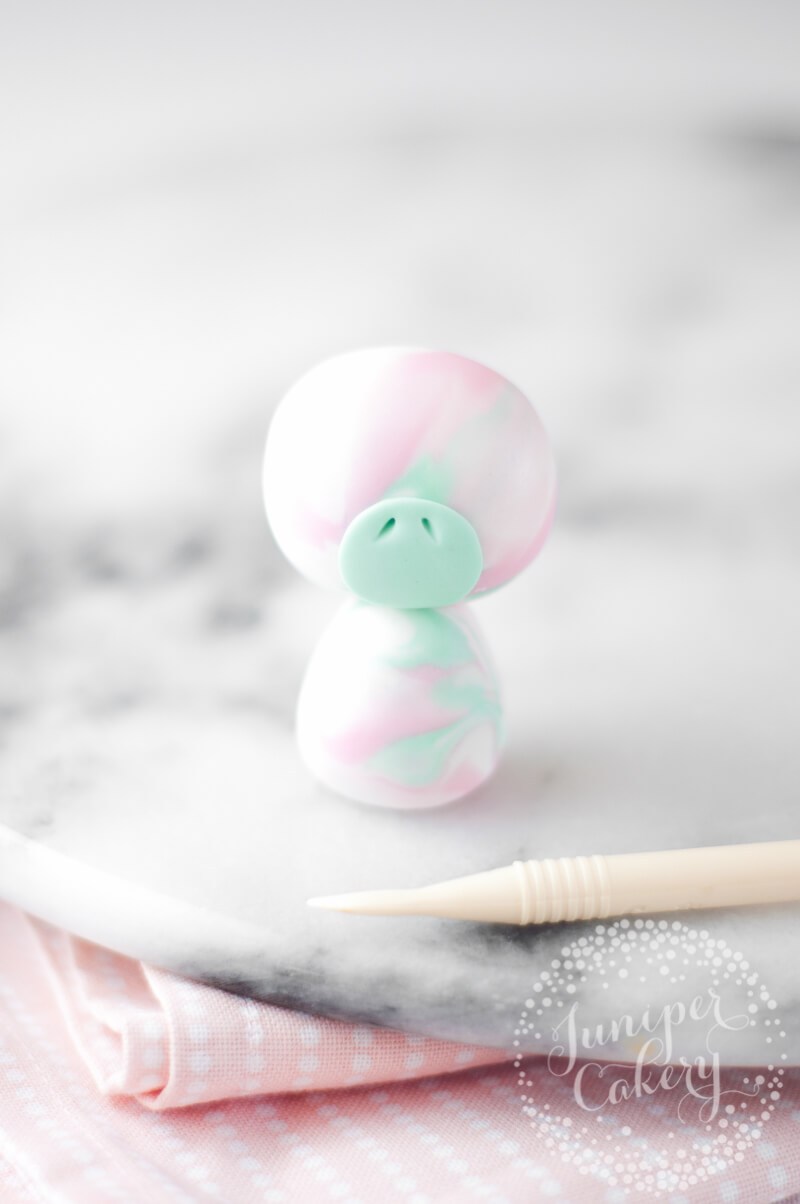
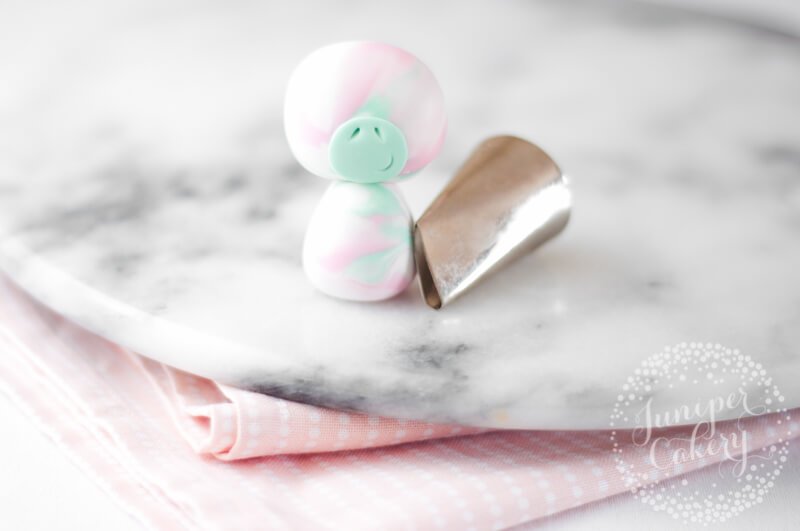
For the muzzle section roll out some turquoise fondant to a thickness of around 2-3mm. Cut out a 2cm diameter circle from this and attach to the lower part of the head with a small amount of edible glue.
Step 04:
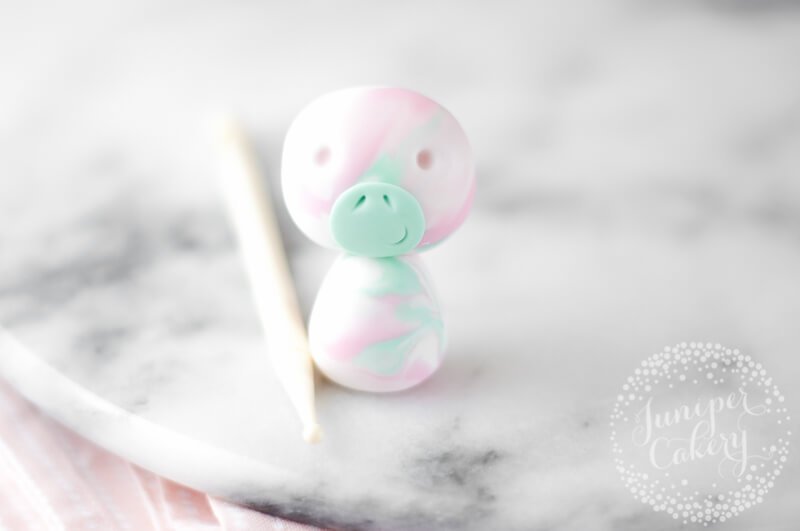
Next you need to add the nostril detailing onto the muzzle of your unicorn. To do this use the smaller end of your veining tool to poke or indent them into the top middle part of the fondant muzzle.
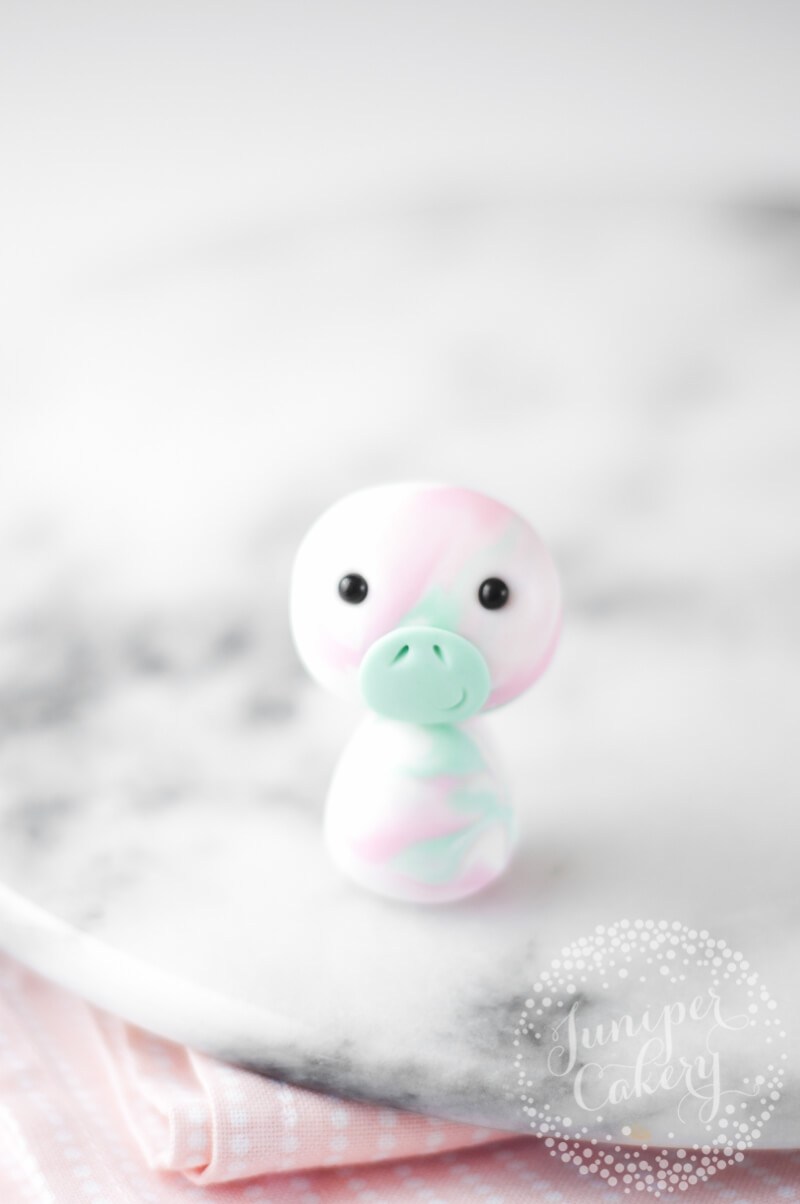
While working on the muzzle section add in your unicorn’s sweet tiny smile! You can do this by using the curved part of the piping end of your tip. Just angle your tip and press so that only half of the piping tip indents into the fondant.
Step 05:
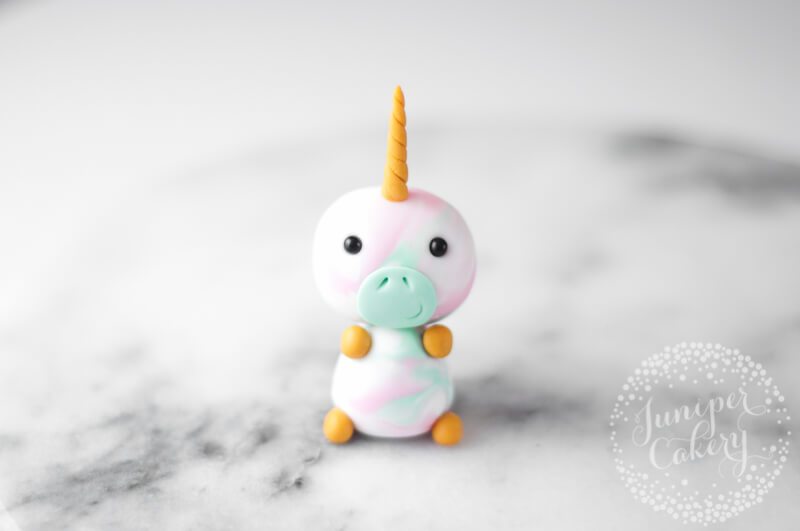
Indent two eye sockets with a small ball tool, add in a tiny amount of edible glue and then attach the black sugar pearls for the eyes.

Step 06:
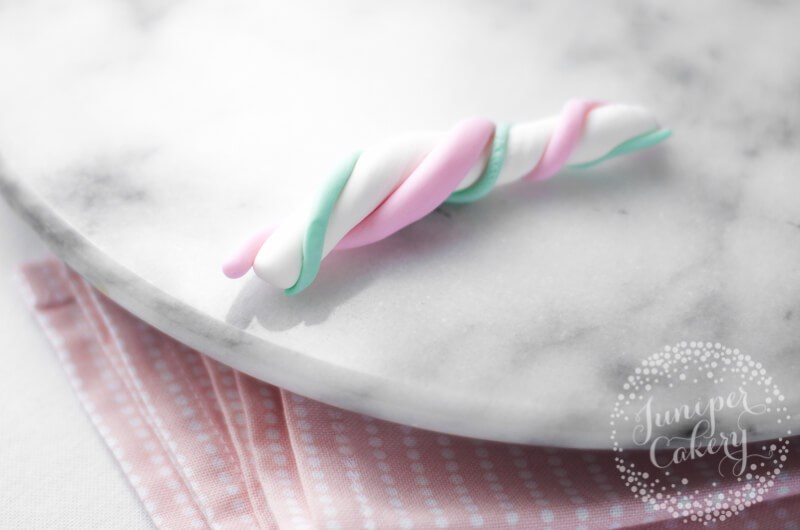
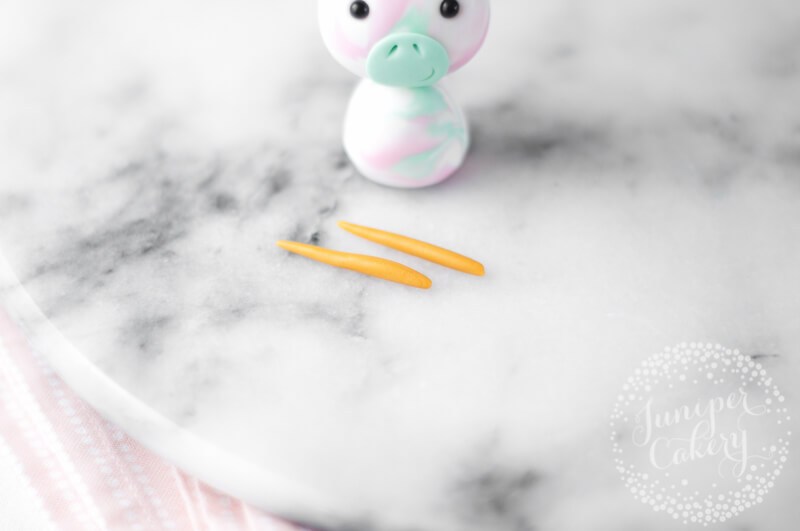
To create the horn take two small (around the size of a medium sized pea) pieces of caramel tinted fondant. Roll each into equal size and length ropes that taper at one end. Twist both together gently and set aside to stiffen up before attaching.
When fully dry you can add this to your unicorn! With a little edible glue attach to the front centre part of your unicorn’s head.
Step 07:
To make the legs roll out and shape four small (around the size of small pea) balls of caramel coloured fondant. Attach in place with some edible glue.

Step 08:
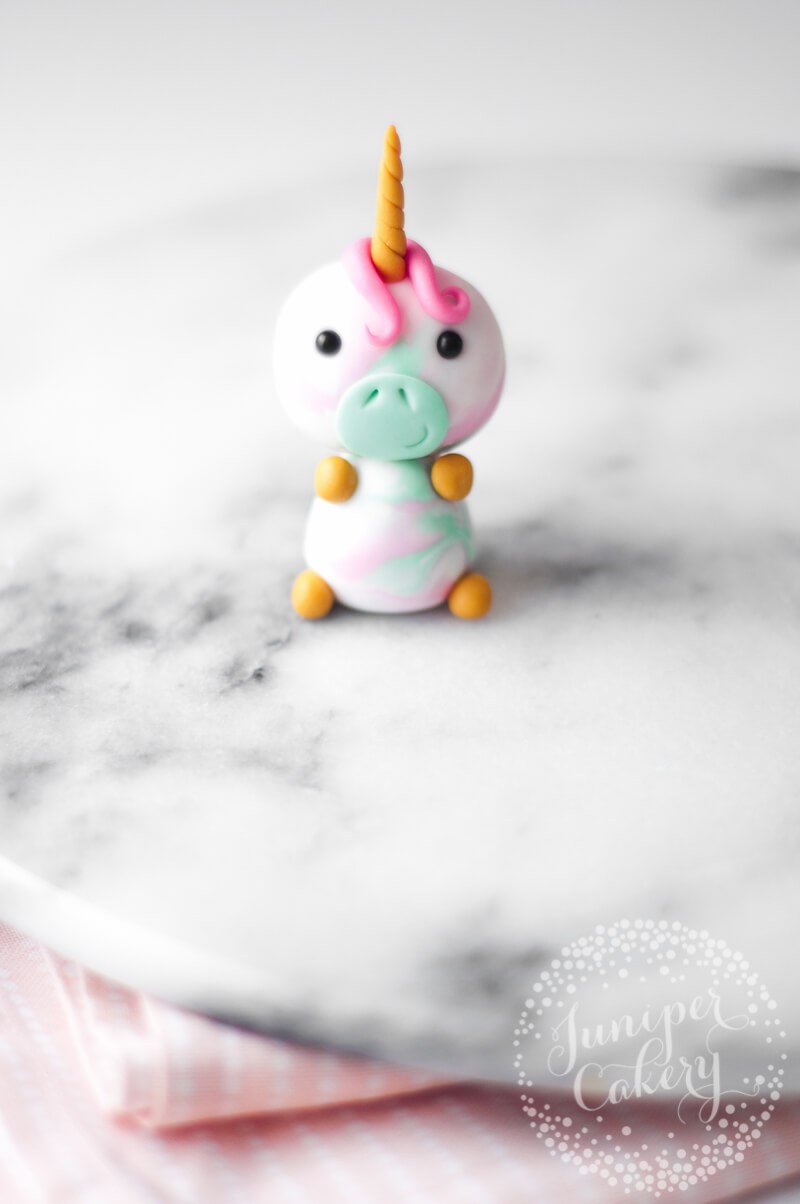
Create the colourful mane and tail by rolling out lots of ropes of pink fondant! Attach them in place onto your unicorn’s head with edible glue. You can even pre-curl each strand before sticking in place.

Step 09:
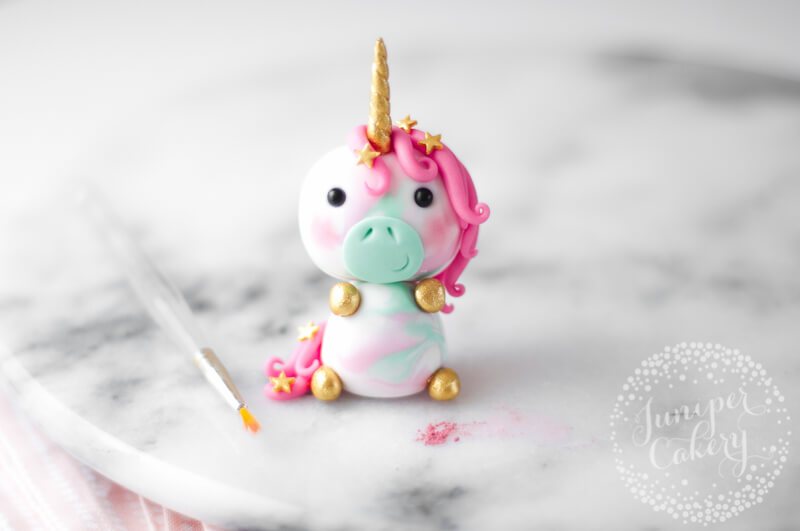
We thought it’d such a cute idea of ‘accessorise’ our little fondant unicorn with tiny stars. You can use hearts or even edible glitter instead if you like. To add the stars you can either use sprinkles or roll out fondant / sugar paste and cut each by hand using a tiny star plunger cutter. Attach wherever you’d like them to be using a little dab of edible glue.
Step 10:
Paint the horn, hooves and stars gold!
Step 11:
We then added little rosy cheeks with a little blush of light pink edible petal dust!
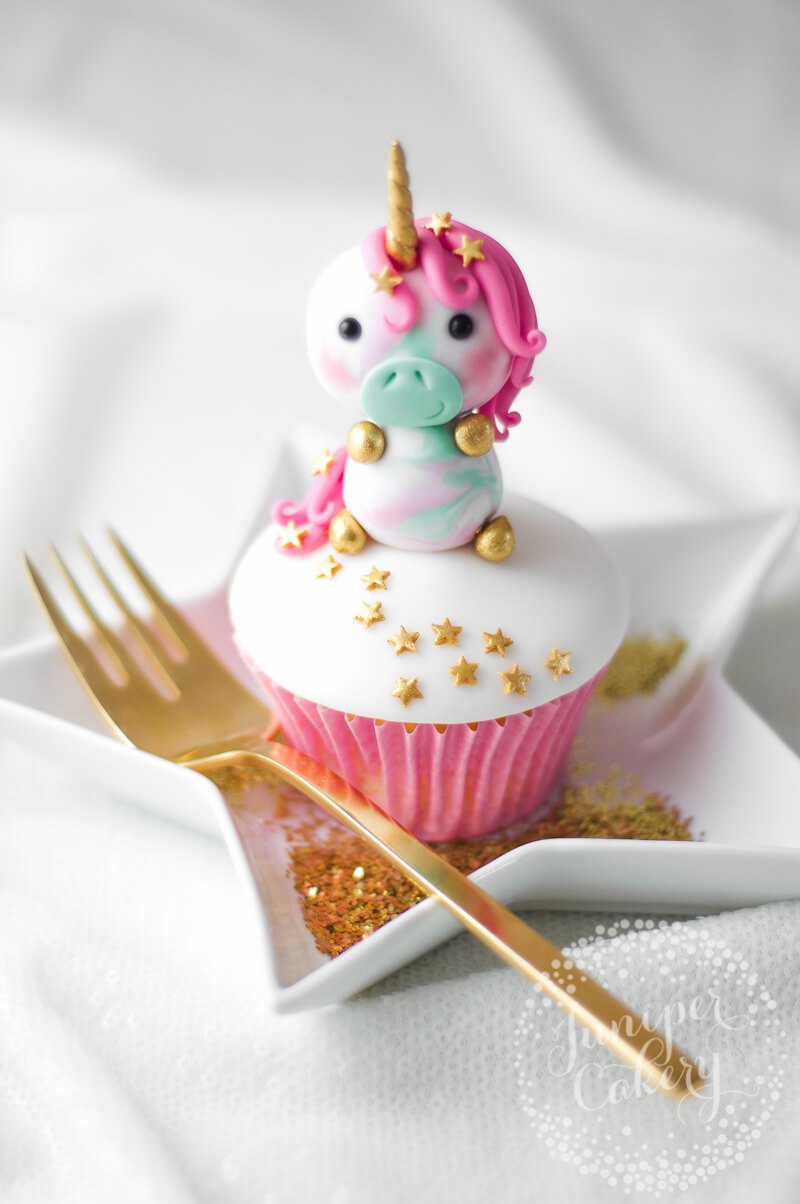
Now you feel all magical because you should have one freaking cute little unicorn staring up at you! We created this fondant unicorn cupcake topper specifically for sweet and petite cupcakes, but it’d look amazing on cakes too. You can easily change the colours for it to fit in with specific themes or swap the little stars for other sweet shapes!
