We created a fun gardening themed cake with strawberries last week. We thought that with the lovely British strawberry season in full swing it’d be the perfect time to show everyone how to make fondant strawberries and strawberry blossoms!
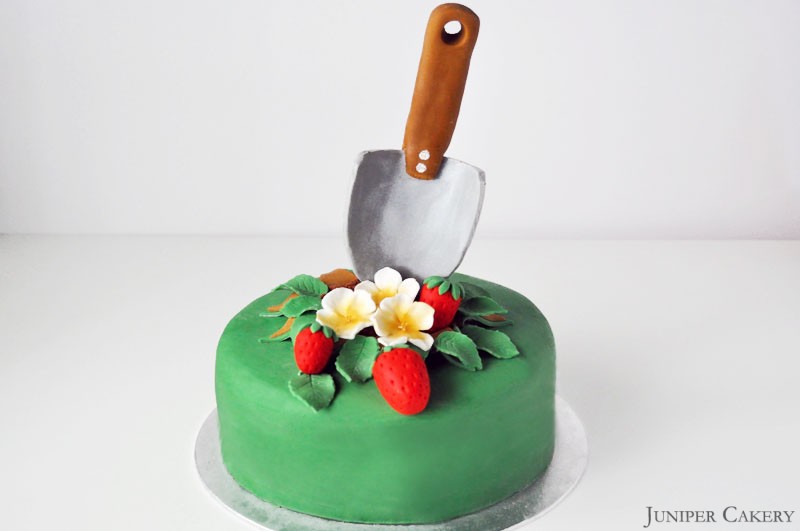
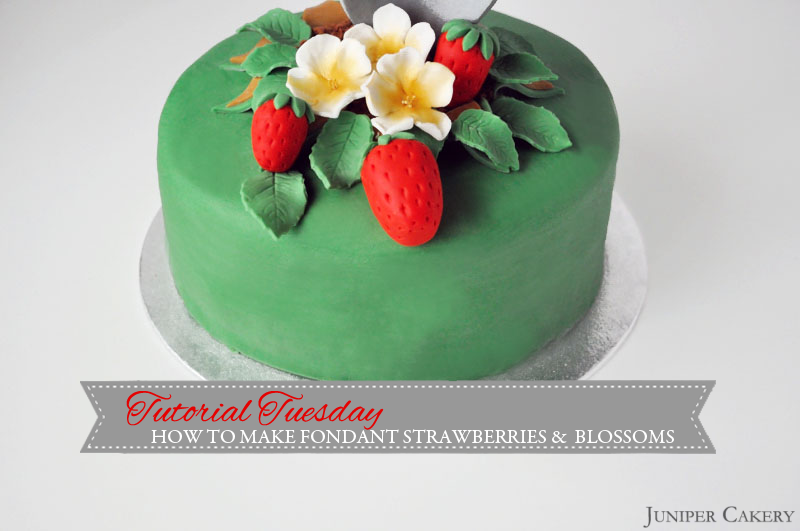
The strawberry gardening cake we created was not only filled with delicious British strawberries, but featured some bright fondant / sugarpaste strawberries on top… complete with a fully edible gardening trowel too!
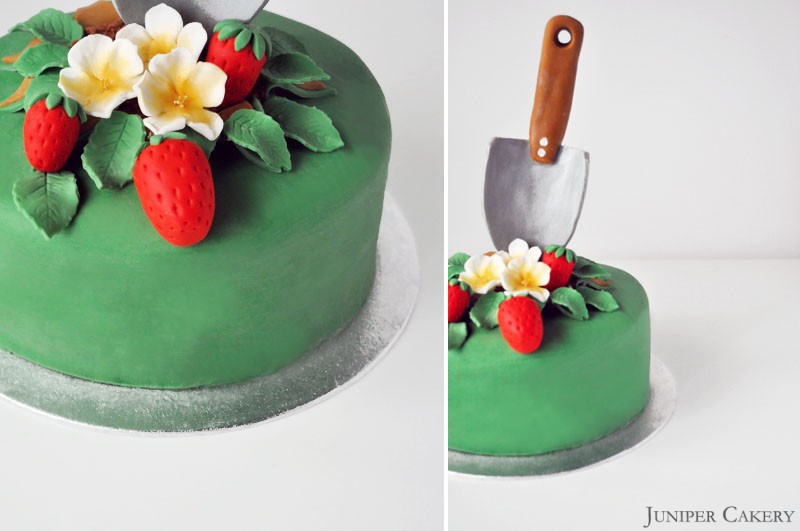

Here’s what you’ll need…
White fondant or modelling paste (coloured green, red and a bit left white)
Marguerite plunger cutter
Lemon Ice lustre dust
Leaf plunger cutter
Scissors
Flower stamens
Bulbous cone tool
Tapered star tool
Flower and leaf shaping / veining tool
Edible glue
Fondant rolling pin
Paintbrush
Forming waves
Flower forming cups

Step one: To begin your strawberry take some red fondant or modelling paste and form it into a rounded conical shape

Step two: To make the ‘seeds’ (or more accurately called achenes) on your strawberries simply take your veining tool and indent notches in rows

Step three: To make the leafy calyx section on top of your strawberry roll out some green fondant / modelling paste, use a marguerite plunger cutter to cut the shape and affix on top with some edible glue

Step four: Use the 5 point end of your tapered star tool to indent into the middle of your calyx topped strawberry… now you have a lovely edible fondant strawberry; perfect to nestle on top of cupcakes and cakes
Now to make the little strawberry blossoms… The following tutorial is a good basic way to make any 4-5 open petal flower. You can use this to make cherry blossoms and hydrangea flowers too. To make different flowers play with shaping or pinching the blossoms into more defined shapes.

Step one: Make a cone with a rounded bulb-like end from some white fondant or modelling paste.
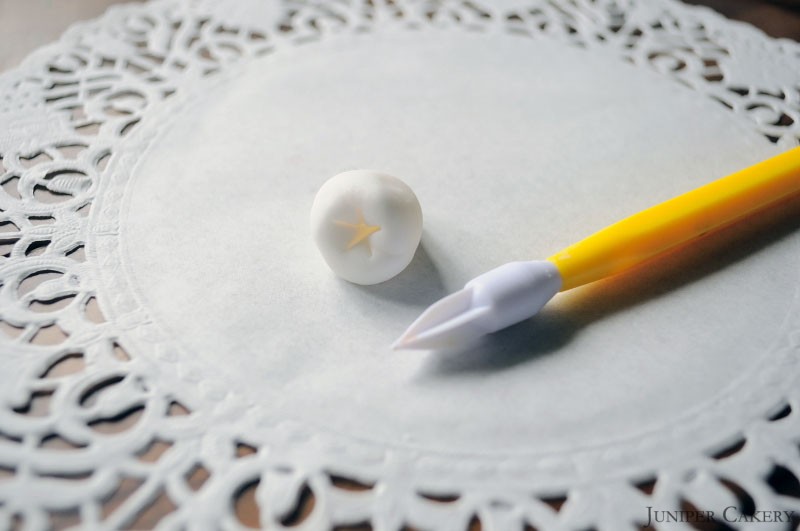
Step two: Using your tapered five point star tool indent a star into the rounded end.

Step three: Separate into full petals using scissors to cut further into the star indentation.

Step four: Using your fingers lightly pull each petal out to separate and press down on each petal.

Step five: To ruffle your petals use the bulbous cone tool to flatten and press into your flower.

Step six: To add the yellow colour that is featured in strawberry blossoms lightly dust some lustre dust onto the petals.

Step seven: To finish off your strawberry blossom cut a few stamens, paint the ends with edible glue, push them into the centre of your flower, finish them by dusting the stamen tips with some lustre dust and leave to dry in flower forming cups.
Step eight: Roll out some green fondant or modelling paste, cut out some leaves and leave to shape and dry on forming waves.
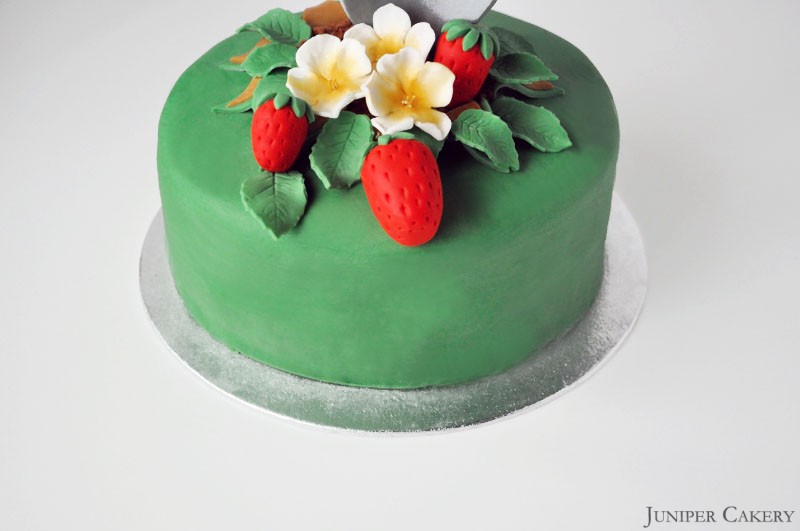
Now you should have some strawberries and strawberry blossoms. These handmade berries are wonderful additions to summer cakes and cupcakes!


I always watch &wait your post every tuesday love it. Could u also post on how to make fluffy yummy buttercream icing just a suggestion only if its a secret it ok. But keep on posting every tuesday.
Hi, Thank you for your kind comment. We’re happy you like our tutorials and hope they prove helpful! We’ll definitely be posting a tutorial on whipping up lovely creamy buttercream in the future. For now maybe our tutorial / recipe on creating Swiss Meringue Buttercream may help? You can find it on our blog here… http://junipercakery.co.uk/blog/welcome-to-tutorial-tuesday-swiss-meringue-buttercream/
This is too stinking cute!
Hi, Thanks! It was a joy to create too!