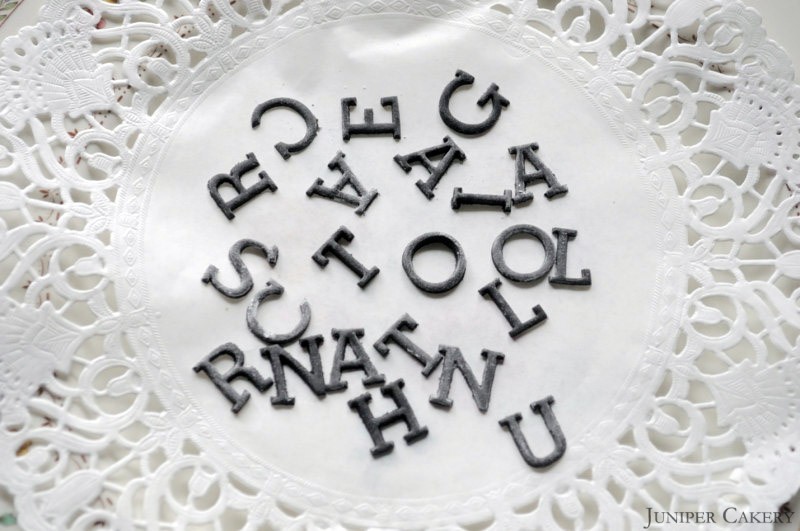
In this week’s tutorial we’re going to show you how to master the art of Tappits. Using these cutters to create text on your baked creations is time consuming, but your cakes will end up looking much more sleek and professional!

Whether you’re making a cake for a family member or for a client you will most likely need to add a name or a phrase at some point. There are plenty of alphabet cutters available in the cake decorating world in all sorts of sizes and fonts so you may have used Tappits already. In our experience letters made using larger alphabet cutters are prone to stretching out of shape, or ending up bumpy and ripped at the edges. Letters made using Tappits, on the other hand, are much hardier than they look (they can also be fiddly and need a steady hand) and we’ve found they make any cake look instantly more polished.

Once we mastered our Tappit making skills they soon became one of our most used tools in our kit. In this tutorial we offer you some simple tips to help make using them easier and quicker!
What you’ll need:
Tappit set
Fondant rolling pin
Modelling paste/sugarpaste coloured to suite your needs
Icing sugar
Paintbrush
Cocktail stick
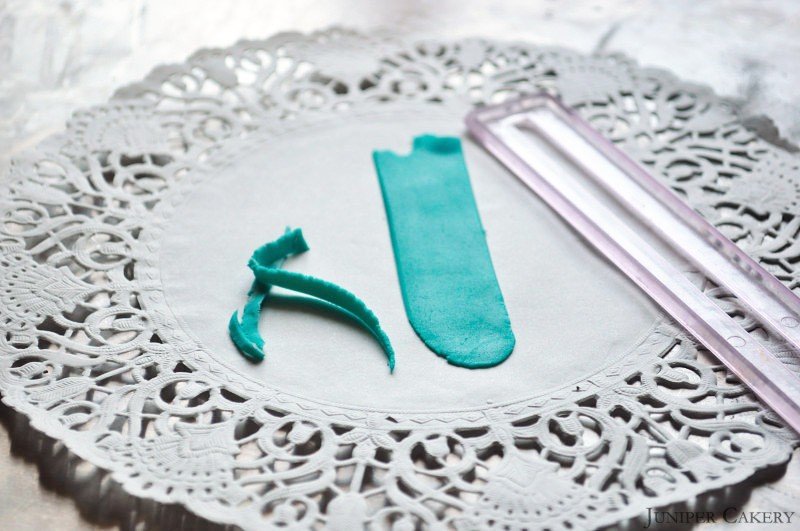
Step one: Using your fondant/sugarpaste rolling pin roll out your modelling paste/sugarpaste as thinly as possible (we use modelling paste as it is much more workable than sugarpaste but sugarpaste will work too if you add a little tylo/tylose powder). Now use the tappit strip cutter to create the perfect size to work with.
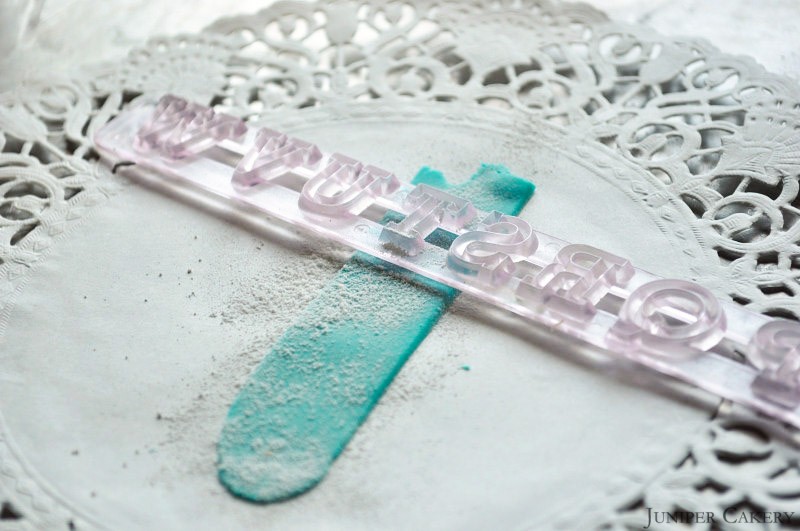
Step two: Dust down the current letter you require with a generous amount of icing sugar before you begin. Now press that letter into the modelling paste/sugarpaste and press it down as hard as you can. Using the end of your rolling pin tap/press the tappit again ensuring it has cut through properly.
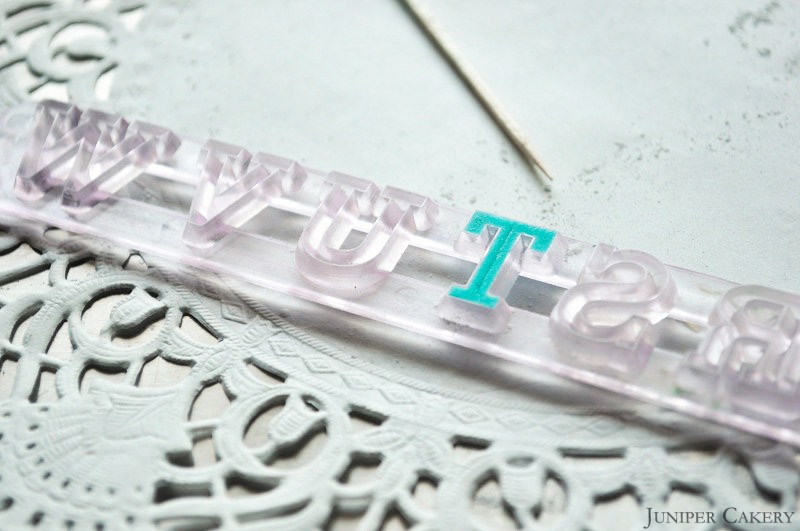
Step three: Turn your tappit over to see if you can see the edges of your letter poking through. If you can your tappit is ready (if not keep tapping/pressing with the rolling pin). If there is any excess modelling paste/sugarpaste on the outside of your letter use your cocktail stick to remove it.
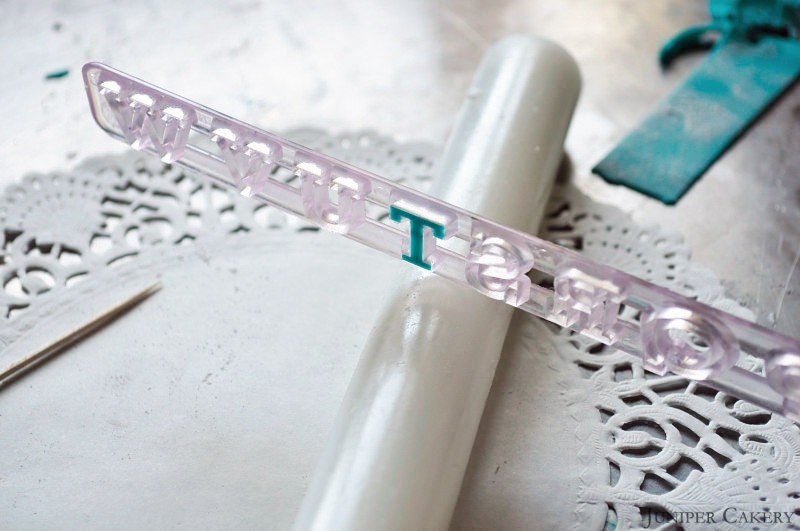
Step four: Place your rolling pin on a hard surface and rest your tappit set on it while you hold one end. Lean your tappit set forward and begin tapping, with force, until the letter falls out and on to your work surface.
Continue the above process until you have the name, age, phrase you need to finish your baked creation!
