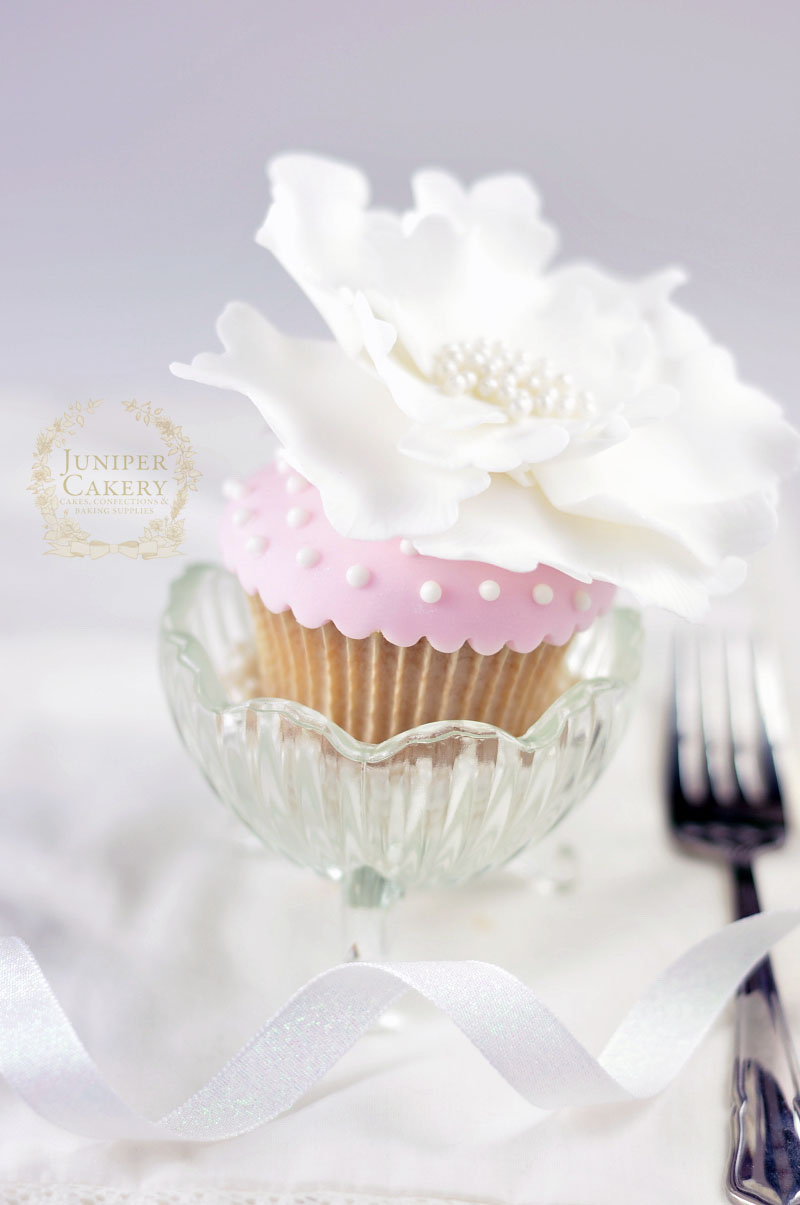
Last week we kick started our ‘Intro to Royal Icing’ tutorials with our go-to royal icing recipe and a tutorial on how to pipe a lovely and delicate pearl border! Now it’s time for us to show you how to pipe polka dots (or random dots if you like) onto cakes, cookies and cupcakes. This technique is wonderful and perfect for adding texture to decorated treats; piping royal icing dots into a polka dot formation also adds a very subtle vintage feel to a finished cake!
This week we’re also going to show you how to create a parchment cornet /cone used for piping royal icing designs. We use a combination of both parchment cornets and disposable piping bags and personally haven’t noticed too much of a different between the two. One notable thing is that the smaller parchment cornet is better if piping smaller or more ‘fiddly’ detail due to the way you end up holding it and also due to the size. Using a parchment cornet is generally great for writing, string-work or lace.
How to make a parchment cornet / cone
You’ll need…
- Parchment paper
- Scissors
- Piping tip
- Small round piping tip (we used a 2.5 writer tip by PME
- Royal icing (find our recipe here) the consistency of toothpaste
Step 1: Take a roll of parchment paper and cut a square portion from this.
Step 2: Fold corner to corner to form a triangle and cut down the fold.
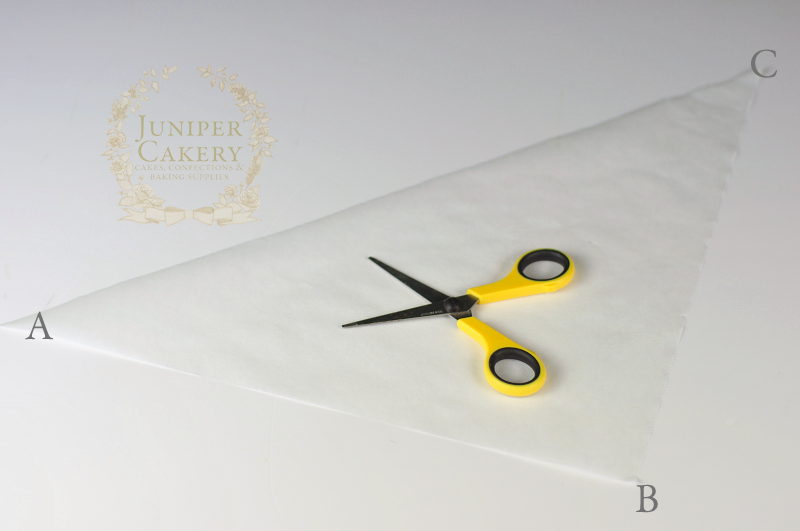
Step 3: Think of each corner as being marked with a letter. The middle point should face you and be corner B. The outer points should be A and C. A being the left and C being the right.
Step 4: To form the cornet bring point A to point B to form a conical shape.
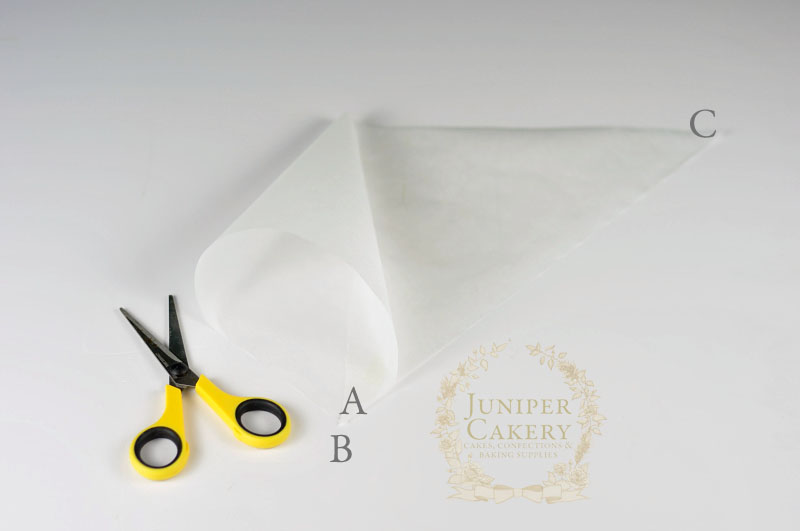
Step 5: Take point C and bring this to point B. This should, in a sense, double up the cornet shape.
Step 6: Take your piping tip and fit into the bottom of the cornet as with a disposable piping bag. You can adjust the points to fit the tip.
Step 7: When all points meet rip two notches parallel to each other and fold this to hold the bag.
Step 8: Fold the piping bag at the points a few times to secure.
Step 9: Fill with a little royal icing.
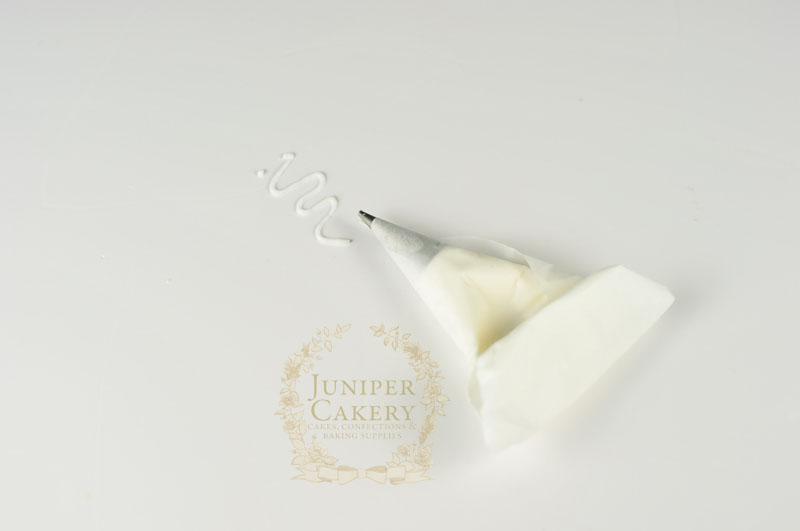
Step 10: Fold the parchment cornet in on itself from the sides and then from the top a few times and you’re ready to pipe!
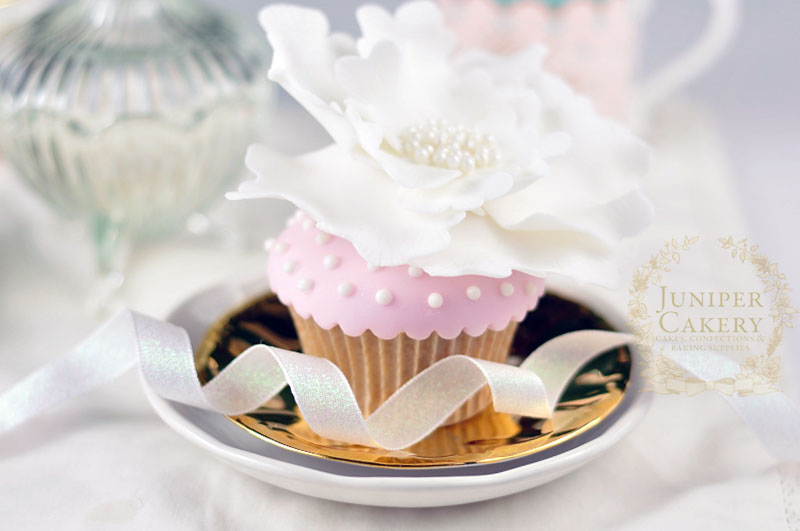
How to pipe royal icing polka dots
You’ll need…
- Parchment cornet/cone filled with royal icing and fitted with a small plain round tip
- Cake, cookie or fondant/sugarpaste covered cupcake
- Food safe paintbrush
- Icing sugar
- Dressmaker’s pin (optional)
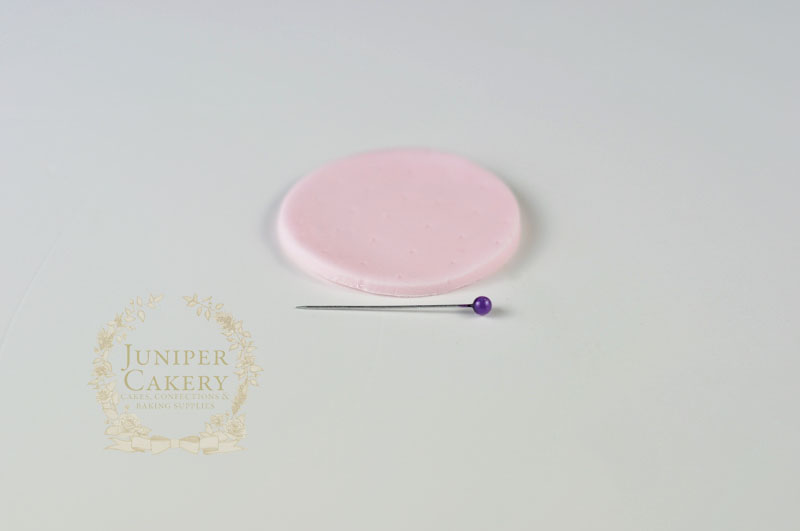
Step 1: When you’re relatively new to piping out polka dots or a design made up of small royal icing dots it’s a good idea to mark out your design or pattern with pin pricks. Use a clean dressmakers pin to do so.
Step 2: With your parchment cornet/cone filled with royal icing and fitted with a seamless (this is important as a seam can send your royal icing out crooked and hard to control) small round piping tip and position yourself at a good height to your cake or cookie. For cakes work from the direct front and for cookies or cupcakes work from directly above.
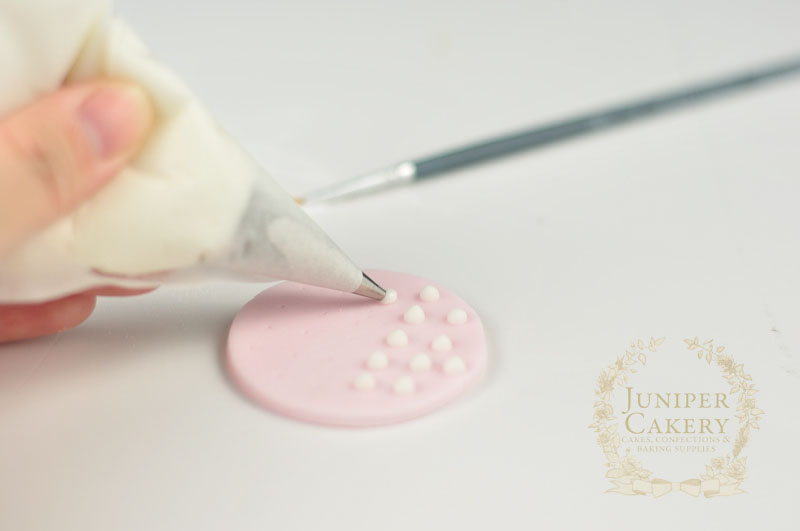
Step 3: Apply a little pressure to add a small dot of royal icing. Don’t pipe for too long if you need a larger dot as this will create ridged spots that won’t look too elegant, instead swap to a large round tip if needed. Another tip is to not place the piping tip too close to the surface or else you’ll be left with flat spots instead of nicely rounded dots.
Step 4: Don’t worry if you’re left with a bit of a tip to each dot. This is fairly normal; if you’ve the perfect consistency dots do ‘settle’ after a few seconds and without spreading out. If you do have tips that don’t settle you can flatten these slightly with a food safe (only ever used on edible items) paintbrush dipped in a little icing sugar. You’ll need to work fast as royal icing sets quickly. It may be frustrating but don’t be tempted to pipe out all your dots before tapping the tips down because they’ll have dried before you have the chance!
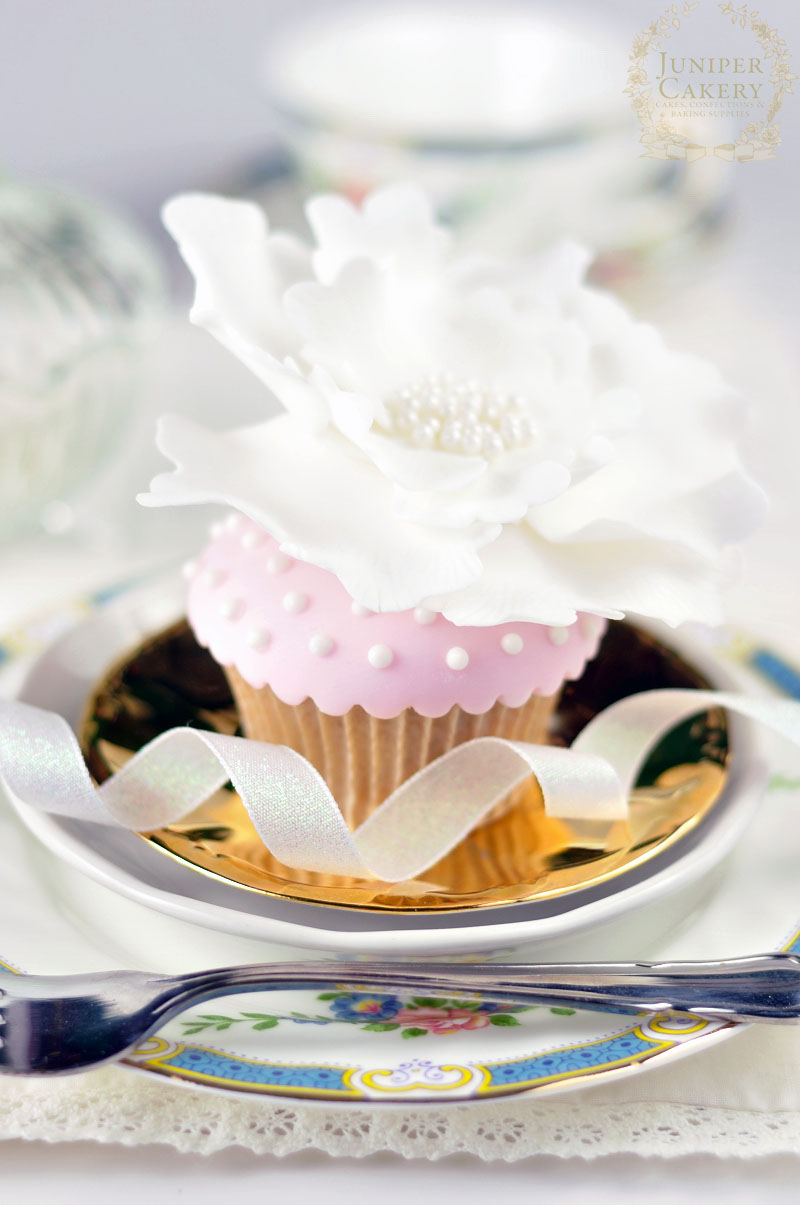
Keep practising! It takes a little time to get any technique perfected especially when it involves royal icing. If you’re feeling adventurous why not edge a cake with the pearl border we showed you how to create last week and decorate with this week’s dainty polka dot tutorial! Next we’ll be showing you how to use royal icing to stencil designs on your cakes and cookies!


One comment