After a rather hectic couple of months full of magazine work, large cake orders and a pile of admin work our Tutorial Tuesday segment is back with a vengeance! Though we still have a myriad of responsibilities plus some fabulous plans for the next few months (why not sign up to our monthy newsletter to stay in the know) we’ve streamlined our work-plan somewhat to help maintain certain aspects of the blog; including our weekly tutorials! Without further ado here is this week’s tutorial… how to pipe pearl borders with royal icing! This handy technique is perfect for finished cakes, adding detail or creating delicate edgings on cupcakes or cookies!

When it comes to working with royal icing you can be forgiven for being a little stand offish if faced with a piping bag of that seemingly tempestuous mix, however, all it takes is one good recipe that you feel comfortable working with and whipping up. That’s why with this week’s tutorial for piping dainty pearl borders we’re sharing our simple recipe for royal icing. Before we tried this recipe we would sadly waste large amounts of icing sugar just to pipe a small pearl or shell border. We often lamented over why so many royal icing recipes listed their ingredients in large volumes and, worse yet, with measurements too odd to scale down. This recipe is possibly the most straightforward we’ve come across, creates the least amount of waste, and it has always yielded what we find the best consistency for piping.
Our royal icing recipe
- Whites from 1 medium egg
- 188g icing/confectioner’s sugar
- 1 teaspoon lemon juice (and extra to wipe down your bowl and whisk attachment)
- Kitchen scales
- Stand-up mixer with whisk attachment and metal bowl
- Small round writing piping tip
- Disposable piping bag
Step 1: Wipe down the bowl of your stand up mixer with lemon juice along with your whisk attachment.
Step 2: Add the whites of 1 medium egg to the bowl and whisk on high speed until white and frothy.
Step 3: Add in the icing/confectioner’s sugar and mix until incorporated.
Step 4: Finally add in the lemon juice. You need your royal icing to be the consistency of runny honey so add a little more lemon juice if you find your icing too thick.

Be aware that royal icing never lasts too long. It’s best to always make and use it fresh as the sugar soon begins to crystallize making it hard to work with. If you are, however, going back to using the icing in a few hours we’d recommend covering the icing with cling film/saran wrap directly on the icing’s surface in a bowl and then double covering over the bowl itself. If you also have some royal icing in a piping bag cling film the nozzle of your piping tip to stop the tip from getting clogged with crystallized sugar.
If you find the consistency of the royal icing too thin or thick don’t panic. It’s easy to adjust the consistency by either adding icing sugar gradually if it is too thin or adding a little bit of water if you think it is too thick.
As well as the royal icing you’ll also need a good seamless plain round piping tip (we used a 2.5 writer tip by PME for a small yet dainty pearl size and shape) and a disposable piping bag. As this is the beginner lesson we’ll save the parchment paper cornet/cone tutorial for next week and instead concentrate on the recipe and border piping method!
How to pipe Royal Icing Pearl Borders!
Piping pearl borders with royal icing looks relatively simple and straightforward… that is until you actually physically have to do them! Our top tip to get even, delicate and elegant piped pearl borders is to establish a good rhythm! Even before we begin piping directly onto a cake we have a quick practice on a clean surface to quickly check the consistency of the icing, establish the appropriate pressure we need to get certain sized pearls and to make sure we get a quick rhythm.
To get a nice even rhythm we repeat these three steps in our head until we’ve finished our border work; Squeeze. Stop. Swipe.
Squeeze. Stop. Swipe.
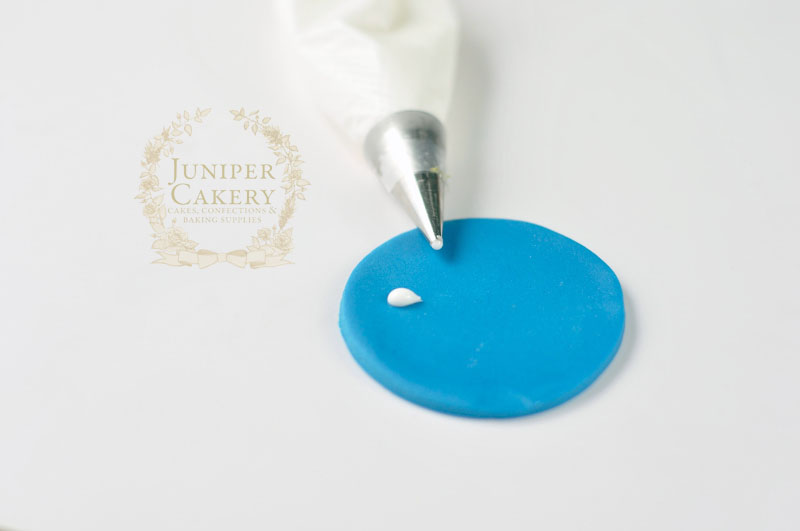
Squeeze the royal icing out at a 45 degree angle between the cake board (or stand) and cake (for cupcakes do this at a 90 degree angle). Squeeze with a nice even pressure. Don’t squeeze too hard or you’ll have royal icing flooding out everywhere. Also, don’t squeeze too fast or you’ll never have control over your border.
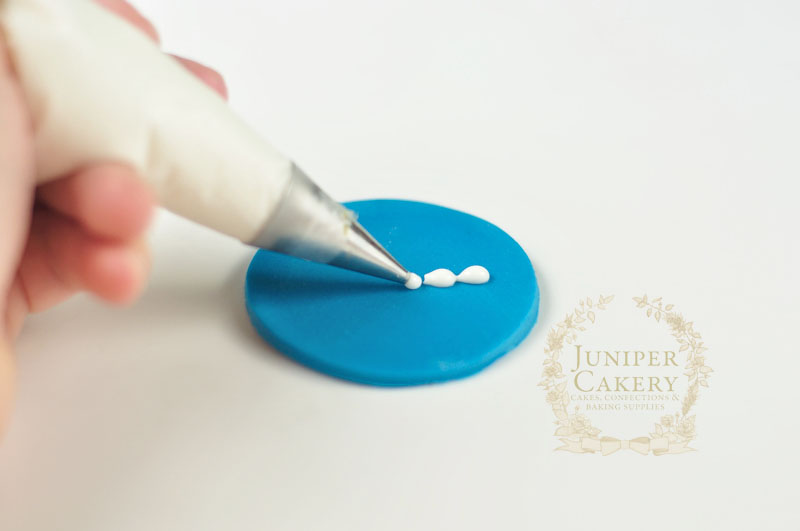
Stop when you’ve squeezed enough royal icing to create a lovely glistening pearl. A lot of beginners just keep going when attempting pearl or shell borders as they can look a little like cursive hand-writing and seem unbroken, but these borders are broken. You need to stop to establish a nice rounded pearl shape and not a continuous line of undefined royal icing squiggles!
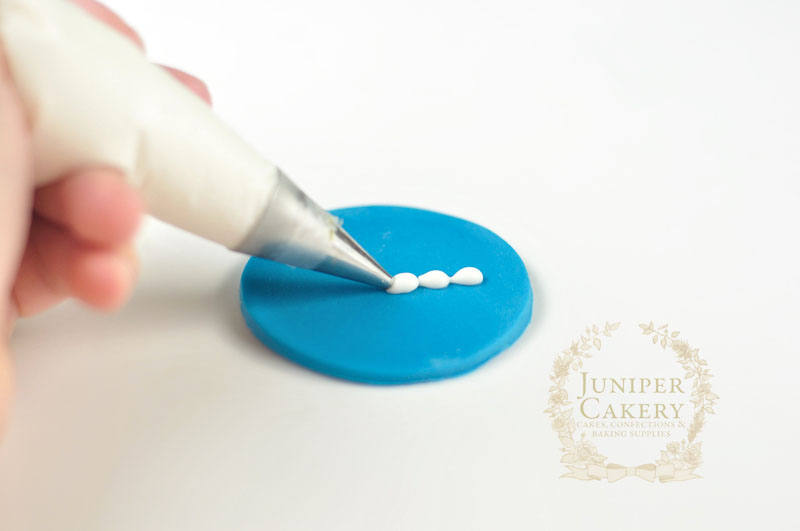
Swipe the piping bag away in the direction you wish your border to continue with no pressure pushing out more royal icing. This creates a nice tapered or tear drop tail to your pearl which not only creates a good looking border, but helps mark out where your next pearl should be placed. You should then begin your next piped pearl on the tail of your last. When you squeeze once again the royal icing will fill the gap a little, but should still create a lovely defined shape!
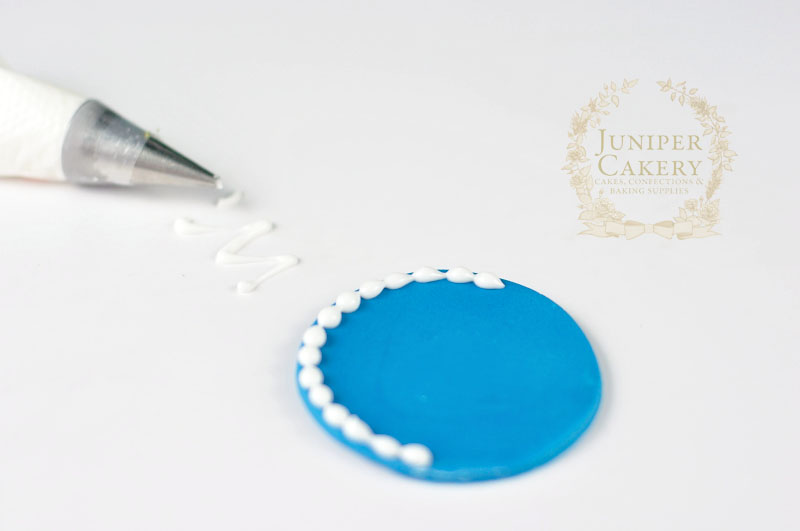
Keep practising! Working with royal icing and even piping borders with buttercream takes a little practise to get just right, but you will get there if you keep at it. The brilliant thing about the ‘squeeze. swipe. stop’ method is that it can be used to make almost any border look even and professional. We use this technique to pipe out shell borders and buttercream borders too!
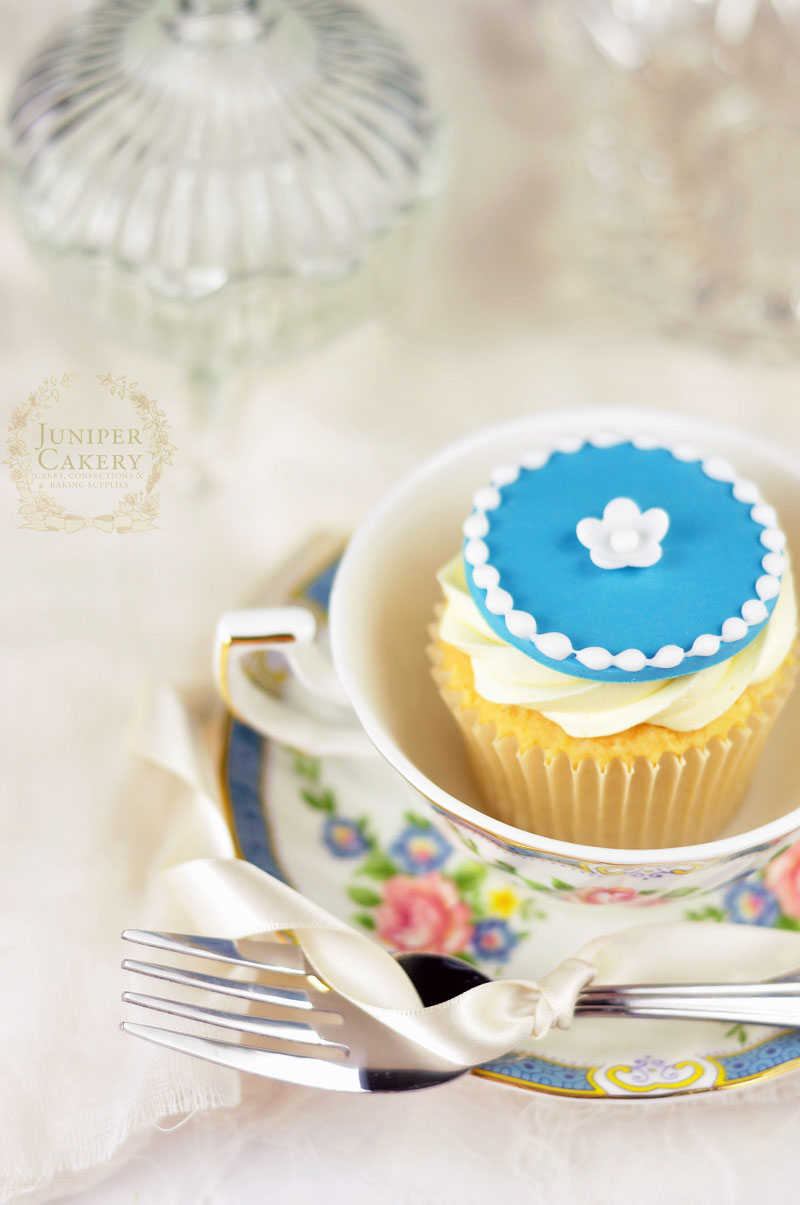
Next week we’ll be showing you the next step at getting used to working with royal icing; piping polka dots plus how to create a parchment paper cornet/cone to use as a piping bag! Royal icing polka dots is a fabulous way to add texture or a pretty yet subtle detail to cakes!


Hi there,
Many thanks for the tips. Can you please tell me where can I find the best royal icing recipe for stencilling??
many thanks
Soha