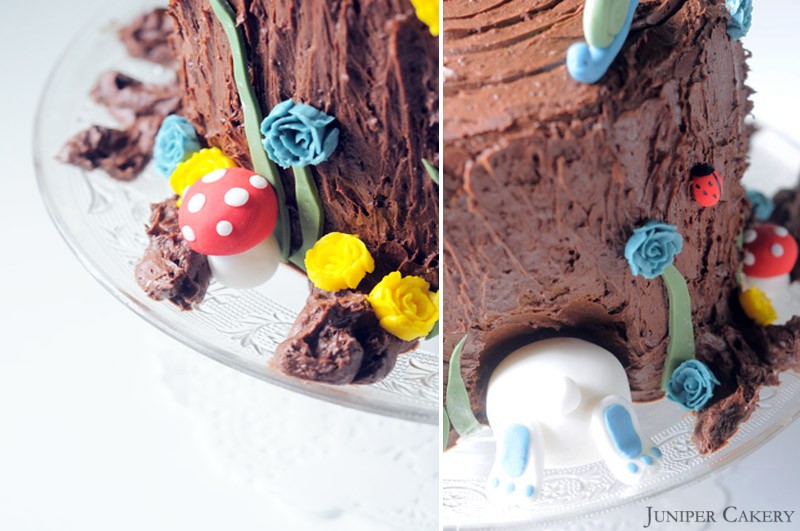
Today’s tutorial for Easter week was created for one half of Juniper Cakery who turned a spritely 27 years old this week! After researching lots of fun, novelty cakes the nature loving baker and decorator’s heart was set on a bright Easter and springtime themed cake featuring our Creme de Menthe cake recipe. This cake was incredibly fun and quick to make as well as delicious.

What you need:
A tall layer cake (comprised of either 6 slim layers or 3 thick layers)
Various coloured sugarpaste / fondant
Chocolate buttercream
Coloured buttercream
A good angled spatula
A toothpick
Edible glue
Paintbrushes
Modelling tools

Step one: Assemble your layers. You need a nice tall cake for the trunk. We’d suggest baking six slim layers or three thick layers to get a good height to your tree trunk. We baked three layers; one vanilla, one chocolate and one creme de menthe and then sandwiched them together with lots of cookies ‘n’ cream buttercream!
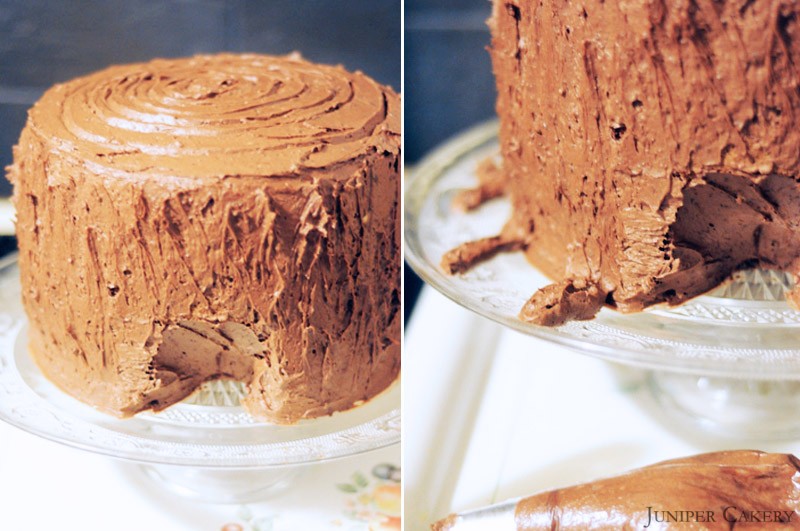
Step two: With a sharp knife cut out a small hole/burrow at the base of your cake. This is where your cheeky little bunny will peep into the tree.
Step three: Smother lots of chocolate buttercream around your assembled cake. The wonderful thing about this cake is that you can be messy which is perfect if you’re a novice at icing cakes. Use a good spatula to smooth on your chocolate buttercream and ‘shape’ the frosting by patting your spatula quickly along the sides.
Step four: To create the roots to your tree fill a piping bag fitted with a large round piping tip and pipe out buttercream stemming from the base of the cake. Use your spatula to pat shape into the roots.

Step five: Now you can move on to making your little bunny! Take some modelling paste or sugarpaste and form a large ball for your bunny’s bottom. Check the size of this ball against the hole in your tree.
Step six: To create your bunny’s tail make a much smaller ball and set aside.

Step seven: To attach the tail to your bunny’s bottom press in a toothpick, paint with edible glue and push the tail onto the stick.

Step eight: For your bunny rabbit’s feet make two small ovals of sugarpaste or modelling paste and roll them out with a rolling pin to around 5mm thick. Shape them further using your fingers and using a blade tool indent the toes.

Step nine: With some contrasting modelling or sugarpaste create the detail for your bunny’s feet; three small ovals for the toes and a long oval for the soles.

Step ten: Roll out some green modelling paste / sugarpaste and cut out wavy grass shapes. If the buttercream on your cake has not yet set then you can simply apply your grass, roses and bugs straight onto your cake. If the buttercream has set then either spritz a little water onto your cake or onto the back of your decorations.

We further decorated this cake with buttercream roses, ladybugs, a large snail and lovely toadstools! This cake can be customised with lots of different details such as birds, hedgehogs, plunger cut blossoms or floral sprinkles!


One comment