Whipping up sugar cookies is definitely something fun and tasty to do when the colder winter months are just around the corner. We especially look forward to creating our delicious spiced sugar cookies (our thinner and crunchier variant of the traditional gingerbread cookie) once it’s time of pull out all of the festive trimmings! This festive season we’ve shared our popular spiced sugar cookie recipe and now we’re showing you how to flood ice them and add a wonderful texture to help create rustic inspired Christmas tree cookies!


Visit our blog post here for our go-to royal icing recipe. We use this recipe for every royal icing project as it’s pretty adjustable and we’ve never had any issues with it’s consistency. If you find your icing too thick add a little lemon juice and test. If you feel as though your royal icing may be too thin simple add a little icing sugar to thicken!
How to royal ice rustic Christmas tree cookies…
Materials needed…
- Royal icing the consistency of thick runny honey
- Piping bag
- small round plain piping tip
- Cookies (either sugar or gingerbread)
- Cocktail stick
Step 1:
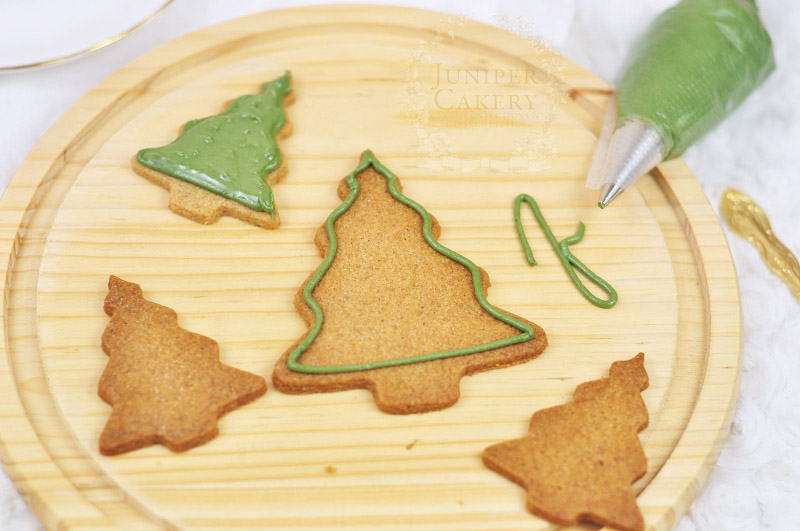
Always work one cookie at a time as you don’t want your royal icing outline to dry out before you flood your icing! Begin by outlining the cookie using a piping bag fitted with a small writing piping tip. Don’t touch the cookie with the piping tip or bag as this is the wrong way to create an outline and will lead to shaky lines! You want to start by touch the cookie and lightly piping out a little icing before lifting the royal icing and bag off the cookie. Keep pressingly and piping icing out but move above the cookie so that the icing falls tidily onto the surface!
Step 2:
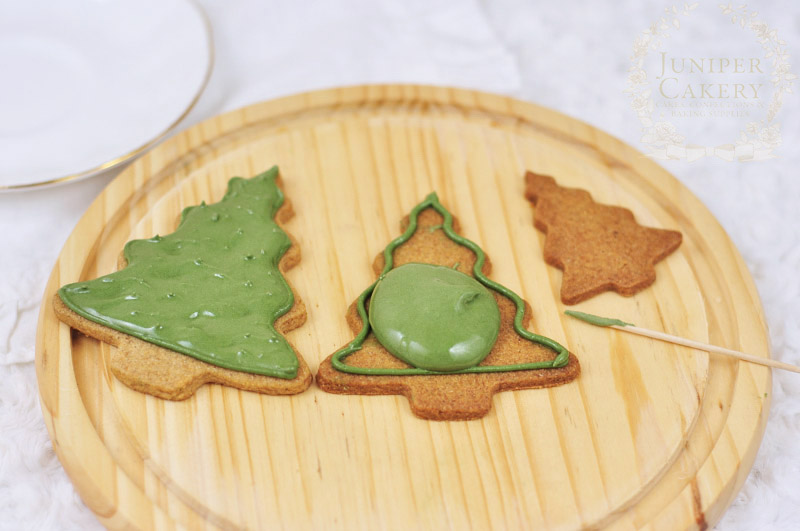
With your outline still wet outline add a teaspoon (approx.) of matching royal icing inside and help move the icing around using a cocktail stick. If you’re not looking to create the texture look then need to aim for a smooth surface. It sometimes helps to drop the cookie a few times on it’s back to help level out the icing.
Step 3:
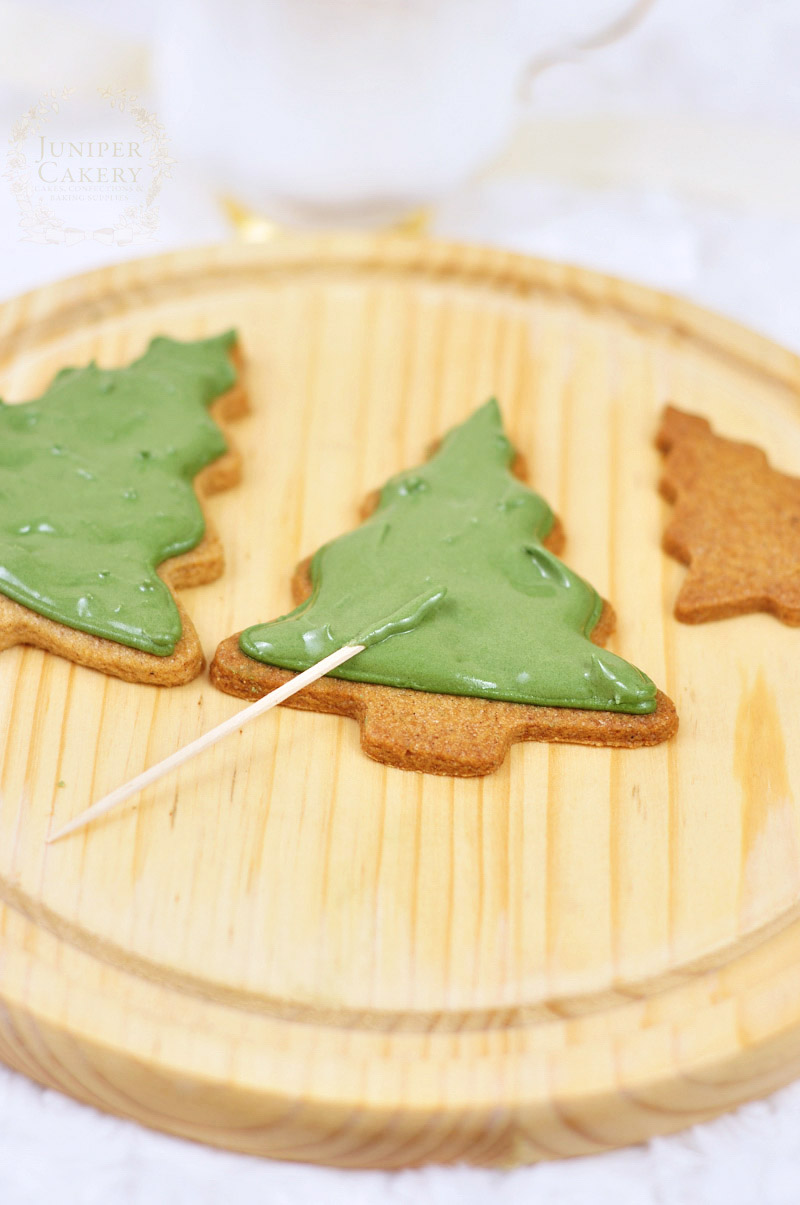
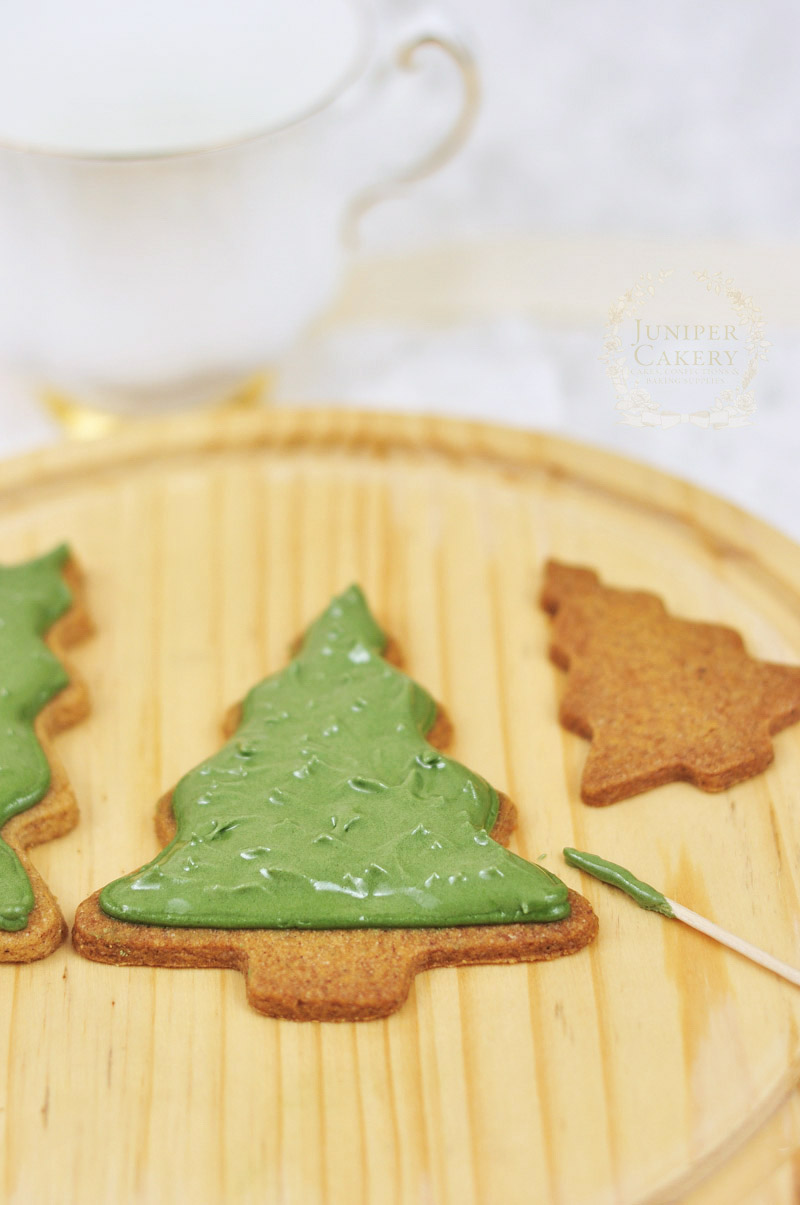
To create a bumpy texture use a cocktail stick to dab into the icing creating small peaks on the cookie!
Step 4:
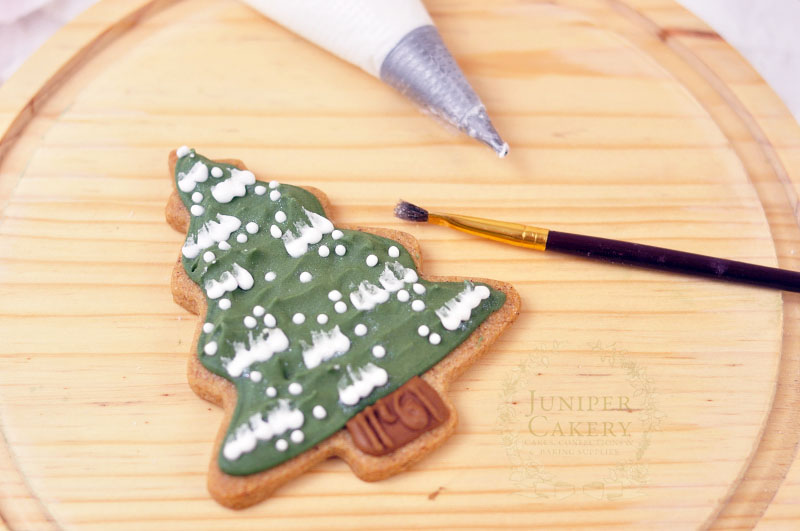
Add some little white royal icing dots clustered in sections on the iced Christmas trees to help create a snow covered look perfect for the winter season. To create the frosted look use a dry paintbrush to then lightly drag one edge of a still wet royal icing dot outwards.
Before adding further royal icing on top of flood work it’s always best to wait from 6-10 hours or else you’ll risk damaging your hard work. Finish with some brown royal icing flood work underneath for the tree trunks or perhaps even leave the trunks un-iced if your in a hurry!

These cookies are perfect set out on a festive cake stand at a party or placed into treat bags finished with bows to be given away as delicious Christmas treats! If you’d like to make Christmas tree ornaments remember to cut or poke a hole into the cookie right after you’ve cut the dough out.


One comment