‘Converse’ High-Tops Baby Shower Cake!

We had been wanting to create some cute little edible ‘Converse’ high-tops for a while now. We’d almost forgotten about this before we received a request for a lovely baby shower cake! For this cake there’s a definite concentration on various baby paraphernalia and pink and blue colours combined with crisp clean white.

Converse baby cake by Juniper Cakery

When the customer contacted us they weren’t too sure what design they’d like so we sent through a few ideas including one idea that held the possibility of tiny gum paste high-top shoes. After choosing which style and asking for a few custom changes (like the fun pink, white and blue bibs, bottles, prams and rocking horses dotted around the cake) we then quickly sketched out the cake and refined the design. We decided on a pale pink and blue colour palette and added in the tiny pink and blue royal icing pearl border, polka dot plaque and the adorable idea of trimming the plaque with a fondant shoe lace design!

The cake itself is Madagascan vanilla with strawberry seedless preserve, silky Madagascan vanilla buttercream and wonderfully fragrant Satin Ice fondant! 
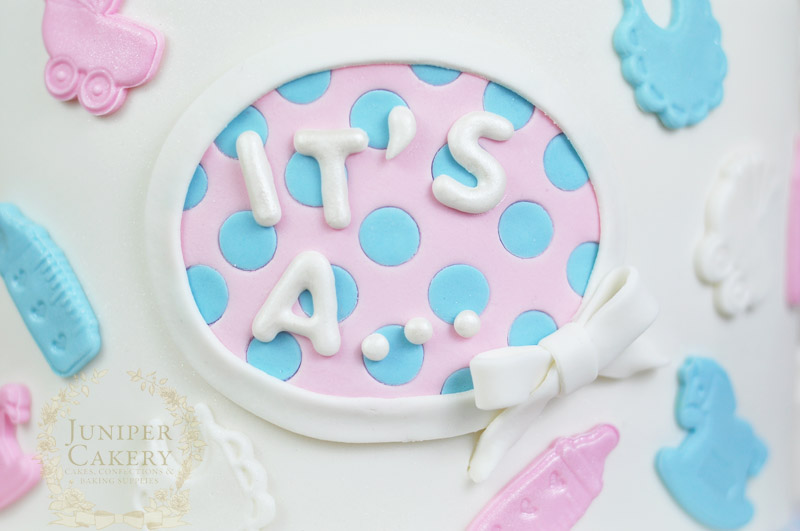
Baby shower cake detail by Juniper Cakery

To create the fun message we used this fun silicone mould that we stock in our e-store by Katy Sue Designs. It’s perfect for playful cakes especially kids’ birthday cakes, baby shower creations or themed treats. We love the bold rounded corners of the letters and numbers.

Cake with gum paste Converse shoes by Juniper Cakery

To create the tiny ‘Converse’ shoes we first sketched out a rough template on greaseproof paper before taping the pieces together to check measurements and trimming off or re-sizing any off sizes. We then rolled out some gum paste and began using our template to cut each piece. For a single shoe we used a sole, a tongue and toe section, a heel and sides piece than then wrapped around to the front, a strip to fashion into the loop at the back, a white half circle for the toe cover and small strips for the laces and thin panels around the base of the shoe. Detail was added with a quilting tool to add a stitch effect, small rounded piping tip for the shoelace holes and a large round piping tip and heart cutter for the ‘logo’.
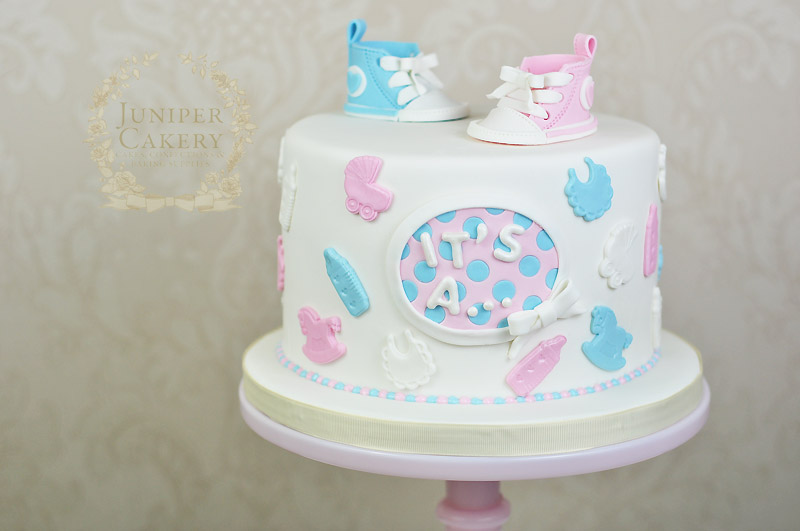
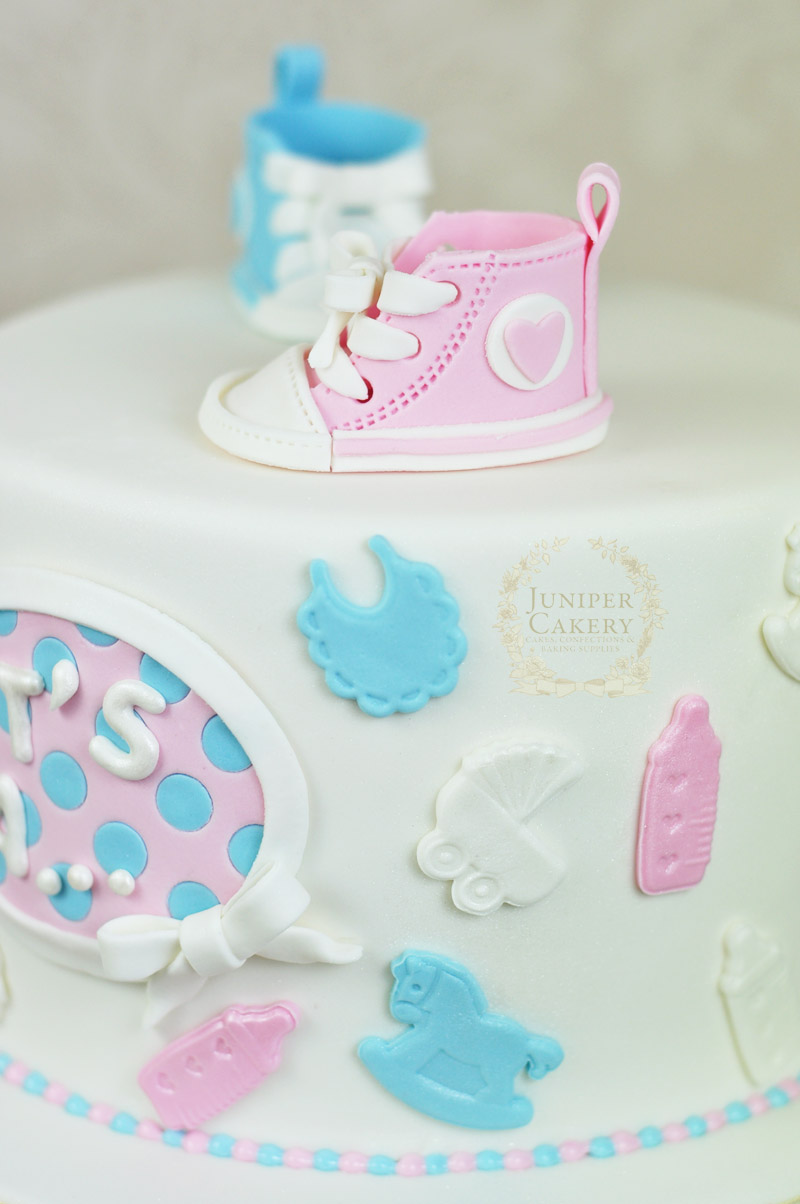
Baby shower cake by Juniper Cakery

Converse themed baby shower cake by Juniper Cakery

Assembling and adding all of the pre-made decorations  to a cake is always fun and it’s incredible feeling to see all that hard work finally coming together in front of your eyes. Even though we prepare pieces a day or two in advance we bake and stack all our cakes as close to the collection date as possible to ensure freshness so we don’t get to spend to long admiring our work! A few hours later any finished creation gets picked up and taken away to be devoured and enjoyed!


Baby Shower Carousel Cupcakes!

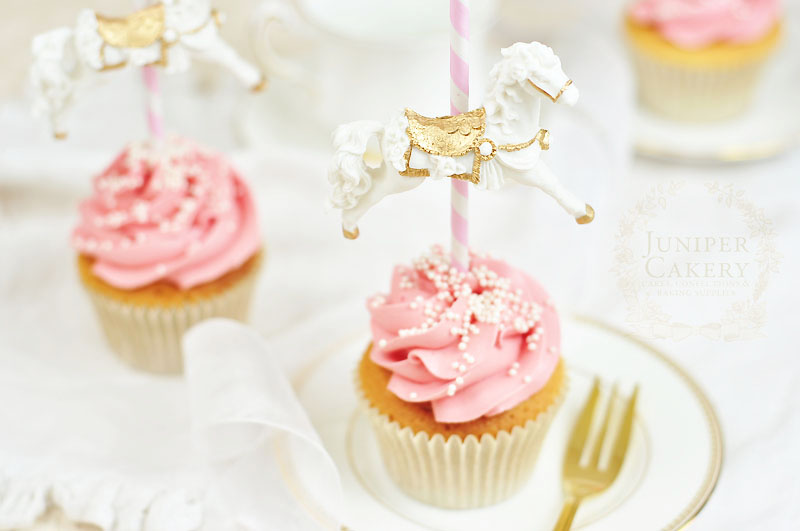
Sometimes a fabulous idea comes from something relatively simple and everyday… like retro style paper straws! We were recently asked to create some pink, white and gold carousel themed cupcakes for a sweet baby shower. Originally, the customer wanted some flat decorated cupcakes, but after testing out some ideas using pink and white striped party straws we proposed a rather cute carousel-inspired idea!

Baby shower cupcakes with carousel horses by Juniper Cakery

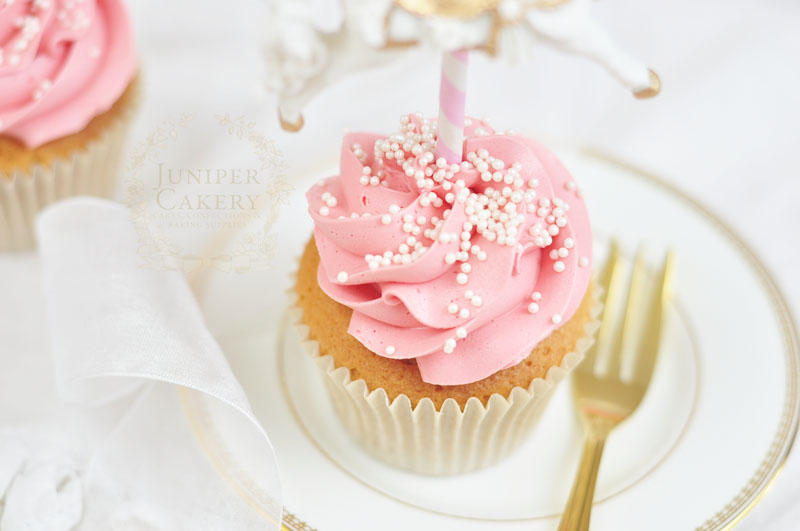
Each cupcake for the baby shower was our delightfully fragrant Strawberry Milkshake flavour - soft Madagascan vanilla cake topped with a soft pink swirl of Strawberry and vanilla infused buttercream! We sprinkled each with tiny sugar pearls before each treat was then transformed with pretty carousel horses!

Strawberry Milkshake Cupcake by Juniper Cakery

As the horses and their pink and white striped poles were the main focus we decided to keep the actual cupcakes simple and relatively unfussy. We swapped our usual plain round piping tip for a closed star tip to create the pretty ruffled effect. This added a lovely element of texture and softness to each.

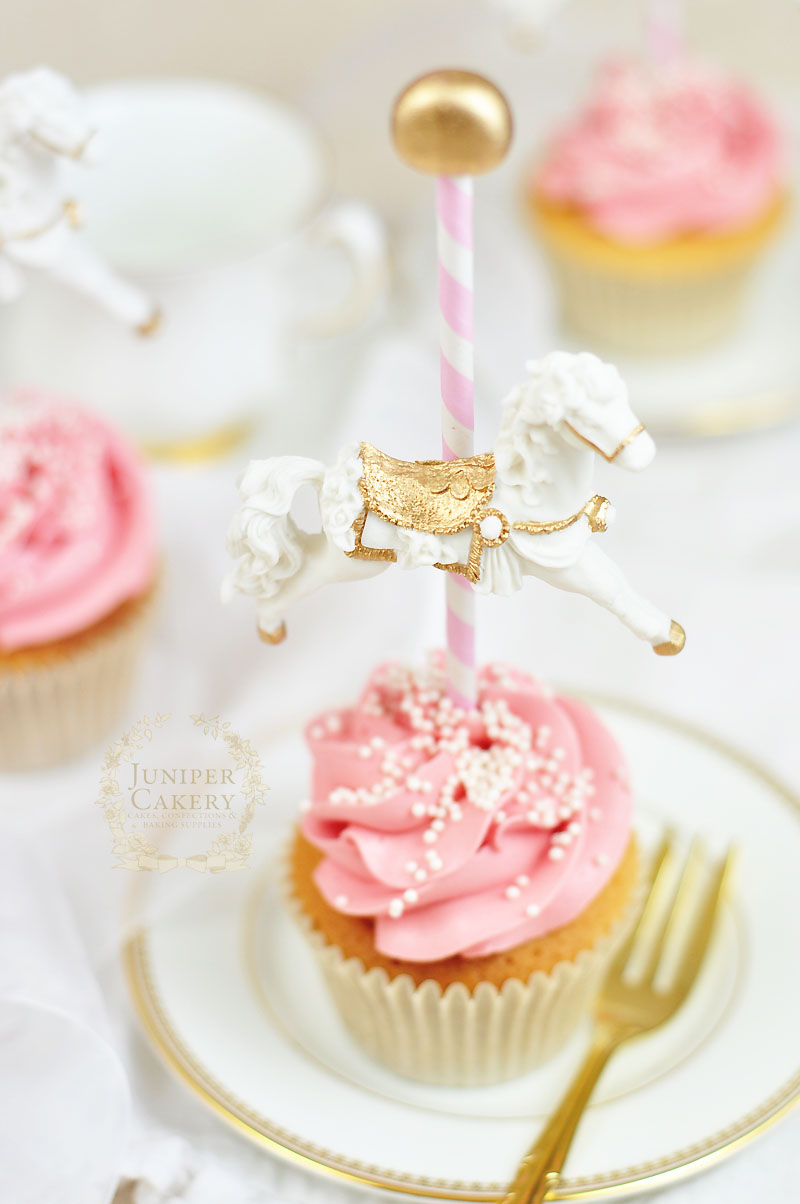
Strawberry carousel cupcake by Juniper Cakery

Carousel Cupcake by Juniper Cakery in Anlaby, Hull

Each carousel cupcake featured a galloping merry-go-round horse attached to a striped pole tipped with a golden ball. We created the horses using modelling paste and once set they were attached to strong pink and white retro-style paper straws with white chocolate before being painted with edible gold and finished with a gold painted balls on top.

Once finished these carousel cupcakes were then boxed up in an extended cake box before making their way to be enjoyed at a wonderfully vintage themed baby shower in Anlaby!


Fairy Tale Recipe & Tutorial: Shooting Star Cupcakes!

This week we’ve put together a wonderfully adorable fondant / sugarpaste tutorial on how to create some bright shooting stars. These are perfect for baby showers, kids’ parties, birthdays or themed events. We’ve also included a recipe for deliciously sweet and tangy lemonade cupcakes which are sure to be a hit with all ages!

Shooting Star Cupcake tutorial by Juniper Cakery

Shooting Star Cupcake tutorial by Juniper Cakery

Shooting Star Cupcake tutorial by Juniper Cakery

Fondant Shooting Star Decor

You will need…

Yellow fondant
Black fondant (optional)
Sprinkles (optional)
Ball tool
Scallop tool
Icing sugar to dust
Fondant rolling pin
Star cutter
Cling film
Water
Paintbrush
Edible or non-toxic cake decorating glitter (optional)
Melted white chocolate

step02

Step one: Roll out some yellow fondant to a thickness of approx. 7mm and sandwich this between two pieces of cling film before cutting out your star shape. The cling film on top helps create clean, rounded edges whilst the cling film under the fondant prevents the shape sticking to the surface.

step3

Step two: Carefully shape the star into a chunkier shape by rounded the tips with your fingers.

step4

Step three: Add cute facial details with a ball tool and scallop tool. At this stage you can add eyes with springs, sugar pearls, balls of fondant etc.

step5

Step four: Create the shooting star’s tail by rolling out ‘ropes’ of fondant that taper off.

step6

Step five: Create three ‘ropes’ to form the tail and arrange. Glue these together with either water or melted white chocolate. Once dry attach the tail to the back of the star with melted white chocolate. Then you can add edible glitter, lustre dust, sprinkles etc!

To assemble your Shooting Star Cupcakes pipe your lemon cupcakes with the freshly made lemonade buttercream (we used a disposable piping bag fitted with an 828 piping tip) then carefully nestle a shooting star atop each once set. Place on a tiered cupcake stand amidst star shaped confetti for a playful and tempting display!

Shooting Star Cupcake tutorial by Juniper Cakery


×