Easter Recipe & Tutorial: Floral Easter Basket Cupcakes!

With the Easter festivities fast approaching we’ve began working on lots of sweet cake, cupcake and macaron treats for you to whip up at home. It’s one or favourite times of year for cake and cooking decorating because of all  the fun and adorable things just waiting to adorn home baked treats! With that in mind here’s the first of our Easter recipe and tutorial collection; how to create Floral Easter Basket Cupcakes! Be sure to try out our accompanying recipe for lemon and marshmallow cupcakes for a delicious Easter treat.

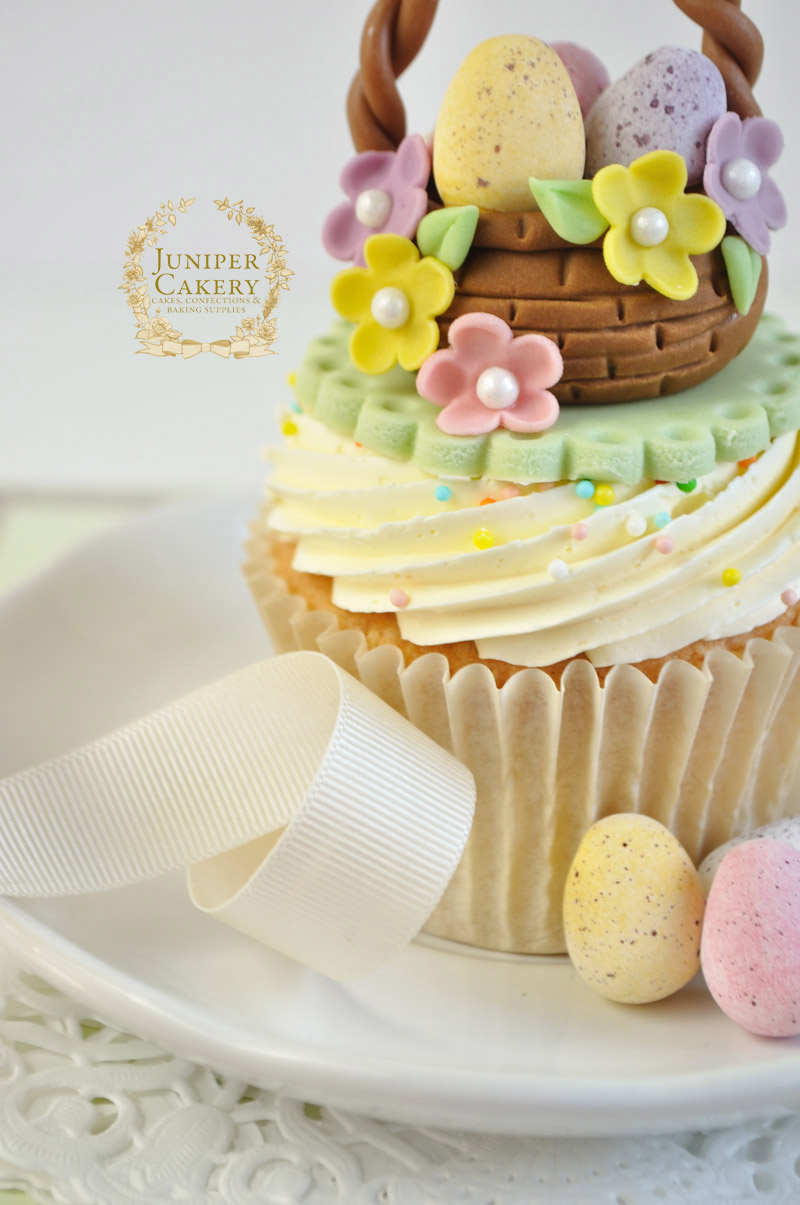
Cute Easter Basket Cupcake by Juniper Cakery

Lovely Easter basket cupcake tutorial by Juniper Cakery

Easter basket cupcake tutorial by Juniper Cakery

How to make floral Easter basket cupcake toppers

You’ll need…

Brown fondant
Pastel pink fondant
Pastel green fondant
Pastel yellow fondant
Pastel purple fondant
2 1/4 inch scalloped circle cutter
Sugar pearls
Small candy / chocolate eggs
Medium blossom cutter
Ball tool
Veining / flower and leaf shaping tool
Fondant rolling pin
Icing sugar to dust surface
Edible glue
Paintbrush
Tylo powder
Cake smoother
Blade tool
Flower foam pad

Easter cupcake tutorial by Juniper Cakery

Easter basket cupcake tutorial by Juniper Cakery

Step 1: Roll out some pastel fondant mixed with tylo powder in your chosen colour and cut with a 2 1/2 inch scalloped circle cutter. Add extra detail by pressing the small end of the ball tool into each scallop. Leave to dry and harden on a clean flat surface. Once ready set on top of a piped cupcake!

Step 2: Take a little brown fondant and add a couple pinches of tylo powder. Using a cake smoother roll these out into a thin ‘rope’. To do so ‘roll’ your cake smoother over an oblong shape of brown fondant backwards and forwards. 

Make an Easter basket cupcake by Juniper Cakery

Step 3: Slice your ‘rope’ in half with your blade tool and gently twist both pieces together to form the handle for your basket. Set aside to harden and dry.

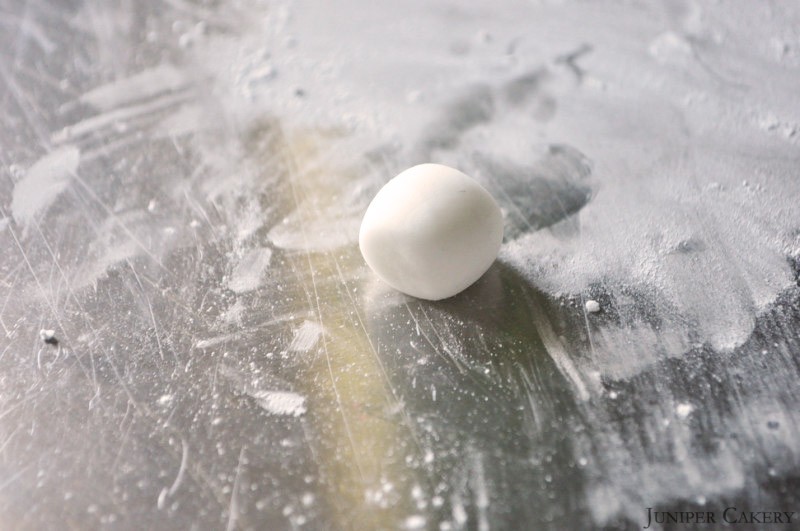
Step 4: Take a ball of fondant about the size of a ping pong ball and add a pinch or two of tylo powder. Roll into a smooth and crease-less ball in the palms of your hand. Work into an oval shape to form the beginning of your basket.

How to make a fondant basket by Juniper Cakery

Step 5: Using the larger end of your ball tool indent the centre of your basket.

Easter flower basket tutorial by Juniper Cakery

Step 6: With your veining tool etch out a wicker-like pattern along the outside of your little fondant basket.

Fondant basket tutorial by Juniper Cakery

Step 7: Roll out some more fondant into a thin ‘rope’ and attach this along the top of your basket. Add detail with your veining tool.

Sweet Easter basket tutorial by Juniper Cakery

Step 8: With some edible glue attach three miniature candy / chocolate eggs into your basket.

Step 9: To make the little blossoms roll out coloured fondant and cut out the florals using your blossom plunger cutter. 

How to create an Easter basket cupcake by Juniper Cakery

Step 10: On a flower foam pad shape the petals of your blossoms with smaller end of your ball tool.

Step 11: Add the blossoms to the basket with a dab of edible glue and finish the centres of them with sugar pearls or small balls of fondant.

Step 12: With edible glue attach your basket handle and leave to set. This may need holding up with strips of kitchen towel or cling film. 
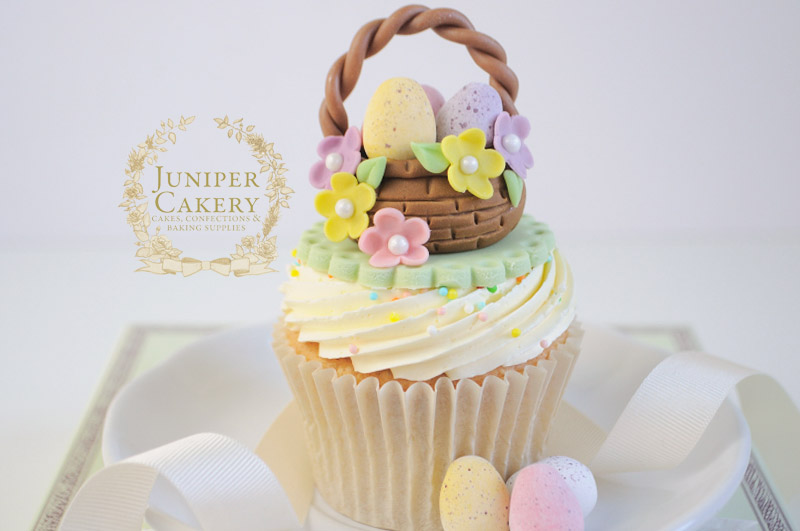
Sweet Easter basket cupcake tutorial by Juniper Cakery

Once you’ve finished why not arrange your gorgeous Floral Easter Basket Cupcakes on a pastel cake stand strewn with silk flowers and crepe paper ‘grass’ for a gorgeous spring look.


Fairy Tale Recipe & Tutorial: Shooting Star Cupcakes!

This week we’ve put together a wonderfully adorable fondant / sugarpaste tutorial on how to create some bright shooting stars. These are perfect for baby showers, kids’ parties, birthdays or themed events. We’ve also included a recipe for deliciously sweet and tangy lemonade cupcakes which are sure to be a hit with all ages!
Shooting Star Cupcake tutorial by Juniper Cakery

Shooting Star Cupcake tutorial by Juniper Cakery

Shooting Star Cupcake tutorial by Juniper Cakery

Fondant Shooting Star Decor

You will need…

Yellow fondant
Black fondant (optional)
Sprinkles (optional)
Ball tool
Scallop tool
Icing sugar to dust
Fondant rolling pin
Star cutter
Cling film
Water
Paintbrush
Edible or non-toxic cake decorating glitter (optional)
Melted white chocolate

step02

Step one: Roll out some yellow fondant to a thickness of approx. 7mm and sandwich this between two pieces of cling film before cutting out your star shape. The cling film on top helps create clean, rounded edges whilst the cling film under the fondant prevents the shape sticking to the surface.

step3

Step two: Carefully shape the star into a chunkier shape by rounded the tips with your fingers.

step4

Step three: Add cute facial details with a ball tool and scallop tool. At this stage you can add eyes with springs, sugar pearls, balls of fondant etc.

step5

Step four: Create the shooting star’s tail by rolling out ‘ropes’ of fondant that taper off.

step6

Step five: Create three ‘ropes’ to form the tail and arrange. Glue these together with either water or melted white chocolate. Once dry attach the tail to the back of the star with melted white chocolate. Then you can add edible glitter, lustre dust, sprinkles etc!

To assemble your Shooting Star Cupcakes pipe your lemon cupcakes with the freshly made lemonade buttercream (we used a disposable piping bag fitted with an 828 piping tip) then carefully nestle a shooting star atop each once set. Place on a tiered cupcake stand amidst star shaped confetti for a playful and tempting display!

Shooting Star Cupcake tutorial by Juniper Cakery


Valentine Tutorial: Love Letter Cupcakes!

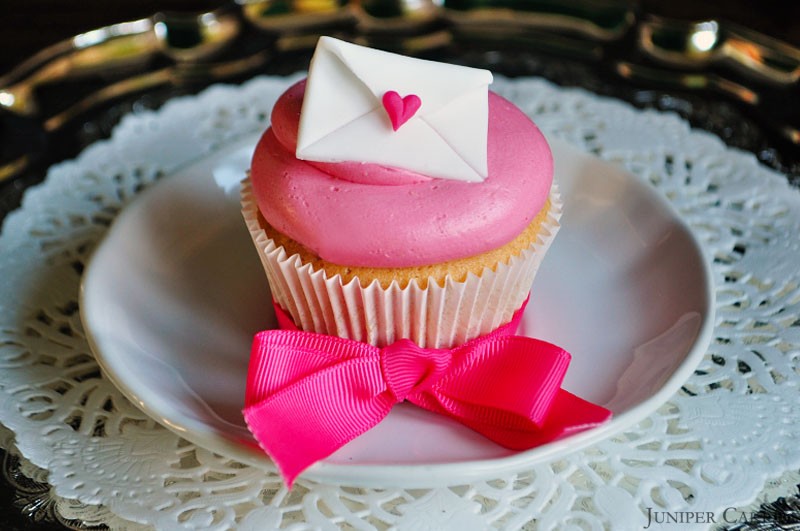
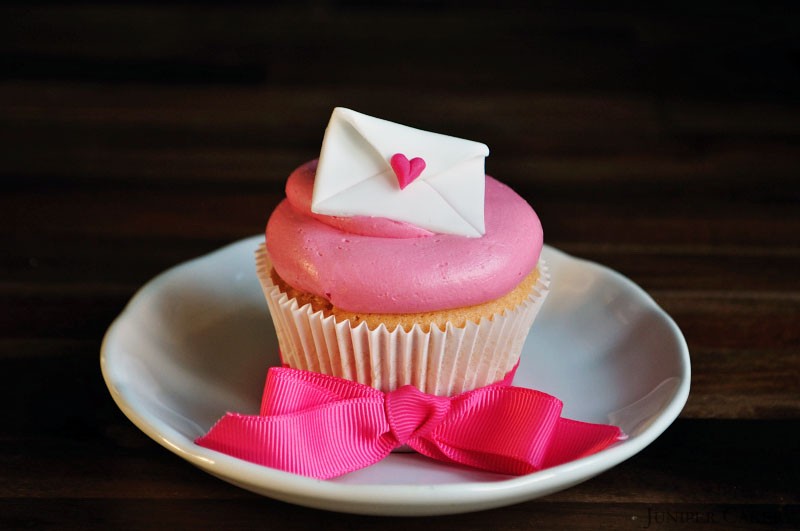
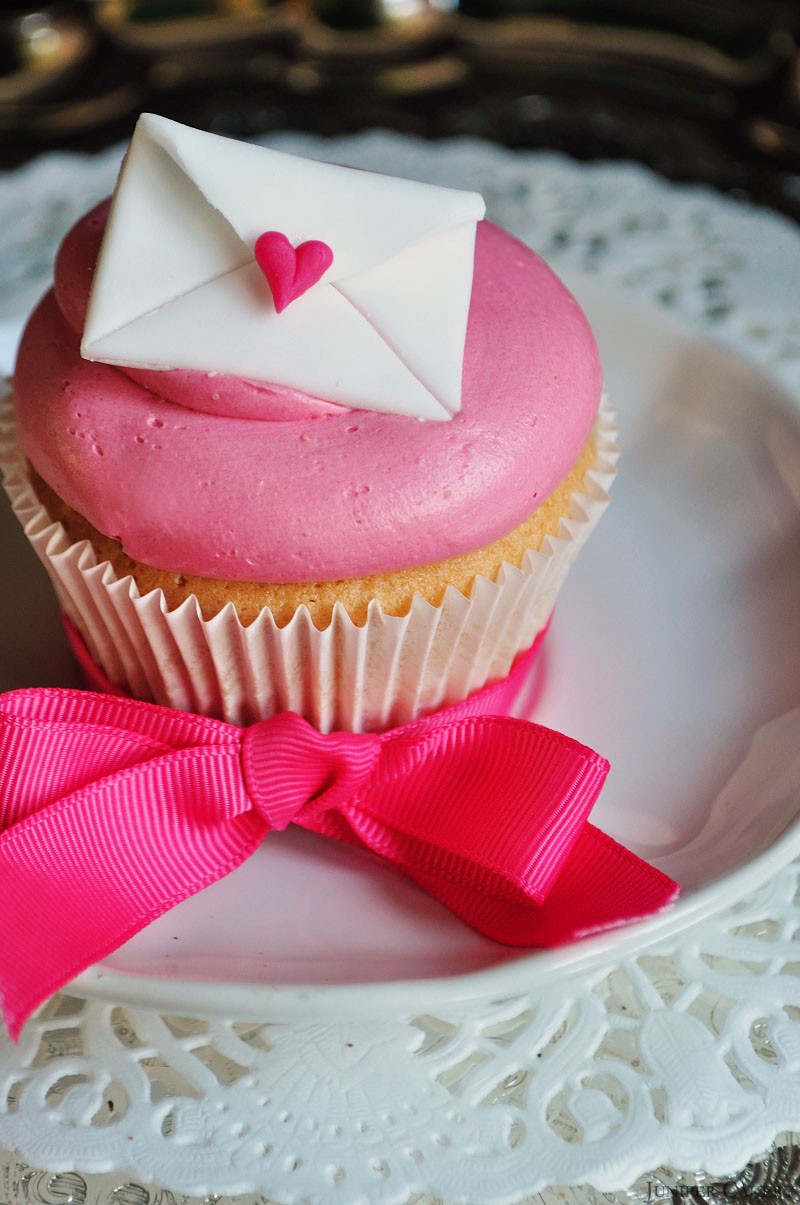
With February 14th right around the corner we’re sure you probably have lots of romantic projects in progress, however, there’s always some time to fit in another sweet treat. Why not whip up a batch of cupcakes to decorate with adorable love letter toppers for your loved ones.  Here’s a lovely and quick tutorial to help you make little fondant love letters for your sweetheart! One of the best things about this cupcake decorating tutorial is that you only need a few tools and materials and a few spare minutes!

Love Letter Cupcake by Juniper Cakery

Love Letter Cupcake by Juniper Cakery

Also, because we’re so generous we’ve included a lovely recipe for Strawberries & Cream cupcakes for you to whip up and nestle your love letters atop of!

For the Strawberries and Cream buttercream you’ll need a bottle of fruity natural strawberry essence which we stock via our e-store and some lovely pink gel paste food colour

Fondant Love Letter Cupcake Decor

You will need…

White fondant / sugarpaste
Red or pink fondant / sugarpaste
Blade tool
Edible glue
6 inch fondant rolling pin
Icing sugar to dust surface

steps

Step one: Dust your work surface with icing sugar and roll out some white fondant to a thickness of 2mm.

Step two: With the blade tool cut out a house shape approximately 3cm by 4cm out of the white fondant. This will be the envelope.

Step three: Indent a ‘V’ shape from the bottom of the white envelope that reaches about 2cm into the centre.

Step four: Take the top (shaped like a house’s rooftop) of the envelope and carefully fold over to match the indented ‘V’ shape. Affix with a dab of edible glue. 

Step five: Take a small amount of red or pink fondant and roll into a ball then into an oblong shape.

Step six: Shape into a dumb bell or bone-like shape by rolling the middle of the red fondant oblong with a finger.

Step seven: Take the dumb bell / bone shaped red fondant and carefully pinch in half into a heart shape. Smooth the centre over a little. This is the heart that sits at the seal of the envelope!

Step eight: With some edible glue attach the heart where the envelope flap and indented ‘V’ on the envelope bottom meet.

Step nine: Repeat all above steps until you have the desire amount of love letters.

Love Letter Cupcake by Juniper Cakery

You should now be left with a wonderful flurry of eye-catching yet simple love letters! If you’re feeling brave and adventurous and handing out cupcake adorned with these to family why not try hand painted their names onto each envelope! All you need is a fine paintbrush, some black gel paste food colour mixed with a tiny amount of vodka (the alcohol will evaporate before consumption so it will be safe for kids) and a steady hand. Also, to add a little sparkle why not dust edible glitter or lustre onto your little hearts.

 Love Letter Cupcake by Juniper Cakery


Tutorial Tuesday: How to Make a Sugarpaste Owl!

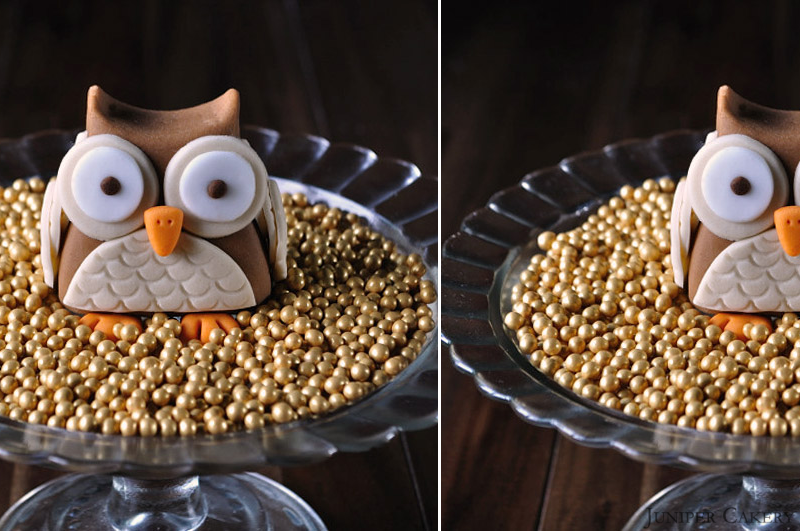
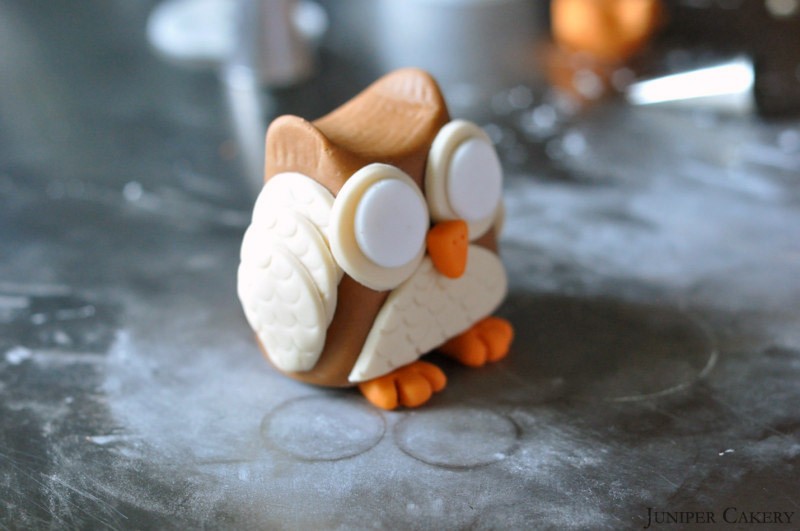
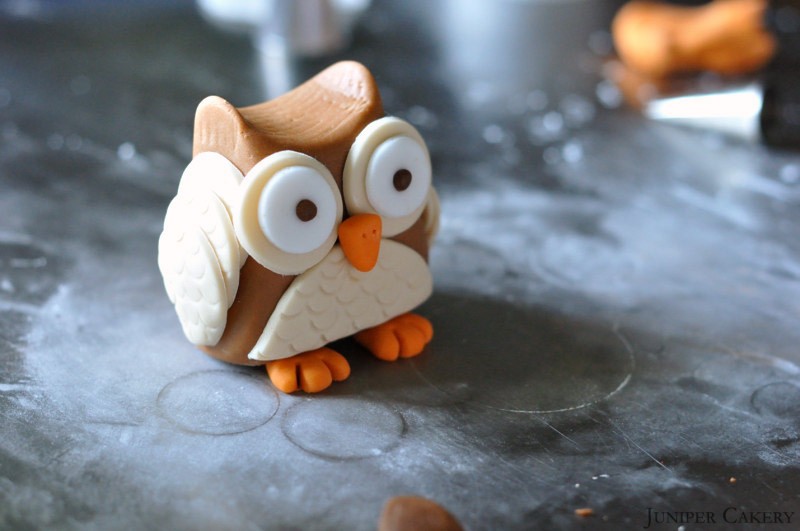
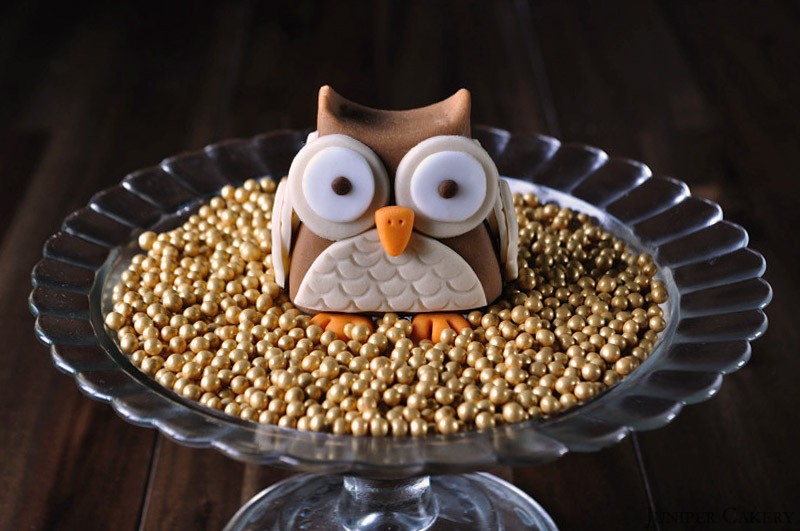
Yay! It’s now September which means that the lovely cosiness of Autumn (or Fall depending on where you are) is just around the corner! Autumn and winter are our favourite seasons here at Juniper Cakery and we get excited when they arrive every year. What’s not to love… lovely vibrant crisp golden leaves, cooler weather, bundling up in mis-matched knitwear, hot cocoa, spiced cakes, Halloween festivities and of course Christmas. With all this in mind this week’s tutorial is an adorable autumnal owl in fetching seasonal shades of browns and rust orange. This little creature will sit perfect on top of cupcakes and forest themed cakes!

How to make a sugarpaste / gumpaste owl

How to make a sugarpaste / gumpaste owl

What you need for this tutorial…

Sugarpaste / fondant in three complimentary colours
Water
Paintbrush
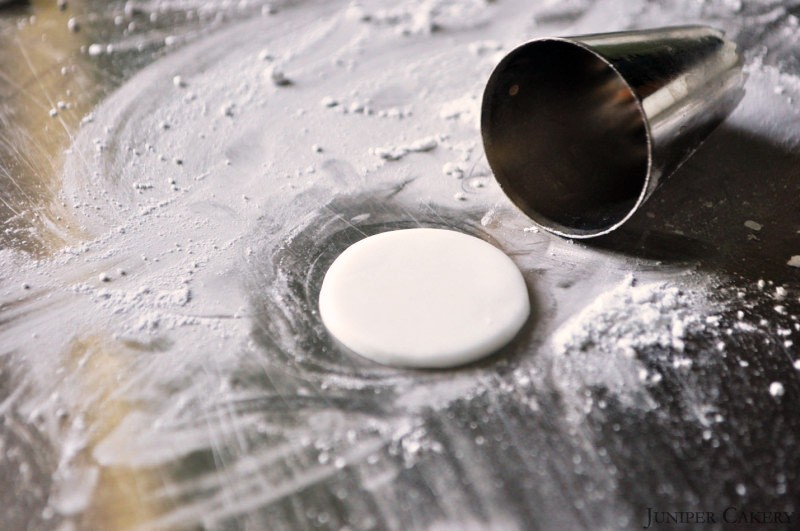
Round piping tip (use the large bottom for cutting)
Blade modelling tool
Ball modelling tool
Scallop and comb modelling tool
Circle cutters

How to make a sugarpaste / gumpaste owl

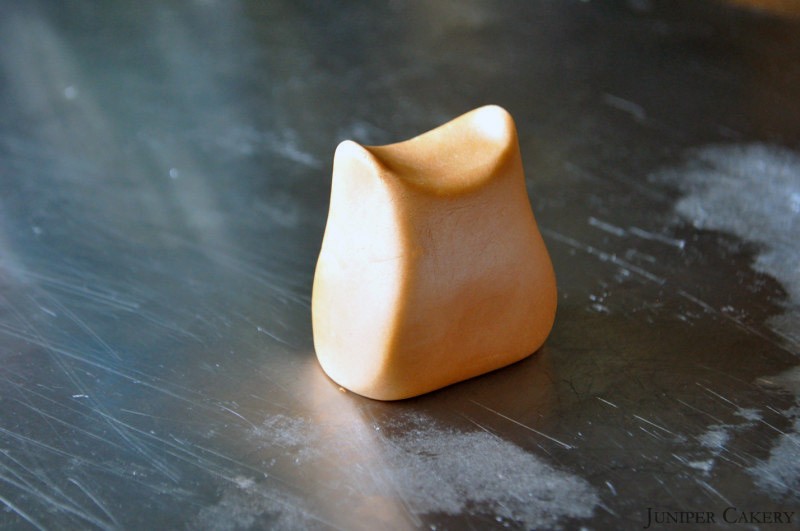
Step one: Use your chosen base colour to mould what we would describe as an upside down tooth shape as pictured above. Use your finger and thumb to pinch two ‘ears’ for your owl and smooth any stretches/cracks with your fingers.

How to make a sugarpaste / gumpaste owl

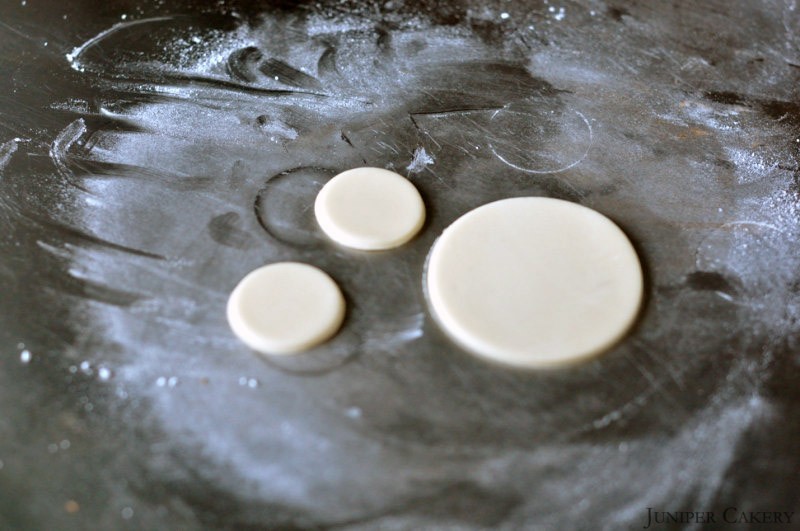
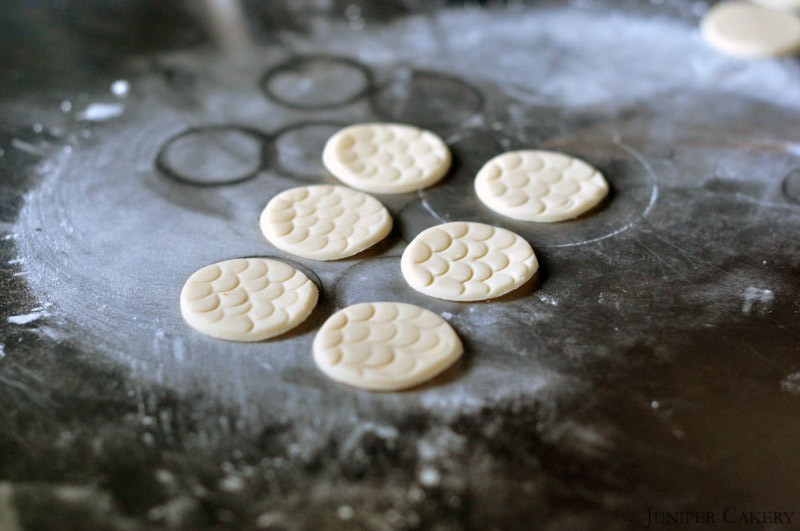
Step two: Using a small circle cutter and the end of a piping tip cut one small and two extra small circles out.

How to make a sugarpaste / gumpaste owl

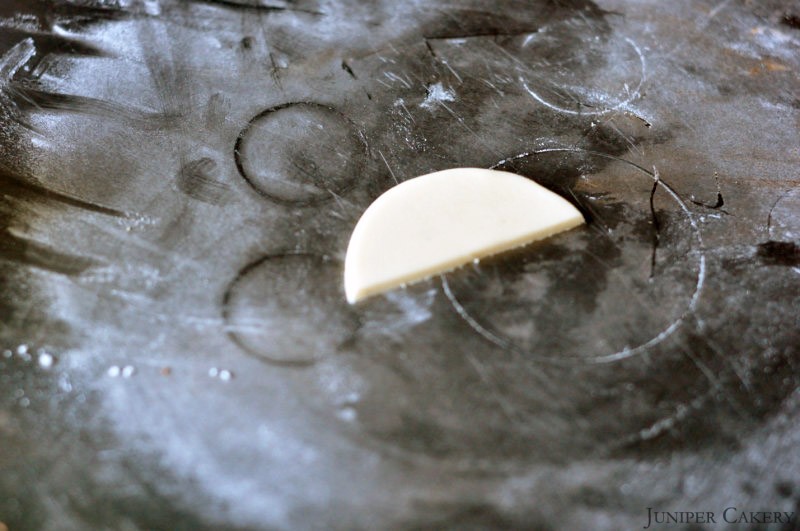
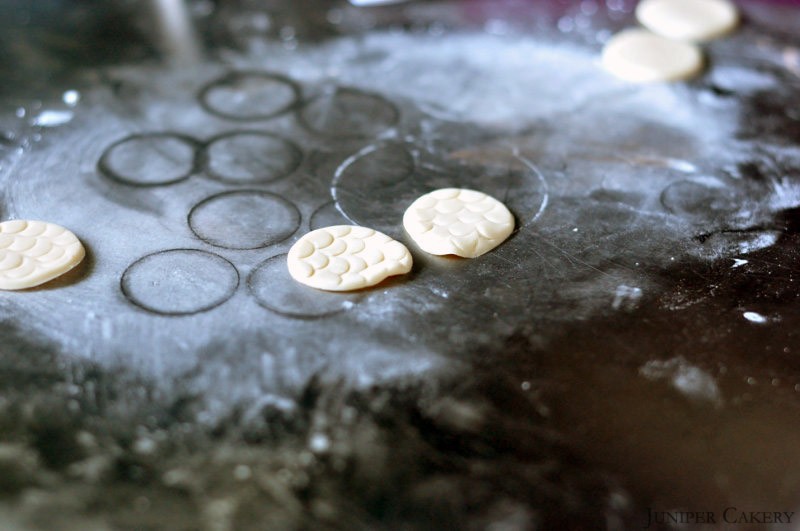
Step three: Slice the small circle into two halves. Into one of the halves create a ‘feathered’ pattern using the scallop and comb tool.

How to make a sugarpaste / gumpaste owl

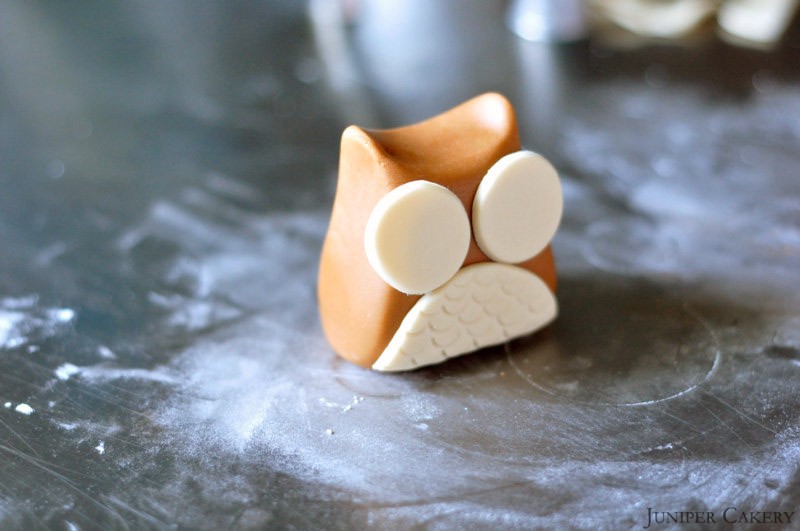
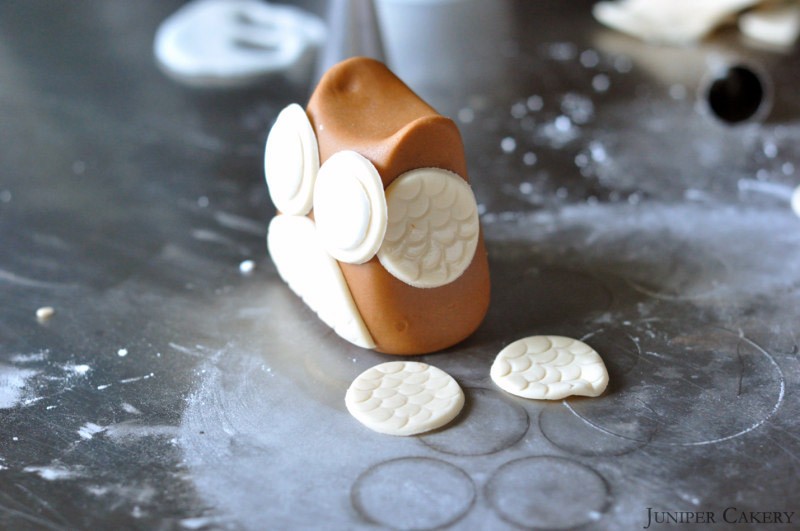
Step four: Now stick the two extra small circles in place as eyes and the half circle in place as a chest. For extra detail why not cut out smaller circles in an opposite colour and place them on top of the extra small circles, this will add extra dimension to your owl’s eyes.

How to make a sugarpaste / gumpaste owl

Step five: Using the piping tip again cut out three circles and add feathered detail using the scallop end of the scallop and comb tool.

How to make a sugarpaste / gumpaste owl

Step six: Pinch two of the circles with your finger and thumb to create a tapered ‘wing’.

How to make a sugarpaste / gumpaste owl

Step seven: Begin sticking the circles in place overlapping them as you go. Stick the tapered circle on last as this will finish your owl’s wing off nicely.

How to make a sugarpaste / gumpaste owl

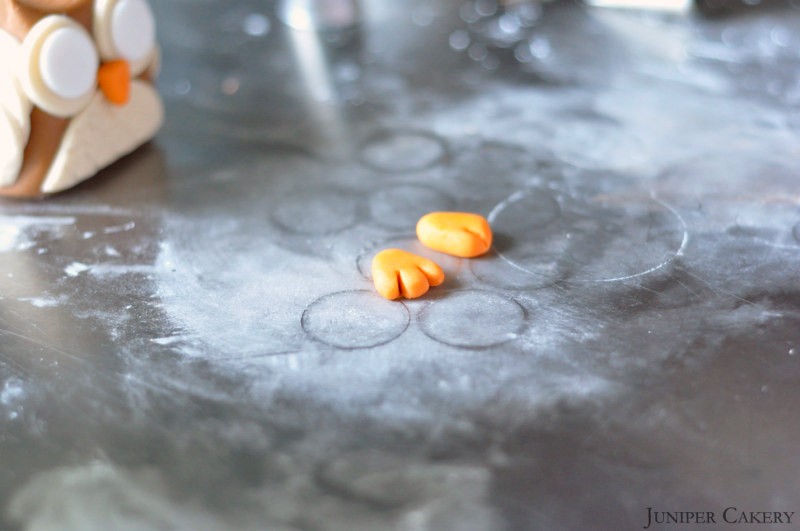
Step eight: Using a contrasting colour to your owl’s body make a chunky teardrop shape. Use the blade tool to make two slits at the non-tapered end, mould with your fingers to get rid of any sharp/rough edges. Repeat this once more and you now have your owl’s feet!

Step nine: Make a similar, but smaller, shape pinching the edges to get a triangle. Stick between the eyes, poke in two small holes and your owl now has a beak!

How to make a sugarpaste / gumpaste owl

Step ten: Stick in place using edible glue by simply sitting your owl on top of them. The weight will secure them and help the glue set.

How to make a sugarpaste / gumpaste owl

Step eleven: Roll two small balls of fondant, make an indentation in your owl’s eyes, and press in the two small balls for pupils!

How to make a sugarpaste / gumpaste owl

Now you’ve made your very own sugarpaste owl! This can be made in any colour for any occasion and your little owl can be nestled atop a cake and cupcakes!


CAKE101: Chill Your Cakes Beforehand if Blow Torching

Blow torching the sugared toppings of some cupcake flavours creates a delicious crunchy caramelised texture, but the buttercream underneath can be easily melted away by the heat. Our tip is to utilise your fridge or freezer to chill down the frosting.

CAKE101 Chill your cakes before blow torching

“Before caramelising and blow torching the tops or toppings of cupcakes leave your cakes to sit in the fridge until chilled and firm. You don’t want your buttercream to melt so begin with cold frosting.”


Tutorial Tuesday: How to Make an Edible Fondant Coffee Cup!

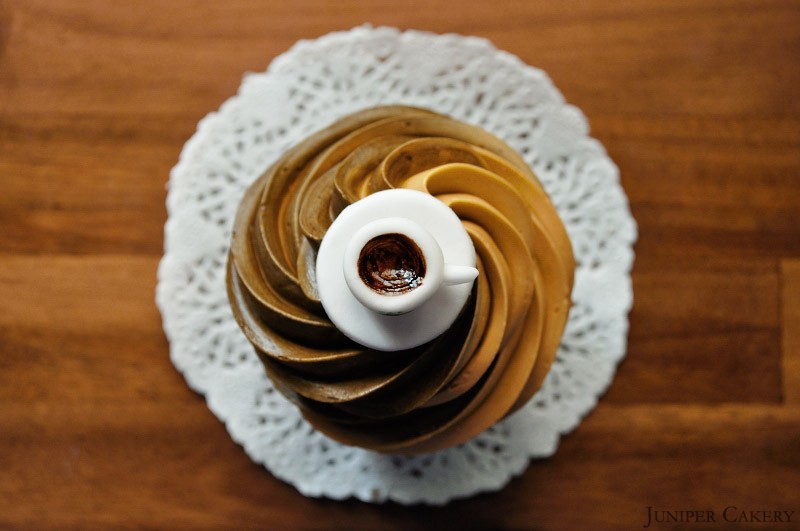
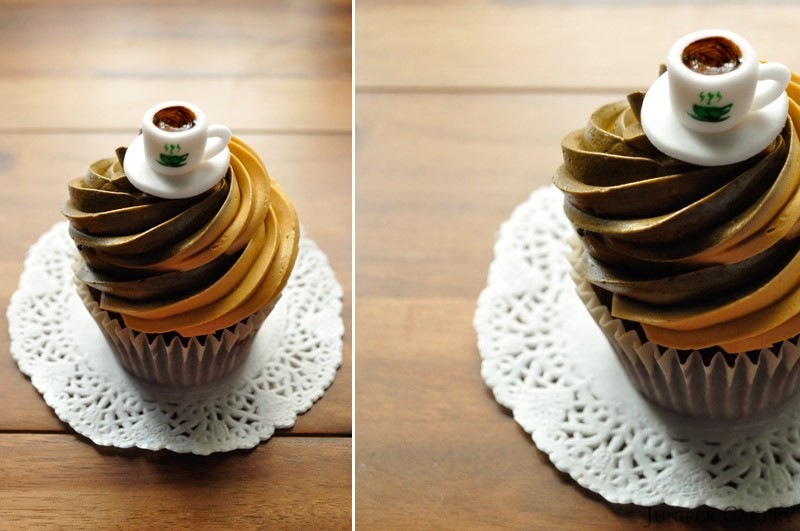
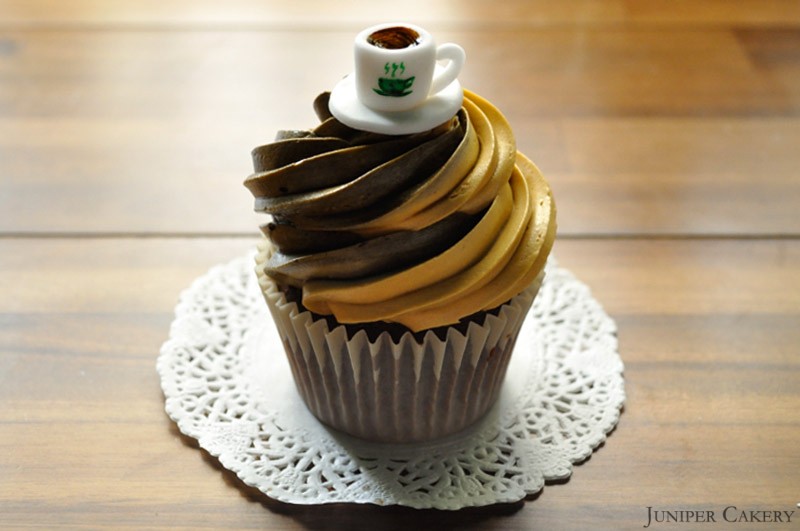
Since we created our Caramel Mochaccino cupcake complete with a tiny edible coffee cup perched on top we’ve been inundated with messages and emails asking how me made this. So here is our tutorial on how to re-create your own fondant cup of coffee. It’s obviously perfect to top cupcakes with, but also would add to an afternoon tea or dinner ‘scene’ on a cake. Another great thing is that it is super quick and easy to make!

TUTORIALcoffeecup

What you will need…

Sugarpaste/fondant
Ball tool
Piping tip
Paint brush
Green gel food colour
Brown gel food colour

DSC_0007_208

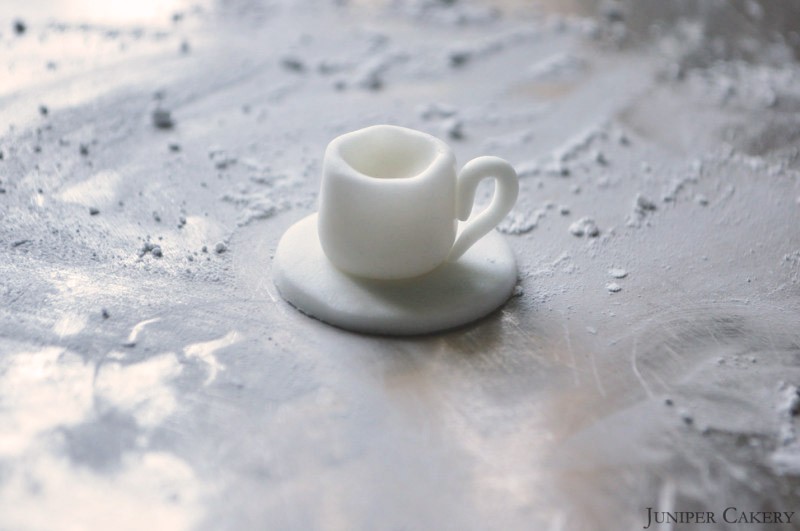
Step one: Roll out your sugarpaste / fondant on a floured surface and using the large end of a piping tube to cut out a circle. This will be your ‘saucer’.

plate

Step two: Using your ball tool indent the centre of your saucer slightly.

DSC_0017_213

Step three: To make your actual coffee cup create a marshmallow shape around 1.5cm heigh. Make sure that the small ends are fairly flat. Set aside.

DSC_0010_209

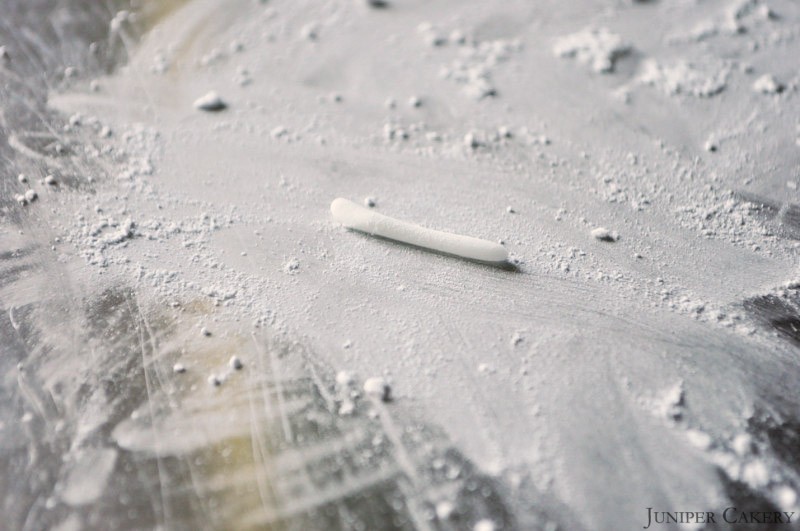
Step four: To make the handle for your cup roll out a little bit of sugarpaste / fondant into a thin sausage shape.

DSC_0024_214

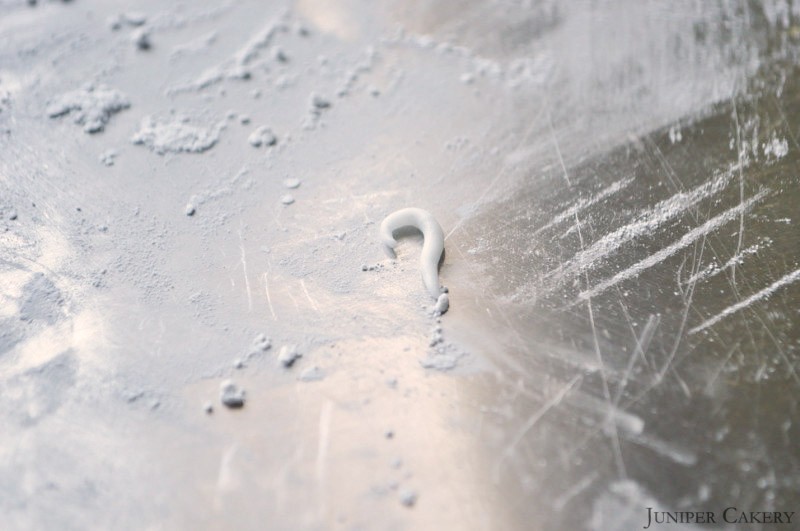
Step five: Now shape this into a nice sized curve. Set aside.

DSC_0022_211

Step six: Indent your coffee up at the top with your ball tool.

DSC_0026_217

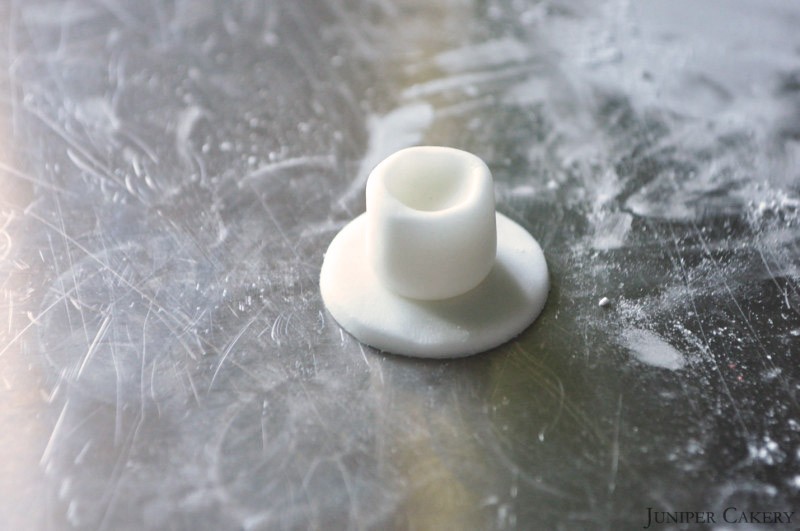
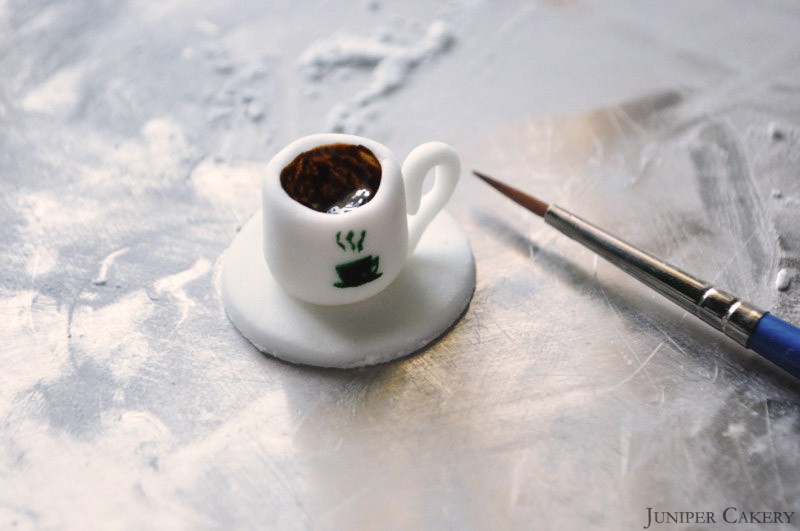
Step seven: Dab some water onto the centre of your saucer and place your cup on top to fix it into place. Paint a little water down one side of your cup and carefully attach your handle.

DSC_0028_216

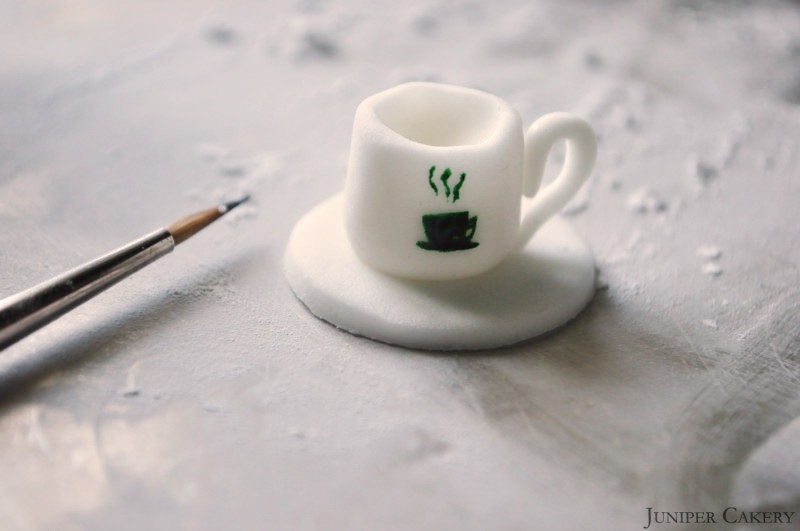
Step eight: Add some extra detail by painting a ‘logo’ onto the front of the coffee cup with a paintbrush and some food gel colour paste.

DSC_0029_215

Step nine: ‘Pour’ in some coffee by painting the inside of your cup with brown food gel paste!

Caramel Mochaccino

You should now be left a really fun and playful little coffee cup to nestle atop of coffee flavoured cupcakes! For teacups and tea themed cupcakes make your cups a little more slim and add some traditional pattern like ‘swags’ or polka dots. Also, try painting the edges with edible gold paint and use a weaker brown colour to paint in the actual beverage.

Caramel Mochaccino

Caramel Mochaccino


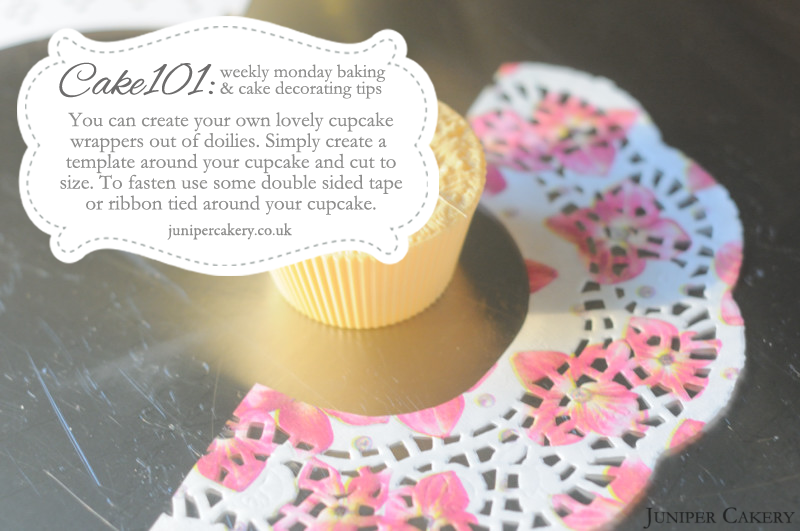
CAKE101: Make Your Own Cupcake Wrappers

Sometimes you may need to custom decorate your cupcakes with something extra. Creating cupcake wrappers for themed celebrations is quick and fun! All you need are some cupcakes, doilies, scissors and double sided tape!

CAKE101 Make Your Own Cupcake Wrapper

“You can create your own lovely cupcake wrappers out of doilies. Simply create a template around your cupcake and cut to size. To fasten use some double sided tape or ribbon tied around your cupcake.”


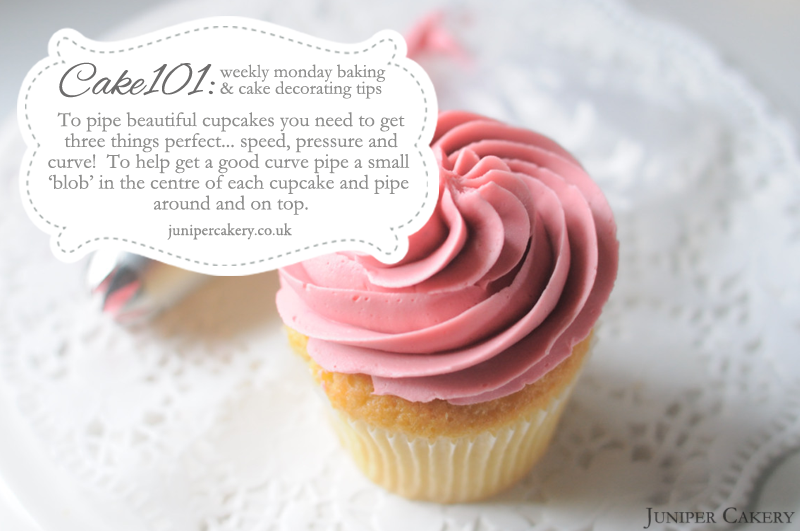
CAKE101: Piping Cupcakes

Piping cupcakes takes a little time and practice to get just right. We get a lot of people commenting on our cupcakes and how we get the perfect swirl. There is no definite answer we can give except that you need to master speed, pressure and curve. If you pipe too fast you get a sloppy mess and if you pipe too slow and you get wonky frosting. If your pressure is off you’re left with uneven, scraggly swirls.

CAKE101 Piping Cupcakes

“To pipe beautiful cupcakes you need to get three things perfect… speed, pressure and curve! To help get a good curve pipe a small ‘blob’ in the centre of each cupcake and pipe around and on top.”


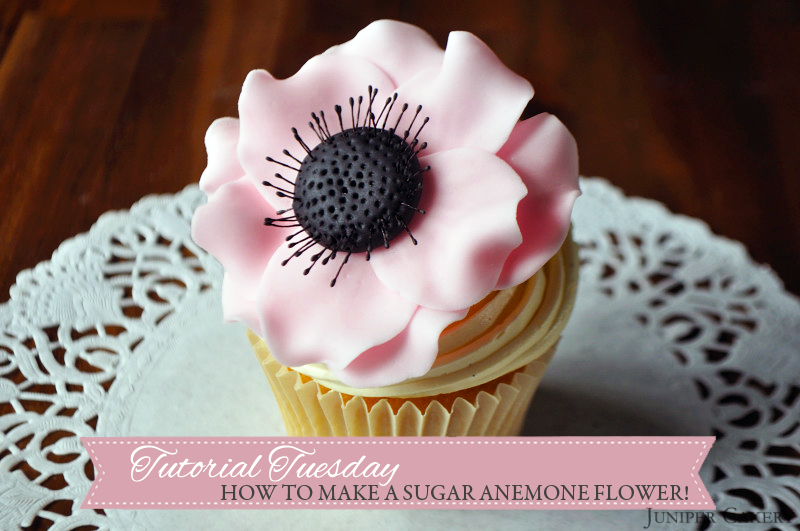
Tutorial Tuesday: How to Make a Sugar Anemone Flower!

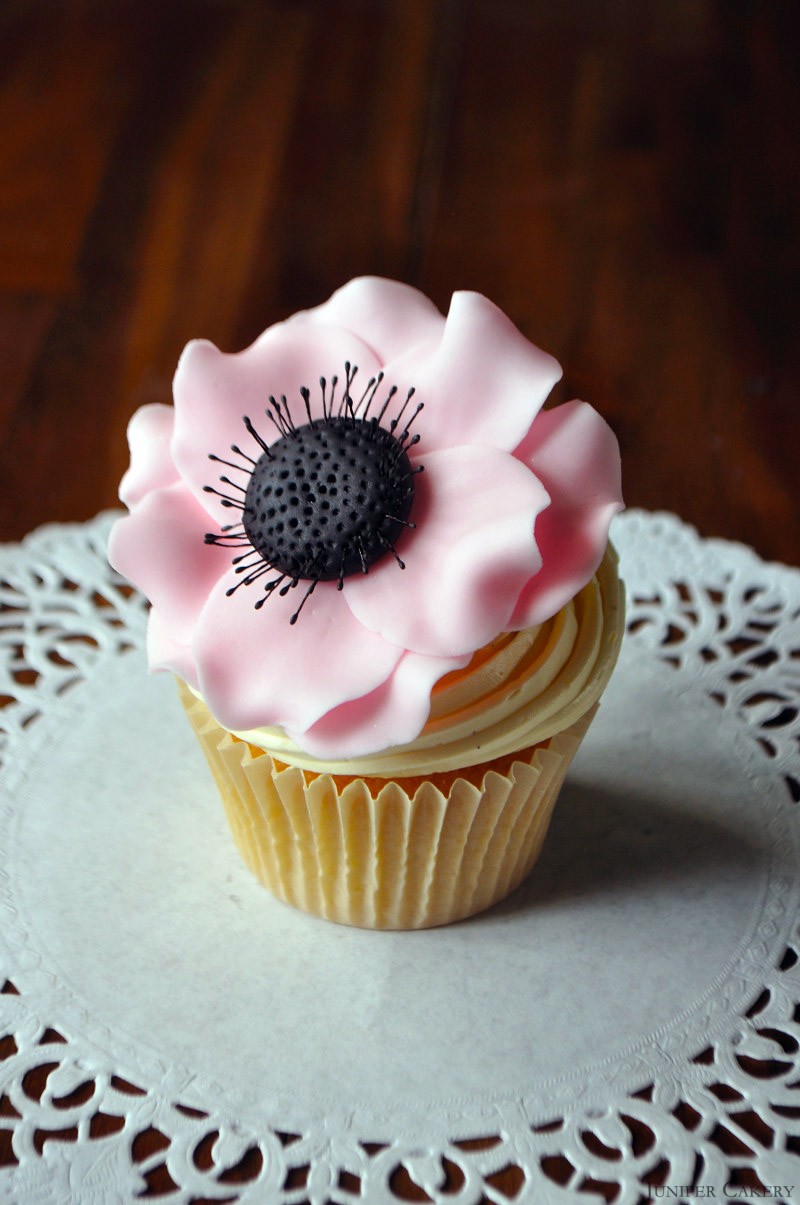
This week’s cake and cupcake decorating tutorial shows you how to create a beautiful and softly ruffled Anemone! We’ve been seeing Anemone flowers pretty much everywhere over the past couple of months. They’ve been found nestled into bouquets, fabric prints, photography and wedding decor They’re striking and unique on top of cakes and make cupcakes look instantly grown up and sophisticated too!

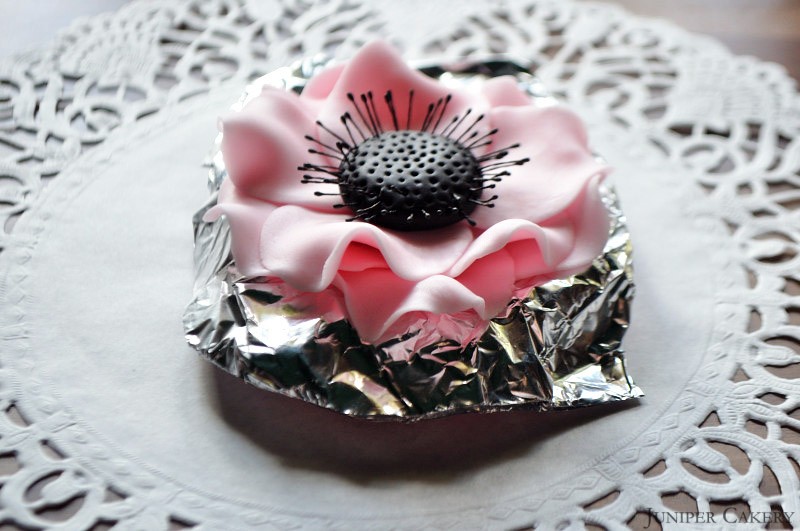
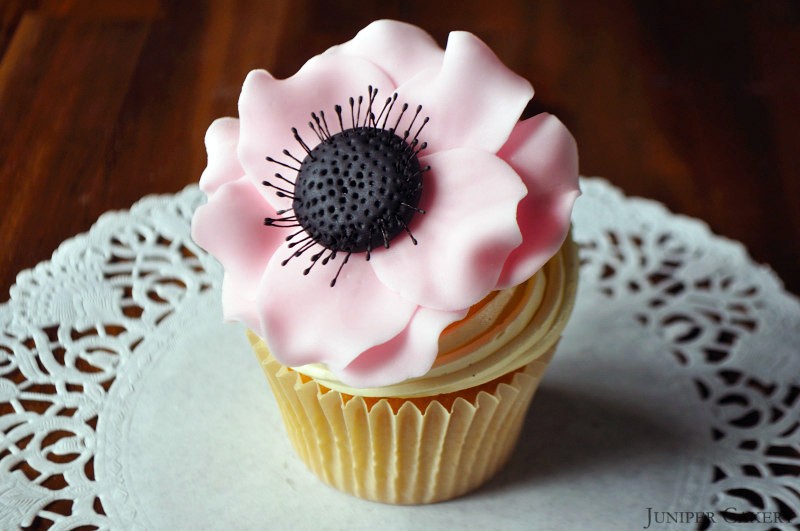
Tutorial Tuesday: How to make a sugar anemone flower for cakes

Tutorial Tuesday: How to make a sugar anemone flower for cakes

You will need…

Black sugarpaste
Pink sugarpaste (or any colour you like)
Tylo Powder (mix a little in your sugarpaste to help harden)
Quilting modelling tool
Ball modelling tool
Fondant rolling pin
Rose petal cutters
Flower Foam Pad
Black stamens or light colour stamens painted with black food dye
Edible glue
Paint brush
Flower forming cup
Foil
Icing sugar

Tutorial Tuesday: How to make a sugar anemone flower for cakes

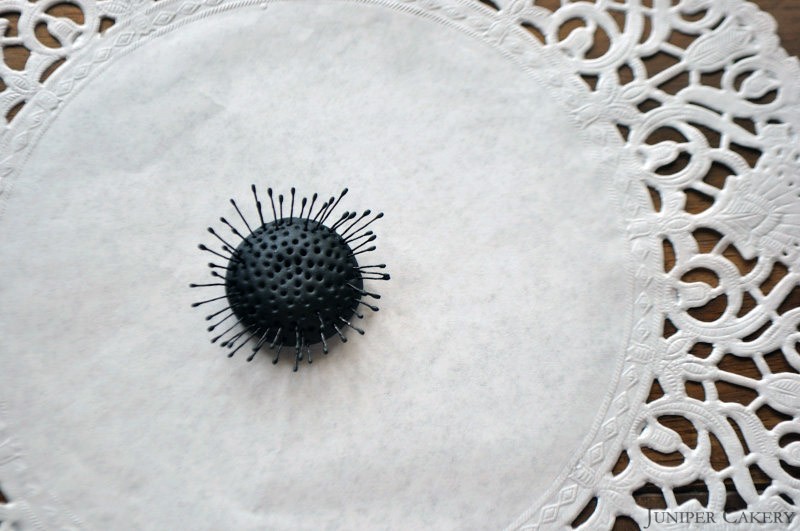
Step one: Create a ball about the size of a 10 pence coin (or 25 cents in the U.S) with your black sugarpaste. Flatten this slightly and smooth the surface.

Step two: Take your quilting tool and indent lots of ‘dots’ into the surface.

Step three: Cut down your stamens and insert these around the outer edge of the centre of your flower.

Tutorial Tuesday: How to make a sugar anemone flower for cakes

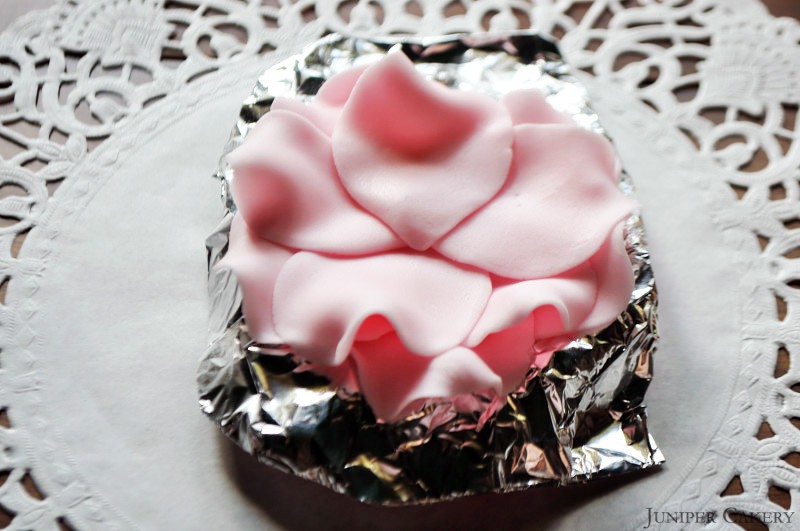
Step four: Cover your flower forming cup with foil and dust lightly with icing sugar so your petals won’t stick to the foil.

Step five: Add Tylo powder to the sugarpaste you’re using for the petals.

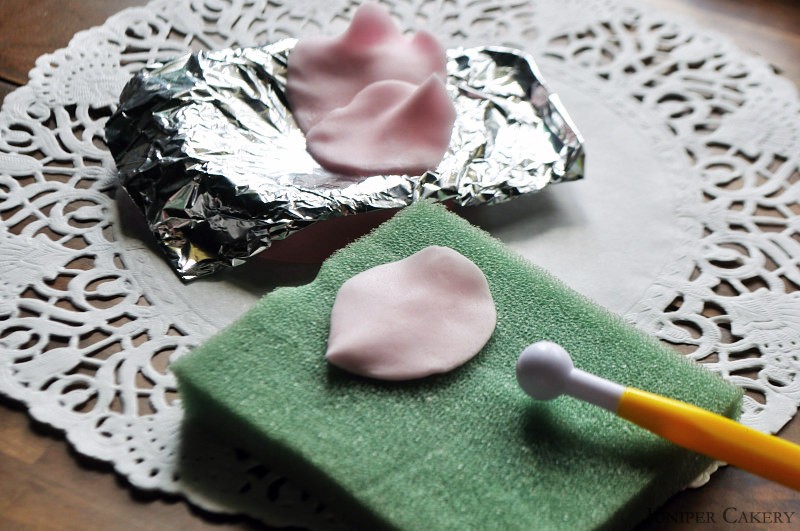
Step six: To make your petals roll out your sugarpaste thin and cut with your largest rose petals cutters.

Step seven: Now you need to ruffle the edges of your petals. To do this you need to lightly ‘massage’ the edges of your petals with your ball tool atop of a flower foam pad. Tweak the edge ever so slightly with your fingers.

Tutorial Tuesday: How to make a sugar anemone flower for cakes

Step eight: We created 10 individual petals to create this Anemone. Nestle the first five petals into your forming cup and slightly atop each other with edible glue fixing them together. Lay the next layer of 5 petals where the petals of the first layer overlap.

Tutorial Tuesday: How to make a sugar anemone flower for cakes

Step nine: Add some edible glue to the centre of your petals and attach the stamen studded centre you made earlier.

You should now be left with a gorgeous and elegantly ruffled Anemone flower; perfect for cakes and cupcakes!

Tutorial Tuesday: How to make a sugar anemone flower for cakes


CAKE101: A quick and easy way to decorate cakes & cupcakes!

Sometimes you don’t have to spend hours upon hours hunched over a desk or work top to make a cakes or cupcakes look striking. For cakes with a beautiful colour baked into them (like Red Velvet) the work is already half done! This weeks CAKE101 cake decorating / baking tip is all about adding simple decoration to you already beautiful baked treats!

CAKE101: A quick and easy way to decorate cakes and cupcakes!

“A quick and easy way to decorate cakes and cupcakes is to sprinkle cake crumbs on top! Crumble some of the spare bits of cake (after levelling or coring) and add atop your frosted cakes! This works great with coloured cake.”


×